Home
Themes
Premium
Contact
Hosting
About
Blog
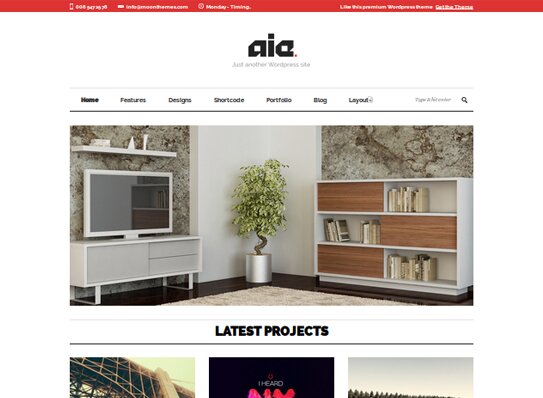
Ez Responsive Theme
Ez Responsive Wordpress theme is best suited for creative designer, business owner, agencies, even blogger.
Live Theme Demo
Price and Detail
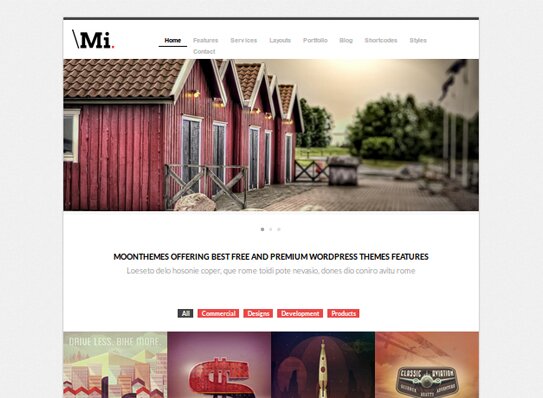
Wordpress Themes
Showcasing Your Work Has Never Been easy with adabtive design