Disclosure: This write-up might contain affiliate backlinks. Getting a merchandise as a result of one particular of these backlinks generates a commission for us at no added expenditure to you.
WooCommerce is an amazing eCommerce tool, but…
The default checkout course of action is fairly cumbersome.
These days, consumers are employed to super-optimized checkouts from websites like Amazon and Walmart.com, so a checkout page like this can freak them out:
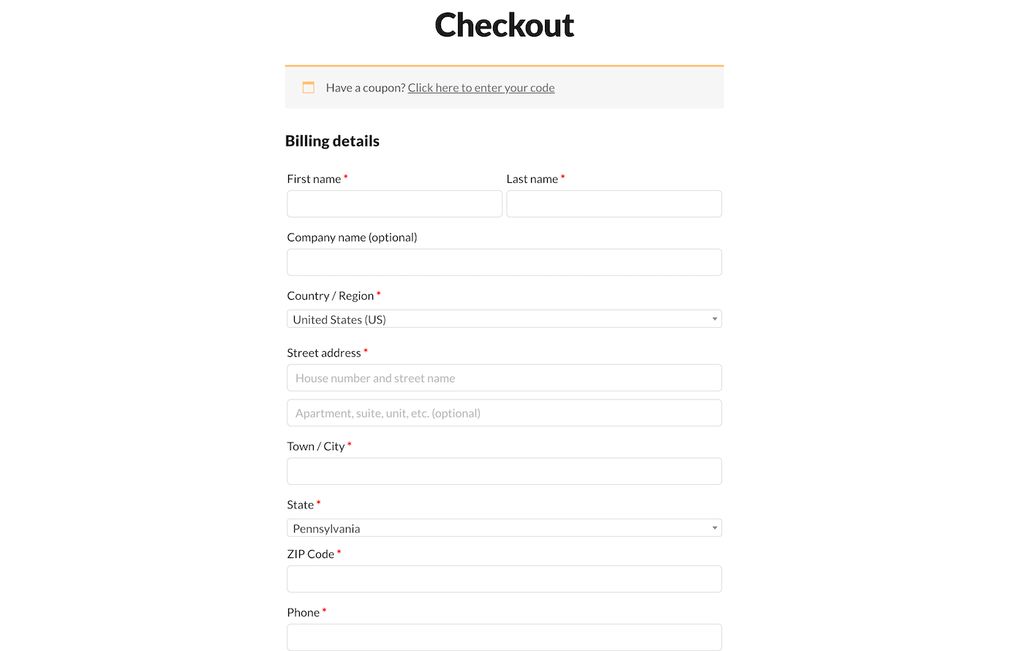
But here’s the thing…
You just cannot take away those fields. You will need their identify and email handle to get hold of them, and you need to have their full tackle to ship their get. As well as, their billing address could possibly be various, so you will need far more fields for that far too.
So if all of these fields are essential, what can you do to make the checkout system friendlier?
You can crack it into compact chunk-sized parts, and that is accurately what the Flux Checkout plugin by IconicWP can do.
It normally takes the normal WooCommerce checkout web page and automobile-converts it to a multi-move checkout, like this:
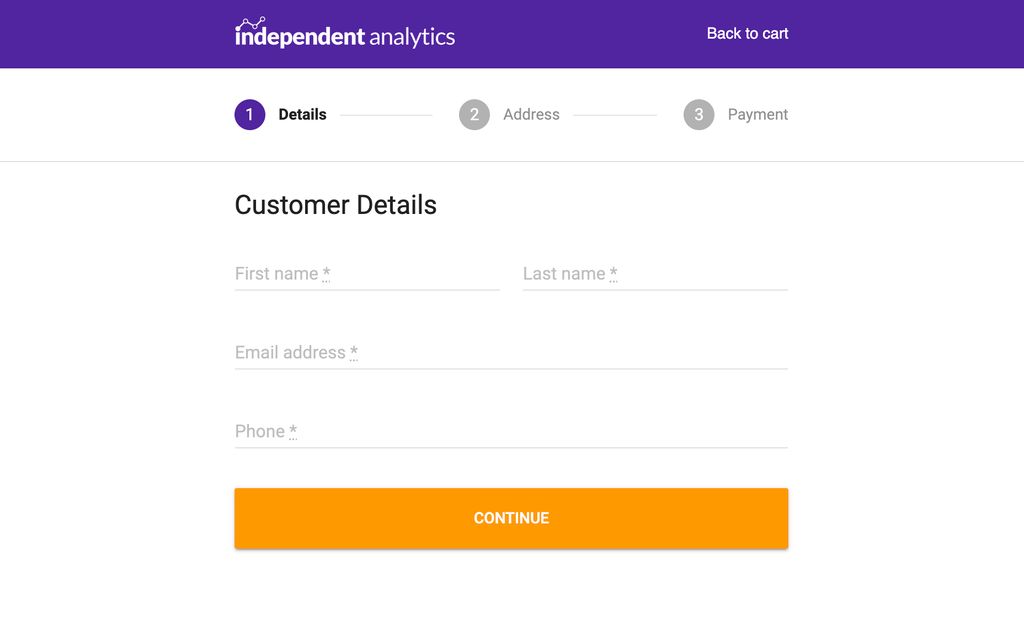
You can convey to from the screenshot by yourself that this is a considerably nicer knowledge for your shoppers, and extra importantly…
Devoid of a wall of intimidating fields, customers will be much more probably to entire the checkout, which means extra money in your pocket.
And possibly the very best portion? It only can take a couple minutes to build.
Now that you have an thought of what you will be making, let us glance at the techniques necessary to recreate this very same multistep checkout on your WooCommerce keep.
How to produce a multi-phase checkout procedure
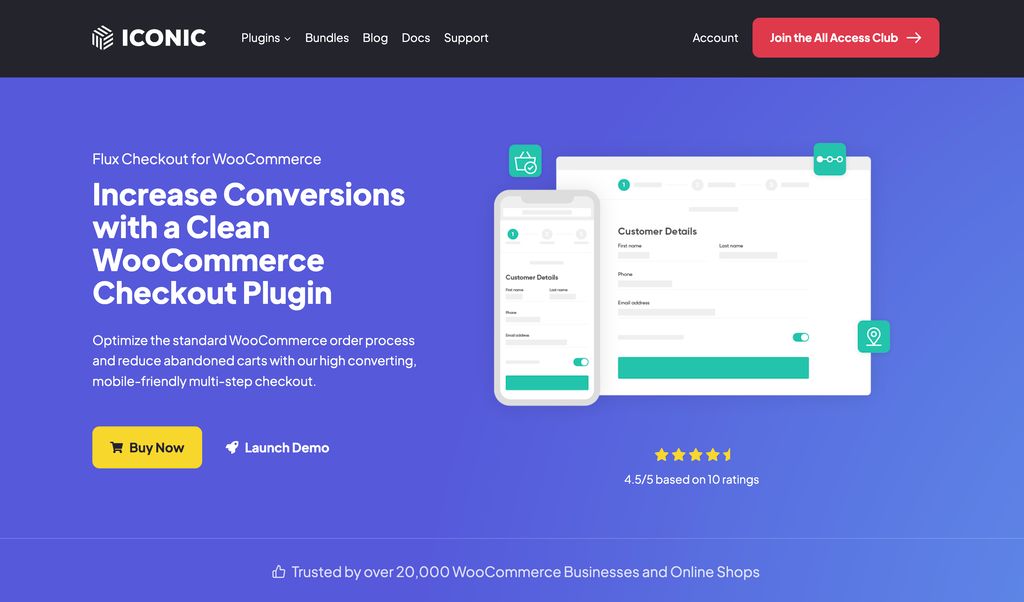
As described by now, the least difficult way to include multistep checkout to WooCommerce is to use the Flux Checkout plugin.
What I love about this plugin is that you only have to put in and activate it to get it doing the job.
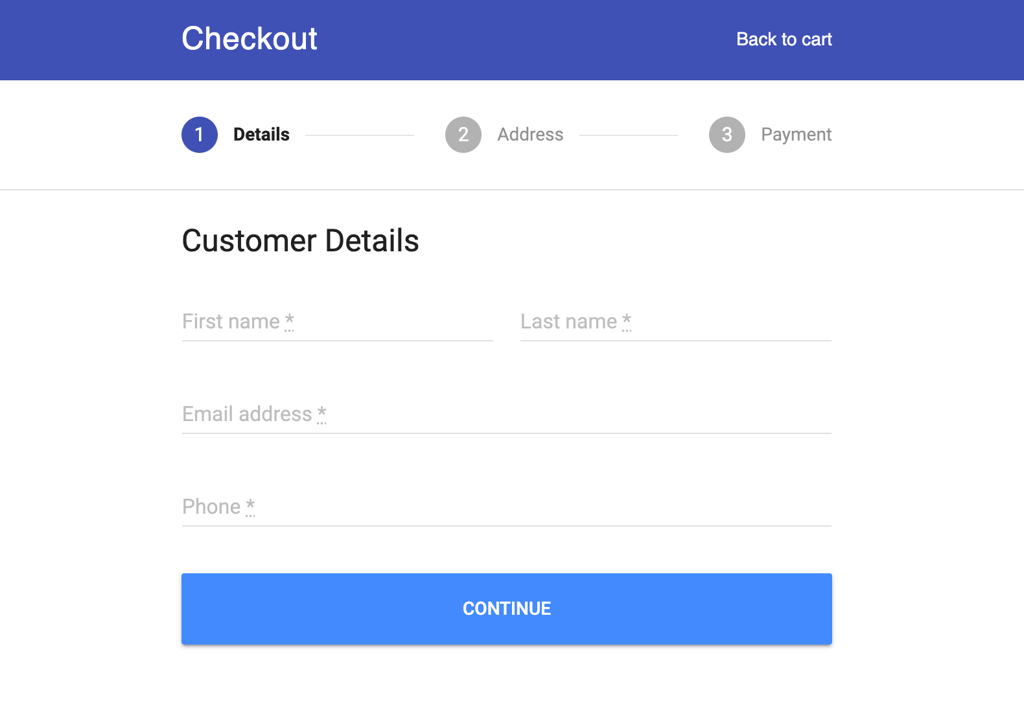
For instance, here’s how the checkout seems to be right after setting up Flux without editing any options at all:
If you have under no circumstances procured and uploaded a plugin to your web page, I’d propose you stick to the actions in this tutorial. It’s very simple and does not demand any specialized abilities.
After you have the plugin mounted there are a few ways to thoroughly configure it for your retailer.
Personalize the checkout fields
The first factor you’ll want to do is stop by the major Flux Checkout options menu.
From there, you’ll come across a handful of configurations that permit you customise how the a variety of fields operate. There are a pair of configurations, in particular, you must permit.
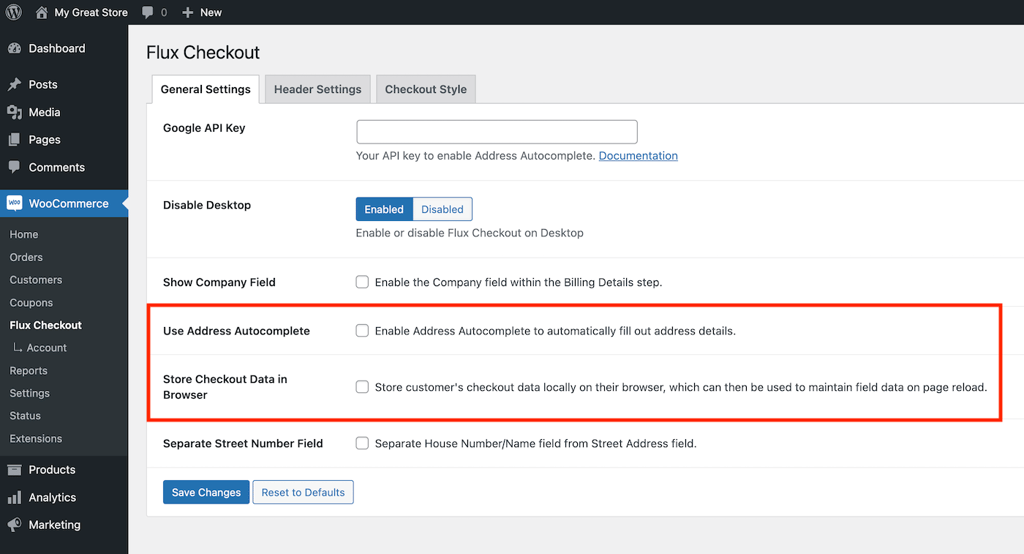
I advocate activating the Use Tackle Autocomplete attribute as this makes it significantly quicker for clients to enter their address and make sure it is typed effectively.
I also advocate enabling the Retail store Checkout Facts in Browser location. This way, if the shopper leaves the web site or accidentally closes the tab, the checkout fields will try to remember the information they entered.
There are some other options here that may be helpful for your keep, but people are the two I consider every single keep should activate.
The up coming detail you will want to do is to personalize the header.
You may possibly bear in mind from the screenshots previously mentioned that Flux adds a blue bar throughout the top of the webpage that suggests “Checkout.” Without the need of any branding at all, the page feels a little bit illegitimate and could deter clients from acquiring.
I strongly propose switching that textual content to your brand title or uploading your brand by switching the Header Variety to Picture.
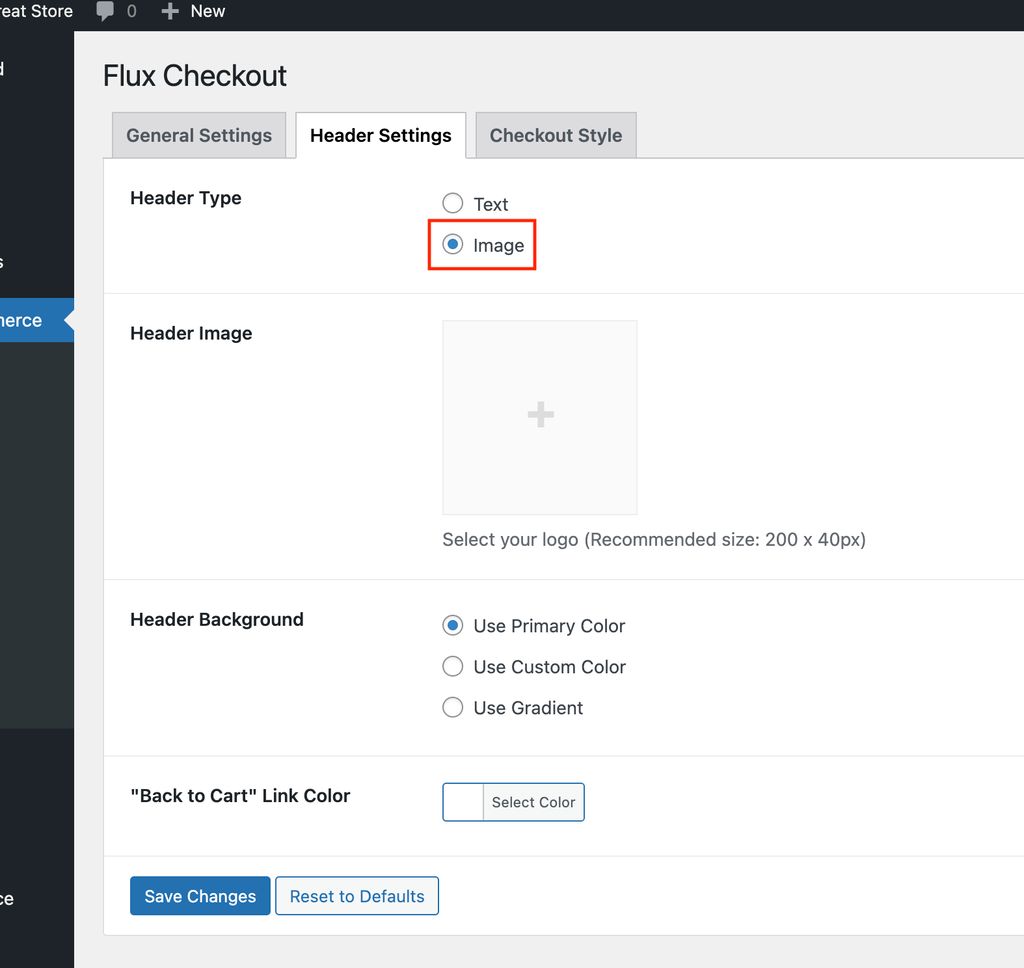
Moreover, the colour of the header possibly doesn’t match your brand, so you will want to improve that much too. When you can enter a personalized colour right here, it’s additional successful to leave it as the Main Colour, and adjust that from the next configurations menu.
Customize the Checkout shades
The very last tab in the Flux Checkout menu, Checkout Style, is devoted to the colors employed in the checkout method.
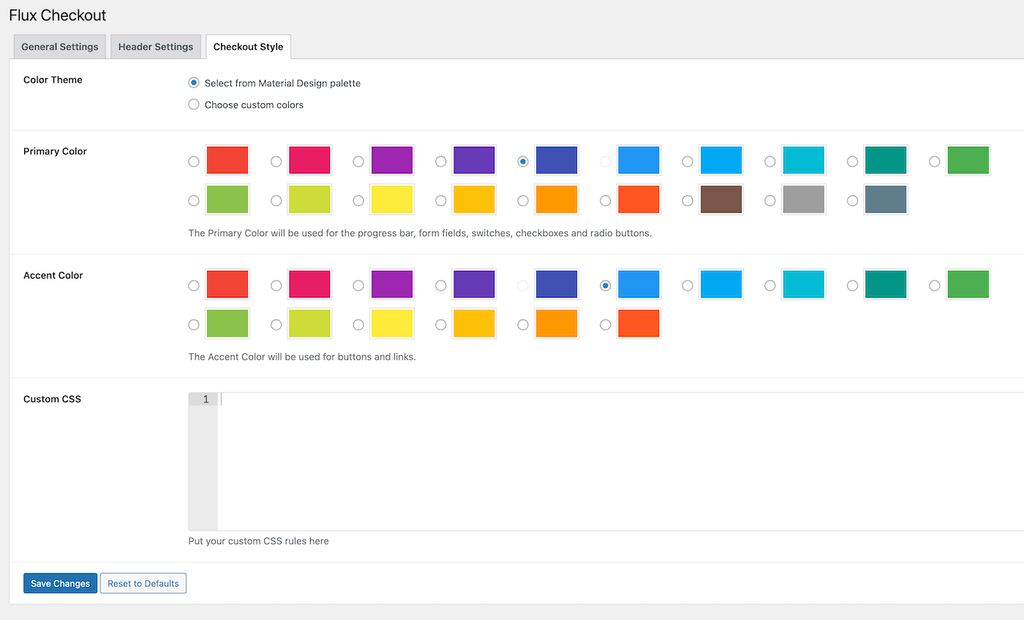
There are loads of shiny colours to opt for from for your Most important and Accent colors. You can also switch to the Pick out custom colors solution and enter two shades that properly accommodate your brand name.
With these alterations, you can significantly change the look of your checkout website page. Applying my instance from ahead of, here’s how the Payment stage looks with a custom symbol and brand name colors.
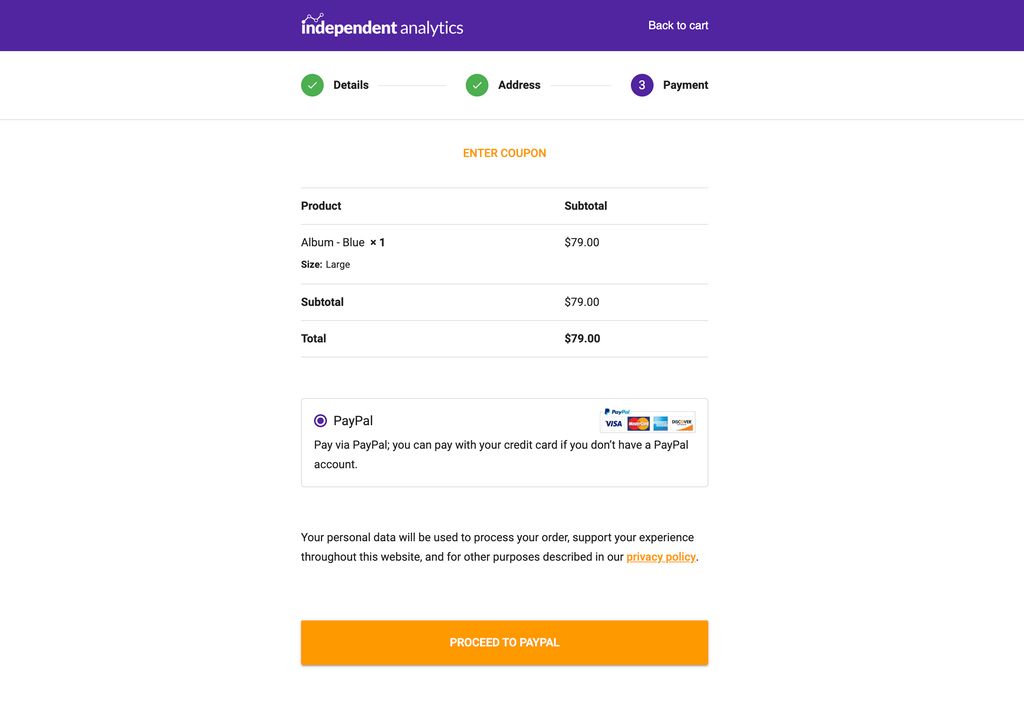
It appears to be like great and it only requires a couple of minutes to personalize.
Make a multistep checkout with WooCommerce
Checkout webpages can be exceptionally scary, particularly when applying the default WooCommerce settings.
The great information is that you can switch to a extremely-optimized and branded checkout web site that will strengthen your revenue conversions in a subject of minutes.
If you want to study a lot more about Flux Checkout, you can go to their website below:
Master a lot more about Flux Checkout
You could also be fascinated in choosing up their WooCommerce Conversions Bundle:
Study more about the WooCommerce Conversions Bundle
It bundles Flux Checkout with two other income-boosting plugins, and you’ll help save a mixed $108 purchasing them all alongside one another.
I hope that this tutorial on WooCommerce multistep checkouts was an eye-opening experience about what is doable by including a new plugin to your store.
Thanks so considerably for looking through, and remember to share it with somebody else making use of the buttons under if it served you out right now.

Ben Sibley
Ben Sibley is a WordPress theme designer & developer, and founder of Contend Themes.