Creating exclusive content that’s available only to select readers is an excellent way to monetize your WordPress website. However, by default, the platform doesn’t allow you to do this out-of-the-box. So, you might be wondering how to restrict content in WordPress.
Fortunately, with the right tools, there are several ways you can do this. What’s more, you’re able to restrict different types of content. For instance, you can restrict parts of a post or page, entire posts and pages, or even your entire website.
Why restrict content in WordPress
If you already have a large following of blog readers or fans, it probably makes sense to monetize your content. In fact, turning your creative side hustle or passion project into a profit is often the only way to make it sustainable in the long run.
For WordPress website owners, restricting content is likely the fastest and most straightforward way to do this. That’s because it won’t necessarily require you to change anything about what you’re already doing.
You can simply continue to produce content the same as you always have. The only difference is that you’ll need to convert a part (or all of) that material into exclusive, paywalled content.
Alternatively, if you’re not ready to ask your audience to pay, you can restrict content in WordPress in exchange for something else. For instance, you could restrict content to only those who register on your site. Or, you might require users to sign up for your email list before they can view the exclusive blog posts.
Furthermore, you don’t have to paywall all of your material to start. You can restrict only certain content in order to “tease” your followers. This way, you may be able to encourage sign ups who are on the fence.
How to restrict content in WordPress
👉 As you can see, restricting content in WordPress has quite a lot of advantages. In this section, we’ll show you four different ways you can do it.
Method 1: How to restrict individual pages and posts
The most straightforward way to restrict content in WordPress is on a post or page basis.
For this method, one of the solutions you can use is the ProfilePress plugin. 🔌
It’s technically a membership tool, but it also has everything you need to restrict individual posts and pages. Plus, it won’t require you to go through the process of creating membership plans if you don’t want to.
Install and activate it. After that, go to ProfilePress → Content Protection. Then, hit Add a Protection Rule at the top of your screen:
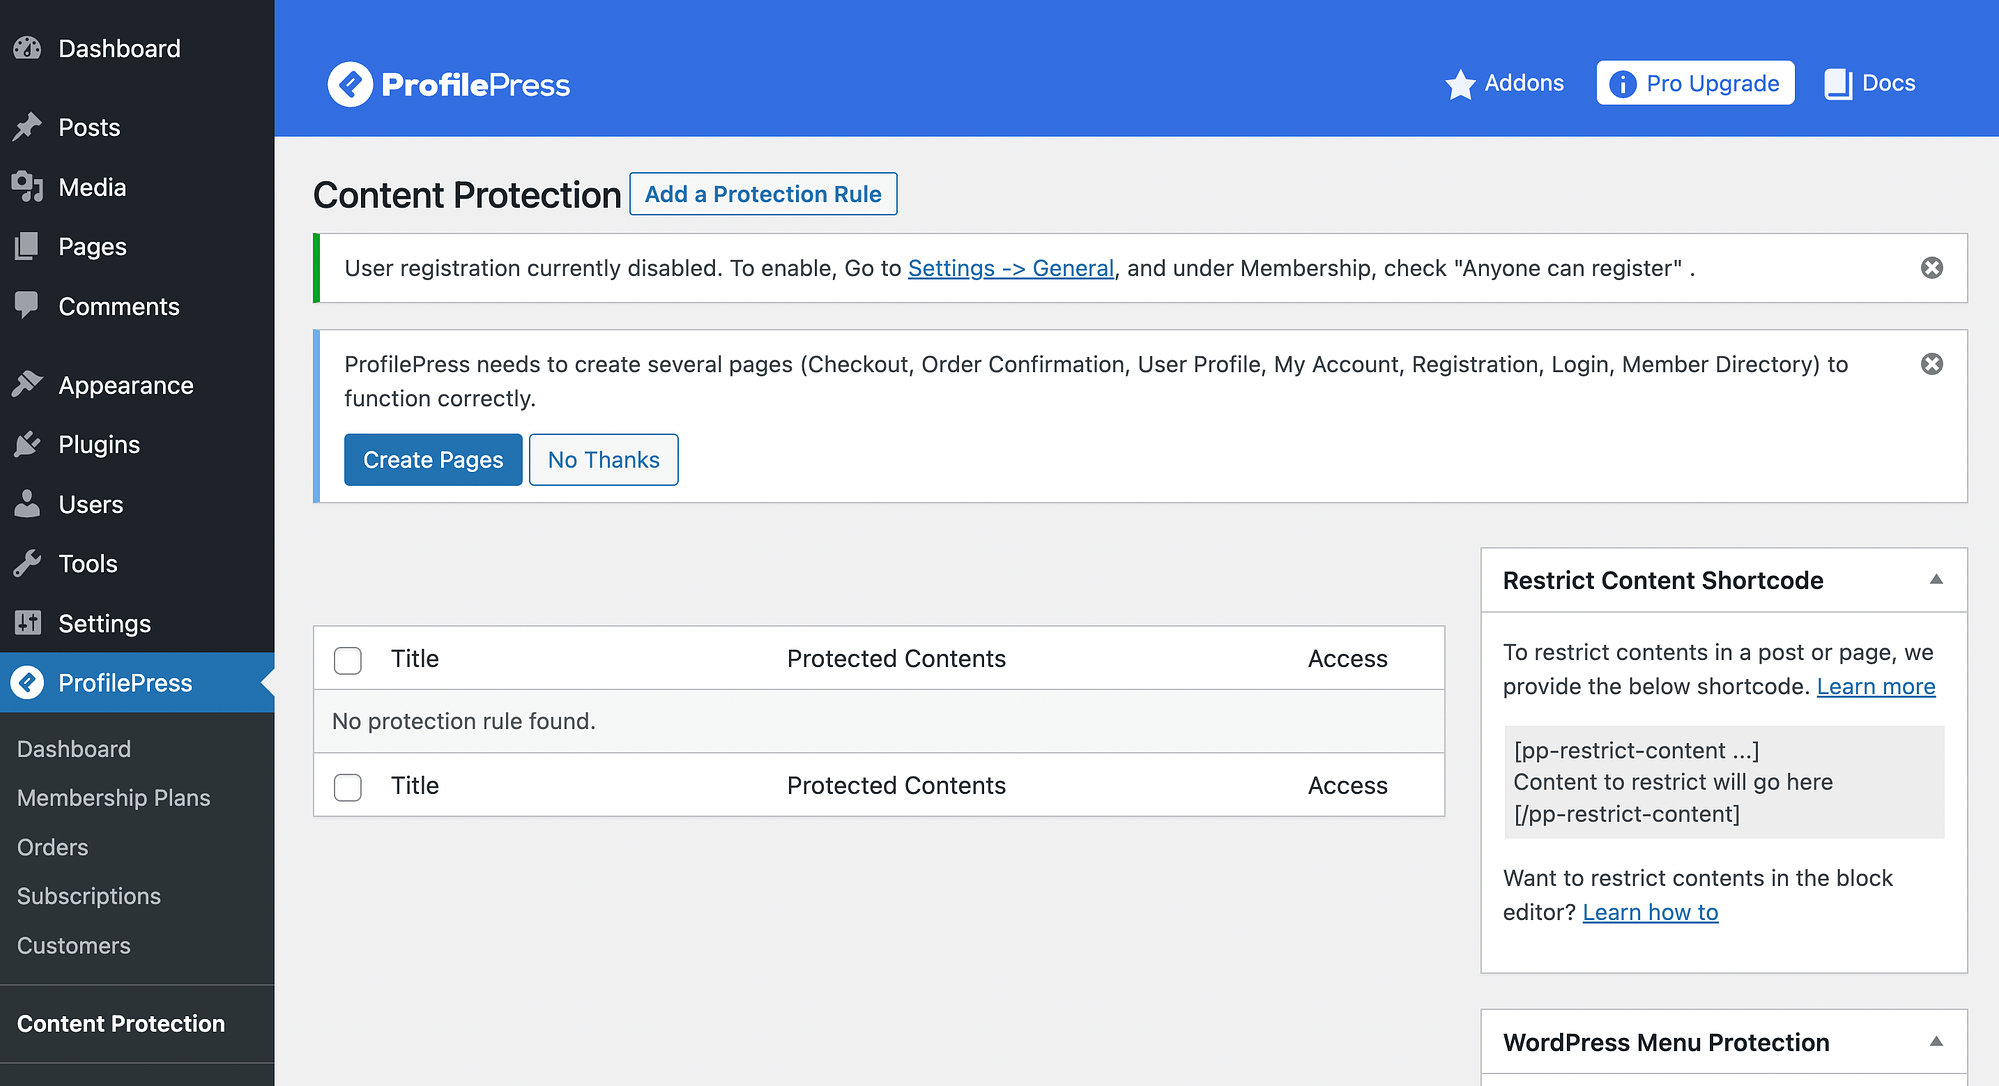
If you see any notifications on the above page, you may need to address them.
Most importantly, if you see the first message above, you will have to enable user registration in WordPress. The good news is that this can be done in literally one click.
However, if you haven’t allowed for registration until now, you may want to go back and customize your WordPress registration page. If you only see the second notification though, and you already have a registration page, you can go ahead and ignore it.
Then, return to the Content Protection screen and in the Content to Protect panel, open the dropdown menu to Select a condition:

As you can see, you can choose specific pages and posts, categories and more.
After you’ve made your selections, you’ll need to select your access conditions. Next to Who can access this content? hit Logged in users:

Then, pick the roles you’d like to give access to your restricted content.
This is a good time to customize your Global Restricted Access Message too. Simply hit the customized here link to do it.
You can also create some exceptions to the rule, by adding users to the Select specific users that can access content section. When you’re finished hit Save rule.
Method 2: How to restrict parts of posts and pages
If you really want people to sign up or convert, you could also restrict only certain parts of posts and pages. There are a few ways to do this.
If you’ve already signed up for ProfilePress for the first method, you can simply use ProfilePress’ shortcodes to do this. You’ll just need to customize the shortcodes and use the Block or Site Editor to place them directly before and after the areas you want to restrict.
Alternatively, you may want to restrict certain parts of posts or pages in exchange for something more low stakes, such as a share or a like. This can be a great way to improve user engagement metrics on social media.
You can do this by creating a content locker. The list of solutions is not as vast for this purpose, however. For example, the most sensible plugin to do it hasn’t been updated in five years, although it still works on our test setup. So, you can still go ahead and test it out on your own. The plugin is called Social Locker & Content Locker – Locker Cat.
You can install and activate it normally. Then, click on the Social Locker tab in your left-hand menu to configure the settings:

As can be seen, there is a possibility to customize the headline and copy of the message. You can also choose Twitter and/or Facebook for social sharing.
When you’re happy with your selections, hit Save or Save & Preview.
Then, copy the opening and closing shortcodes:

After that, simply navigate to the right post or page and paste the shortcodes to wrap the content areas you’d like to restrict. Then, remember to save your changes. It’s as simple as that!
Method 3: How to restrict the whole site
Next, let’s see how you can restrict all the content on your WordPress site. The best way to do this is to transform your WordPress installation into a membership site. You can easily do this using a plugin like Paid Memberships Pro (or ProfilePress).
After you install and activate the plugin, the Setup Wizard will launch automatically:

Simply follow the steps to create your membership site.
You’ll mainly need to create membership levels and set up member pages. Then, you’ll have to add a payment gateway and configure any additional settings you’d like.
For more detailed instructions on this process, check out our complete tutorial on how to start a membership site.
Once you’re finished, only paying members will be able to access your exclusive content. While this is an easy way to restrict content in WordPress, it’s also an excellent strategy for building community.
Method 4: How to restrict content to Patreon members
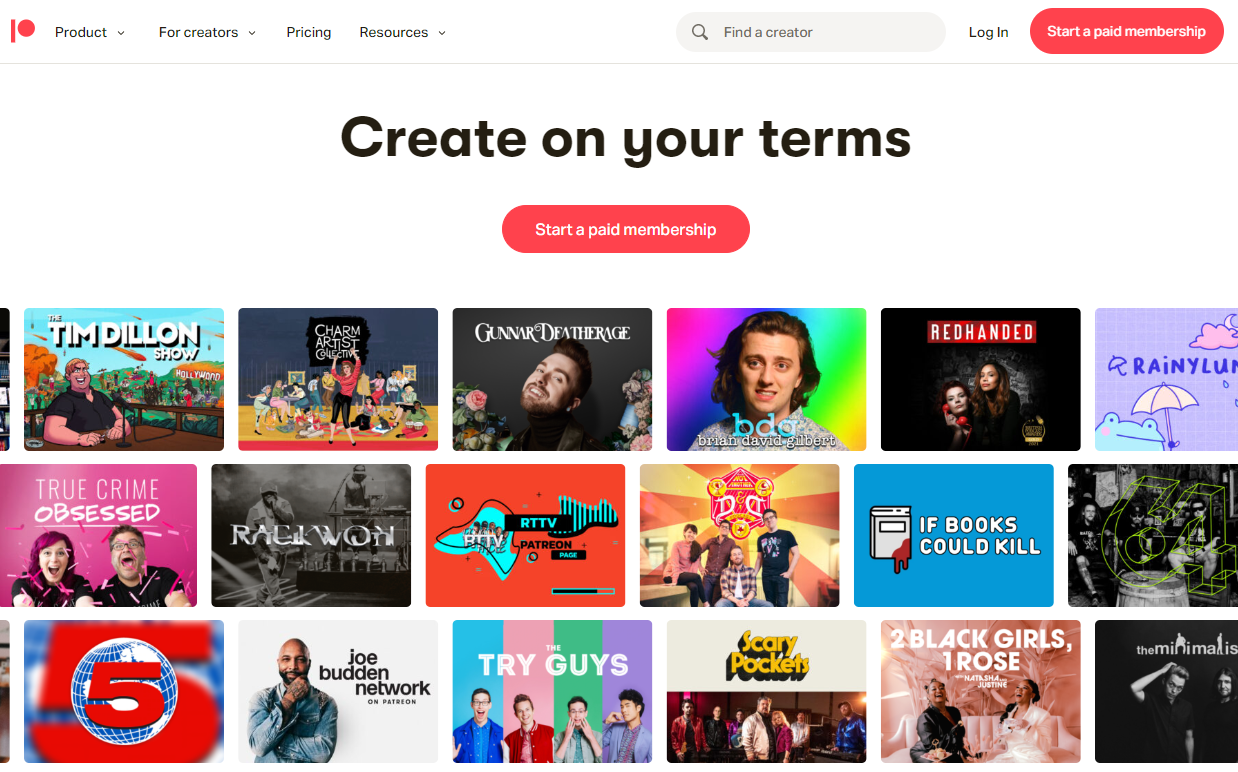
Finally, let’s discuss how you can restrict content in WordPress to Patreon members. This approach is ideal for WordPress site owners who already use Patreon. For instance, you might have it linked to your podcast for listener donations.
(What’s Patreon? Patreon is a popular tool for content creators to collect regular donations from their communities. In exchange, the creator can offer original content that’s not available otherwise.)
Restricting content to Patreon members can also be an excellent strategy for boosting your site traffic, since it encourages your patrons to make their way to WordPress.
However, if you’re new to the platform, navigate to the Patreon website and sign up for an account:

You’ll need to enter some simple details, including your name, email address, and a password. Alternatively, you can use a Gmail, Apple, or Facebook account to sign up.
You can then use the Patreon setup wizard to establish your creator page.
Next, you’ll have to purchase a plan for Patron Plugin Pro:

Then, install the premium tool on your site by going to Plugins → Add New → Upload Plugin.
After that, go to your Patreon Settings tab:
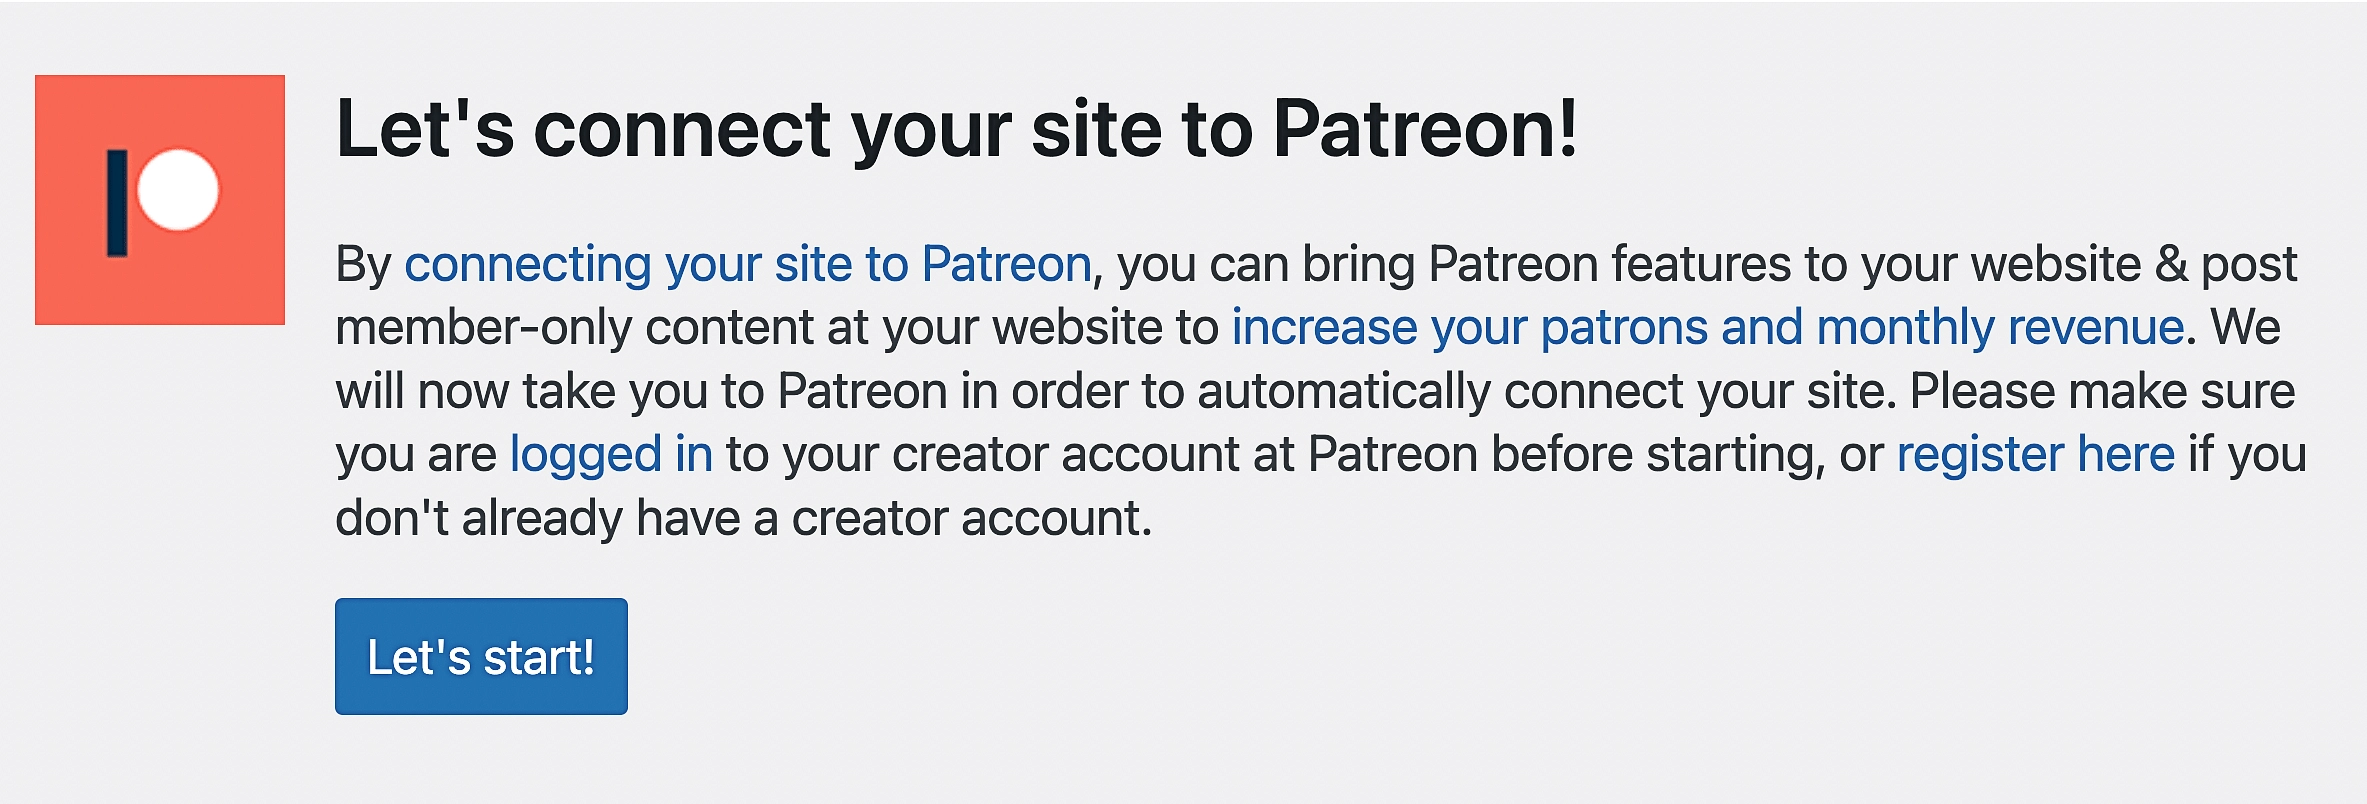
This should prompt you to connect your site to Patreon. Simply click on Let’s start and follow the prompts.
👉 After that, you’ll need to consult the Patron Plugin Pro documentation on how to complete the installation process and restrict content in WordPress.
Conclusion 🧐
If you want to make money from your WordPress site, creating restricted content is an excellent way to do it. You can simultaneously turn a profit and build a community. However, WordPress doesn’t include this functionality natively.
The good news is that as long as you have the right tools, you can easily restrict content in WordPress. You can paywall individual posts or pages with ProfilePress. Or, you can create a content locker to restrict specific post/page elements. Alternatively, creating a membership program enables you to paywall your entire site. You can even integrate your WordPress site with Patreon, limiting access to members that way.
Do you have any questions about how to restrict content in WordPress? Let us know in the comments section below!