Facebook is one of the most popular social media platforms with millions of monthly users. Therefore, it’s a great idea to integrate WordPress with Facebook to increase your online presence. However, without technical skills, you might not know how to do this.
Fortunately, with the help of some handy plugins, even beginners can integrate websites with Facebook. For example, you can embed Facebook posts on your web pages, display Facebook reviews, or add Facebook sharing buttons to increase exposure to your content. ✏️
In this post, we’ll show you eight ways to integrate WordPress with Facebook. Let’s get started!
📚 Table of contents:
1. Automatically post to Facebook from WordPress

One of the best ways to integrate WordPress with Facebook is to automatically post to Facebook when you publish a new blog post. This can get your content seen by more people and boost engagement over on the social platform.
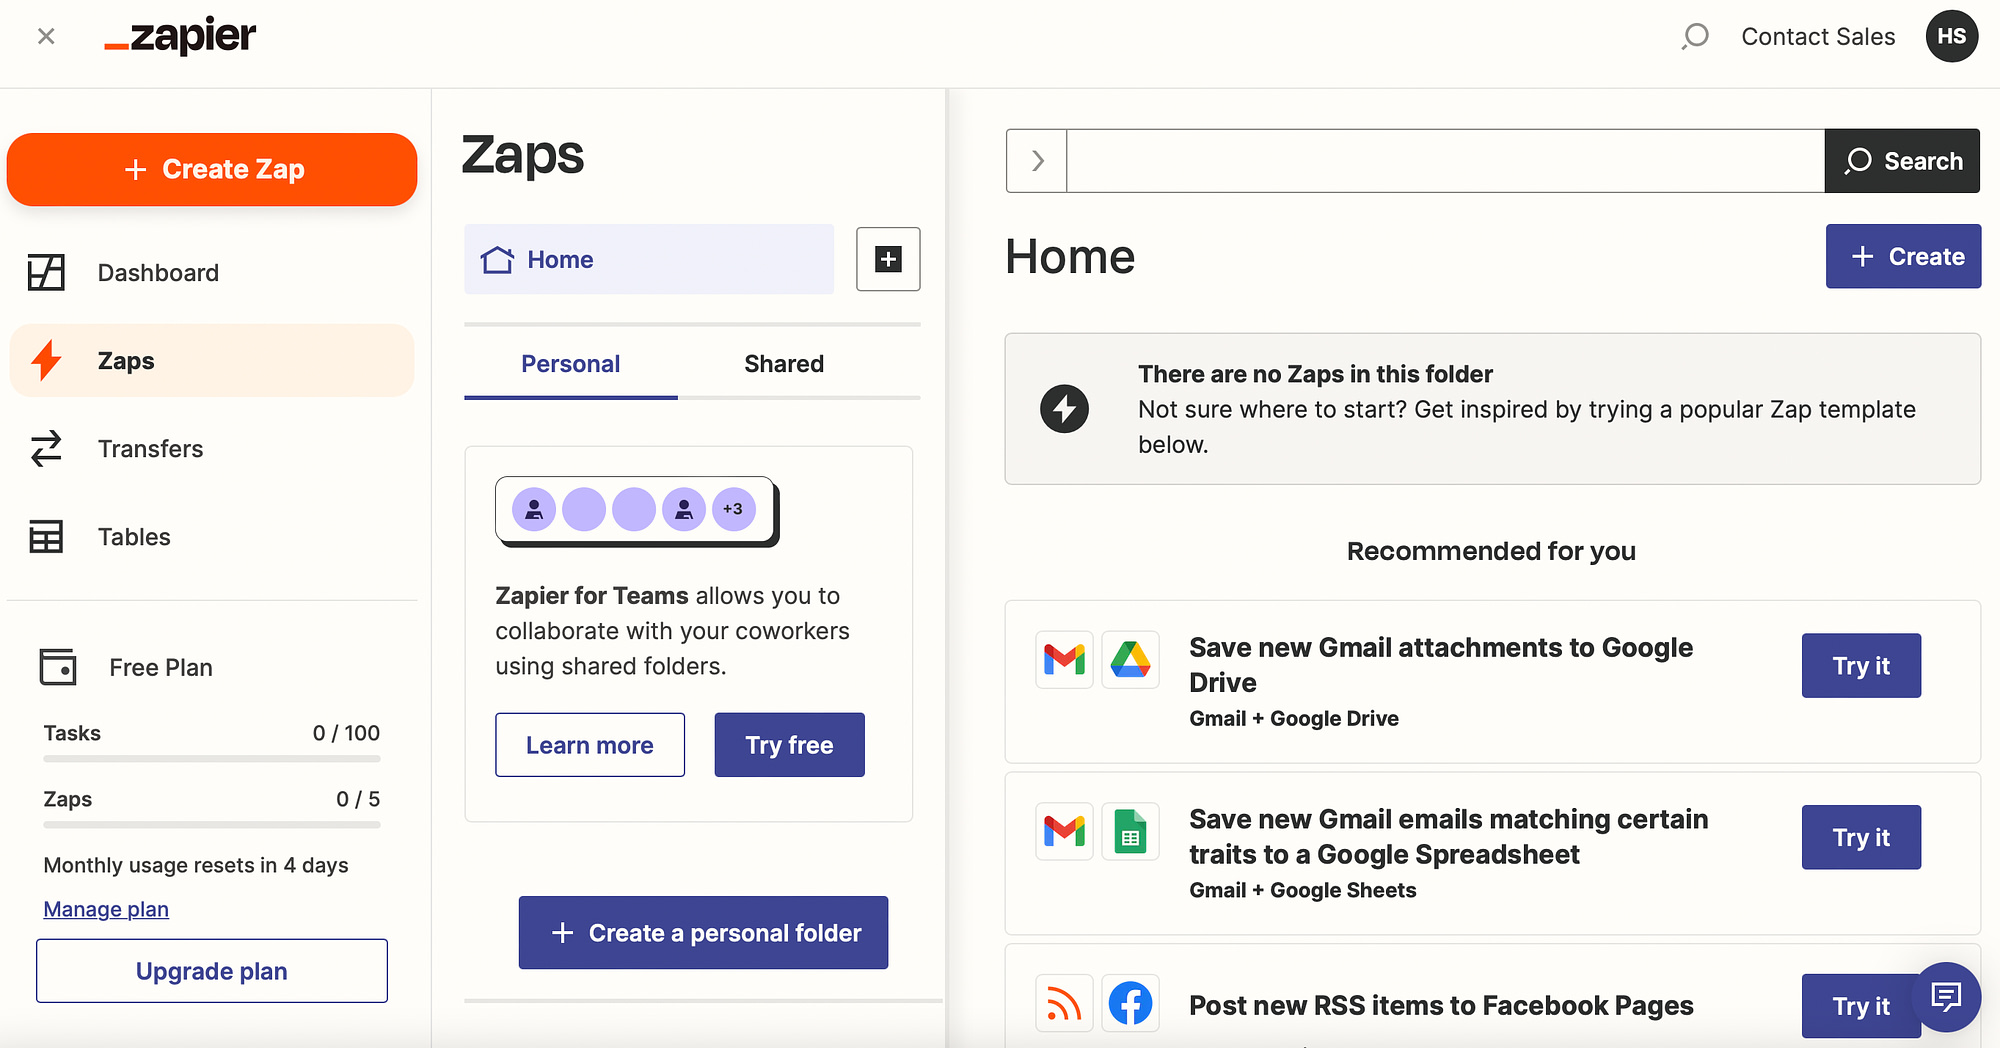
Zapier provides one of the easiest ways to add this functionality to WordPress. To get started, sign up for a free account and click on Create Zap:
At this point, you need to select a trigger and an action. Or, you can enter your desired sequence into the AI box (currently in beta) and the tool will generate the appropriate trigger and action for you:

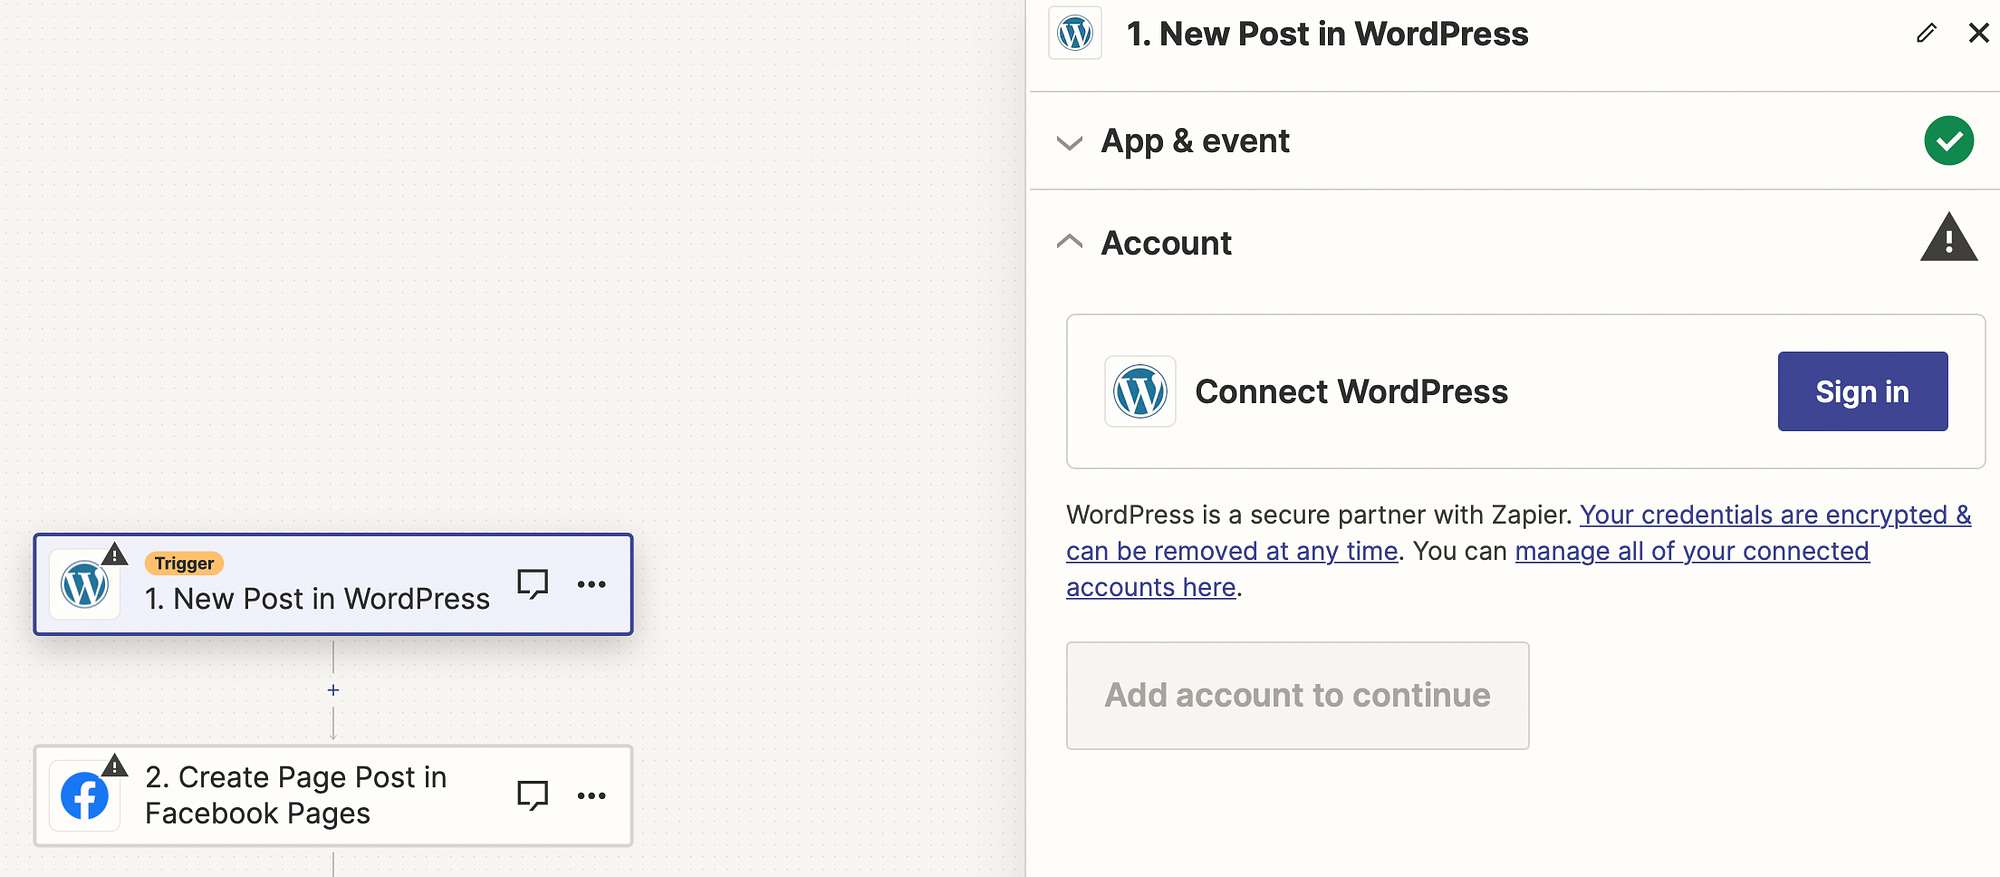
In this instance, the trigger is a new WordPress post which results in the specified action (creating a Facebook post).
Next, you’ll need to log into your WordPress and Facebook accounts:
Then, each time you create a new blog post, you’ll automatically publish a social post directly to your Facebook account. However, this will only share new posts.
If you want to publish archived posts to Facebook, you can install the Revive Old Posts plugin:
If you want to publish archived posts to Facebook, you can install the Revive Old Posts plugin:

Then, all you need to do is connect to your Facebook account and authorize the plugin to post on your behalf. You can also configure settings such as age of posts and intervals between shares.
2. Embed Facebook posts in WordPress pages
Next up, you might want to integrate WordPress with Facebook by embedding your social posts on your web pages. This enables you to drive traffic to your Facebook page and keep your web pages updated with fresh content.
To get started, you’ll need a plugin like Smash Balloon Social Post Feed. Upon successful installation of the tool, you can continue with the setup wizard to connect to your Facebook account.
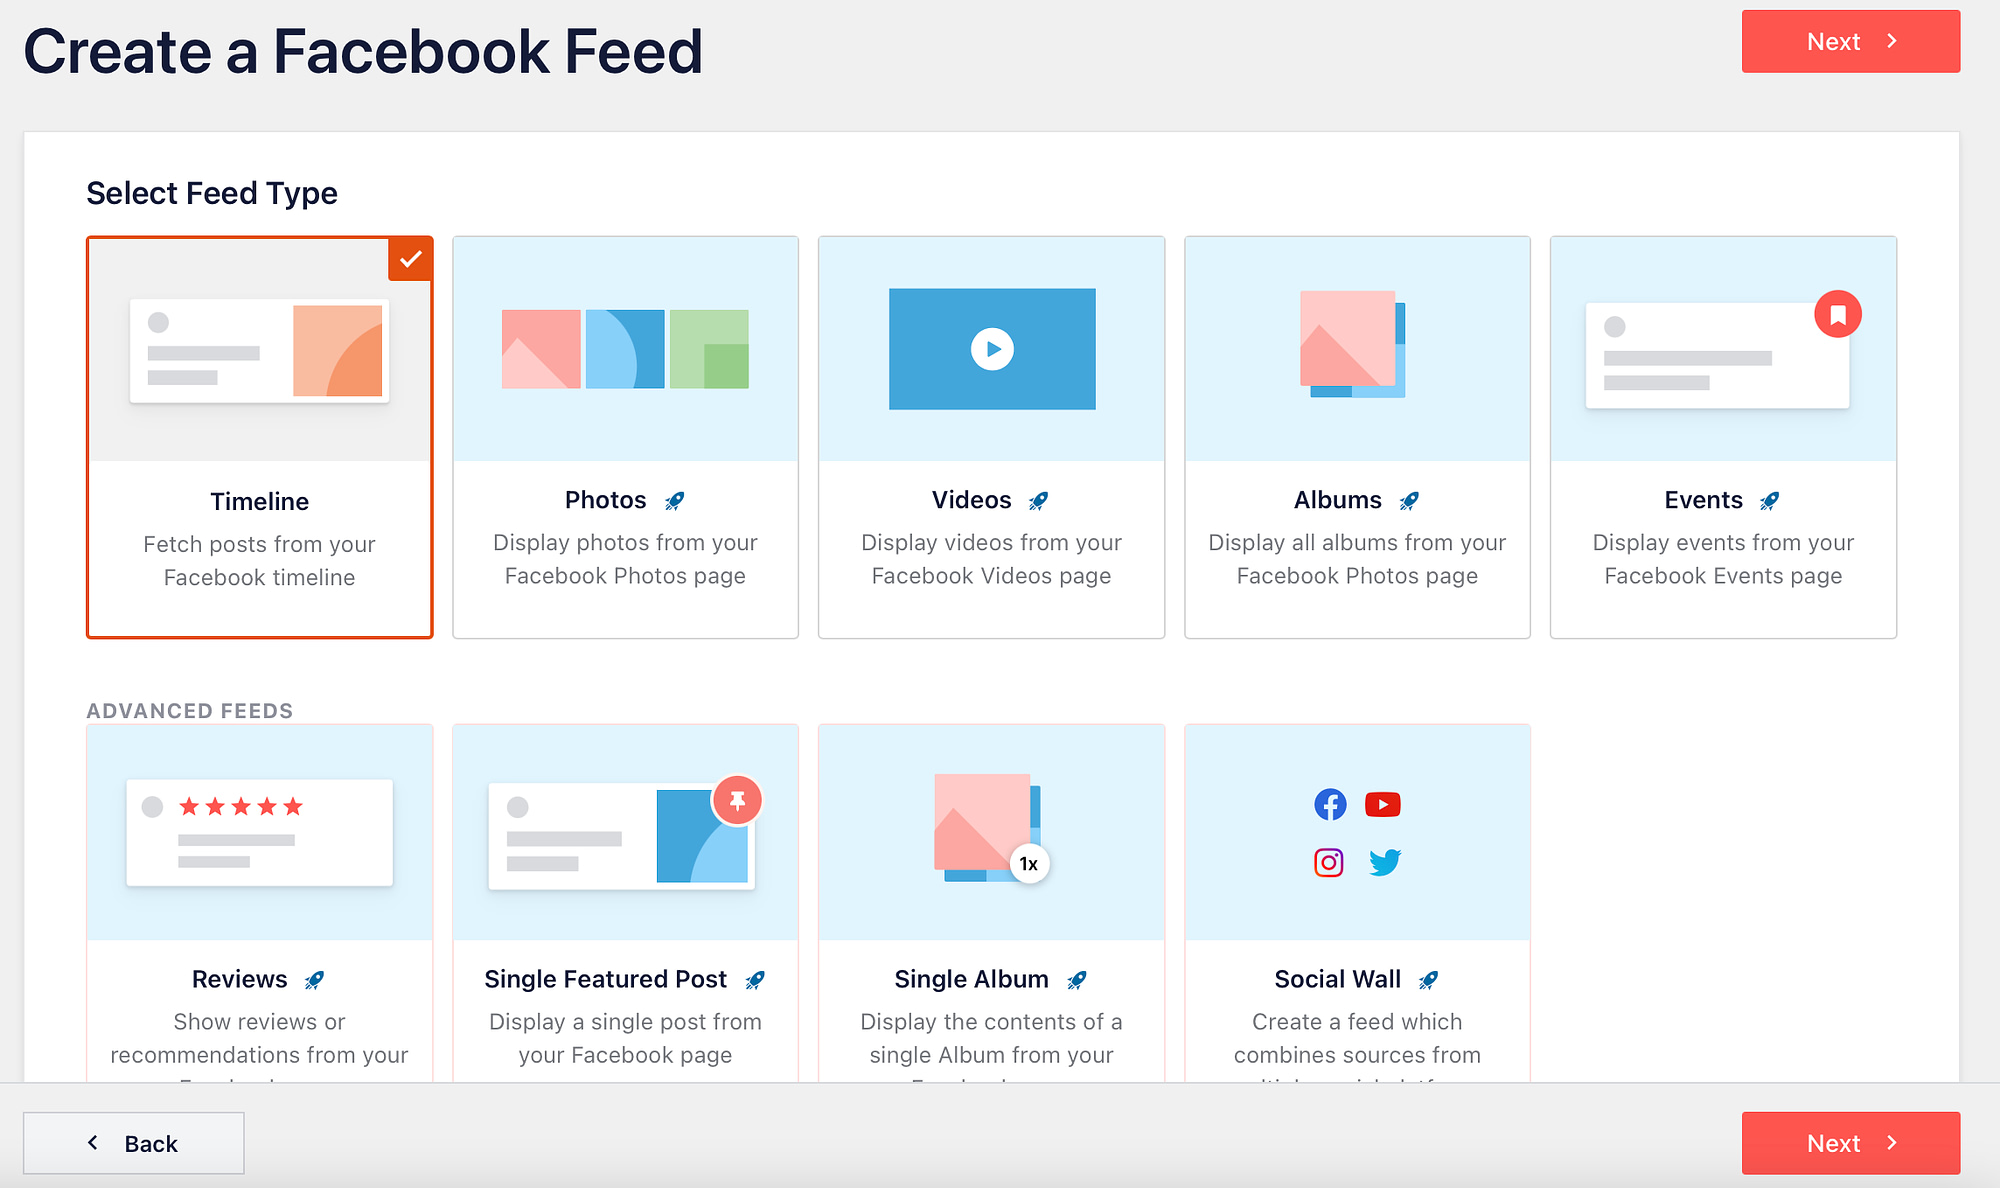
Or, head straight to Facebook Feed → All Feeds → Add New. With the free version of the plugin, you can only display timeline posts.
However, with Smash Balloon Pro, you can embed Facebook photos, albums, events, reviews, and more:
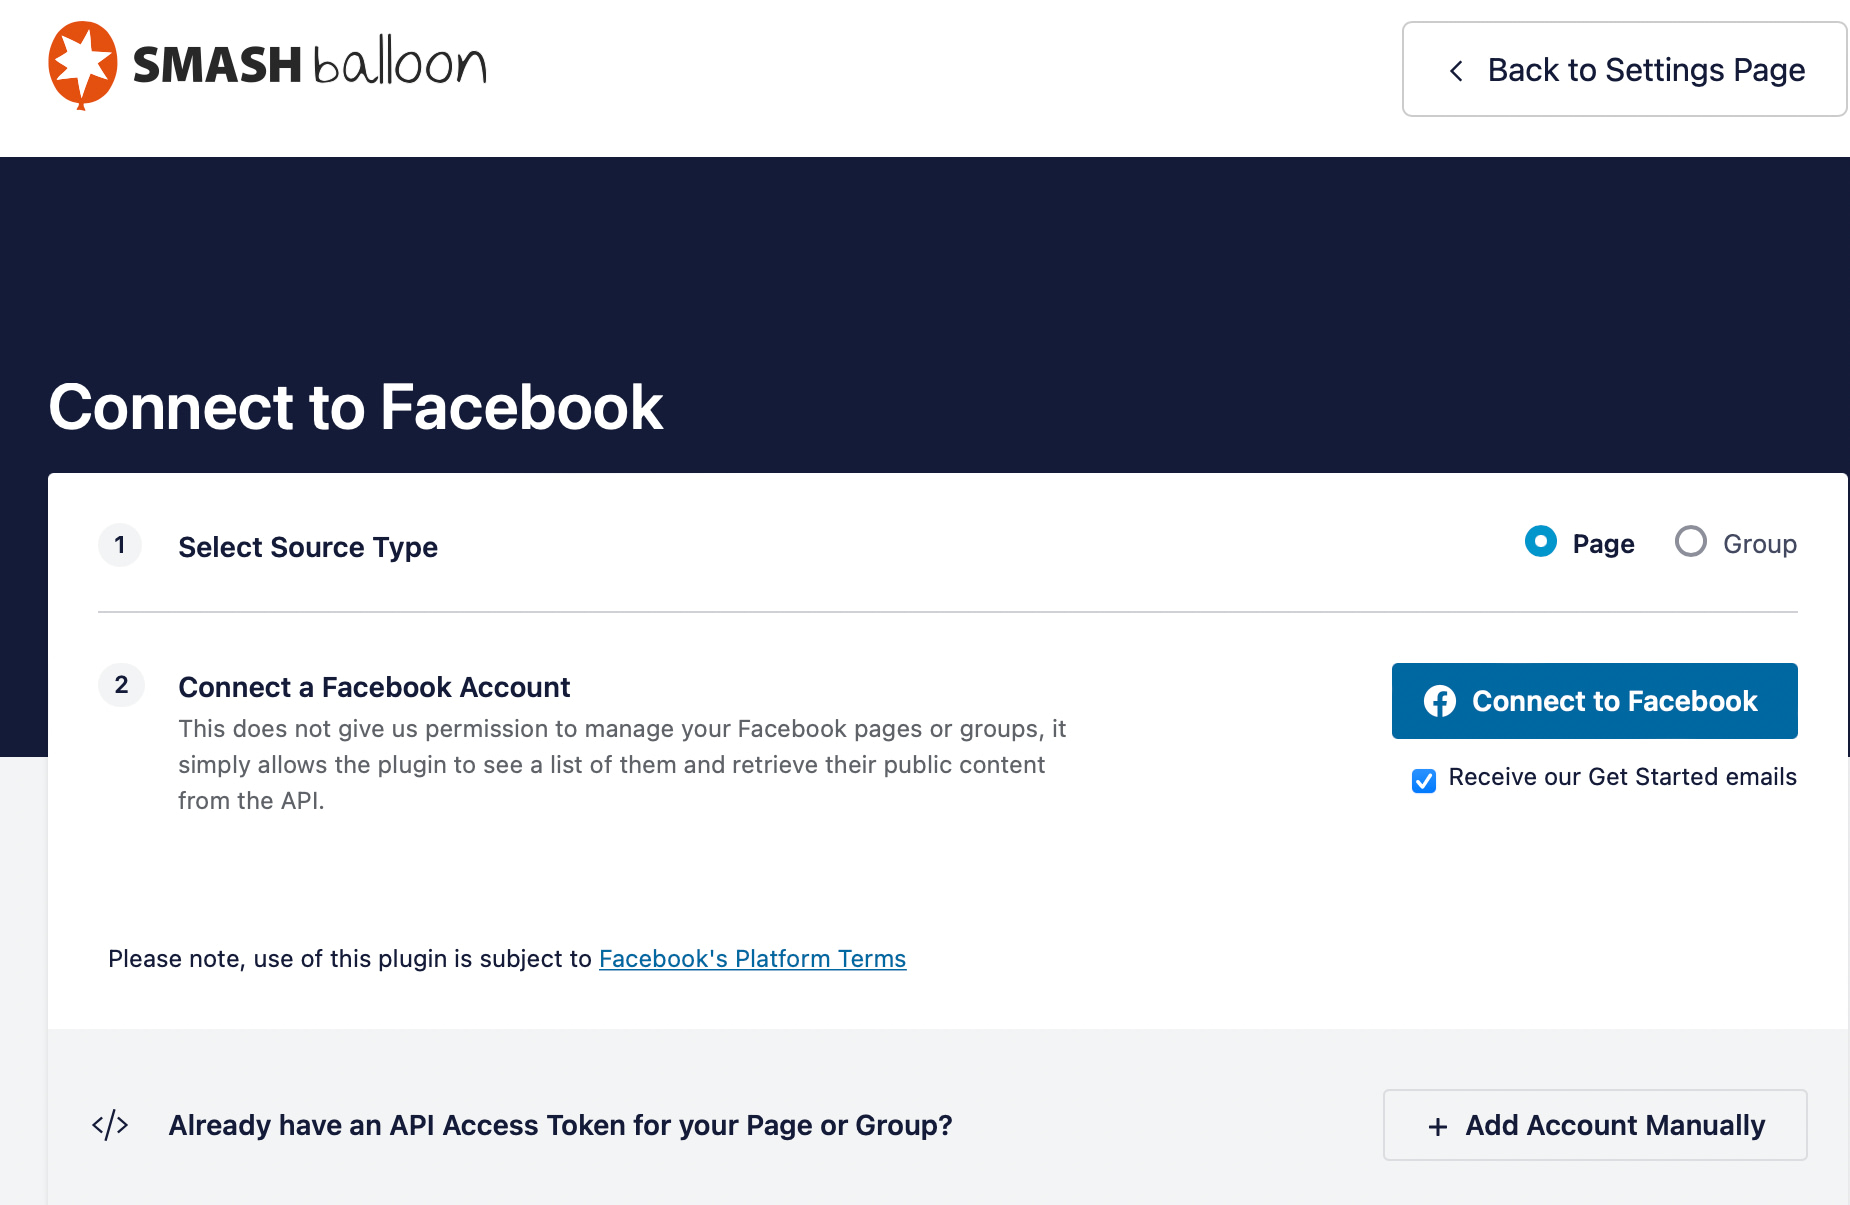
Then, select your source (Facebook pages or groups) that the plugin will collect content from. This will redirect you to the Smash Balloon website:
Here, you can select your Facebook page and configure some important settings before the connection is established. If you don’t have a Facebook page set up yet, you can create one at this point.
Now, you’re able to embed Facebook feeds in your pages or widget areas (like headers or footers):
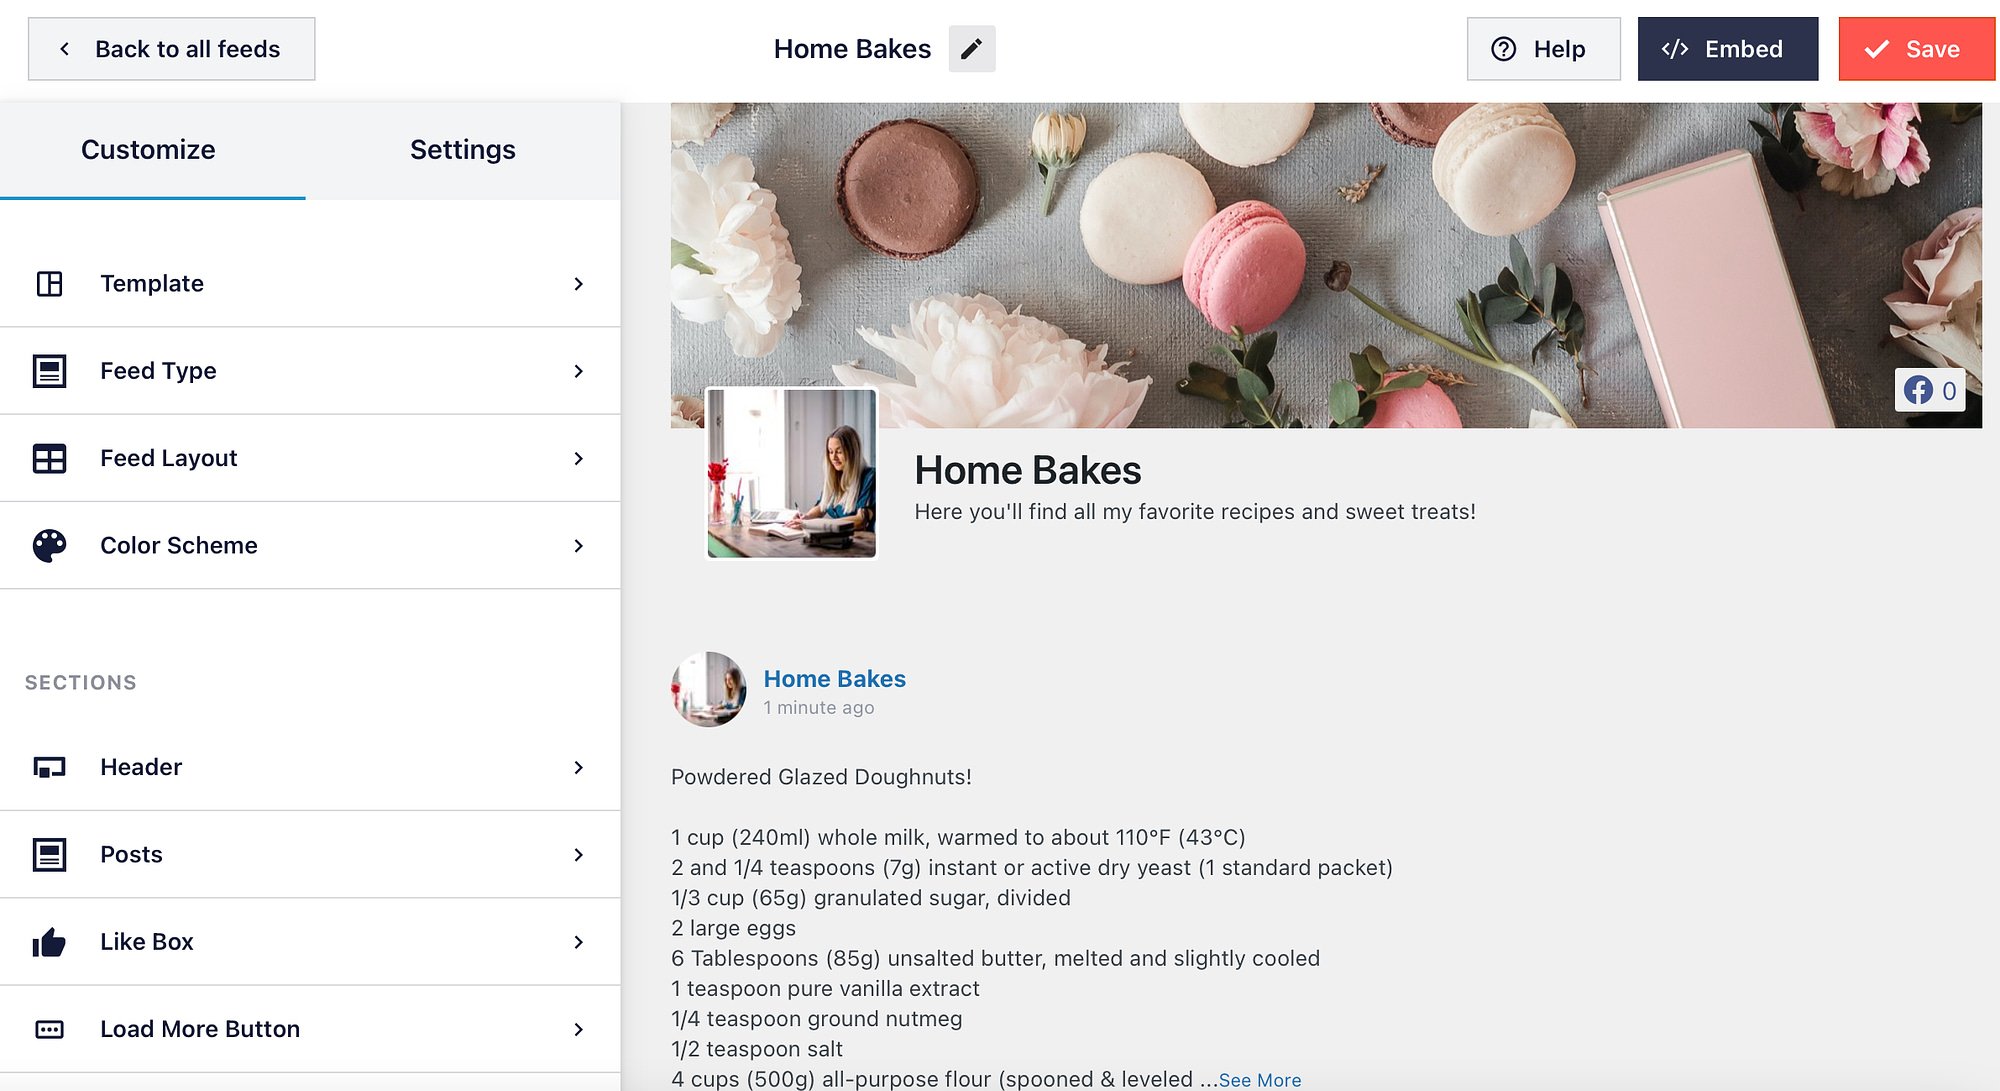
Plus, you can customize the appearance of the feed by changing the size and color scheme. Additionally, you can edit the Like box and Load More button.
3. Display Facebook user reviews on your website
If you sell products on your website, it’s a great idea to display Facebook user reviews to build trust with new customers. This can act as social proof to demonstrate the effectiveness of your products.
As we mentioned in the previous section, you can use Smash Balloon’s Reviews Feed Pro to connect to your Facebook account and display reviews on your WordPress pages.
You’ll also get access to multiple layouts and customization options to change the appearance of the review feed so that it slots in nicely with your website:
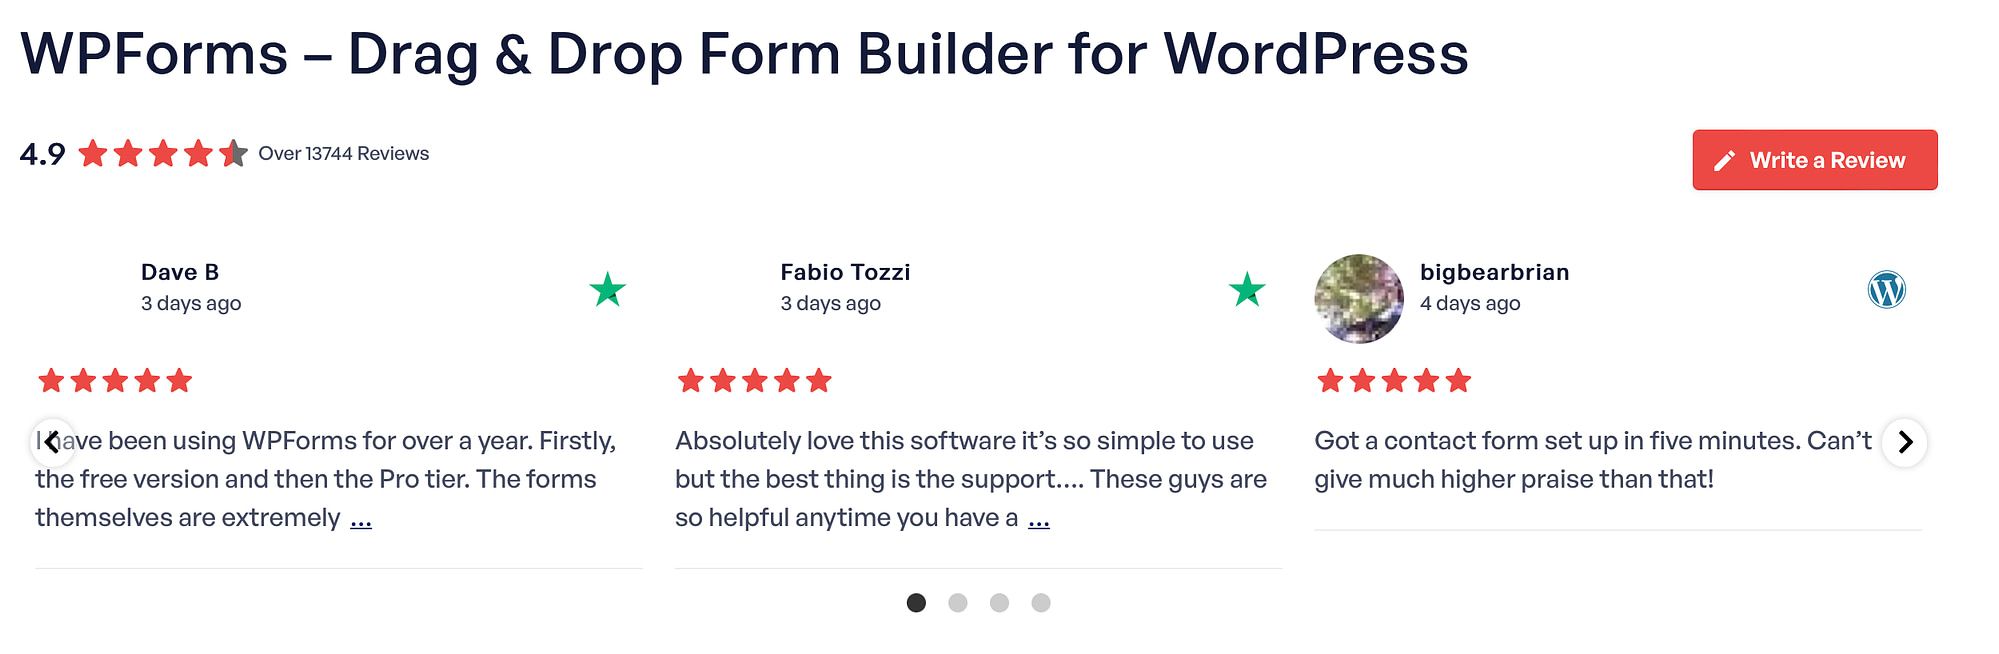
What’s more, you can highlight your best reviews to make them more visible to customers. And, you can even embed reviews from Google, Yelp, and TripAdvisor.
4. Add Facebook sharing buttons
You might also like to add Facebook sharing buttons to your website. This way, you can increase engagement by enabling visitors to share your WordPress content on their social media accounts.
The Shared Counts plugin is one of the simplest ways to add this functionality to your site. You can install and activate it through your dashboard. Then, go to Settings → Shared Counts:
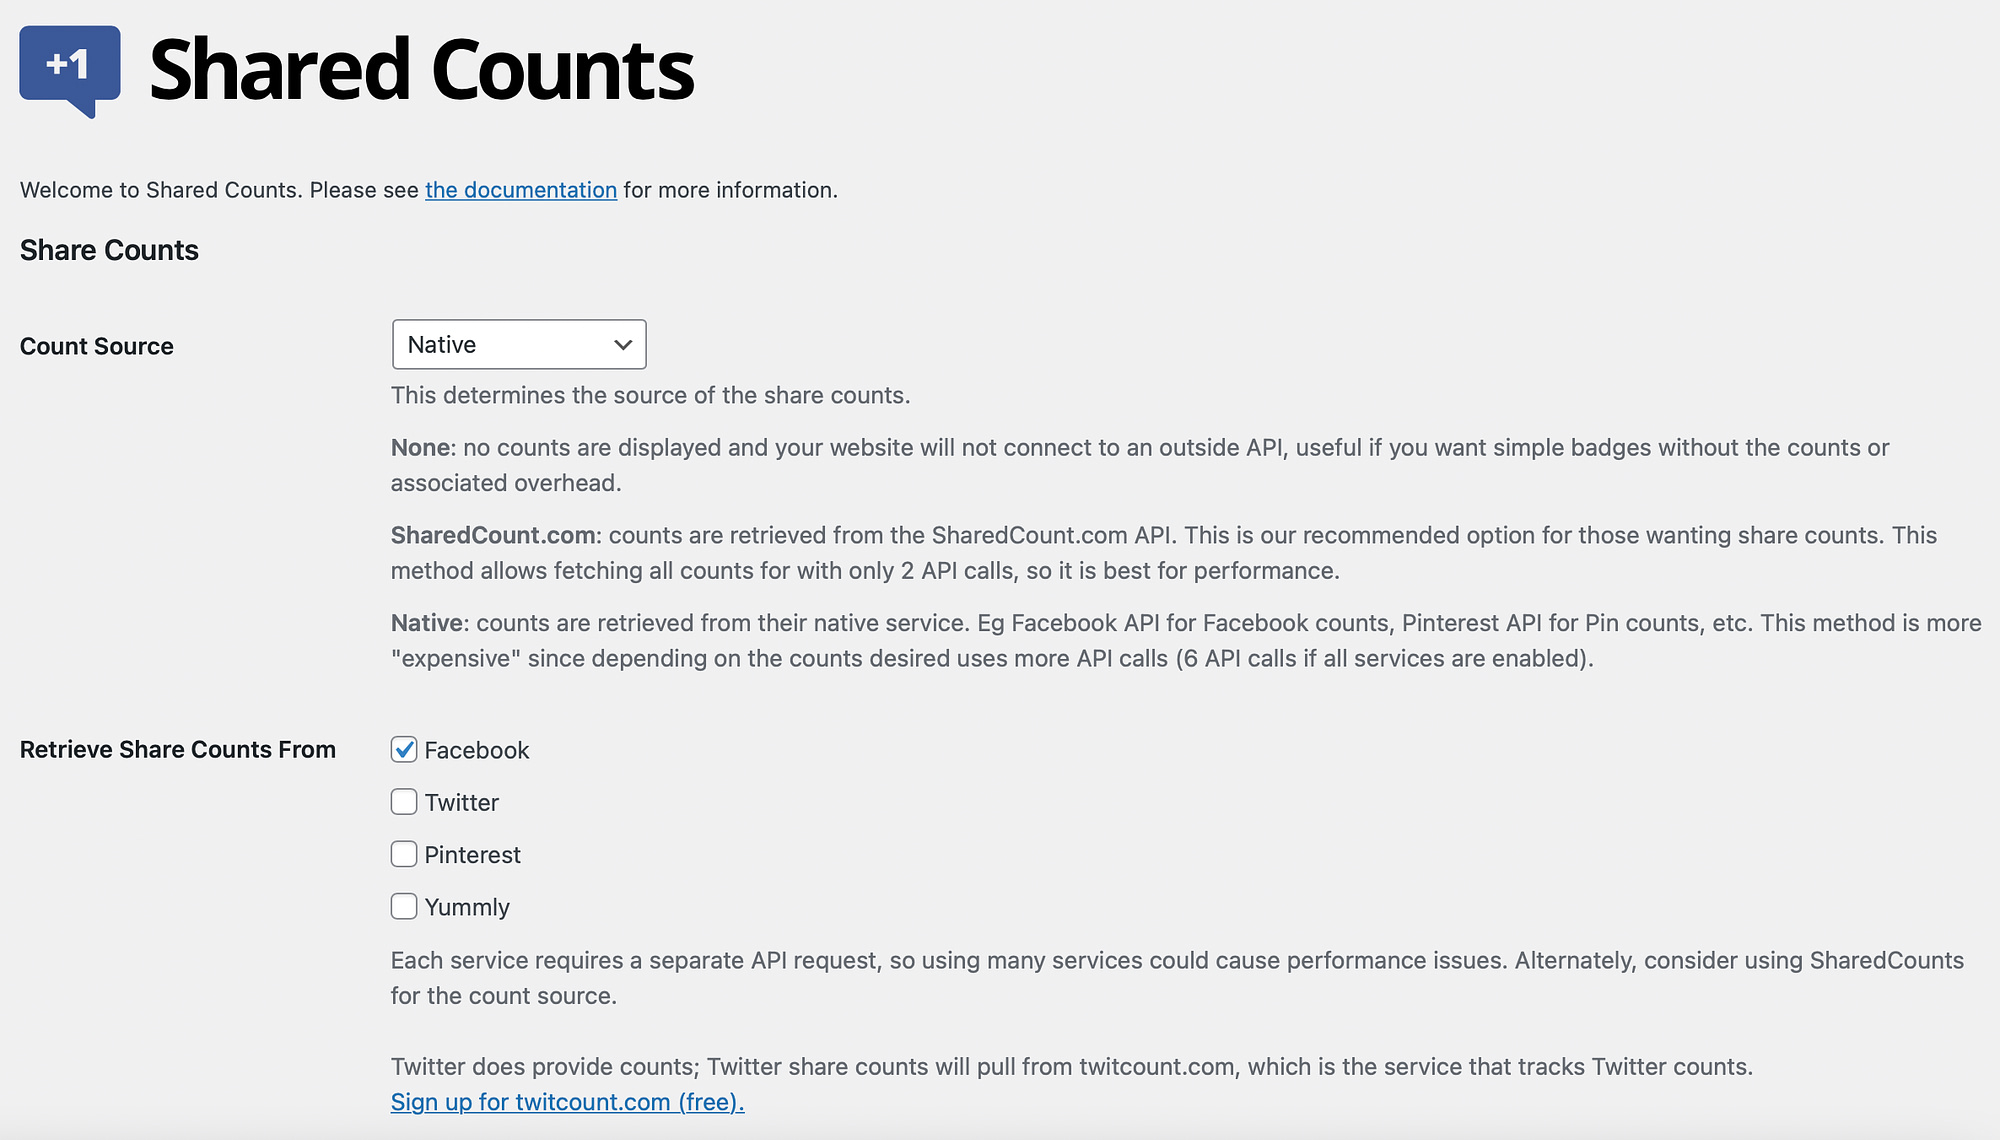
Here, you can choose where to retrieve share counts from (Facebook, Twitter, etc.). Plus, you can change the share button style and determine whether to display the button before or after your content:
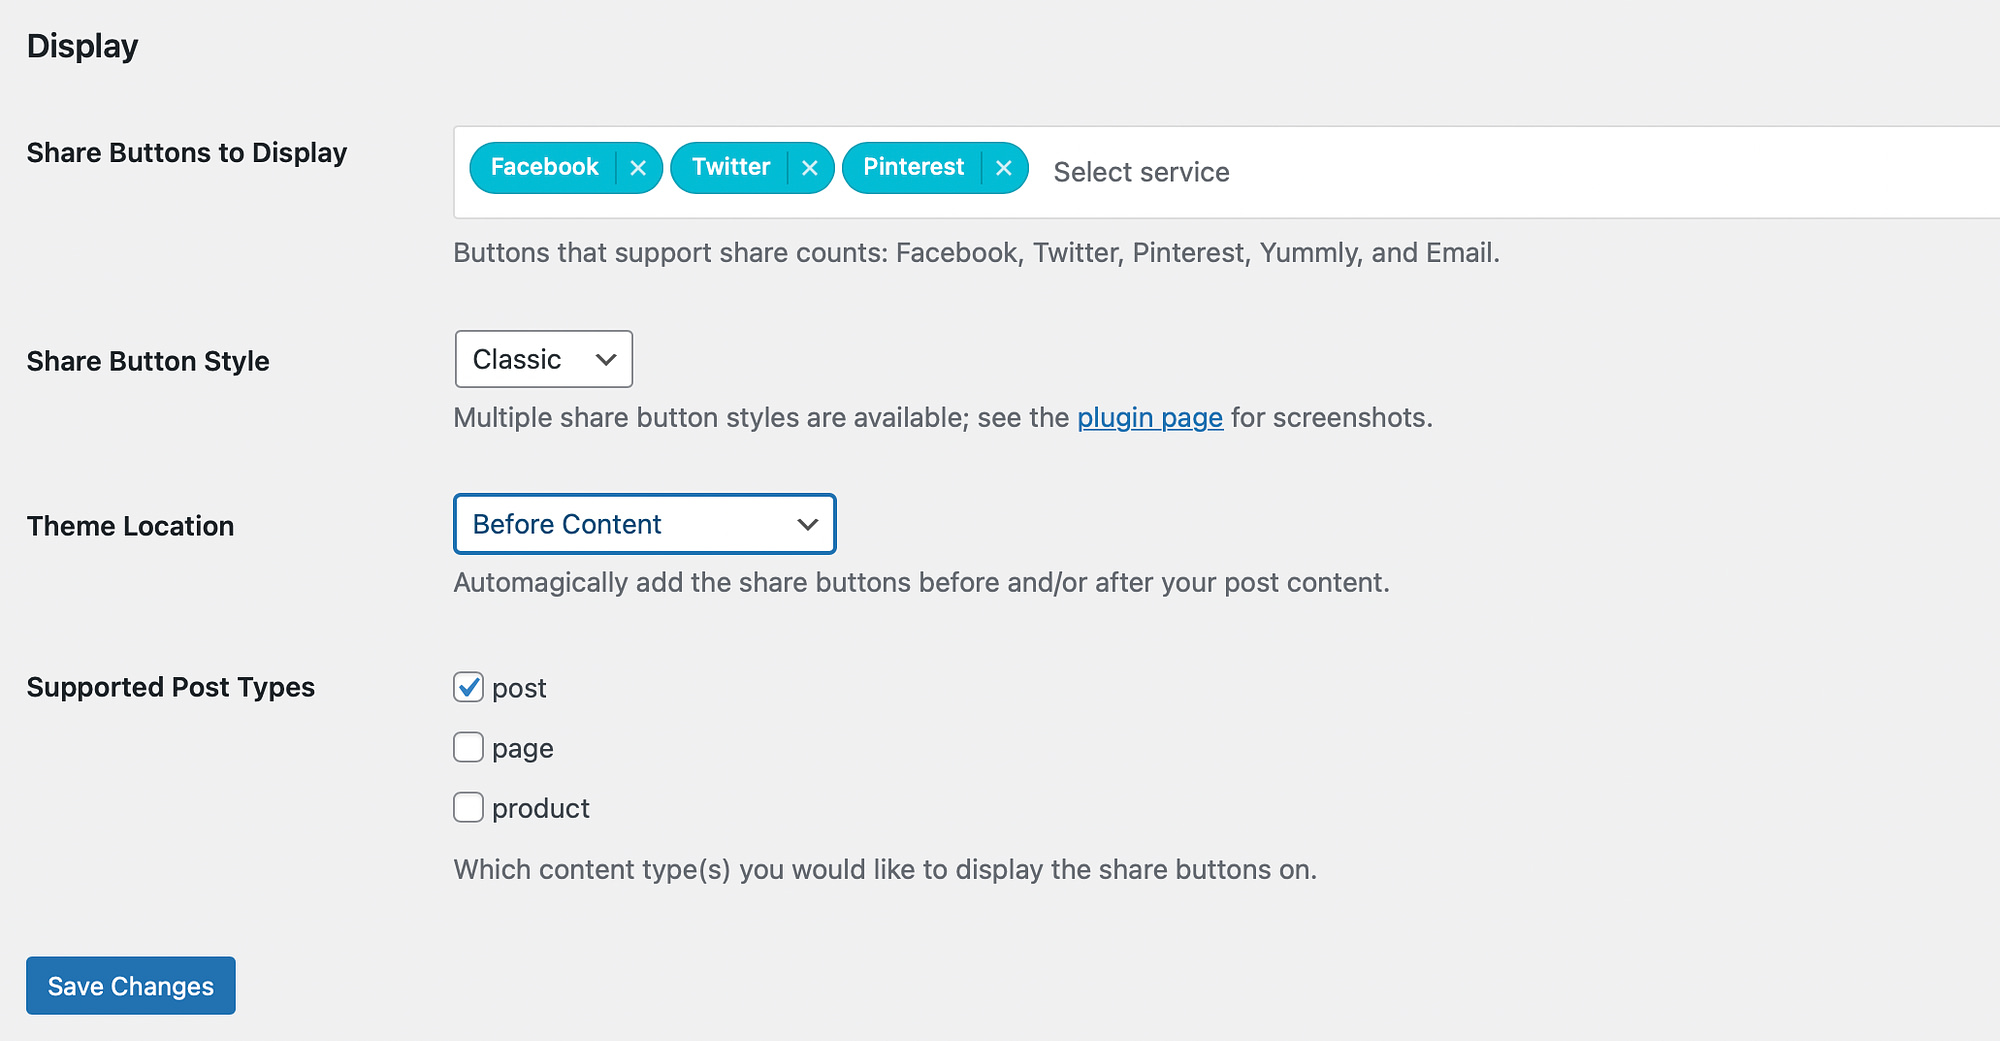
Then, when editing a post or page in WordPress, open the Post settings and locate the Share Counts section where you can disable share buttons on certain posts. Or, you can display them manually using shortcode.
5. Feature the Facebook Like box
Another way to integrate WordPress with Facebook is to display a Like box so that people can see how many likes your Facebook page has. This shows new visitors that you’re worth following, and can even drive traffic to your social page.
To get started, you’ll need a plugin like Easy Social Feed. After successful installation, you can connect to your Facebook page or Facebook group. Then, navigate to the Facebook Like Box tab:
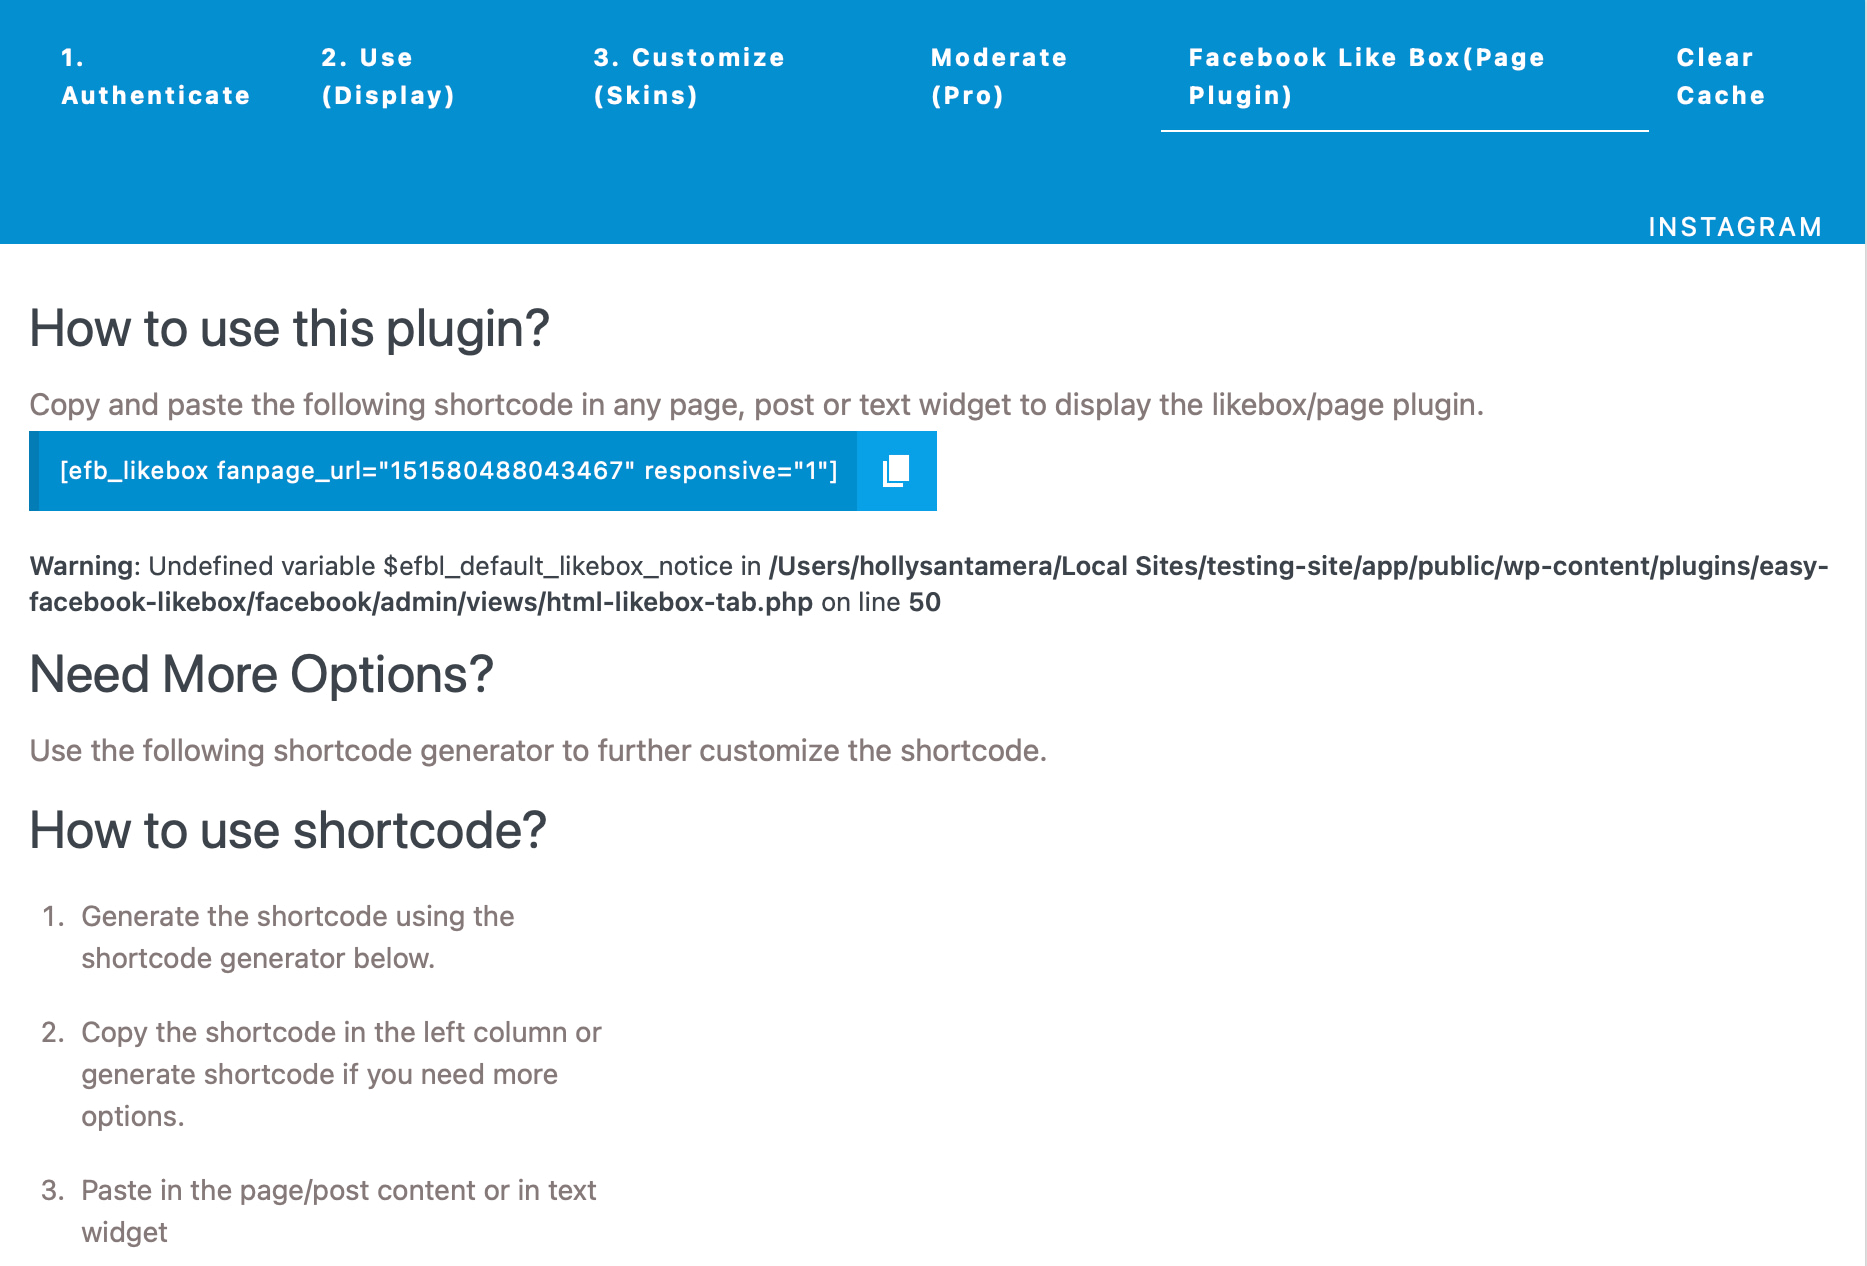
If you scroll further down the page, you can generate a unique shortcode. All you need to do is enter your page URL. Then, you can customize the appearance of the Like box.
At this point, you can paste the shortcode into any page, post, or widget area (like your sidebar or header). Or, add the Like box using the Easy Facebook Like Box block.
6. Allow users to log in to Facebook profiles
Although there are times when you might require user registration on your website, this can be off-putting for visitors. One way to combat this is to offer the option for visitors to log in to their Facebook accounts which can be quicker and more convenient.
All you have to do is install a plugin like Nextend Social Login and Register. Then, go to Settings → Nextend Social Login.
Now, locate the Facebook option and click on Getting Started:
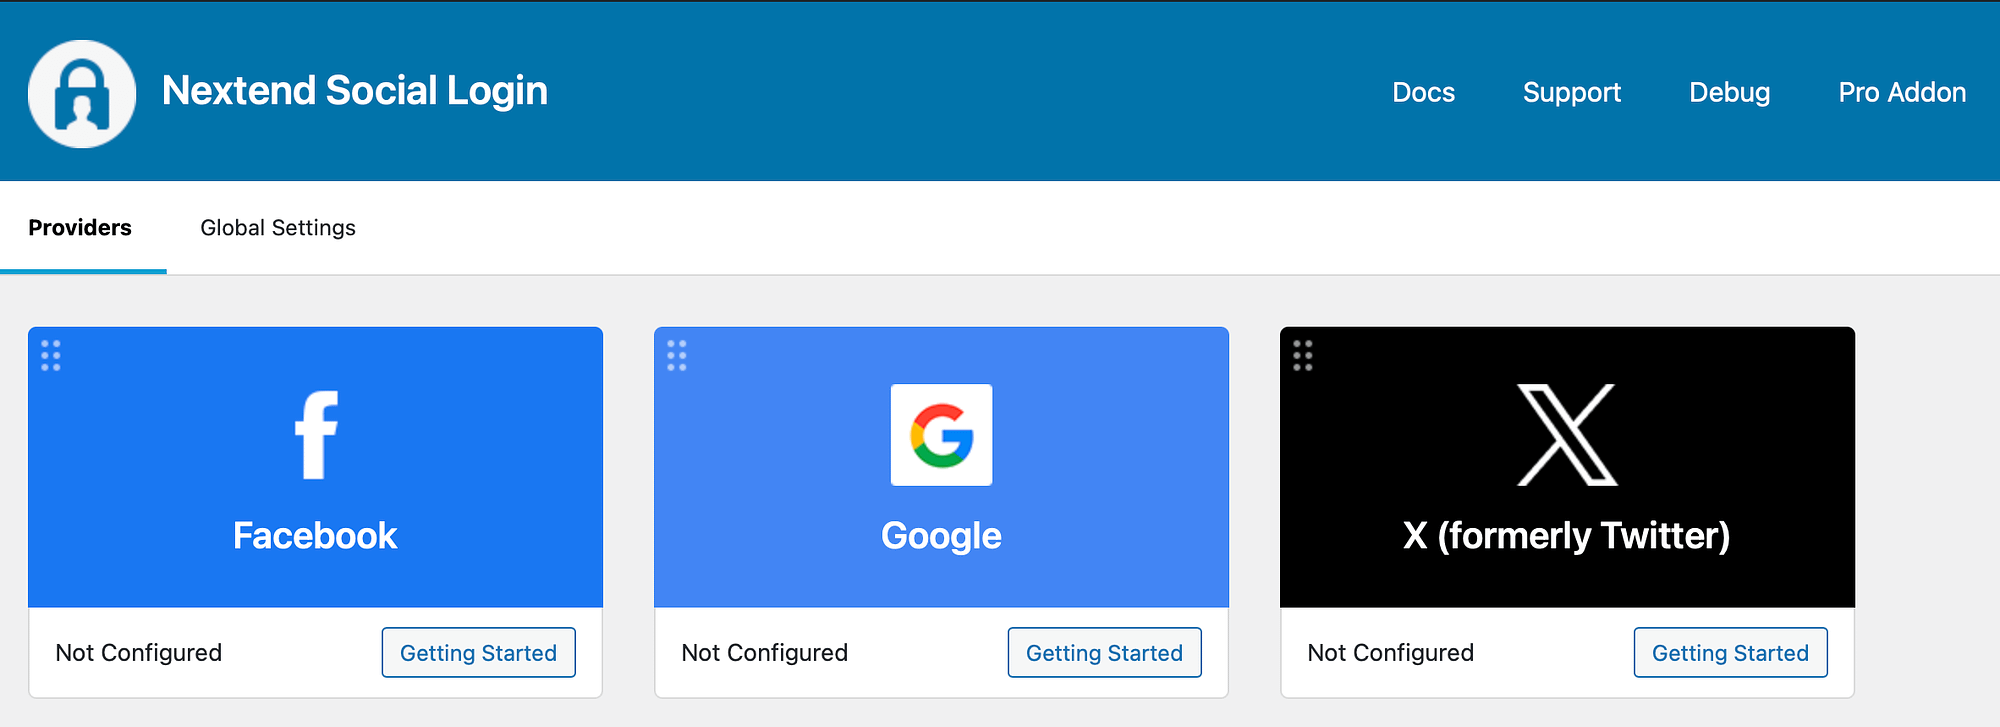
Once you enable the Facebook provider, the plugin will automatically add Facebook login buttons to your login page. Better yet, you can even customize the login labels and the button design.
By default, visitors can comment on your blog posts using the WordPress comments section. However, you might also like to enable Facebook comments.
This way, visitors can leave comments by logging into existing accounts. Plus, they can share comments to their social profiles to attract new people to your site.
To do this, you can install the WP Social Comments plugin. Then, click on Facebook Comments in your WordPress sidebar:
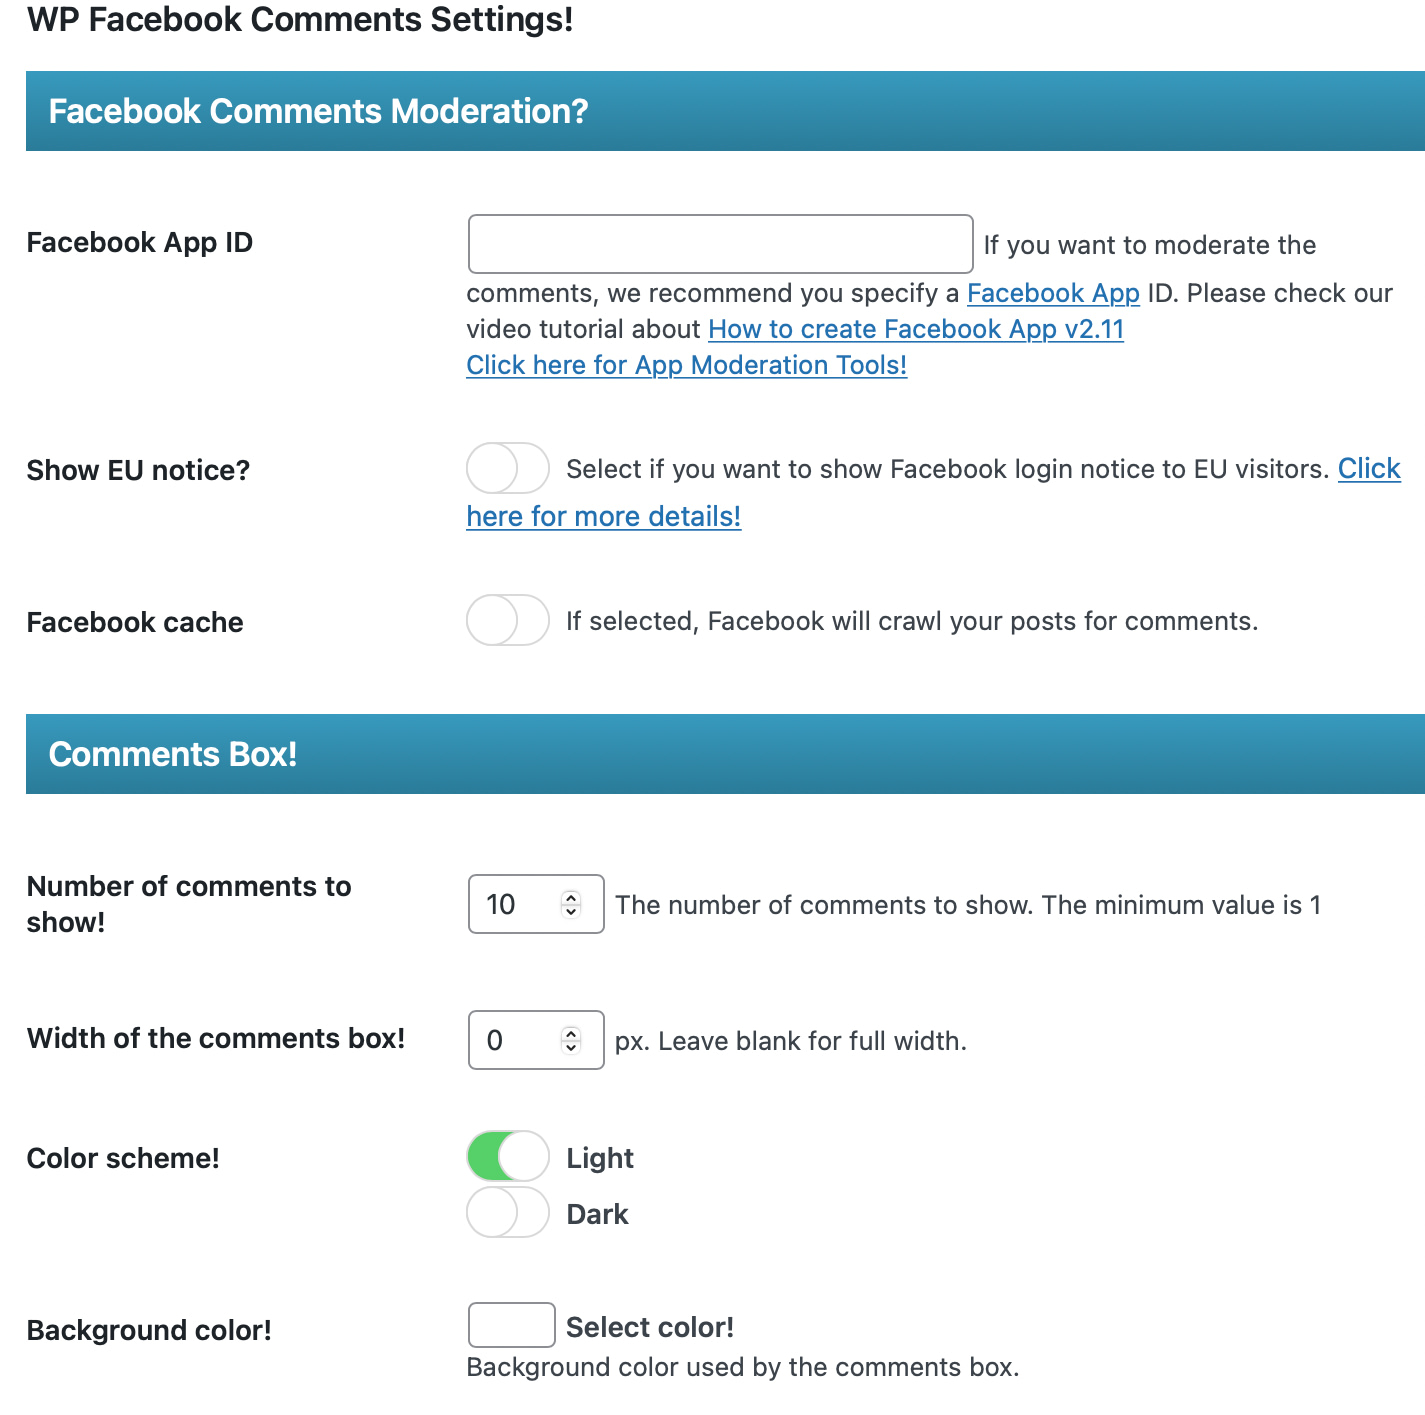
Here, you can enter your Facebook App ID to moderate comments. You can also define the number of comments to display, change the width of the comments box, and apply a background color.
Additionally, you’re able to change the order of comments (oldest, newest, or highest quality). Meanwhile, you can select certain post types where you want to display the comments box.
8. Insert Facebook reactions
You can also integrate WordPress with Facebook by inserting a reaction system on your website that shares a similar design to Facebook’s own version. This is a great way to boost user engagement and social sharing. Plus, it allows you to extend the simple Facebook Like option.
To get started, install the WP Reactions Lite plugin. Then, activate reactions by going to WP Reactions → Global Activation.
Here, use the toggle to deploy emoji reactions across your whole site:
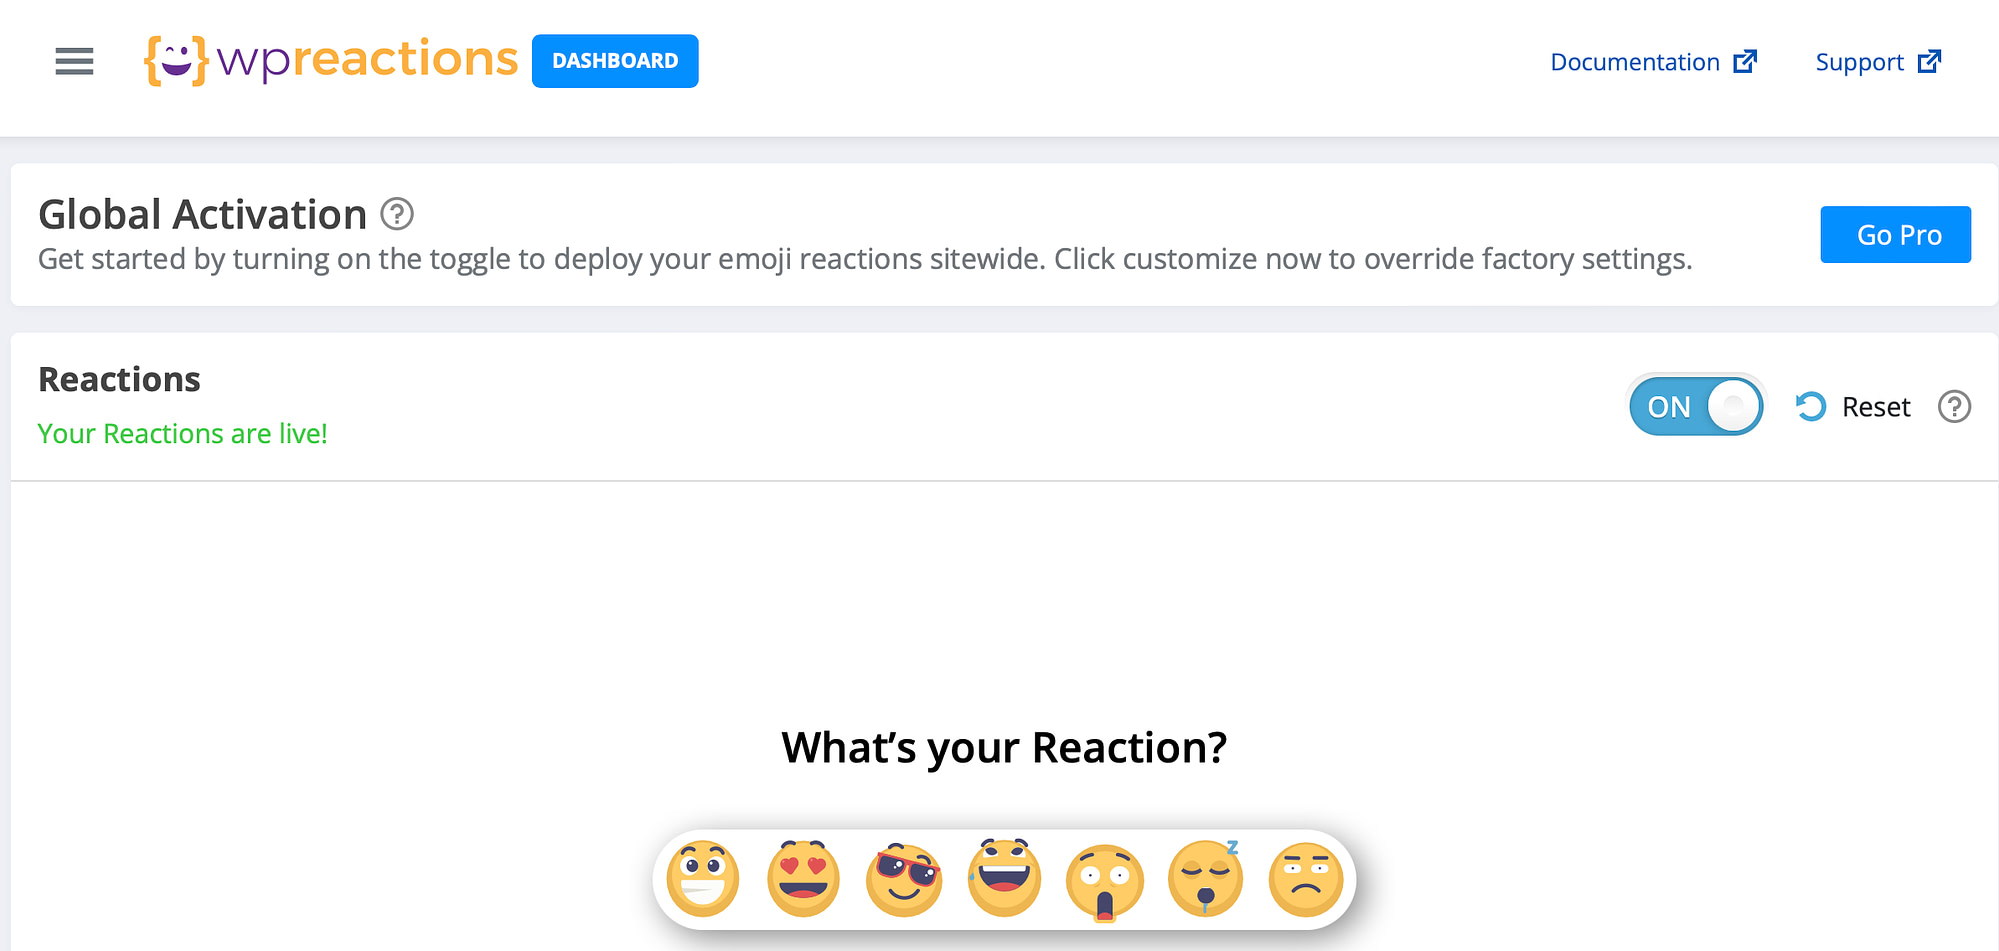
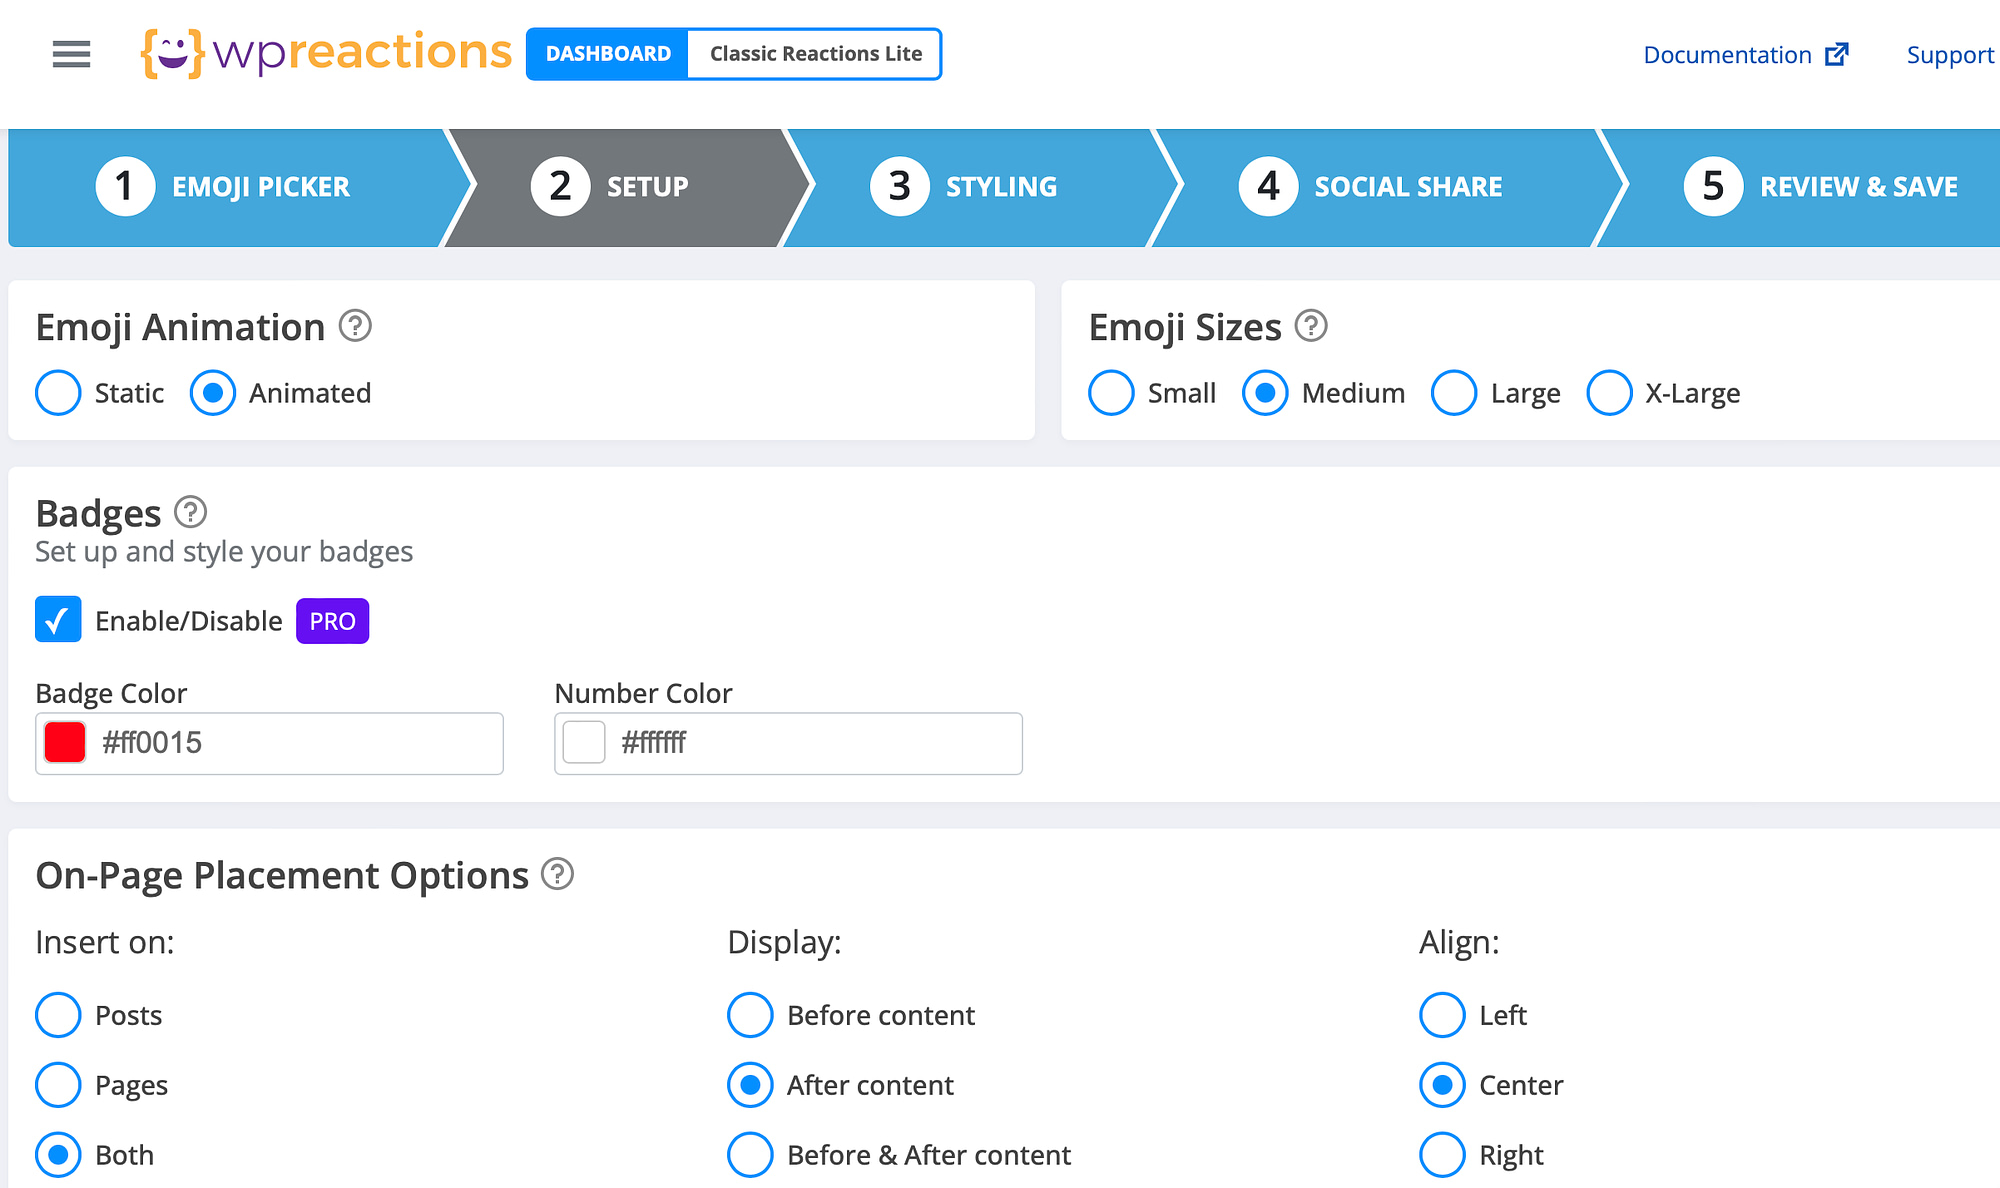
If you click on the Customize Now button, you can choose up to seven emojis to display at the bottom of your posts. Next, determine whether to make emojis static or animated.
There is also the possibility to change the size of the icons and configure the on-page placement options:
Plus, you can even write a call-to-action to display above your Facebook emojis, and enable social sharing buttons. Then, save your changes and preview a WordPress post to see the results.
Conclusion 🧐
If you want to drive traffic to your social account and increase engagement, it’s a great idea to integrate WordPress with Facebook. Plus, you can even make your site more user-friendly by implementing easy emoji reactions and enabling Facebook logins.
What’s more, you can enable Facebook comments so that visitors can share their feelings about your posts straight from their social profiles. Meanwhile, you can feature the Facebook Like box or display Facebook reviews to use as social proof for your products. 🛒🛍️
Do you have any questions about how to integrate WordPress with Facebook? Let us know in the comments below!