If you want to ensure your website runs smoothly, you’re probably looking for a fast WordPress theme. As the name suggests, PopularFX is an in-demand option. However, before you implement it on your WordPress site, you’ll likely want to check out an in-depth PopularFX theme review.
When you consider all the most important characteristics a WordPress theme has to offer, you’ll be better equipped to choose one. When it comes to PopularFX, you’ll need to know a bit about the theme’s installation process, template offerings, page builder integrations, and pricing.
📚 In this post, we’ll briefly introduce you to the PopularFX theme for WordPress. Then, we’ll go over five key factors that you should consider before installing it. Let’s get to it!
A brief introduction to the PopularFX theme
Before we dive into our PopularFX theme review, let’s go over the basics. This highly rated WordPress theme is free to install:

What’s more, it’s a lightweight theme so it will help ensure good website performance. 📈
PopularFX is also beginner friendly, since it gives you the ability to change almost every aspect of your site using an intuitive page builder. On the flip side, though, it’s worth noting that the theme isn’t compatible with the WordPress Site Editor.
Overall, PopularFX is one of the most dynamic themes out there. Thanks to its generous template collection, you can use it to build anything from a personal blog to an ecommerce website.
PopularFX theme review: 5 factors to consider
Now that we’ve given you a very brief introduction, let’s do a deep dive for this PopularFX theme review!
1. Installation and setup 🖱️
First up, let’s talk about installation and setup for the PopularFX theme. With most themes, all you have to do is install and activate them in the WordPress directory:
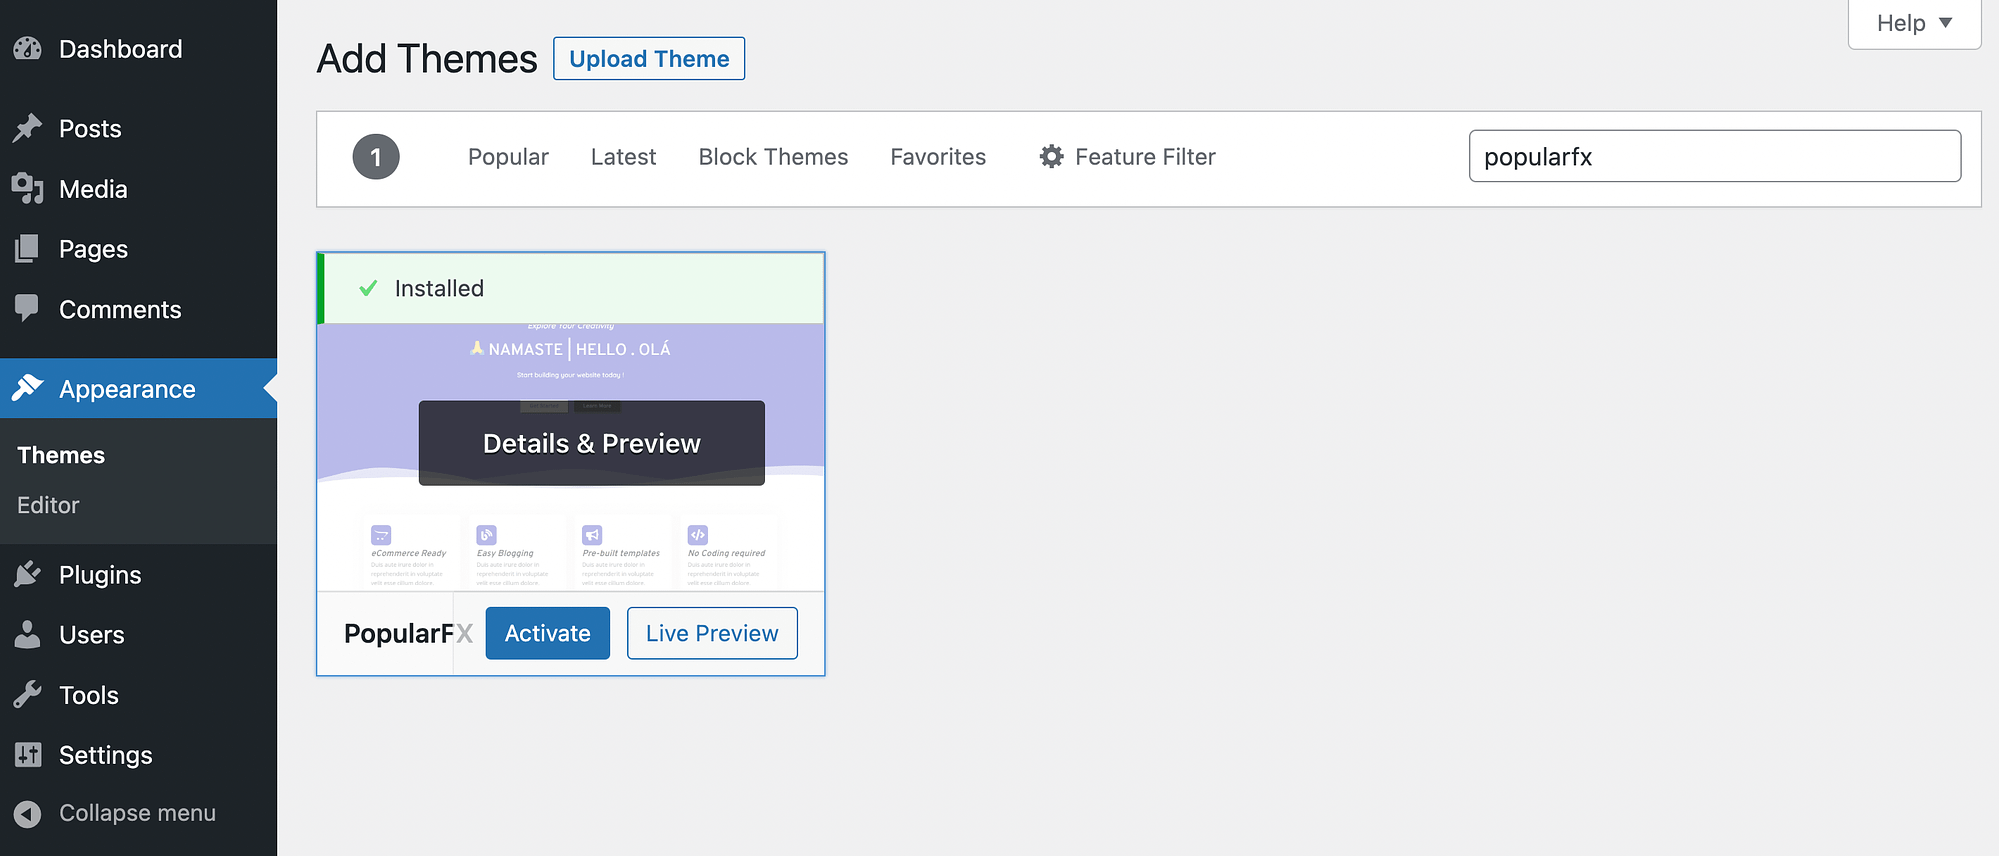
This works the same for PopularFX, but there’s a little more to it. You’ll need to install two more plugins before you can get started. Fortunately, the process is super simple.
After you’ve installed and activated the theme, go to Appearance → PopularFX Options:
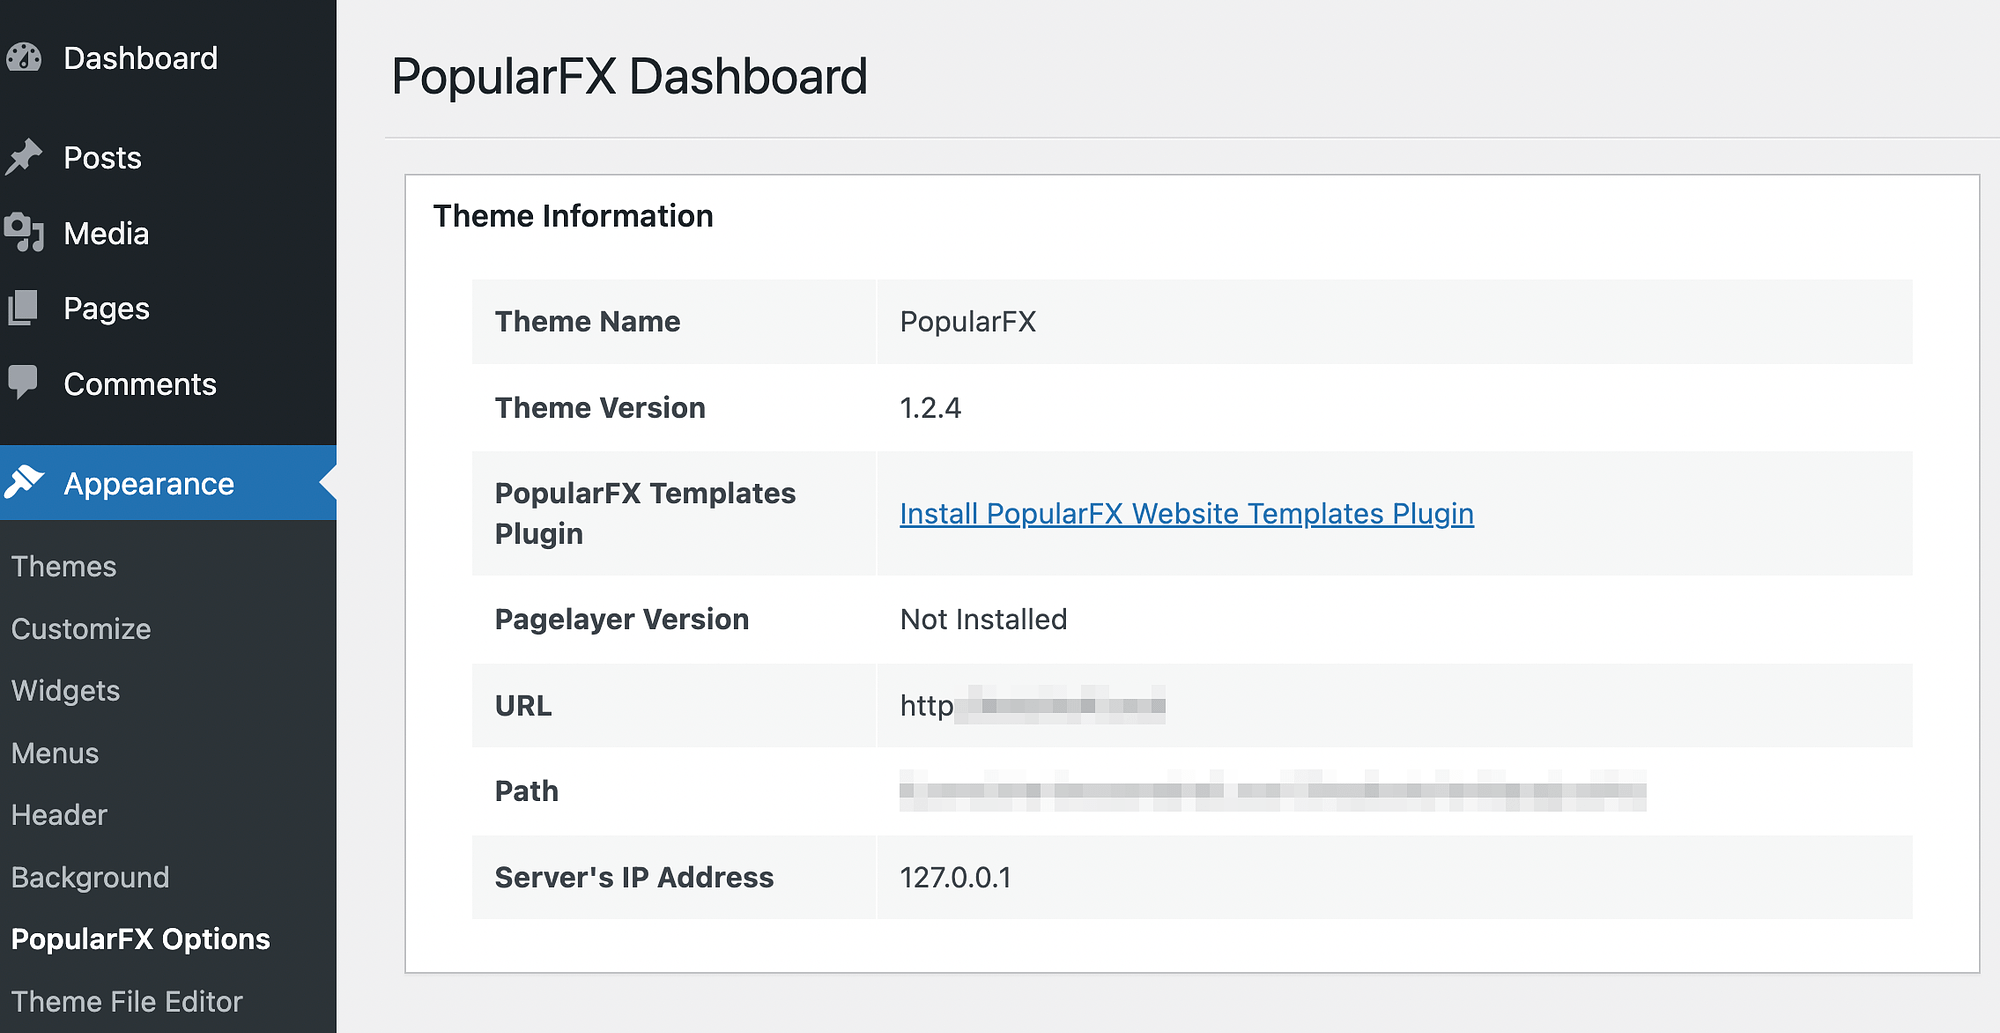
Then, click on the link to Install PopularFX Website Templates Plugin. This will lead you to the plugin’s website:
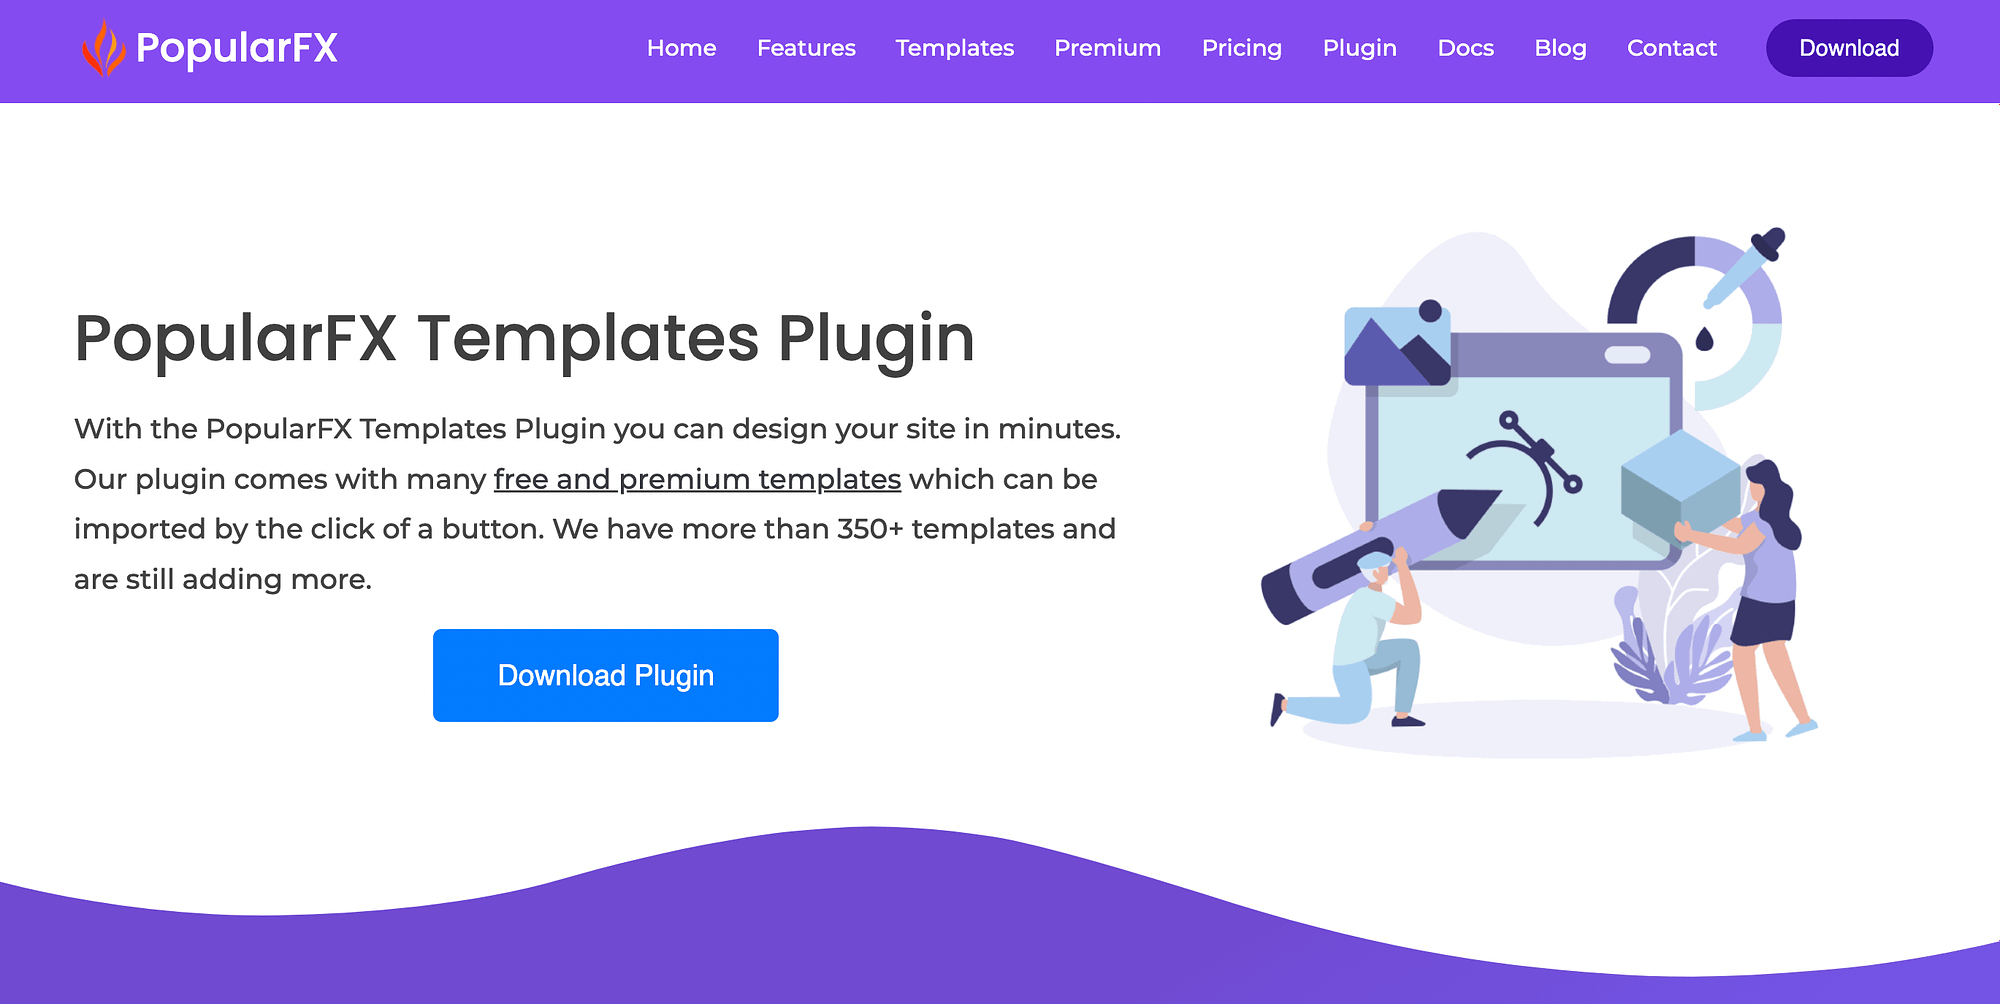
Here, hit Download Plugin. The plugin folder should download to your computer automatically. Once it does, return to your WordPress dashboard and go to Plugins → Add New → Upload Plugin:
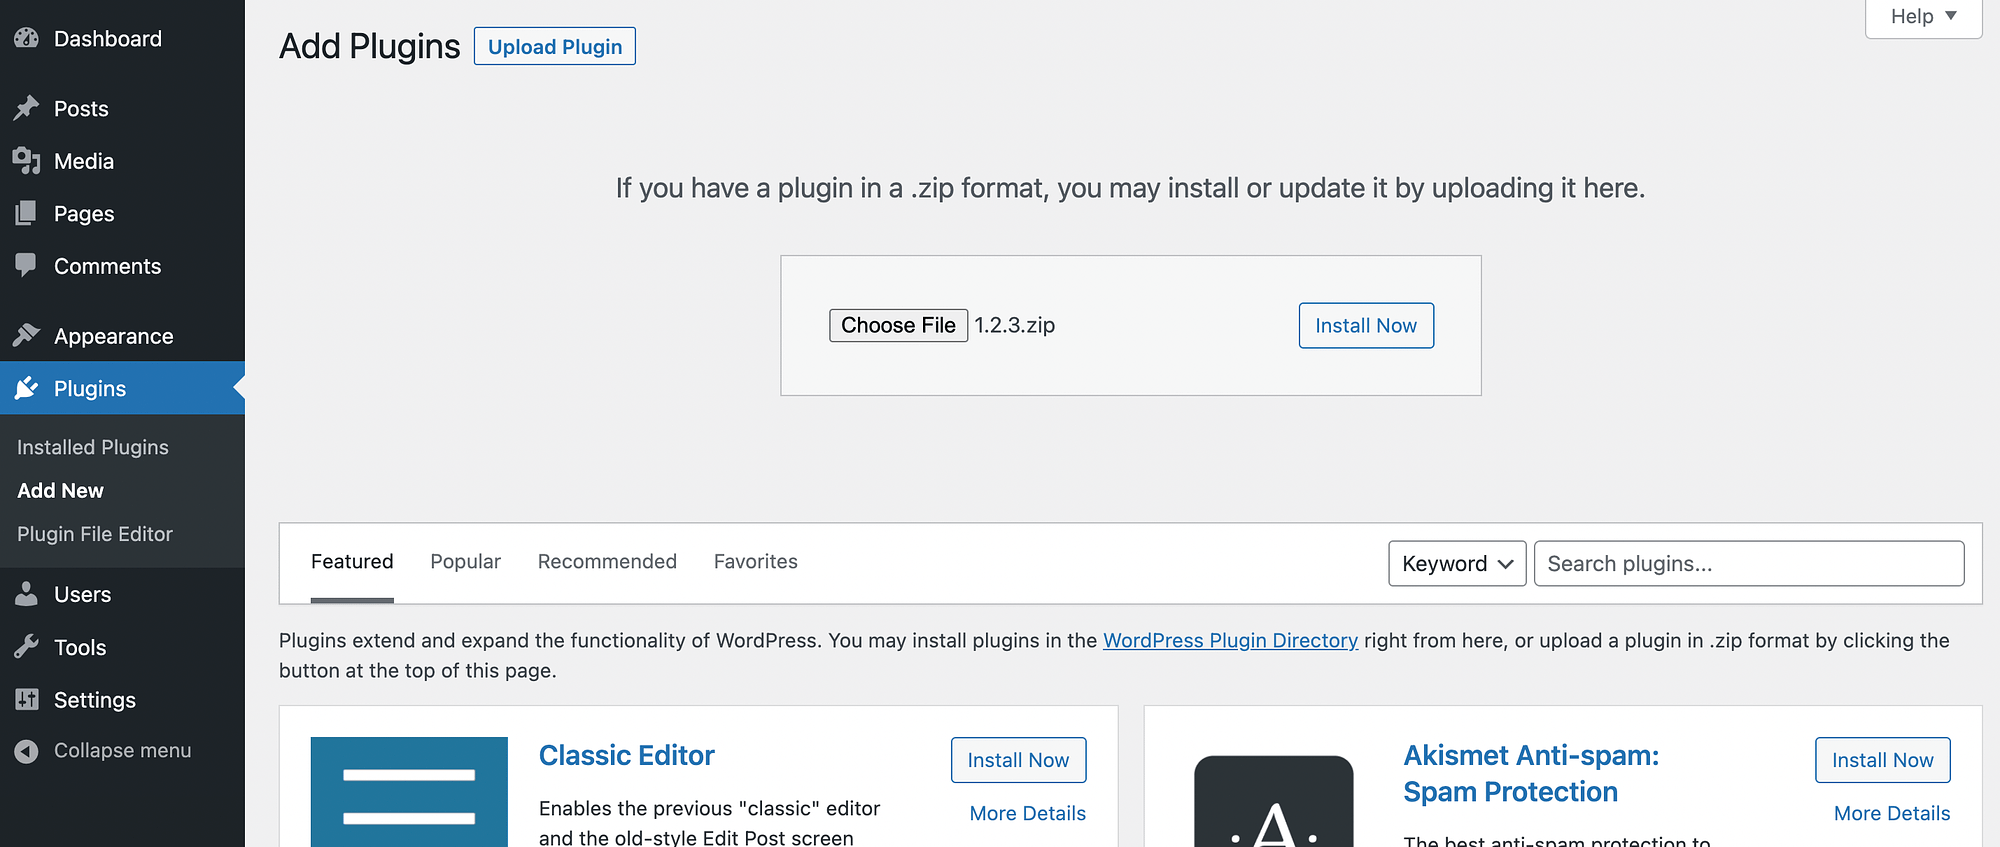
Select the folder you just downloaded (make sure you’re using the zipped version) and click on Install Now. Then, hit Activate Plugin when prompted.
Next, you’ll need to install the free Pagelayer plugin, which is yet another page builder (among solutions such as Elementor, Beaver Builder, and others).
This is because PopularFX is designed to work optimally with Pagelayer. Go to Plugins → Add New and use the search tool to locate it:
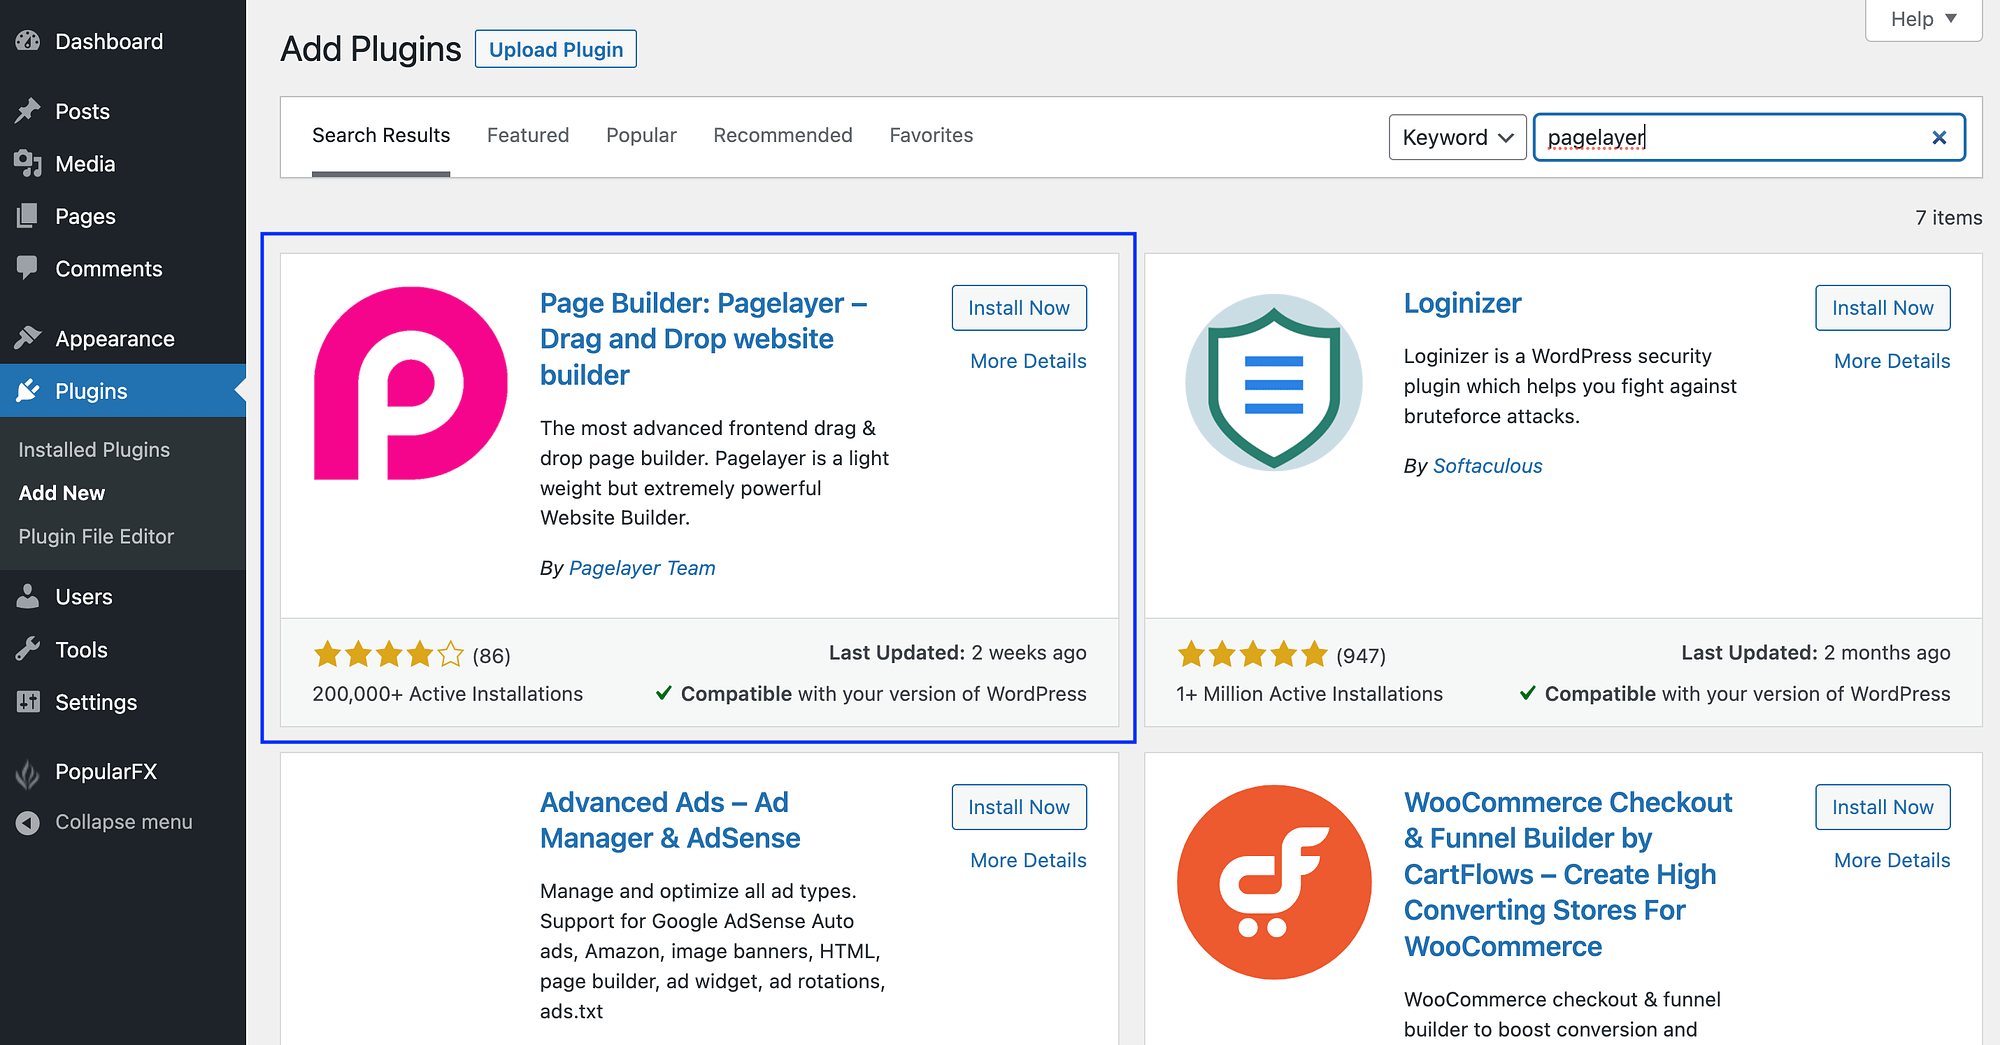
Then, install and activate the plugin as you would normally. After that, all your tools will be ready to go!
2. Website templates 🎨
Next, let’s consider PopularFX’s template offerings. To do this, you can navigate to PopularFX → Website Templates:
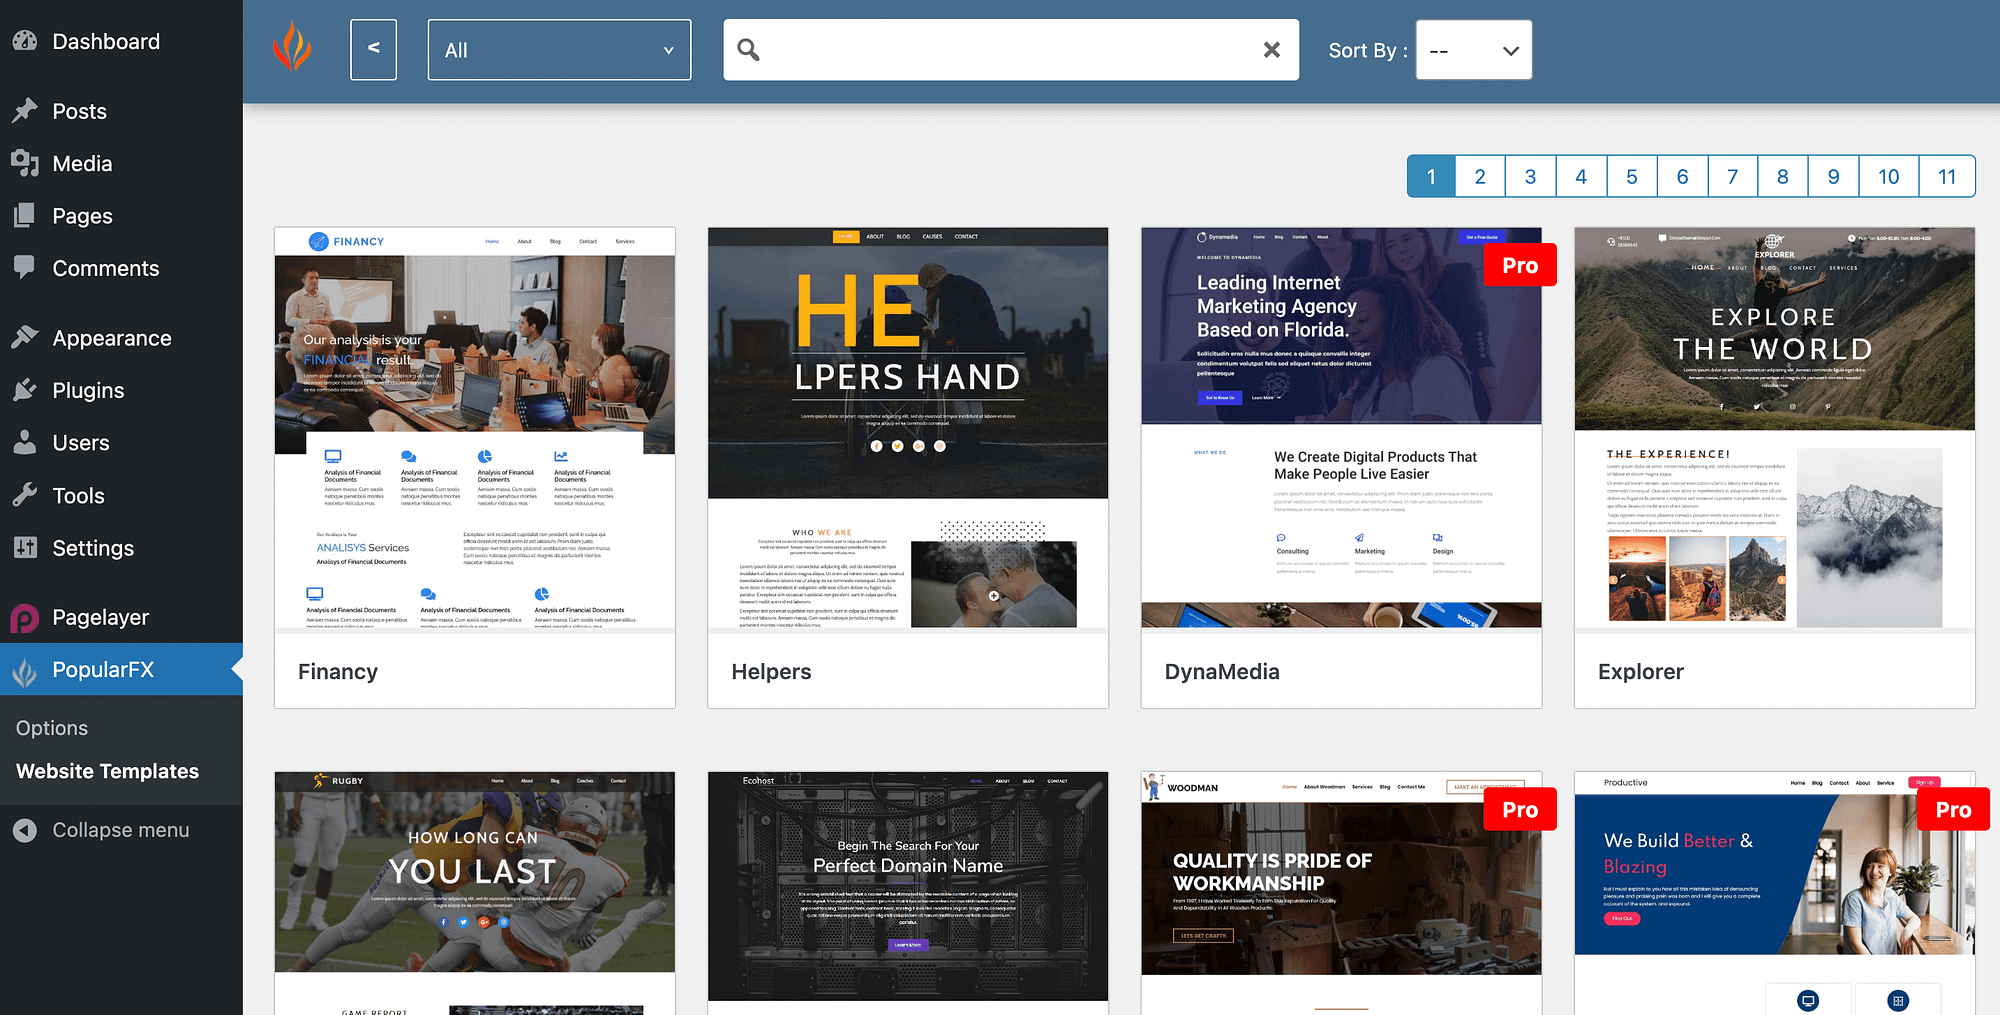
As you can see, there are tons to choose from. And, if you click on the drop-down menu next to All, you can search for templates based on category:
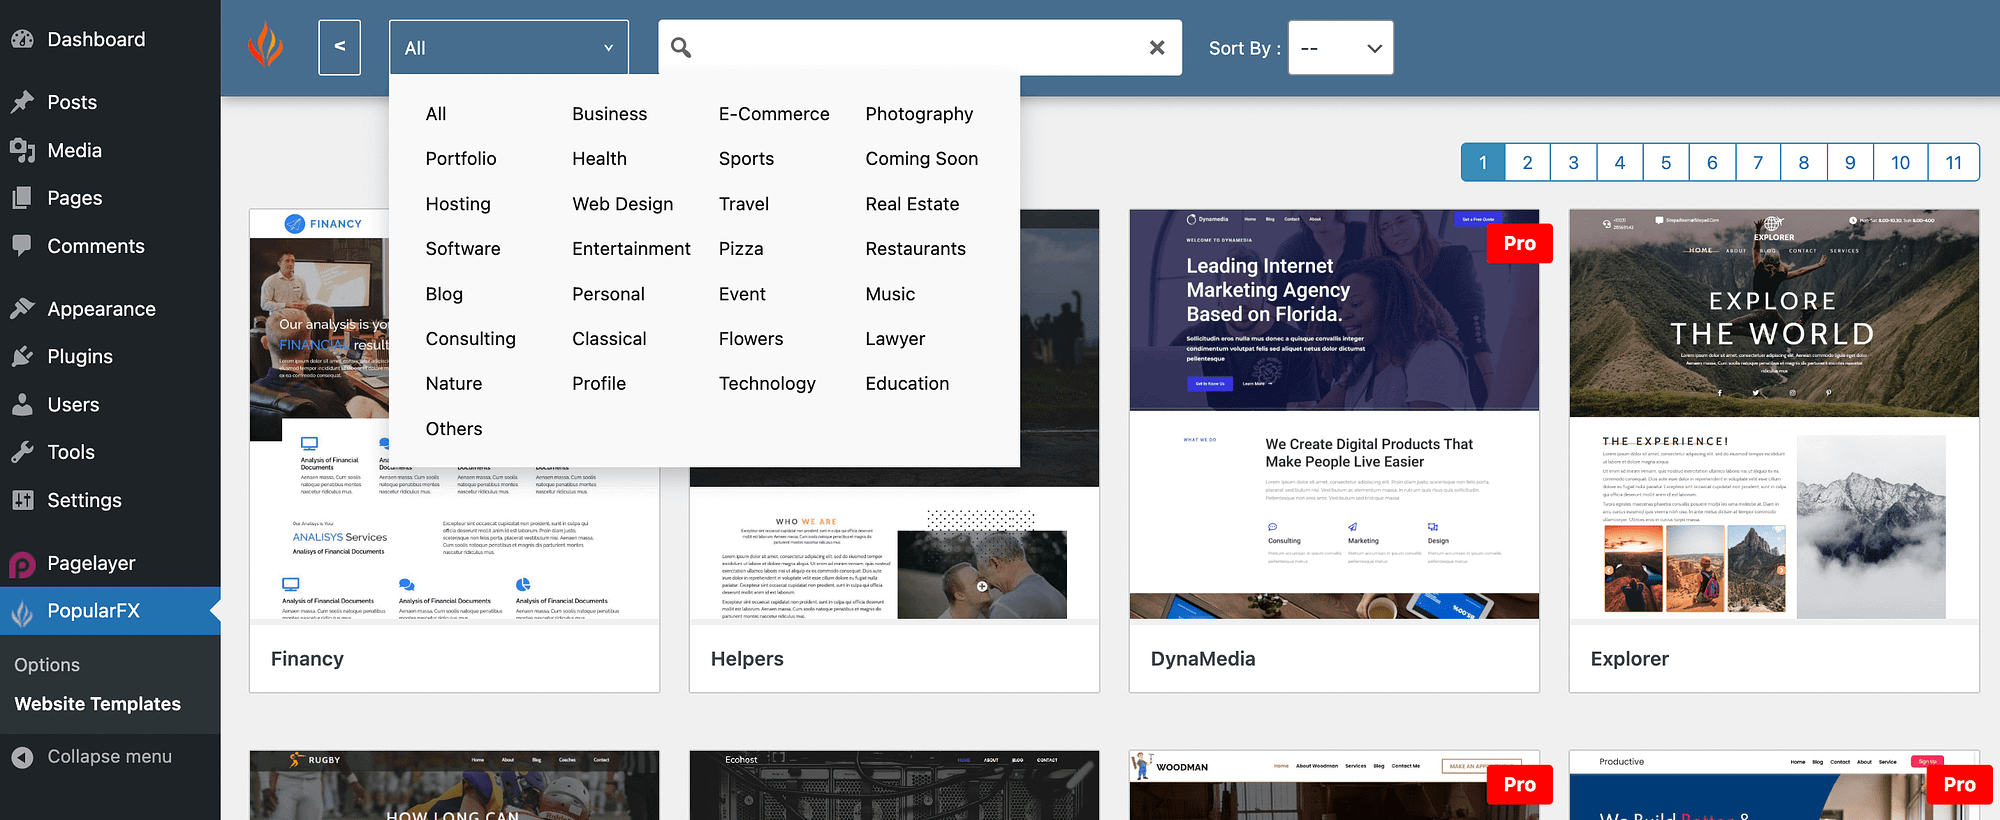
For instance, you can browse templates for portfolios, ecommerce sites, or travel blogs:
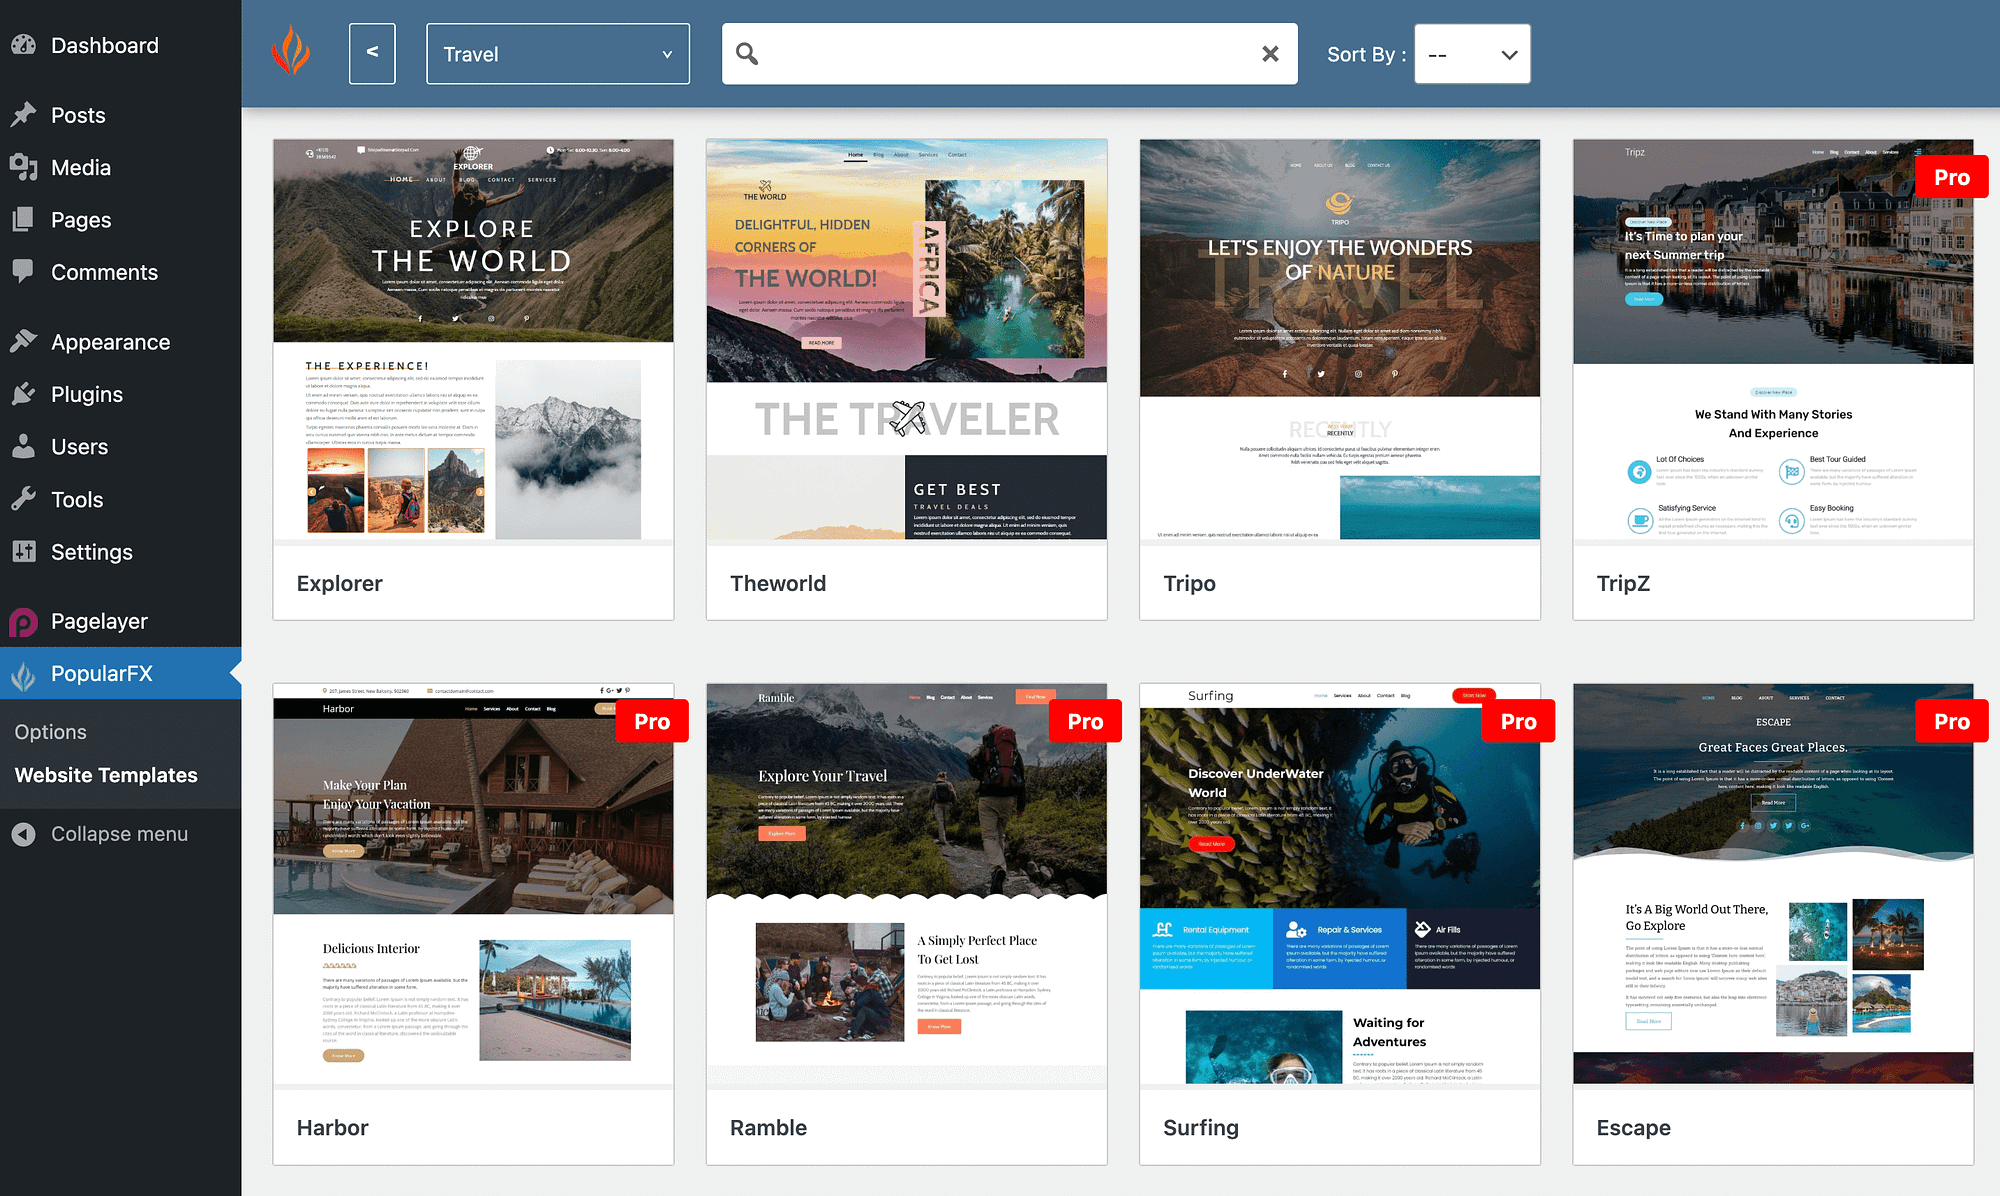
Alternatively, you can use the search tool to look up templates via keywords. As you’ll notice, you’ll only be able to access some options when you upgrade to PopularFX Pro.
If you like a template, you can click on it to see an overview of what it has to offer:
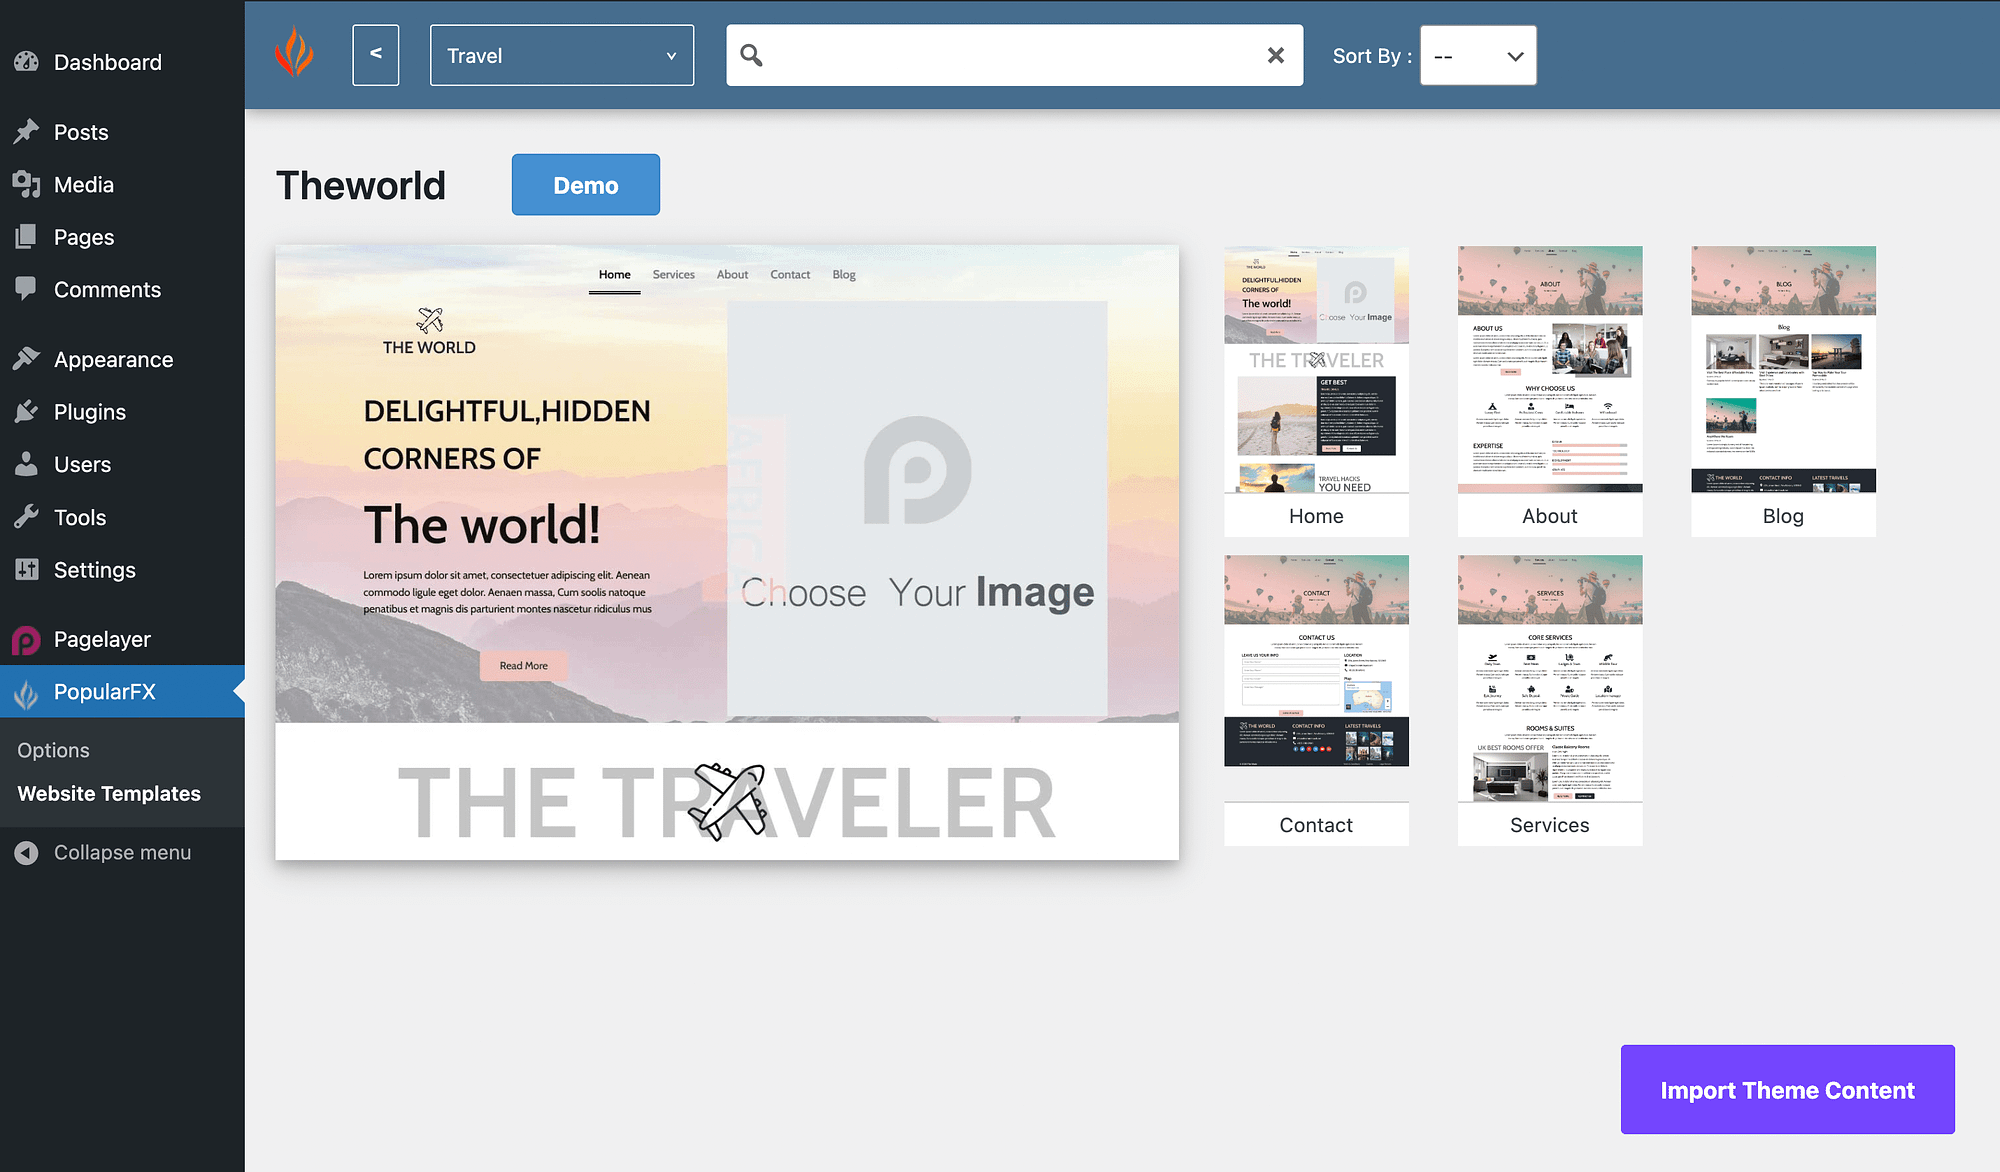
Most templates come with all the essential pages you’ll need, such as Home, About, Contact, and Services. You can also hit Demo to preview the entire template on the front-end.
Apart from these full-page templates, PopularFX also offers a range of single-section templates, which you can use to craft your design in parts, one by one.
Once you’ve decided on your website template, all you have to do is click on Import Theme Content. You’ll then need to make a few selections based on your preferences:
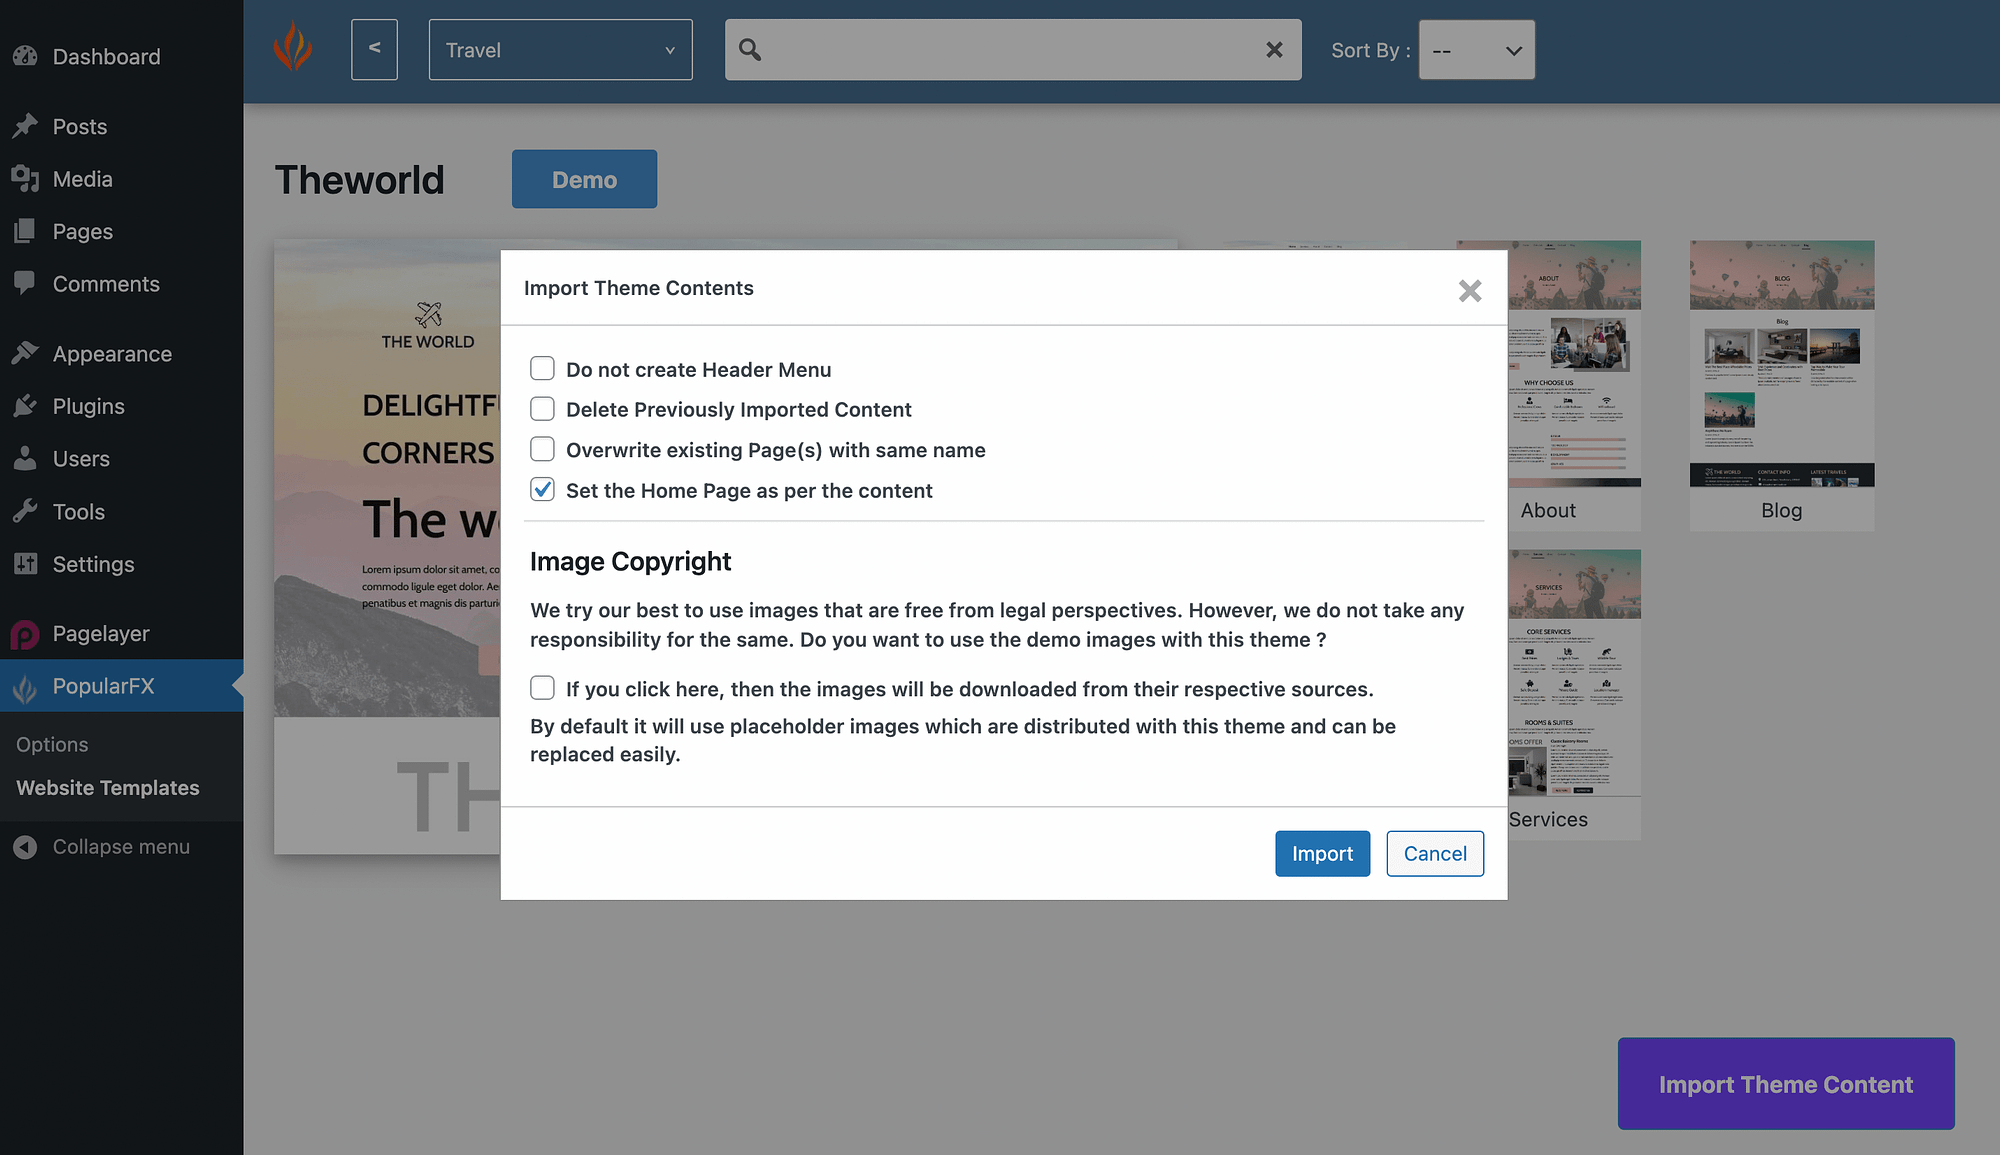
You can decide to exclude a header menu, overwrite existing pages, and more. Then, when you’re ready, select Import. This will likely take a moment. When it’s done, you’ll be ready to preview your website.
3. Customization options 👨💻
As we mentioned, the PopularFX theme was built to work with the Pagelayer plugin. So, when you use it, you can customize every element of your website using a visual builder.
Similar to the WordPress Block Editor and Site Editor, Pagelayer users “sections” as the foundation of the page-building experience. These sections are comparable to WordPress blocks.
But before we explore how to use the Pagelayer editor, let’s see how you can configure the plugin. Go to Pagelayer → Settings:
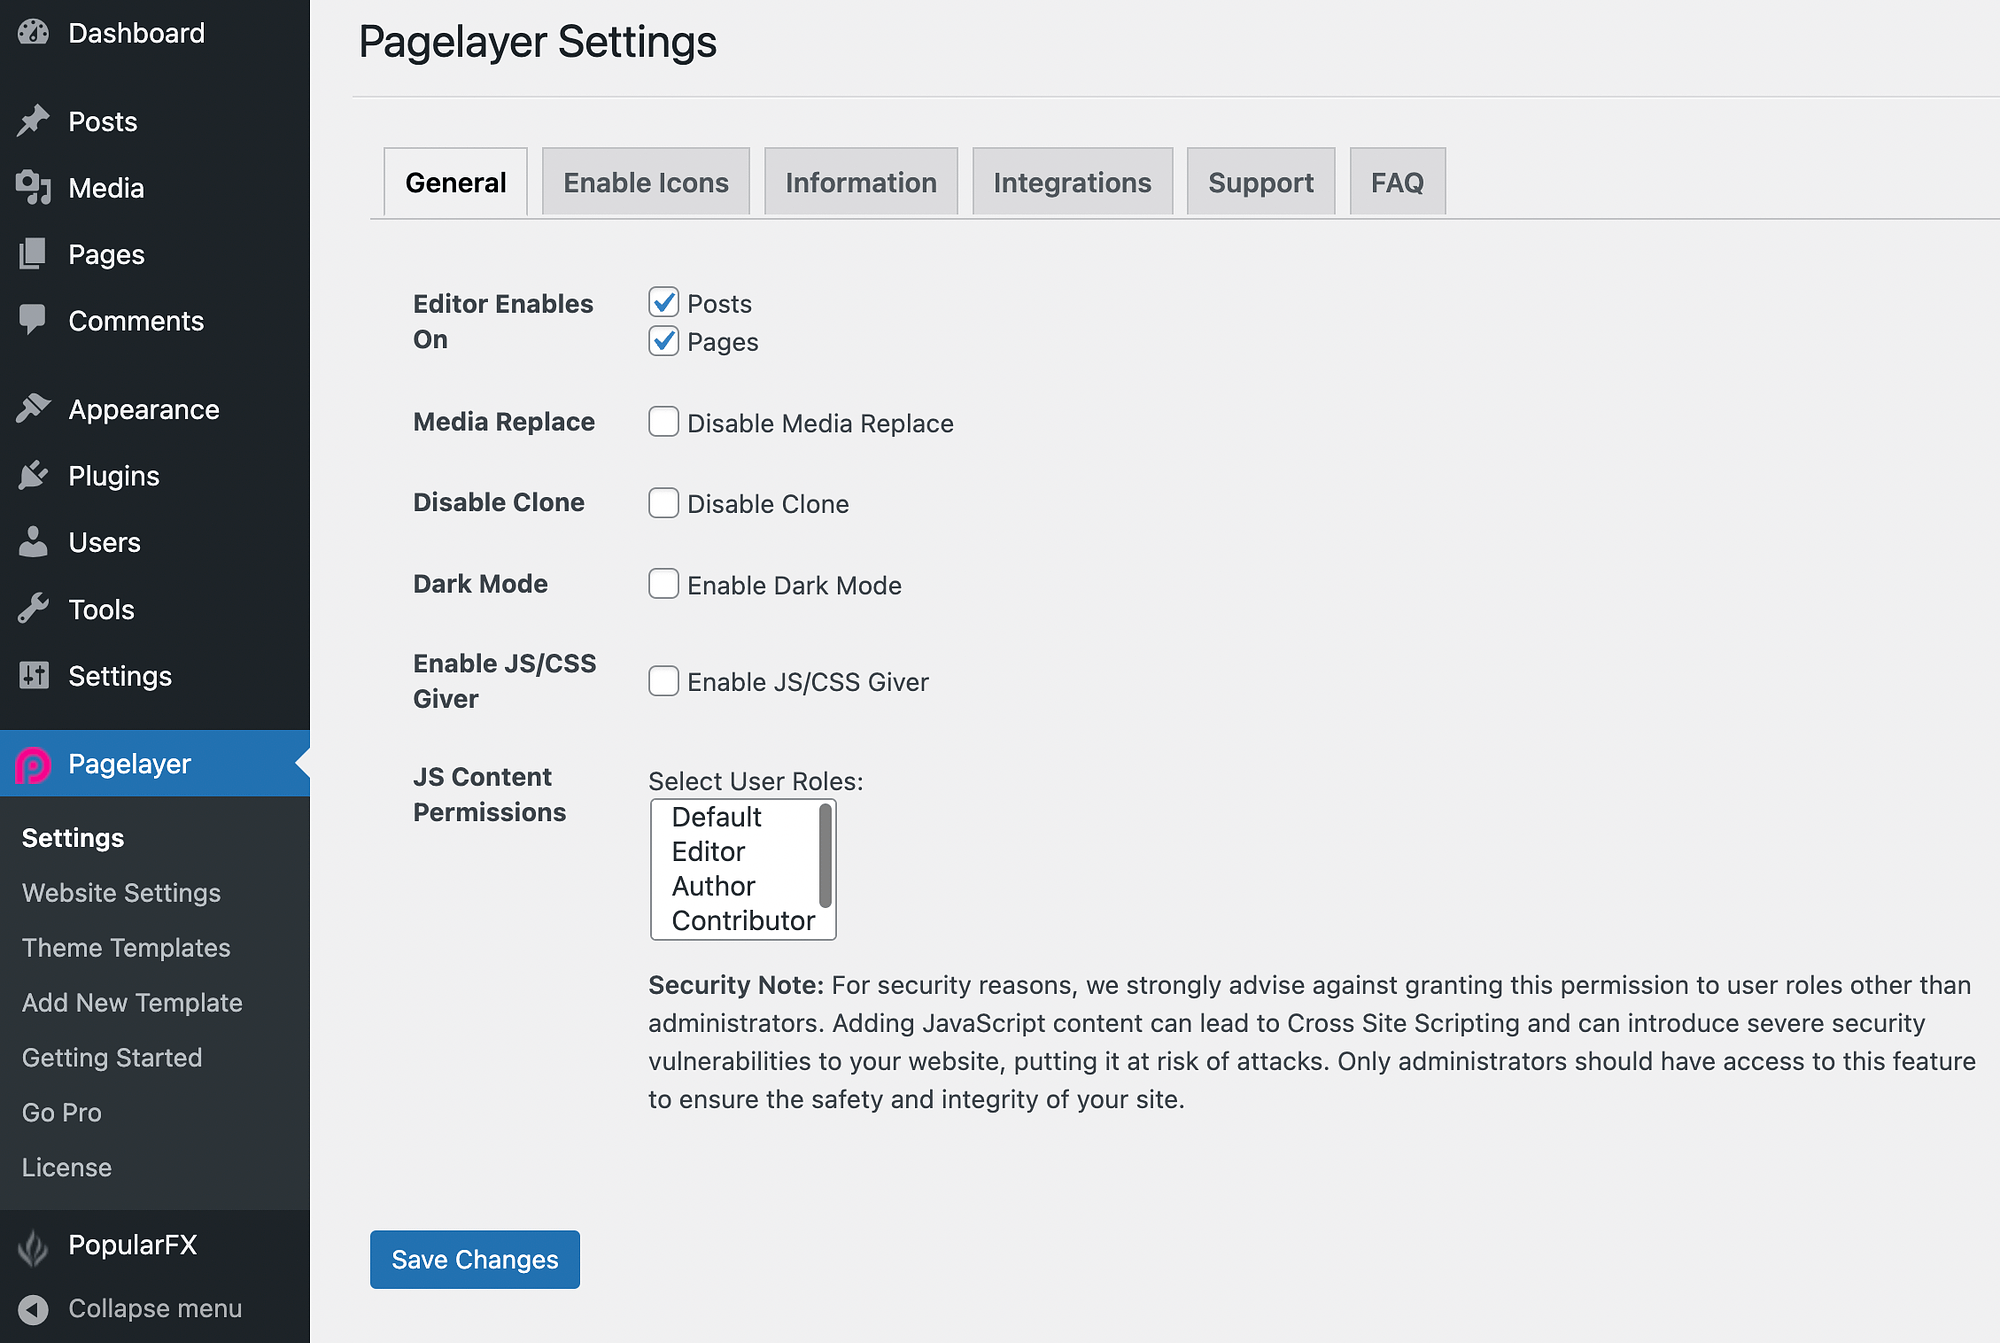
Under the General tab, you can make sure the editor is enabled for both pages and posts. Additionally, you can turn on other features, such as Dark Mode.
If you move along to the Enable Icons tab, you’ll see that the Pagelayer plugin enables Font Awesome 5 by default:
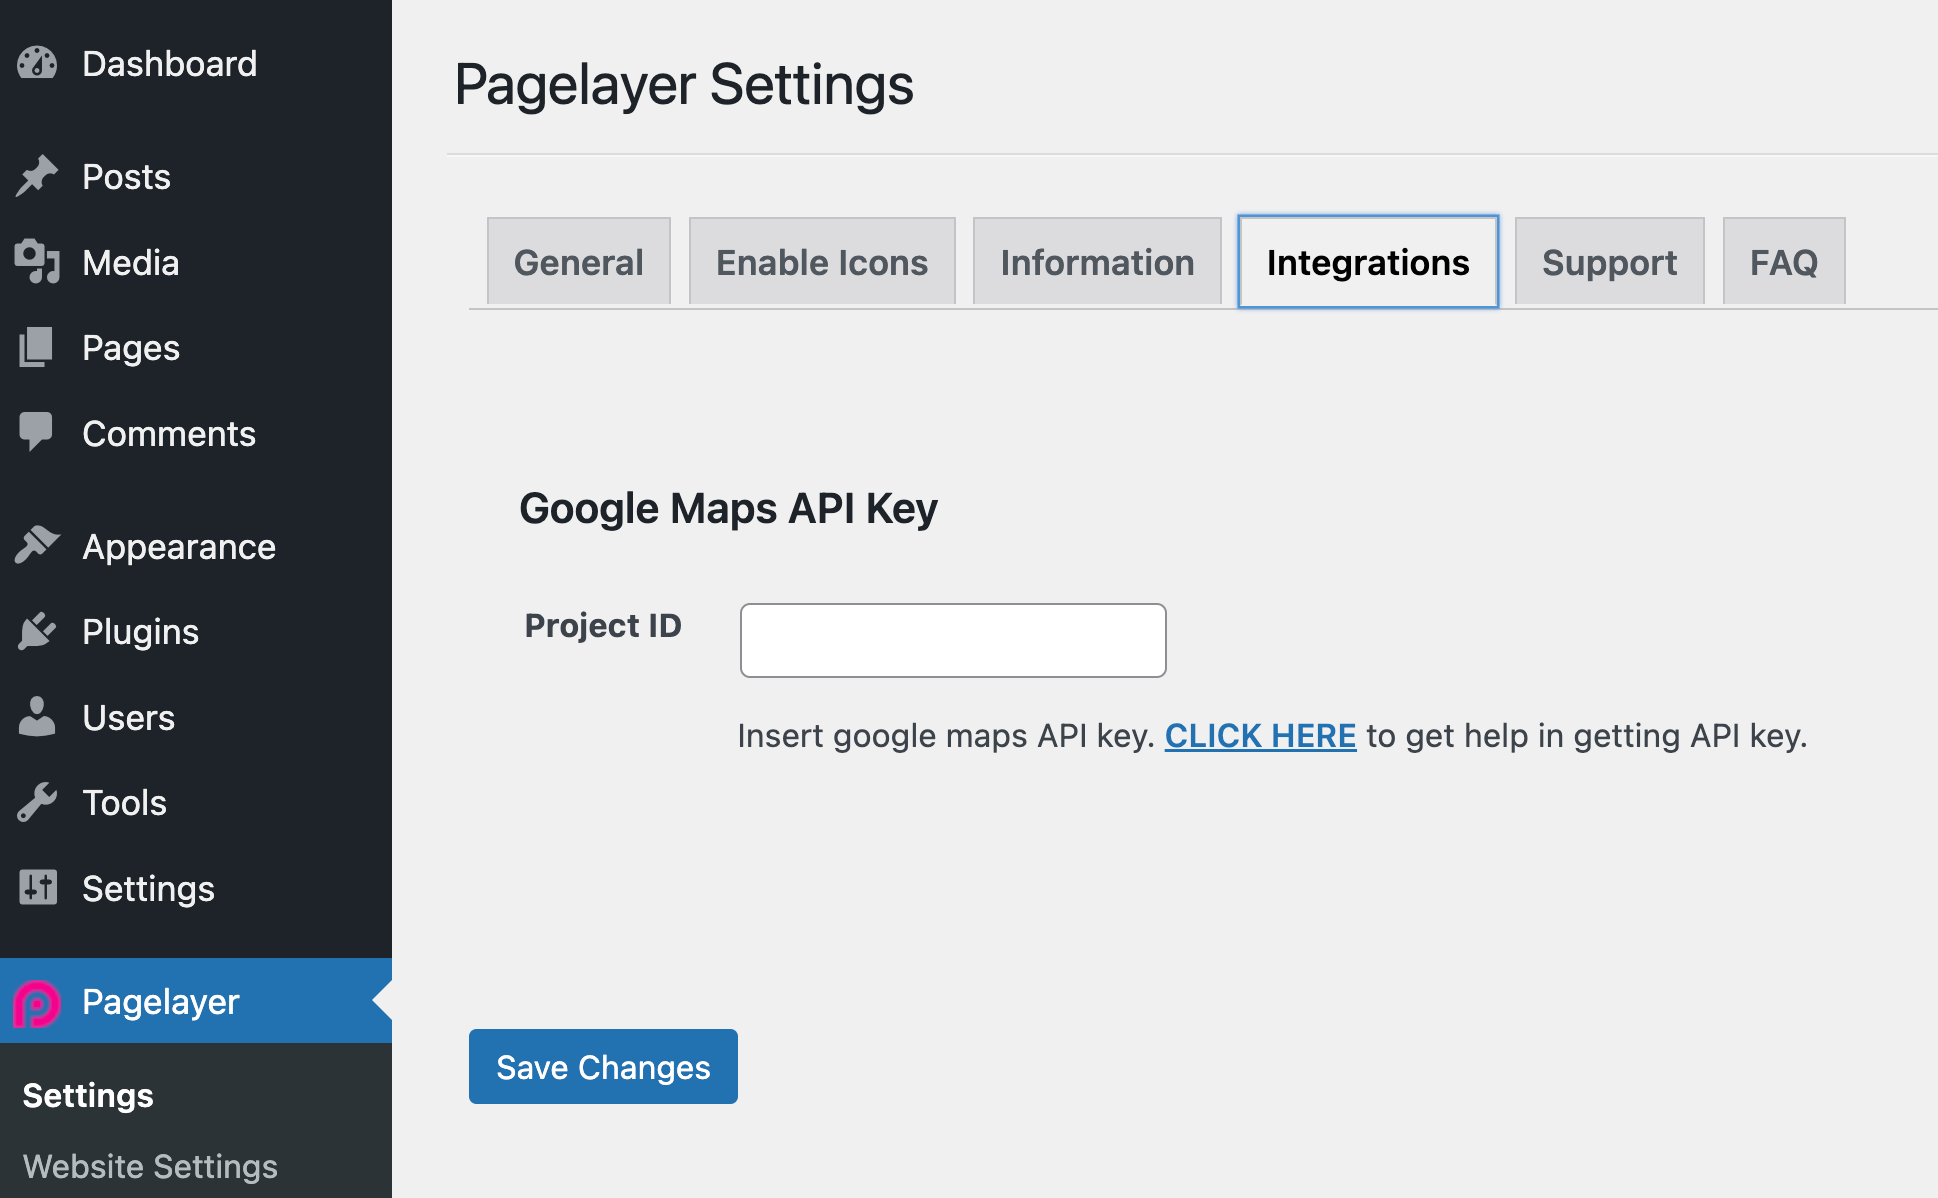
Under Integrations, you can even input a Google Maps API key, if you have one:
Then, when you go to Pagelayer → Website Settings, you’ll be able to configure more specific design options:
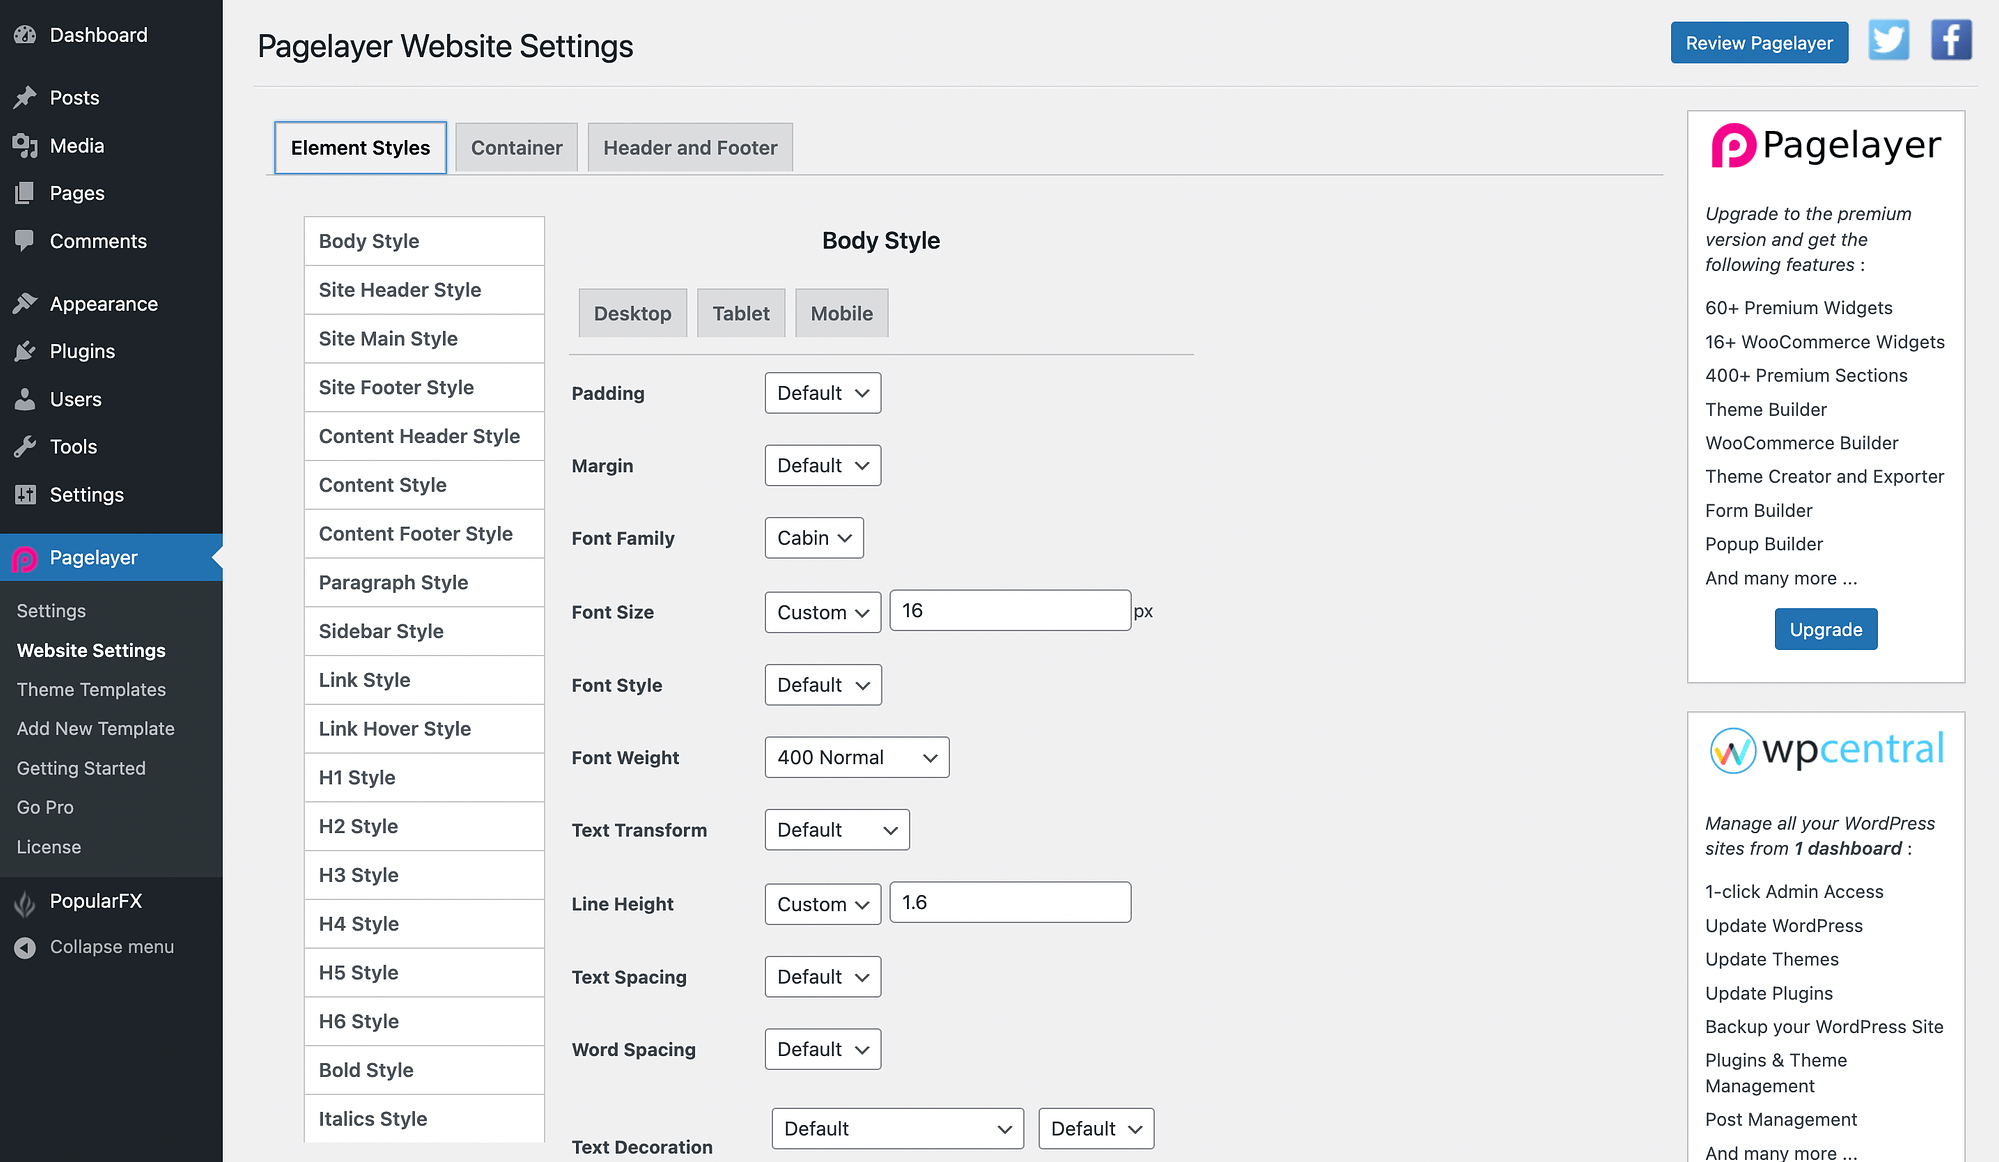
Here, you can adjust font family, spacing, and much more. When you’re finished, just make sure to hit Save Changes.
While these settings may be useful to some, the appeal of using a page builder plugin is the What You See Is What You Get (WYSIWYG) editor for your entire site. So, the best way to get a feel for your customization options is by experimenting with the Pagelayer builder itself.
4. Pagelayer widgets 📟
Since the theme was designed to work specifically for the page builder, our PopularFX theme review wouldn’t be complete without exploring Pagelayer.
To open the Pagelayer visual editor, navigate to the page or post you’d like to modify and hit the Edit with Pagelayer button. Or you can create a new page or post from scratch.
Just keep in mind that you’ll first need to publish it, then open it again to see the Pagelayer option. Once you open the Pagelayer editor, you should see something like this:
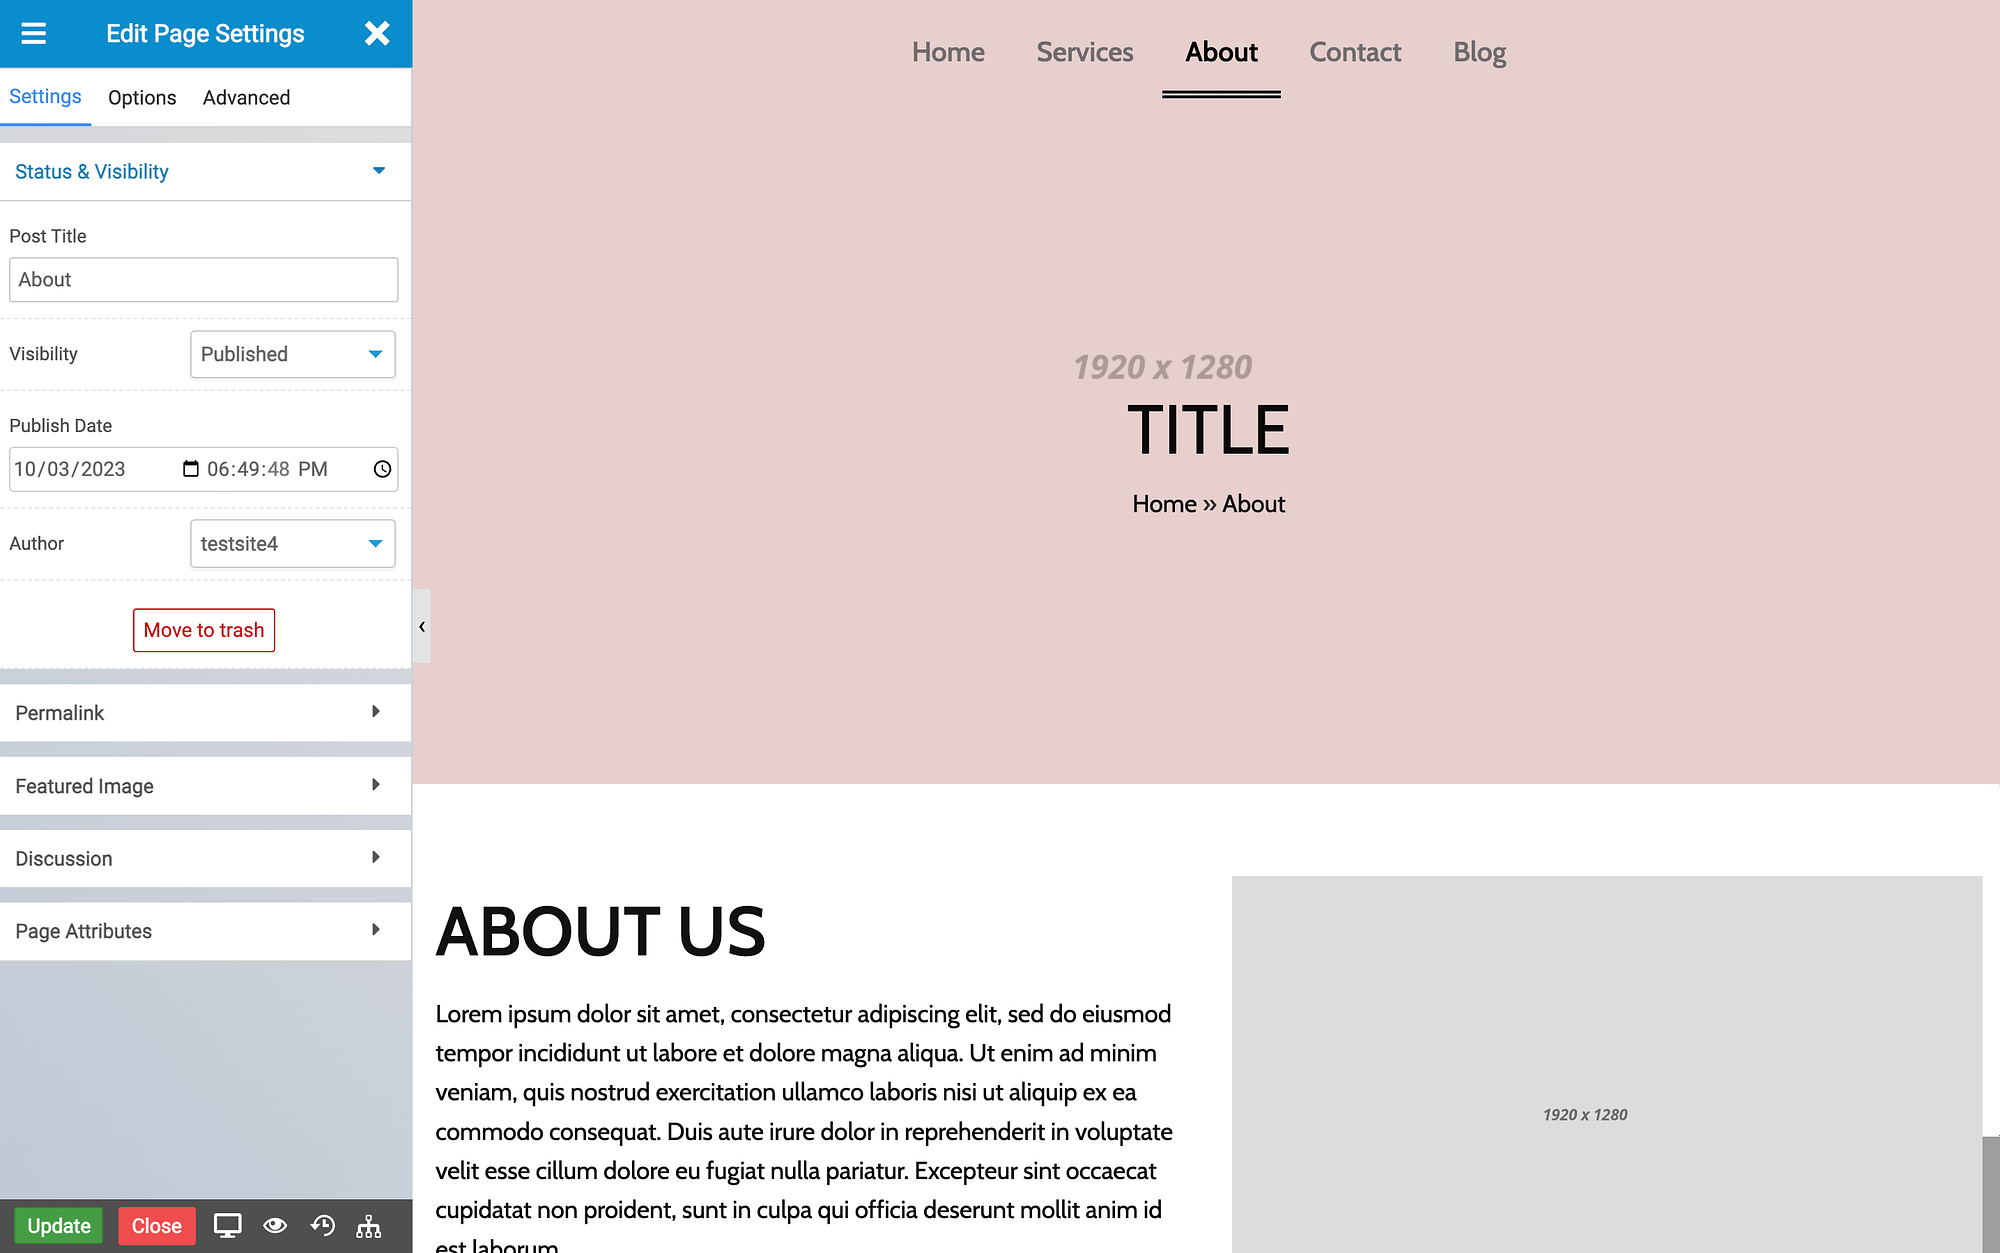
Your Pagelayer panel is on the left. You can start by editing your Page Settings (or post settings).
Then, hit the X to close your page settings and access widgets. Pagelayer widgets are similar to WordPress blocks, and they can help fast-track your design process.
For example, you’ll get basic widgets for titles, text, lists, images, and more:

You’ll also get more advanced widget options, including for Google Maps, progress bars, testimonials, etc.:
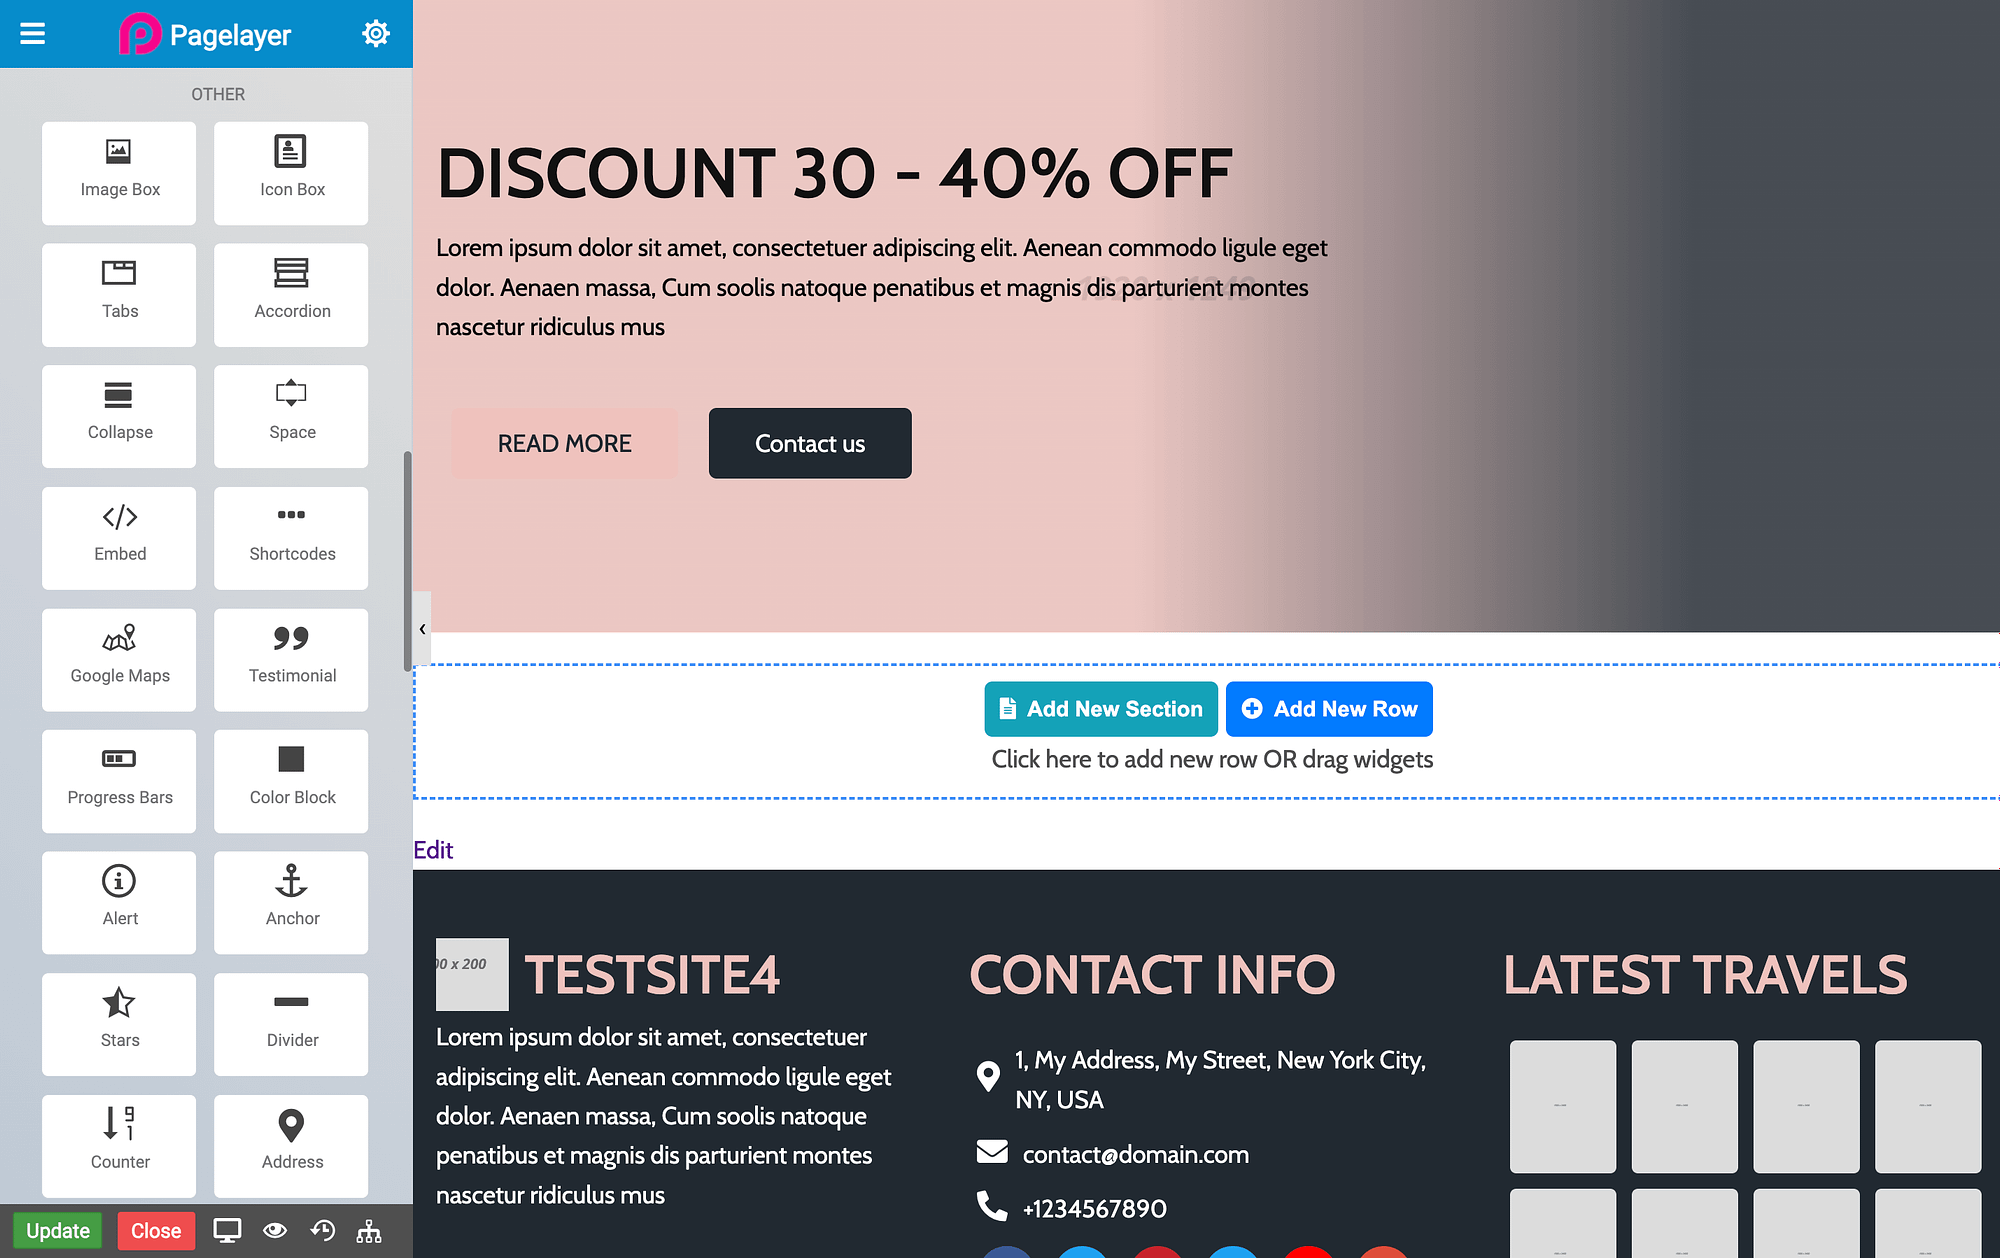
To add a new widget to your post or page, add a new section or row. Then drag it into place:
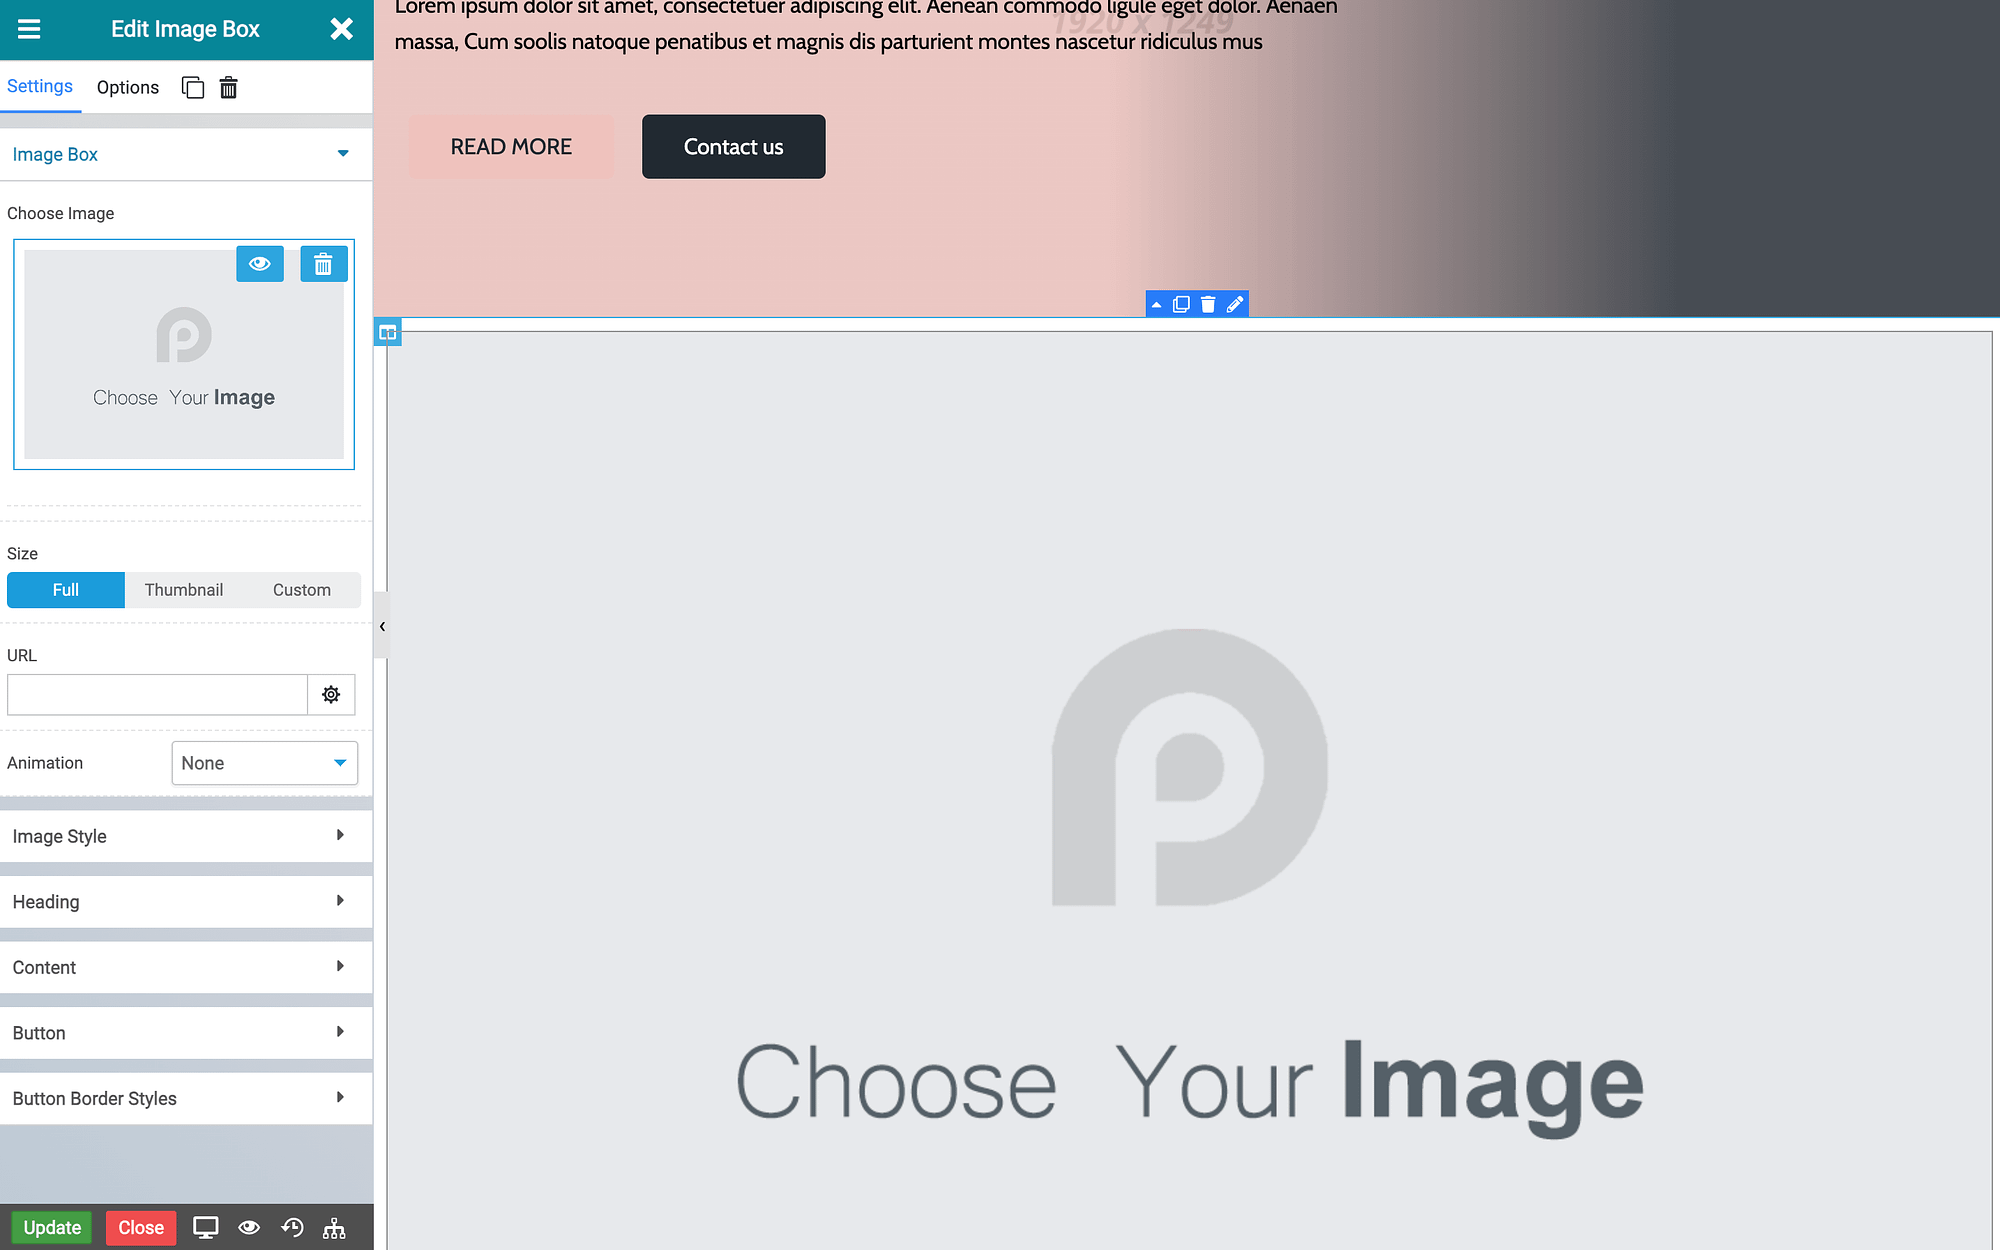
As you can see, we’ve added an image widget here. You can use your widget panel to access settings and options to customize it. For example, you can customize styles, headings, borders, buttons, etc.
In addition to widgets, you can add pre-made section templates to your posts and pages. Just click on Add New Section:
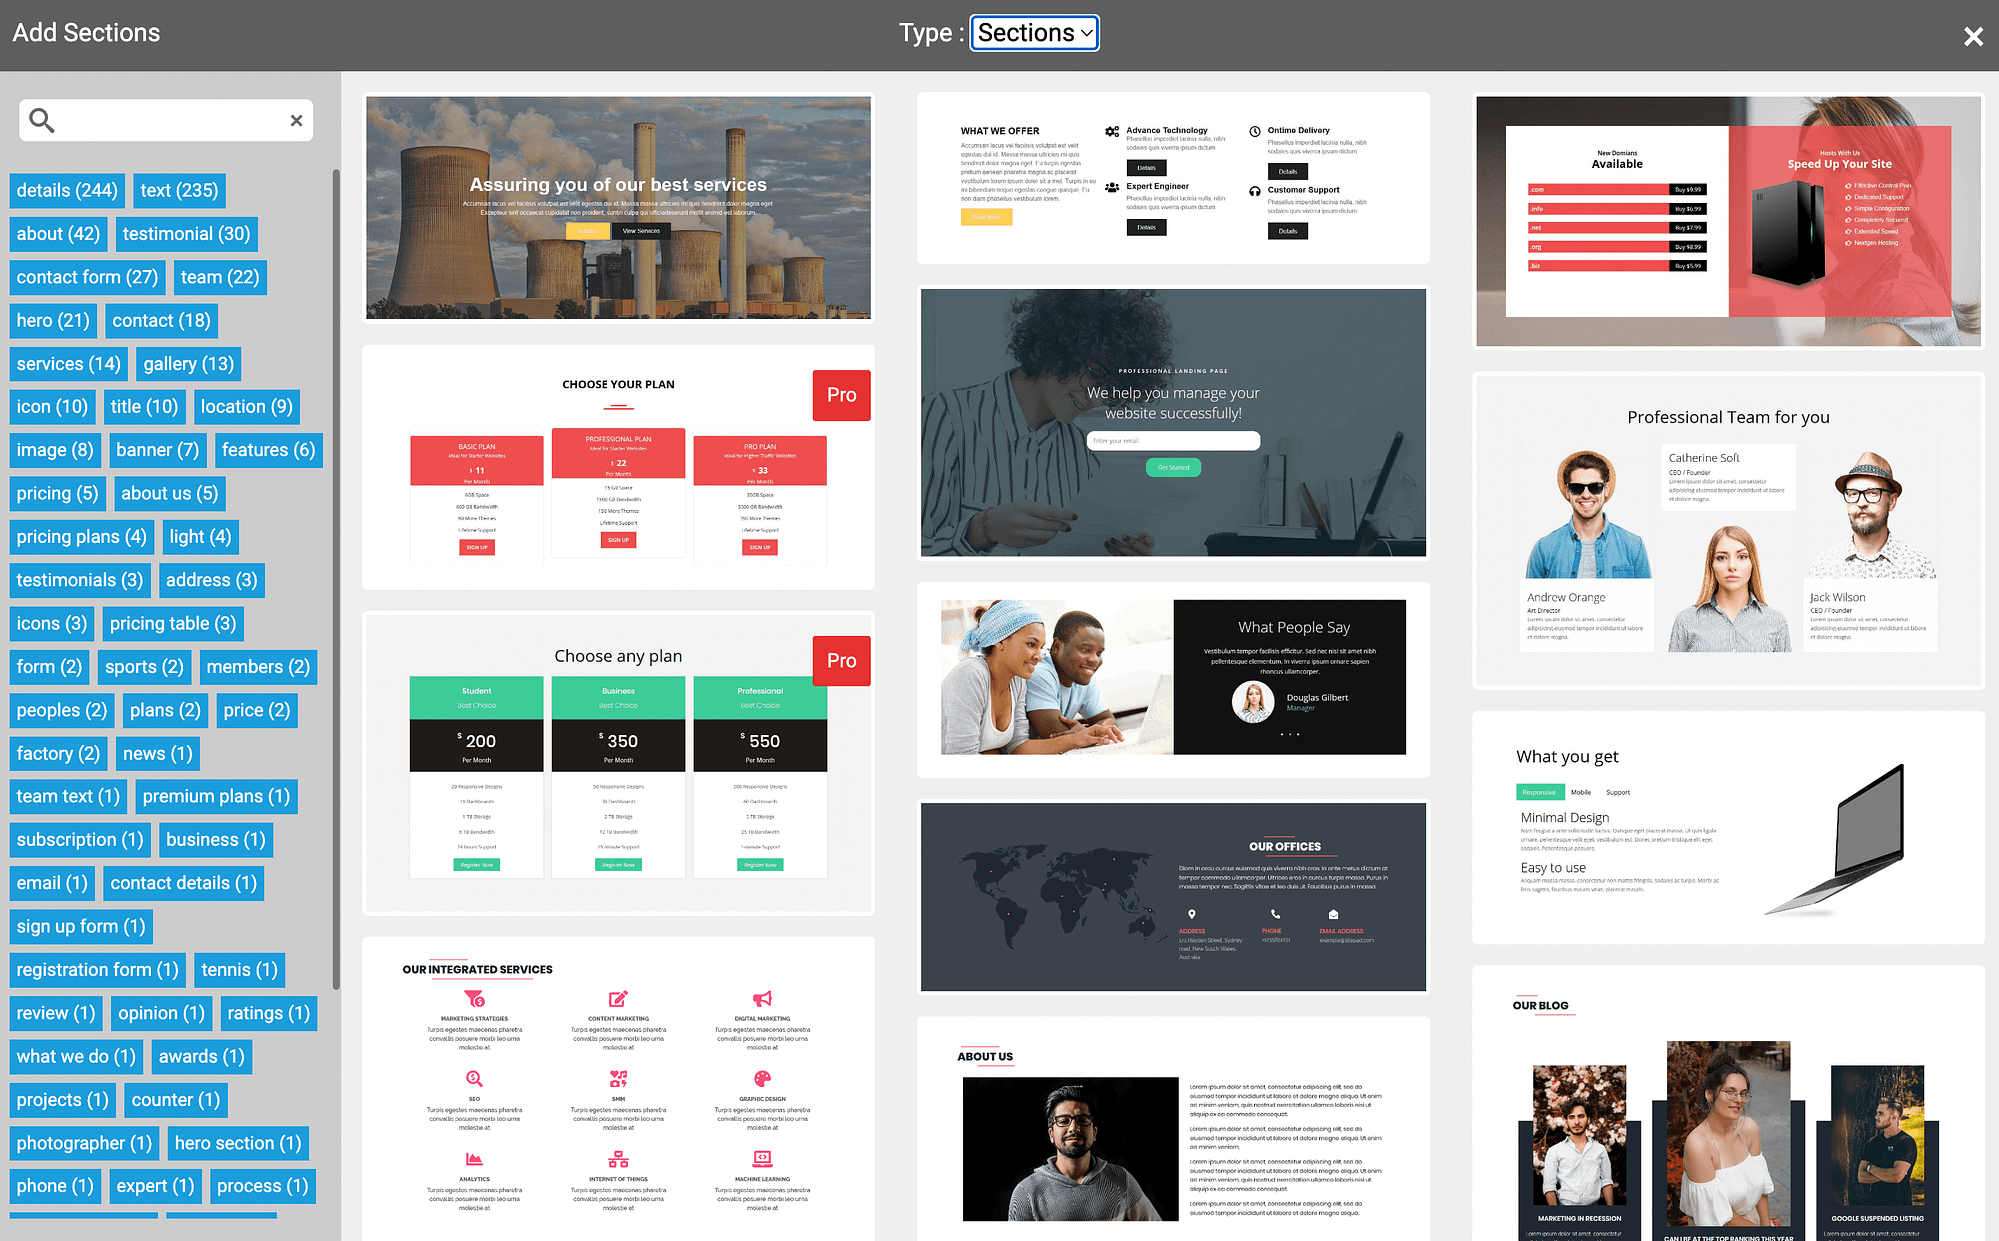
As you can see, these sections run the gamut and include everything from landing pages to product layouts.
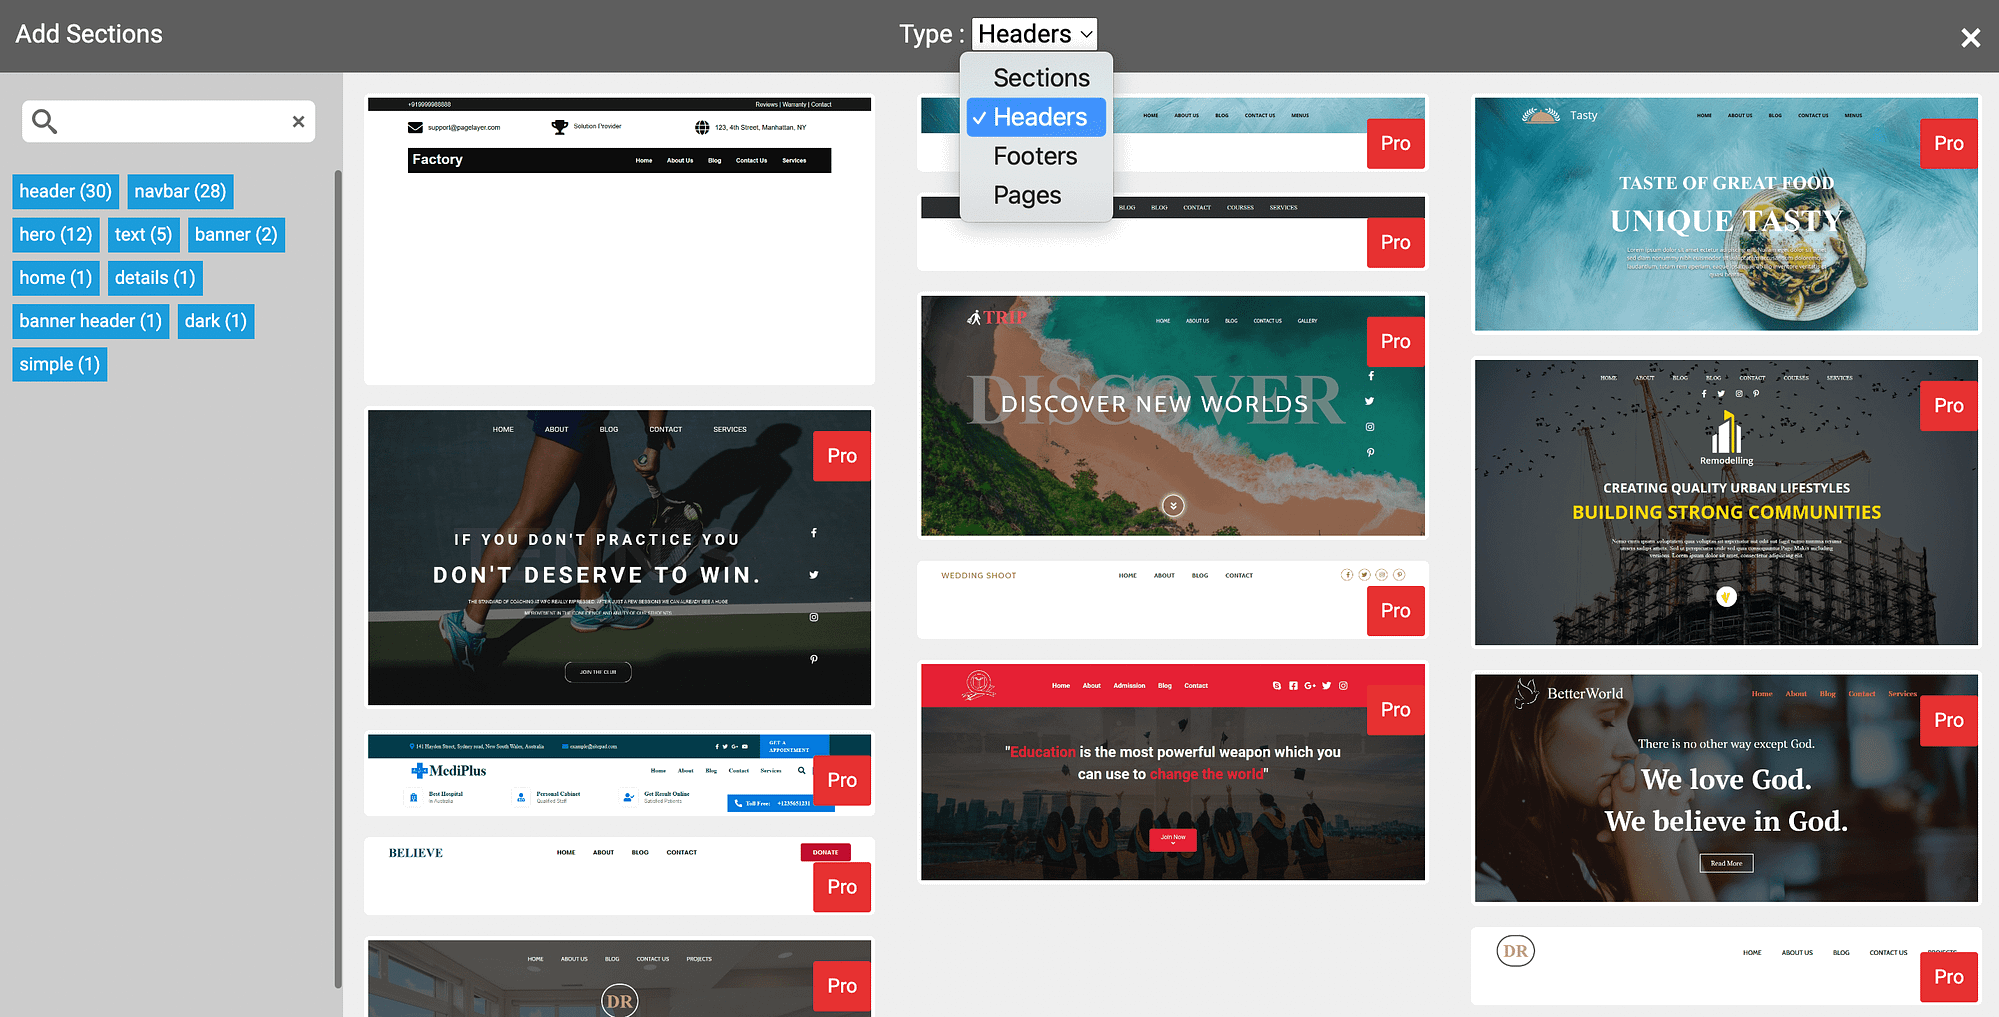
If you open the drop-down menu, you’ll also see that you can choose a Section type. There are Headers, Footers, and Pages:
While these pre-made sections can be useful, it’s worth noting that many of them require the Pro version of the PopularFX theme. That pro version includes 50+ more widgets.
5. Premium plans 📅
Finally, for this PopularFX theme review, let’s consider premium options. If you want PopularFX Pro, here are your options:
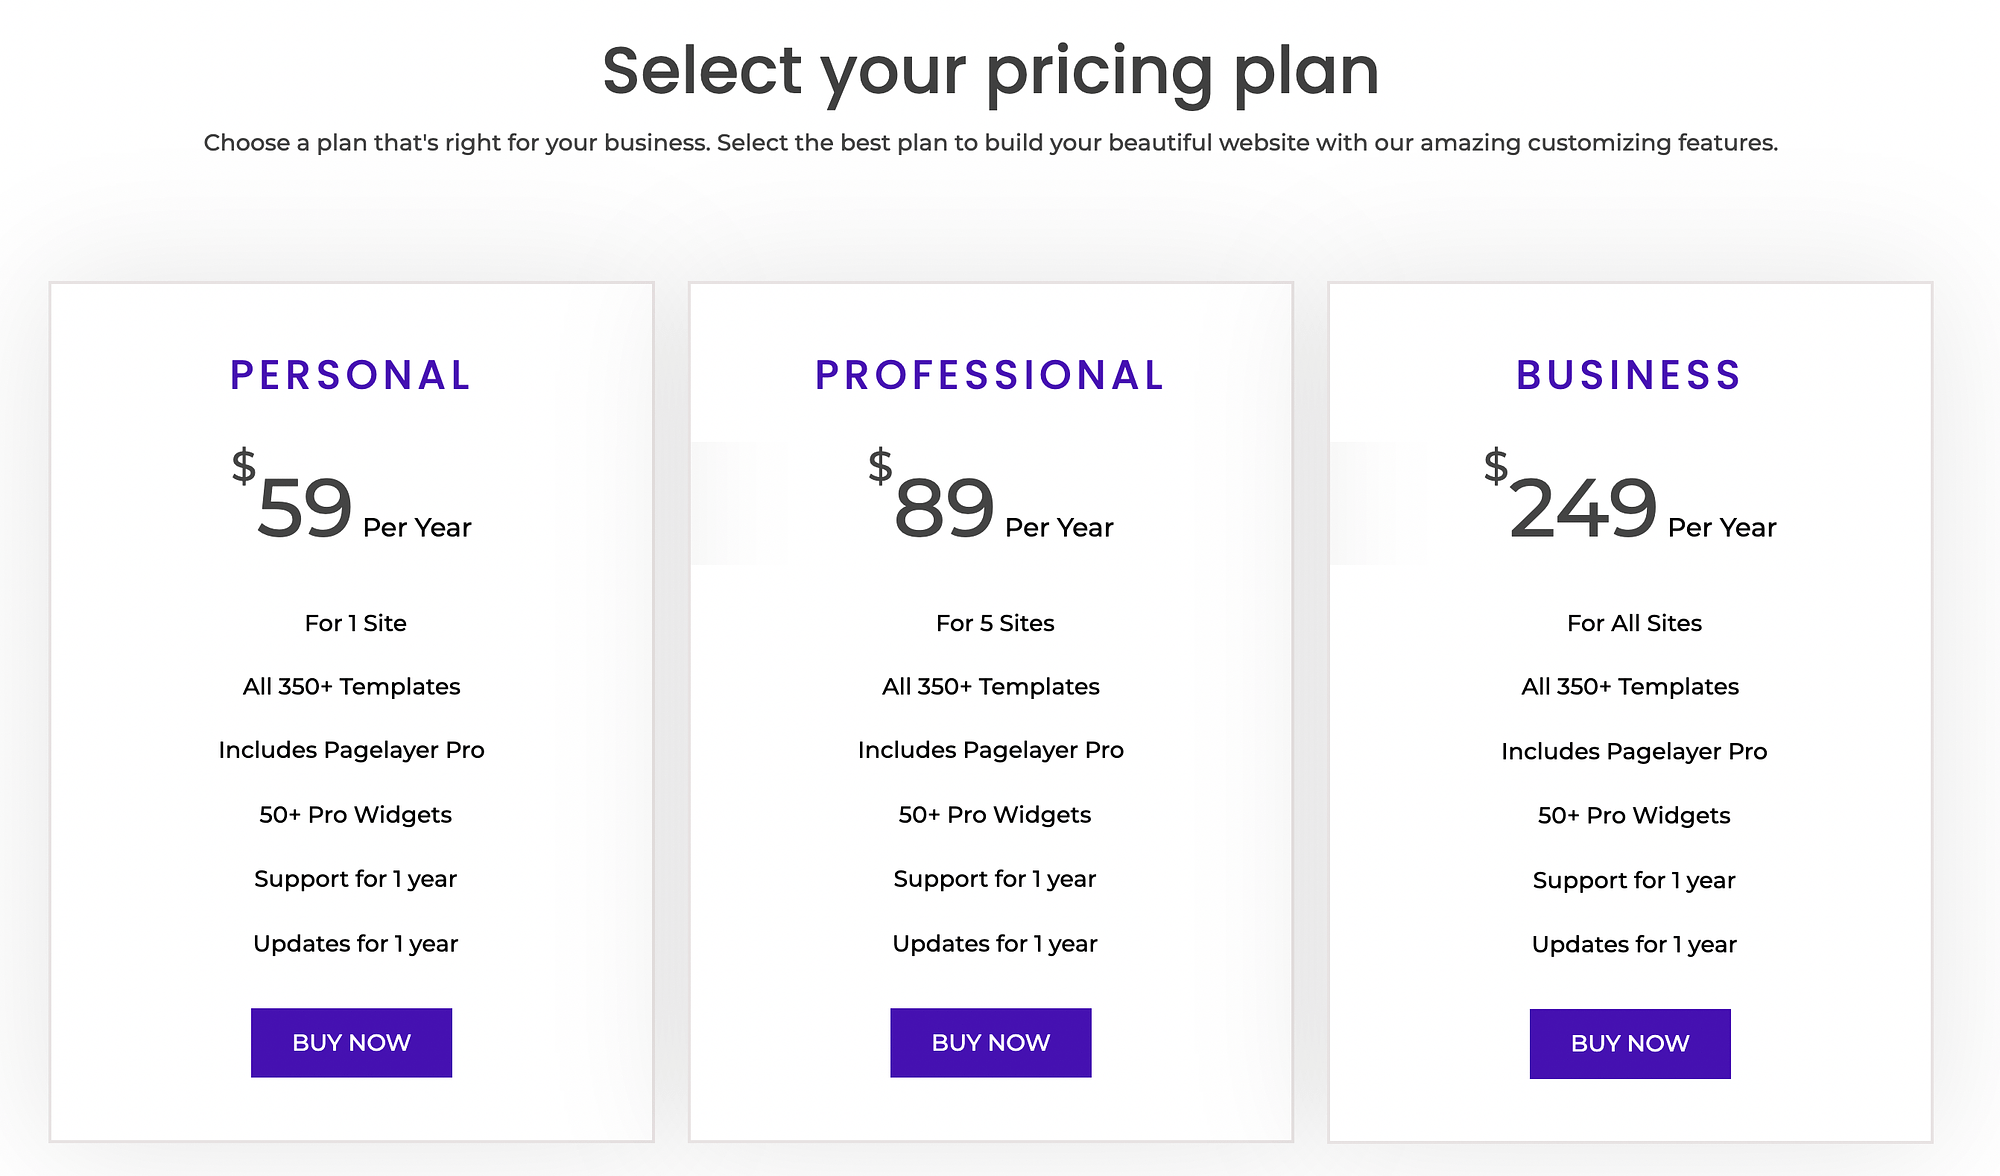
As you can see, you can pick from three plans, which cost $59, $89, and $249 per year. The personal plan is for one website, the professional plan is for five, and the business option allows for unlimited sites.
However, all plans include the same pro features. When you sign up, you’ll get more website templates and Pagelayer Pro, which includes 50+ pro widgets. All plans also include updates and support for one year.
While these plans may seem a little pricey at first, when you compare them to the price of a page builder (such as Elementor), they’re pretty standard.
Final thoughts on our PopularFX theme review 🧐
Choosing a WordPress theme can be challenging, especially since there are so many options out there. If you’re interested in the PopularFX theme, it’s a good idea to do your research before implementing it on your website.
To recap, the PopularFX theme is a top-notch choice. The installation process is slightly more complex than with other options since it requires you to install the theme, the Pagelayer plugin, and the templates tool. However, it comes with tons of template options and advanced, full-site customization thanks to the page builder integration. Plus, if you want more, you can always upgrade to a premium version of the theme.
Do you have any questions that weren’t covered in this PopularFX theme review? Let us know in the comments section below!
Free guide
4 Essential Steps to Speed Up
Your WordPress Website
Follow the simple steps in our 4-part mini series
and reduce your loading times by 50-80%. 🚀
Pros
Integrates with the Pagelayer page builder for visual editing
Offers a wide selection of website templates
Allows for advanced customization using widgets
Cons
Requires additional plugins to work
The free version can be somewhat limiting