If you use Siri, Google, or Cortana, you’re likely to be familiar with voice search. That’s just the tip of the iceberg though. The voice recognition tech market is projected to amount to $50 billion by 2029 [1]. Therefore, you might be wondering “how do I add voice search to my website?”
While voice search can sound pretty complex, it’s actually easy to add this functionality to your WordPress site. By doing so, you will elevate your User Experience (UX) and make your website more accessible.
Why add voice search to your website?
As the name suggests, voice search enables visitors to navigate your website without needing to type. Instead, users can discover your content using only their voice.
Most obviously, this provides an easy way to enhance your UX since it makes it much faster for readers to find content. Plus, it requires very little effort compared with clicking, reading, and entering keywords.
However, voice search also makes your website more accessible. For instance, visually impaired people can find it difficult to read and type on the internet. It is easier for them to navigate websites using voice commands.
Additionally, voice search is an excellent way to show users that your brand is fresh and relevant. Although Google voice search launched in 2012, it’s still relatively rare to find it being used across websites. By including it on your site, you can show that you’re up-to-date with the latest trends and technologies. 📢
How to add voice search to a WordPress website
Now that you know why you should add voice search to your website, let’s address the main question – “how do I add voice search to my website?”
Step 1: Add a search widget to your site 🔎
Before you get started with voice search, you need to make sure that you have an active search widget on your website. The available widgets on your site are determined by your theme, and most themes will provide a search widget in an area like a header, footer, or sidebar.
If you don’t have a search widget already, you can easily add one. If you use a classic theme, it’s possible to do this in the WordPress Customizer, or in the Widgets section of your website.
To access your WordPress widgets, head to Appearance > Widgets within your WordPress dashboard. Then, select a widget area like your footer and click on the + icon. Now, add the Search widget:
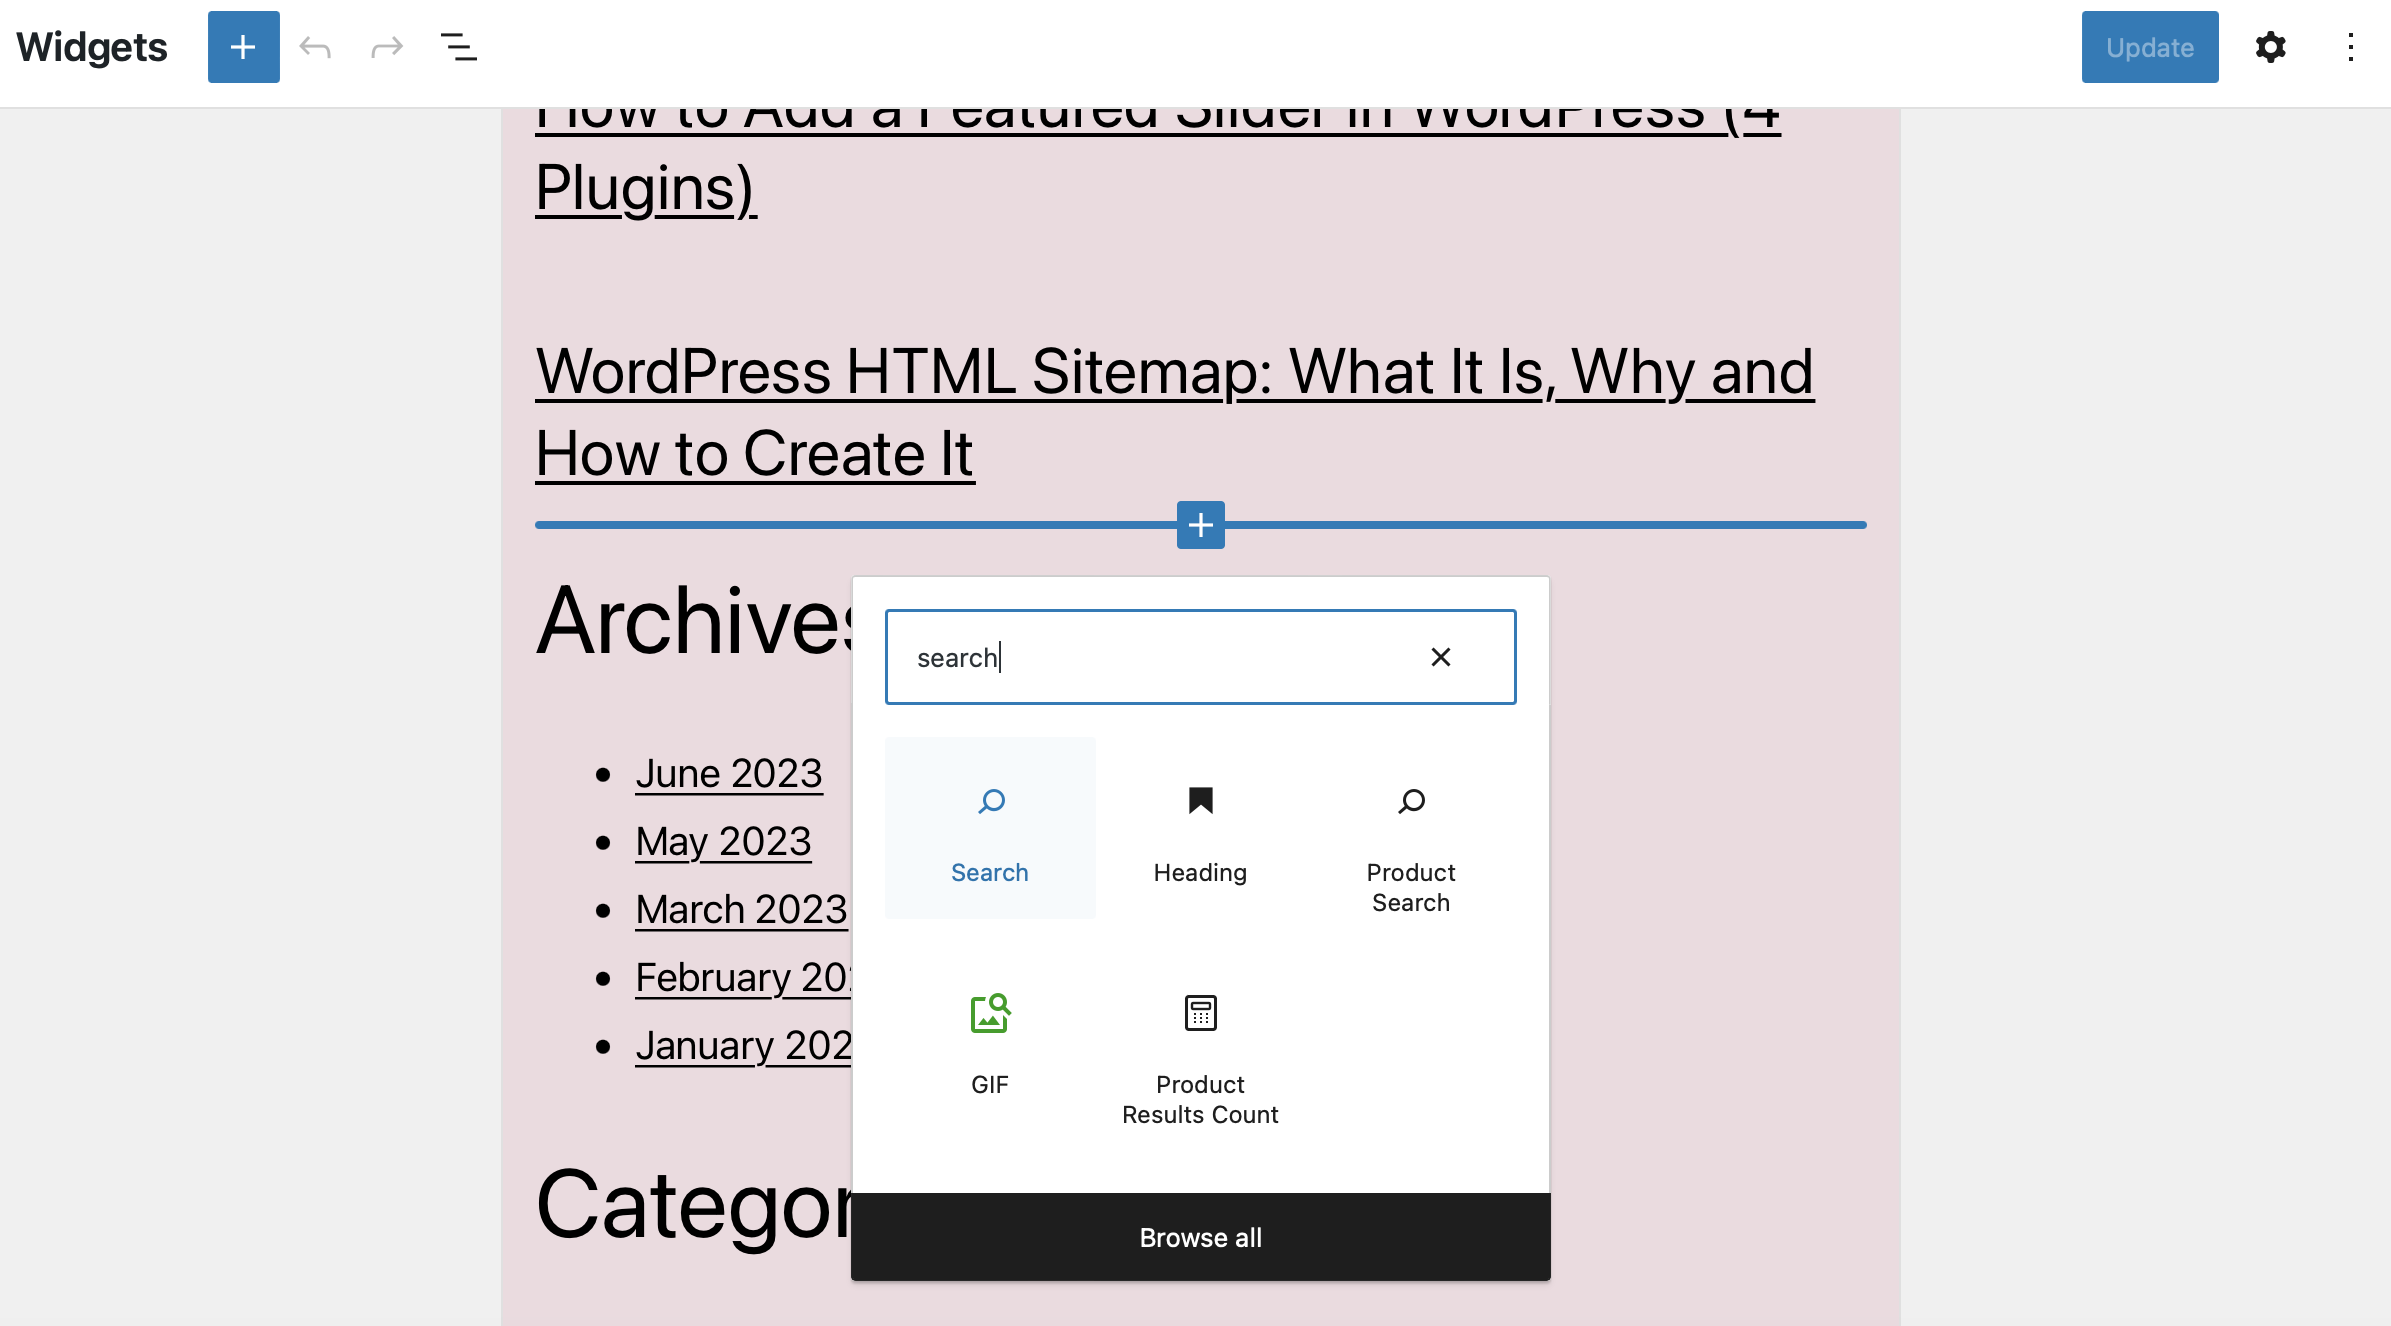
Click on Update to save your changes.
If you use a block theme, the method is similar. However, you’ll need to add your search widget within the Full Site Editor which you’ll find by going to Appearance > Editor. Here, you can add the widget to any widget area, including your header:
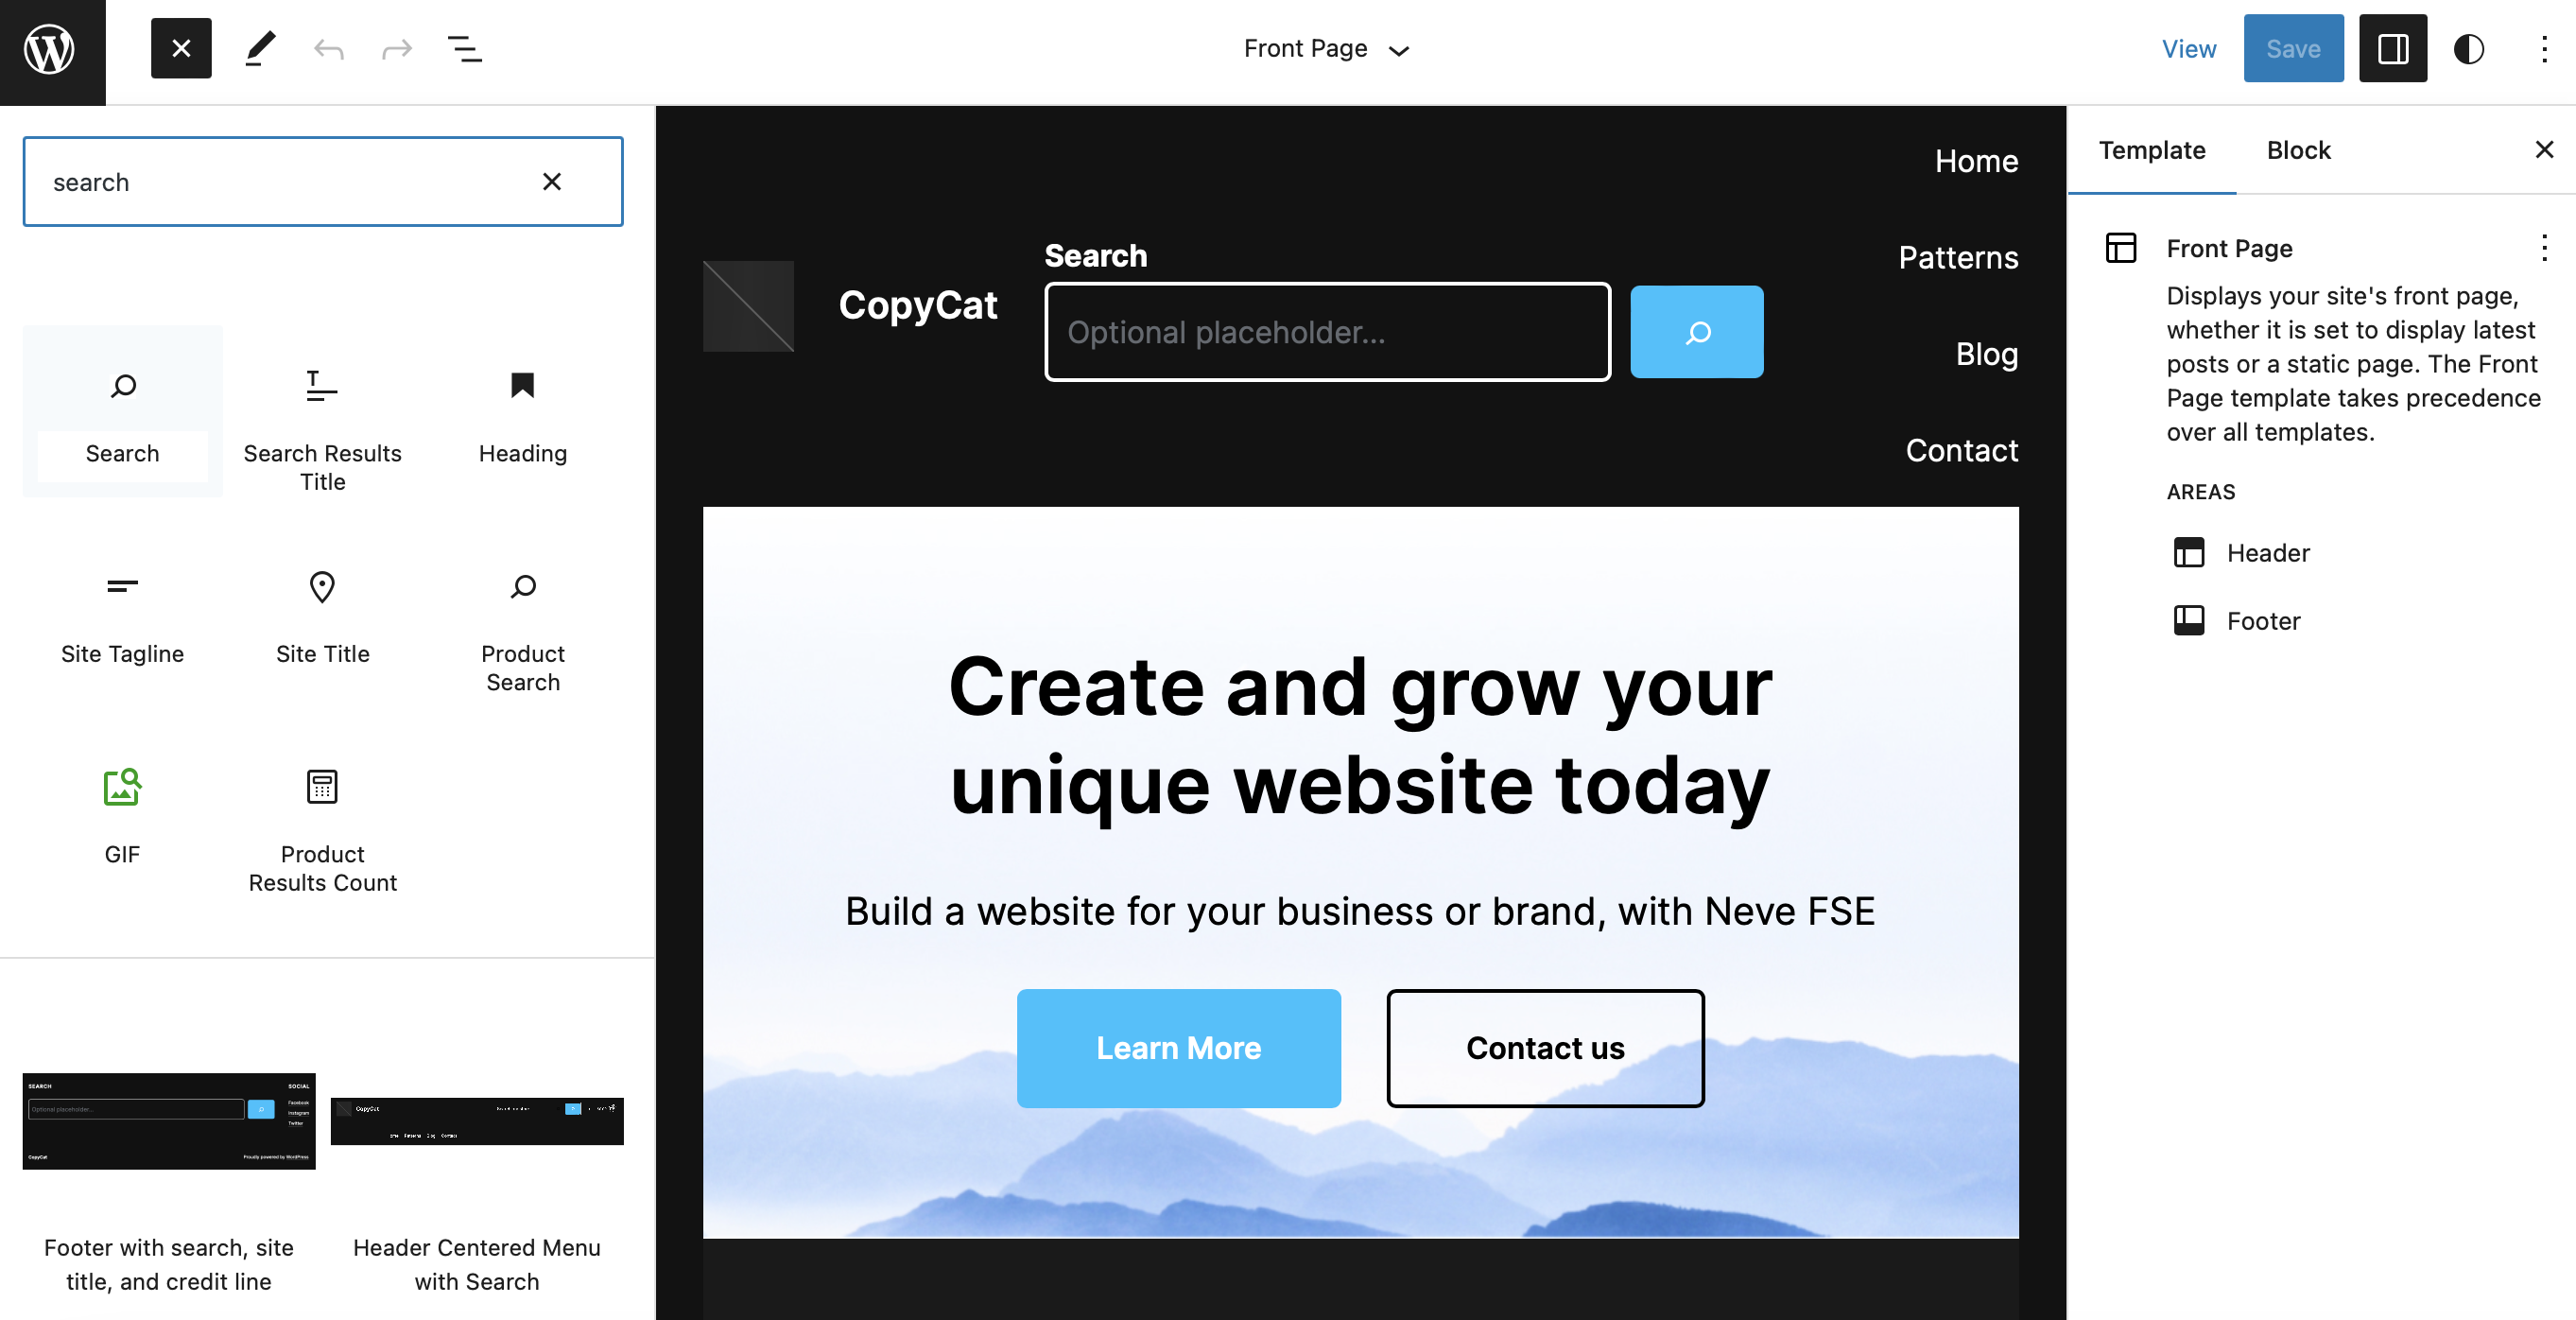
It’s also important to note that you can add a search widget to any post or page on your site. Typically, though, it’s best to add it to a widget area so that search is accessible from all your web pages.
Step 2: Install and activate the Voice Search plugin 🔌
Now that you’ve got an active search widget on your site, you might still be wondering “how do I add voice search to my website?” Well, the easiest way to do this is to use a plugin.
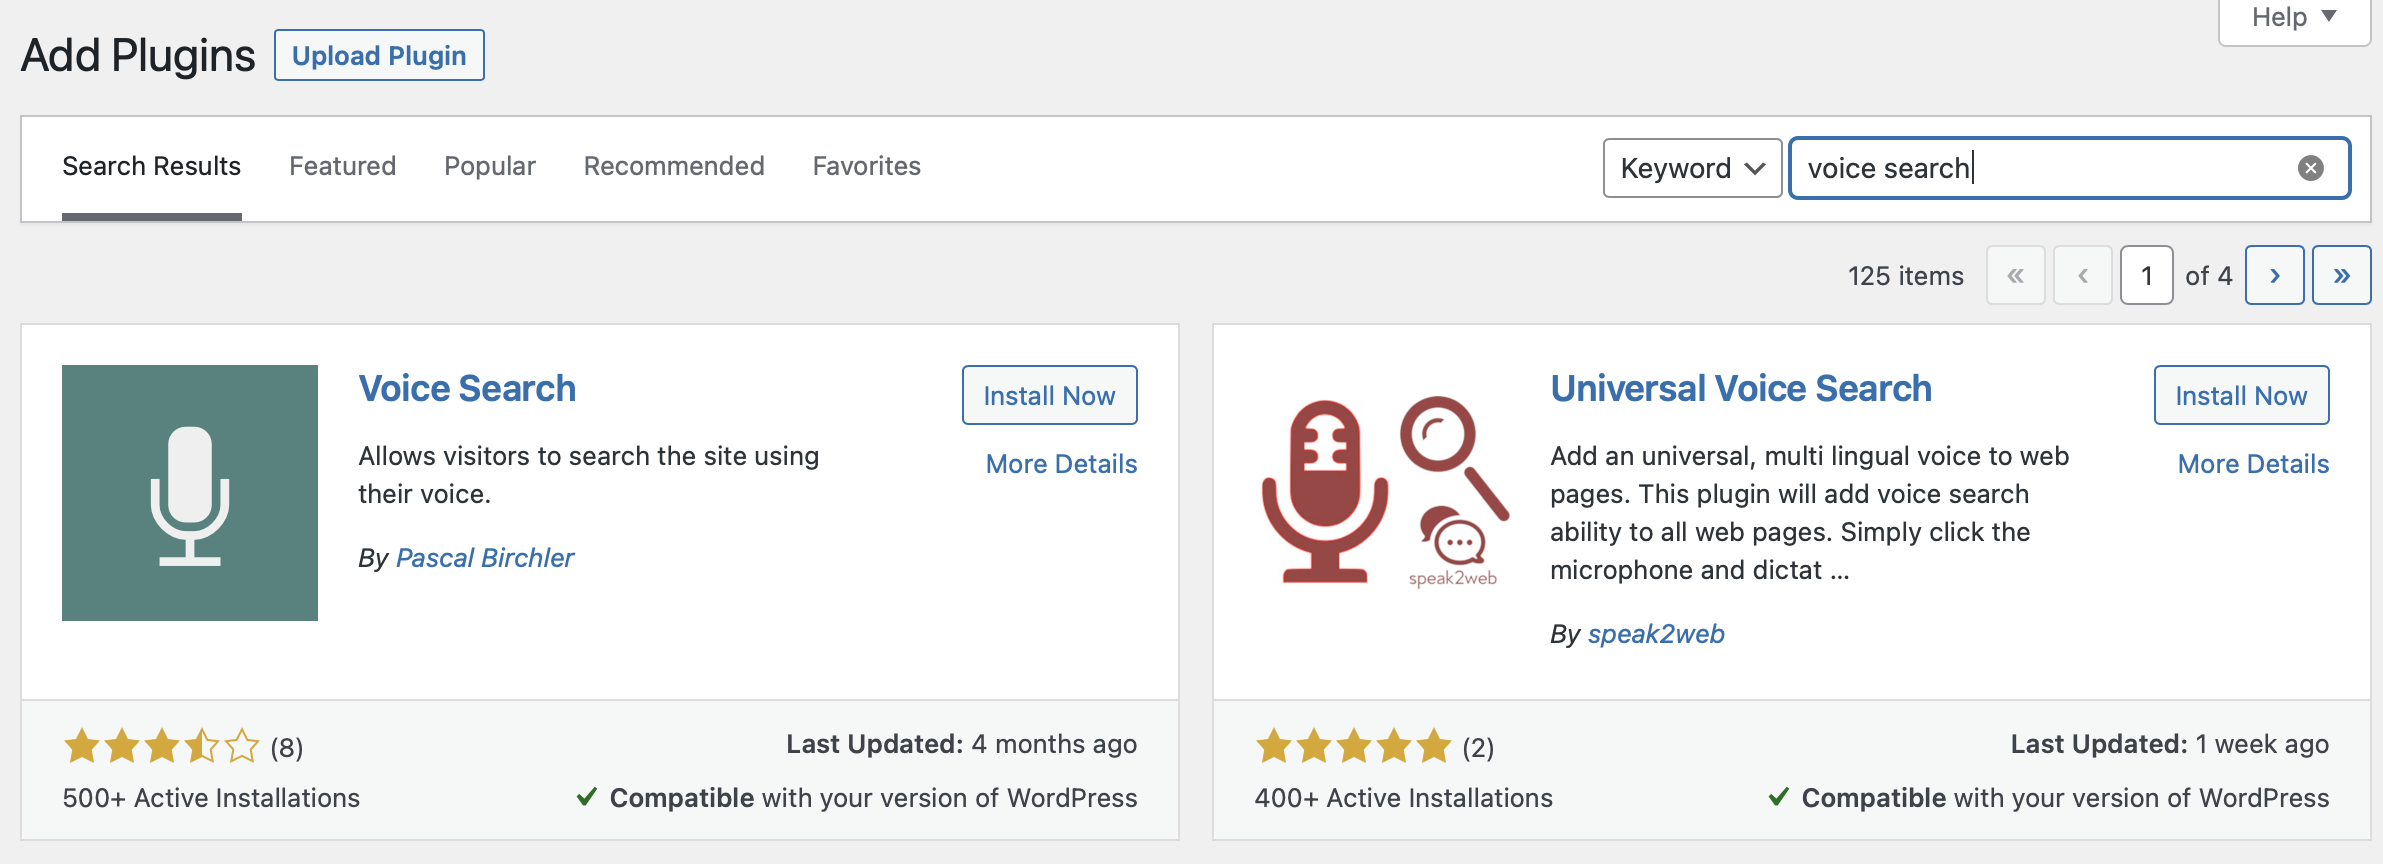
The Voice Search plugin is one of the simplest voice search plugins available. Since there’s no complicated steps or configuration settings, it’s suitable for even complete beginners:

The voice search function works automatically once the plugin is activated on your website. However, as of yet, the tool is only supported by Google Chrome (on mobile and desktop).
To get started, simply head to Plugins > Add New and search for “voice search.” Here, it’s the first option that you see:
Go ahead and click on Install Now. Then, select Activate.
That’s all there is to it. So, at this point, voice search should be all set up on your website.
To check that voice search is working, visit the frontend of your site in a new tab:
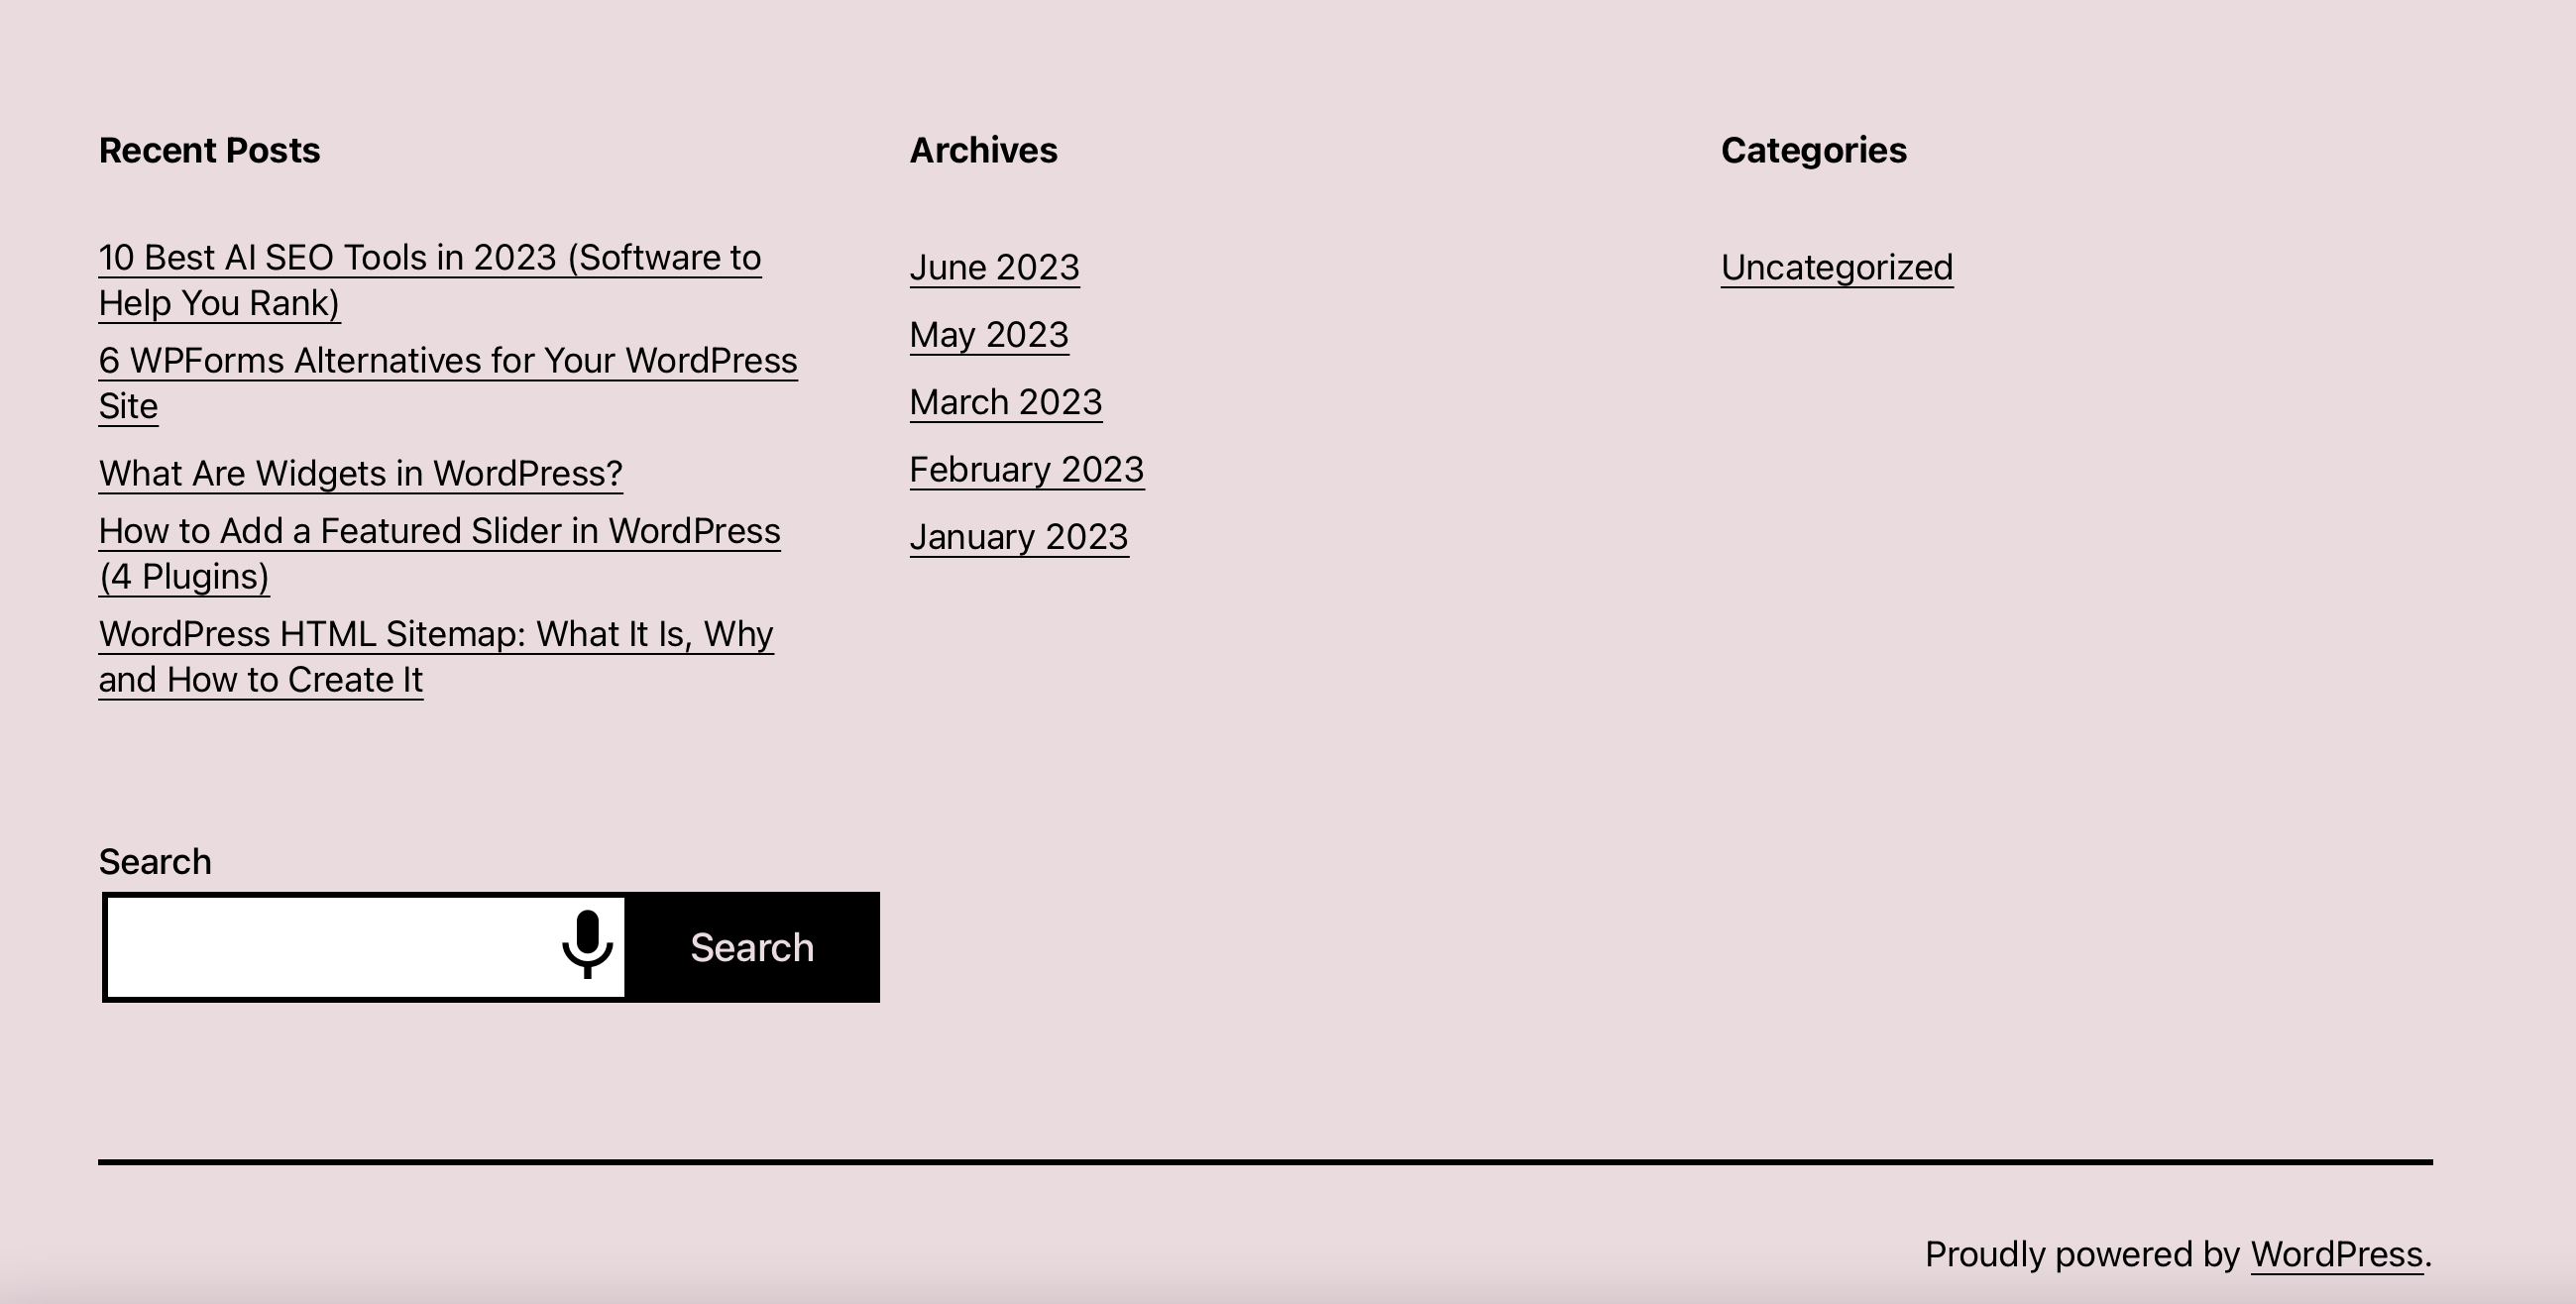
Here, you should see a small voice search icon within your search widget.
How to improve your voice search experience
Although voice search is now active on your WordPress website, you might like to take some additional steps to optimize your content for voice search. For example, it can be a good idea to add structured data markup to help search engines better comprehend your content.
This won’t directly improve your voice search SEO. However, the Speakable property (still in beta) lets you define individual paragraphs as voice-friendly which can improve your search ranking. The Google Assistant will also send the full article URL to the user’s mobile device via the app.
You can also try to get content featured in Google’s Rich Snippets. There’s no fixed formula when it comes to this. However, you can improve your chances by writing content in multiple sections with relevant information.
To do this, try to organize content into paragraphs, each one answering a specific question. You can also include plenty of lists beneath clear headings or sub-headings. Meanwhile, consider highlighting certain pieces of content using bold or italic fonts. 🐱👤
Conclusion 🧐
Voice search is a great way to modernize your website and improve the UX. That’s probably why you were wondering “how do I add voice search to my website?” and what brought you to this post. Fortunately, as you just saw, it’s relatively straightforward to add this functionality to WordPress.
To recap, here are two simple steps to add voice search to your website:
- 🔎 Add a search widget to your site.
- 🔌 Install and activate the Voice Search plugin.
Congratulations. You now have the answer to “how do I add voice search to my website?”, but if you still have any questions, please let us know in the comments section below!