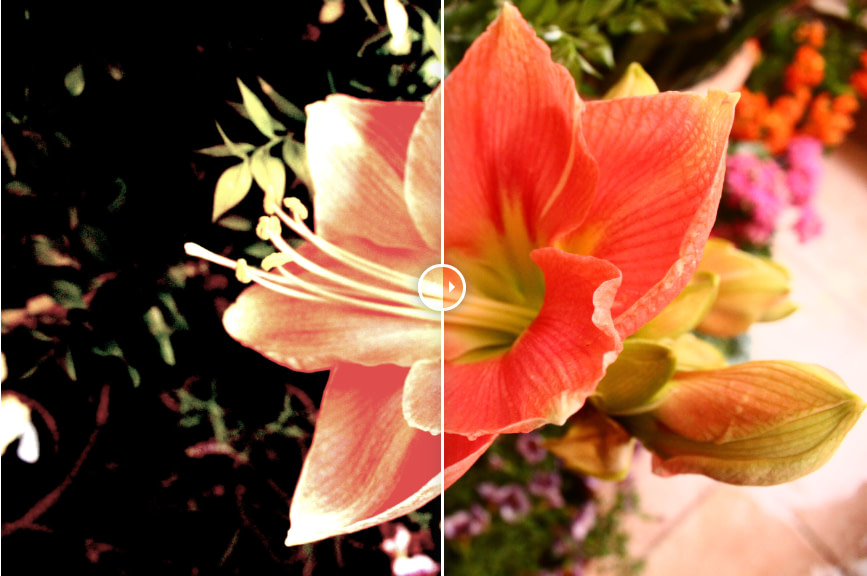
If you sell products or professional services online, you may be looking for a visual way to show customers the value of what you offer. For example, you might want to show them what they can expect when they use your body care products or download your Instagram filters. To achieve this effect, you’ll need to use a before and after slider WordPress plugin. 🔌
Fortunately, there are several tools to choose from, and most are very easy to use. They enable you to create before and after slider photos and add them to your WordPress site through a block or a widget. Then, visitors will be able to interact with the slider to see the difference that your product can make.
Why you should use a before and after slider WordPress plugin
A before and after photo slider is a very simple feature. Basically, it shows two photos of the same object: one that displays a condition that customers can relate to (such as dry skin) and one that highlights the desired effect after using your product (such as healthy-looking skin).
These sliders help you demonstrate the benefits of your product. Using photos rather than words, you can show customers how you can help them achieve a goal or solve a problem. This may encourage them to give your product a try.
Plus, these sliders make your content more interesting and interactive. Curious customers will drag the slider to reveal the “after” photo, and note the differences between the two images:

You can use these before and after photo sliders if you sell things like cleaning materials, body care and beauty products, digital items like photo filters and image editing tools, and more. Meanwhile, if you’re a skilled trader like a hairdresser, painter, or pet groomer, you can use them on your WordPress portfolio to show the outcome of your work. 👨💻
Top before and after slider WordPress plugins in 2023
Now, let’s look at some before and after slider WordPress plugins that help you add this feature to your site. We’ve selected tools that can be added to your site via shortcode, block, and popular page builders like Elementor and Divi.
- Ultimate Before After Image Slider & Gallery (BEAF)
- Before After Image Comparison Slider for Elementor
- Before + After Images for Divi
- Before After Image Comparison
1. Ultimate Before After Image Slider & Gallery (BEAF)
This plugin lets you add unlimited before and after slider photos. Plus, it’s very easy to use.
Once you’ve installed the plugin, you can go to Before and After Slider > Add new and create the first slider:

You can upload your images, customize the style of the slider, and configure the settings. Then, simply copy the shortcode and paste it into the page where you want to display the slider.
🎯 Key features
- Horizontal and vertical layouts
- Alt tags on every image
- Mouse hover options
- Slider title, description, and read more button
- On-scroll slider and auto slider
- Image watermarks
💳 Price
This plugin is available for free. If you upgrade to BEAF Pro, you’ll get access to additional customization options. Plans start at $39 per year.
2. Before After Image Comparison Slider for Elementor
This before and after slider WordPress plugin is ideal for Elementor users. It enables you to add your slider as a widget inside the page builder:

If you use the Pro version of the tool, you’ll also be able to customize the slider, as you would any other Elementor widget.
🎯 Key features
- Custom image dimensions
- Unlimited number of sliders
- Horizontal or vertical orientation
- Move with mouse hover or click on image
💳 Price
You can use the free version, or upgrade to Pro. Prices start at $12 per year.
3. Before + After Images for Divi
This slider plugin is specifically designed to work with the Divi Builder. To use it, simply add the module to the page and upload your images:

You can then customize the slider using the available settings. For example, you might change the dimensions of the images and edit the design of the before and after labels.
🎯 Key features
- Compatible with lazy load plugins
- Supports cropped image sizes
- Multiple design options and dimensions
- Lightweight and mobile responsive
💳 Price
This plugin is completely free.
4. Before After Image Comparison
The final before and after slider WordPress plugin on our list is a Gutenberg block. Once you add it to your site, you’ll be able to access the slider from the Block Editor.
Simply look for a block called Image Compare and add it to the page. Then, you can click on the Upload buttons to select your images:

The Image Compare block comes with customization settings for the labels, captions, borders, and more.
🎯 Key features
- Add the slider as a block
- Show captions and labels
- Change the width of the slider
- Add image borders
- Configure the colors and typography
💳 Price
This plugin is free.
Conclusion 🧐
A before and after photo slider can help you highlight the benefits of your products. It enables you to show customers how using your product or service can help them achieve a desired effect or solve a problem. This may, in turn, prompt them to make a purchase.
🔌 To recap, here are some of the best before and after slider WordPress plugins:
Do you have any questions about using a before and after photo slider in WordPress? Let us know in the comments section below!