Learning how to add a contact form in WordPress can be relatively straightforward, depending on which tool you use. There are a lot of WordPress contact form plugins that make the process simple and give you full control over how your forms look and function. The challenge lies in choosing the right tool for your needs.
With the right tool, you’ll be able to set up contact forms anywhere on your site in a matter of minutes. At least, that is, if you use blocks. Form builders can be more customizable, but they also require more effort to set up.
In this article, we’ll show you how to add a contact form in WordPress in a few quick steps. We’ll also point you toward some alternatives for contact form plugins in case you want to take a different approach. Let’s get to it!
How to add a contact form in WordPress
In this section, we’re going to show you how to add a contact form in WordPress using Otter Blocks. You can use other plugins to set up a contact form, but the process should be fairly similar. We’ve selected Otter Blocks because it’s free and easy to use.
Step 1: Install and activate Otter Blocks 🦦
Otter Blocks adds a collection of new elements to the block editor. You can use the new blocks anywhere the editor works, and it also adds several new patterns that will help you build professional-looking pages faster.
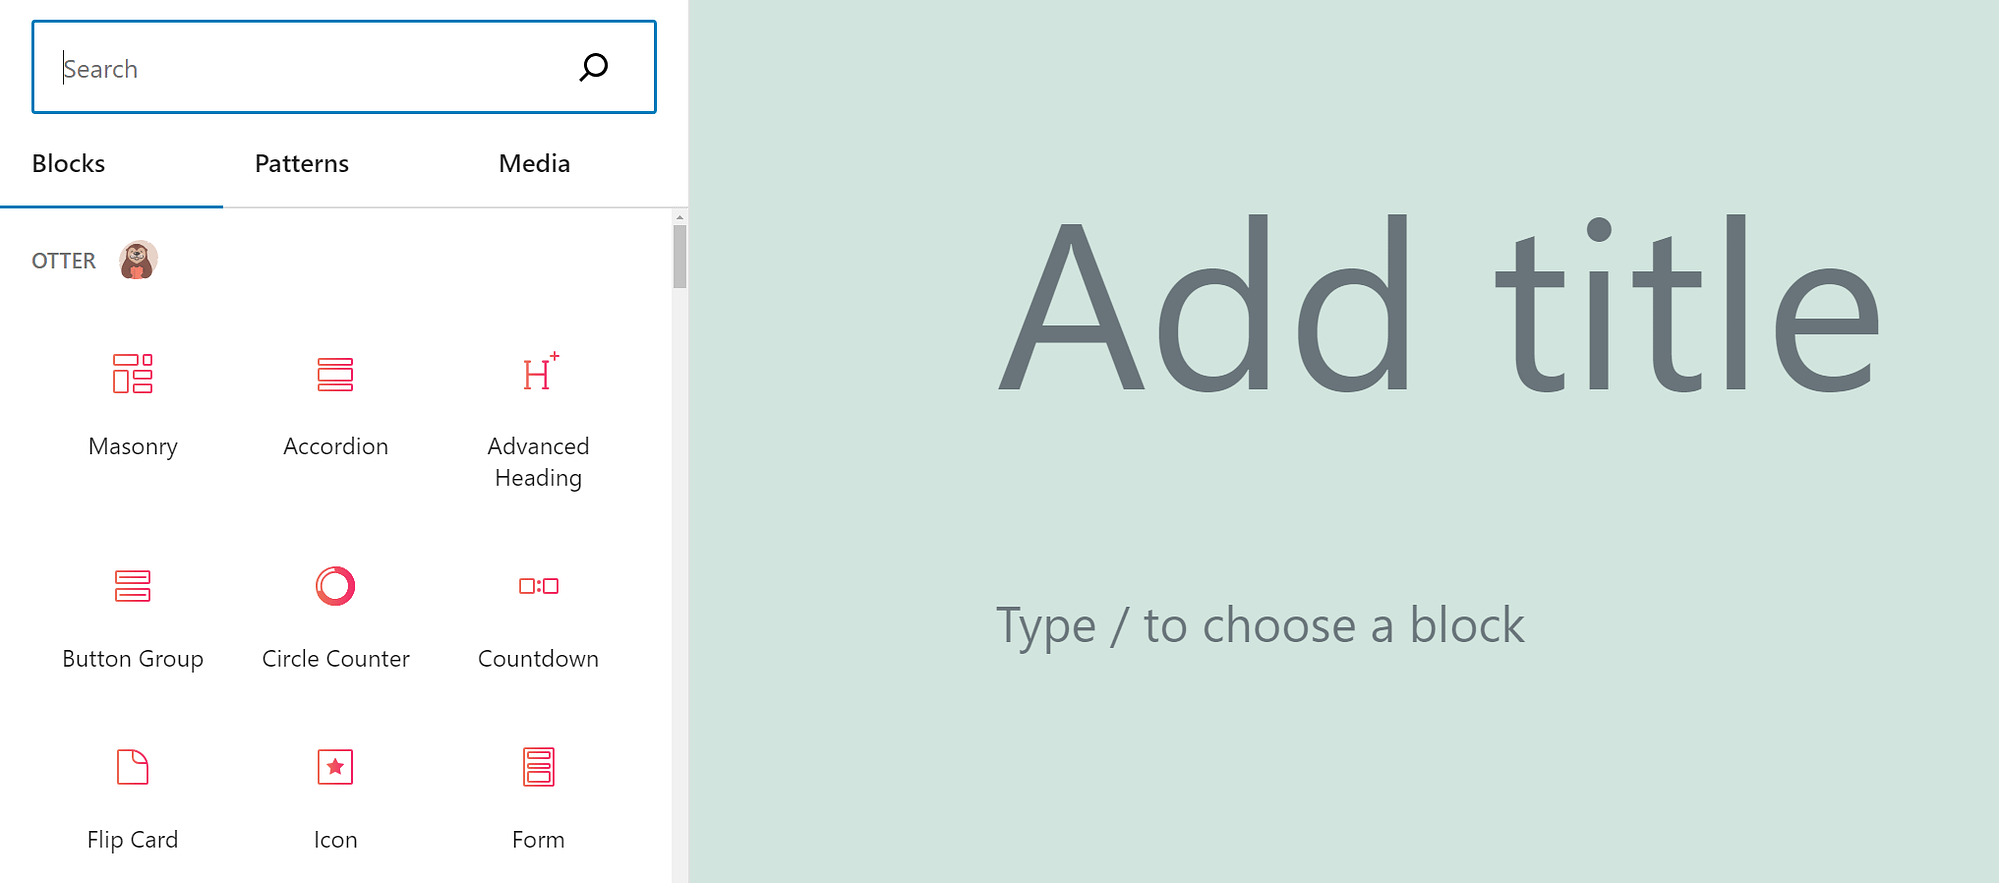
The blocks you add using the plugin come with unique settings. You can also add custom CSS to each block and configure animations for them. Once you open the Block Editor, you’ll notice the new blocks have distinctive red icons, so they’re easy to recognize:
The free version of Otter Blocks includes a Contact Form block, which is what we’ll be using throughout the rest of this tutorial. To get started, install and activate the plugin.
Step 2: Add and customize a contact form 🎨
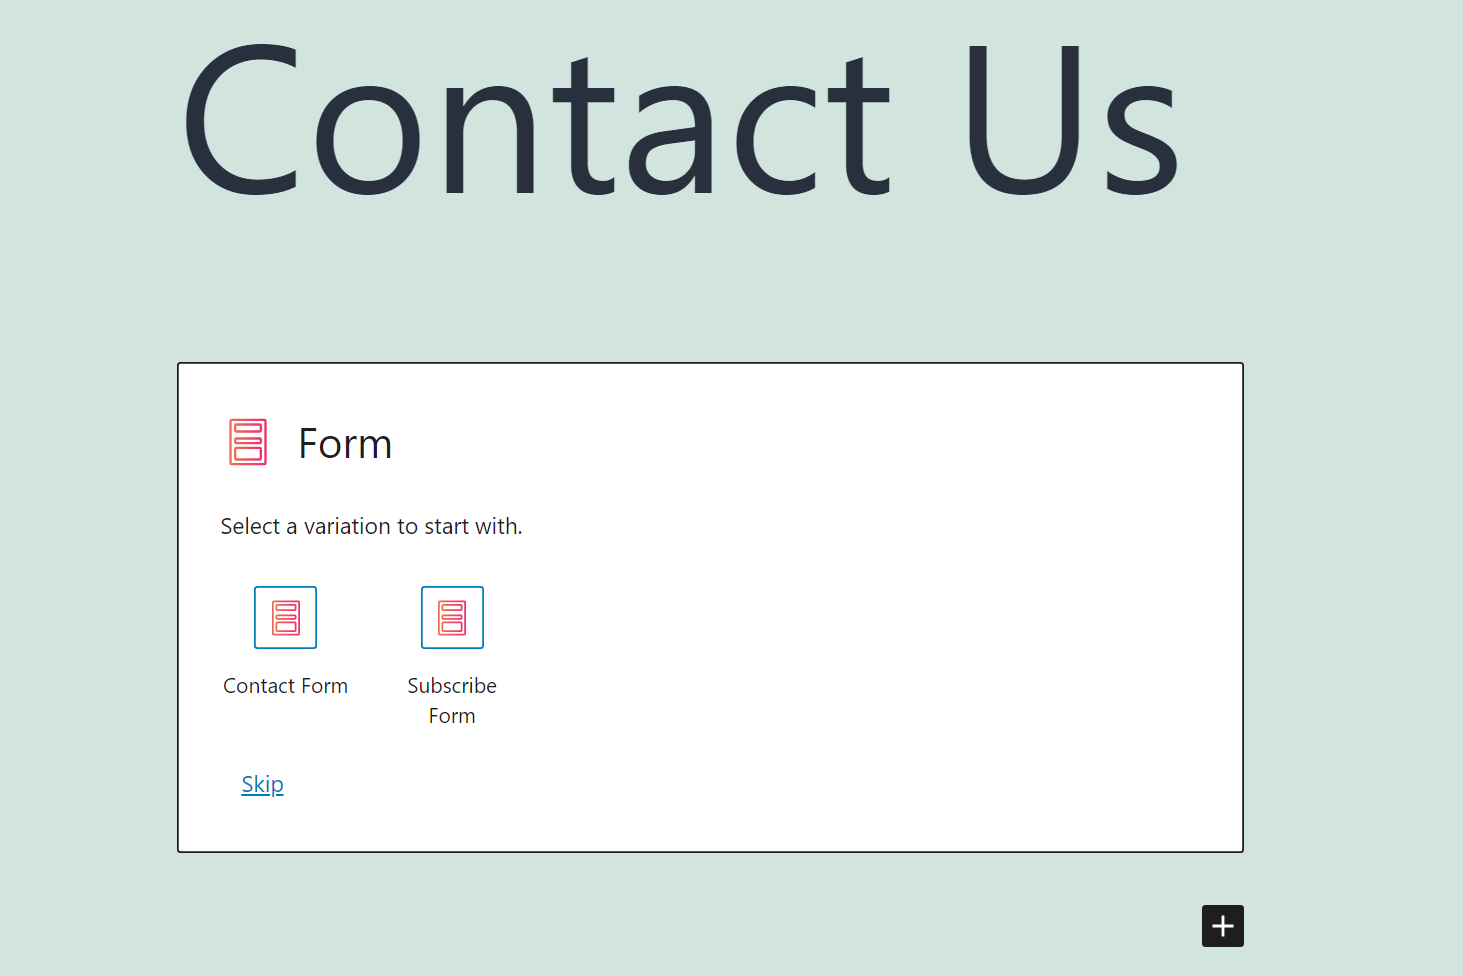
To get started, open the Block Editor and select the option to add a new block. Look for the Form block and select the Contact Form option from the menu that appears afterward:
By default, the contact form block will include name, email, and message fields. It’ll also display the error or success messages that users will see after making a submission:
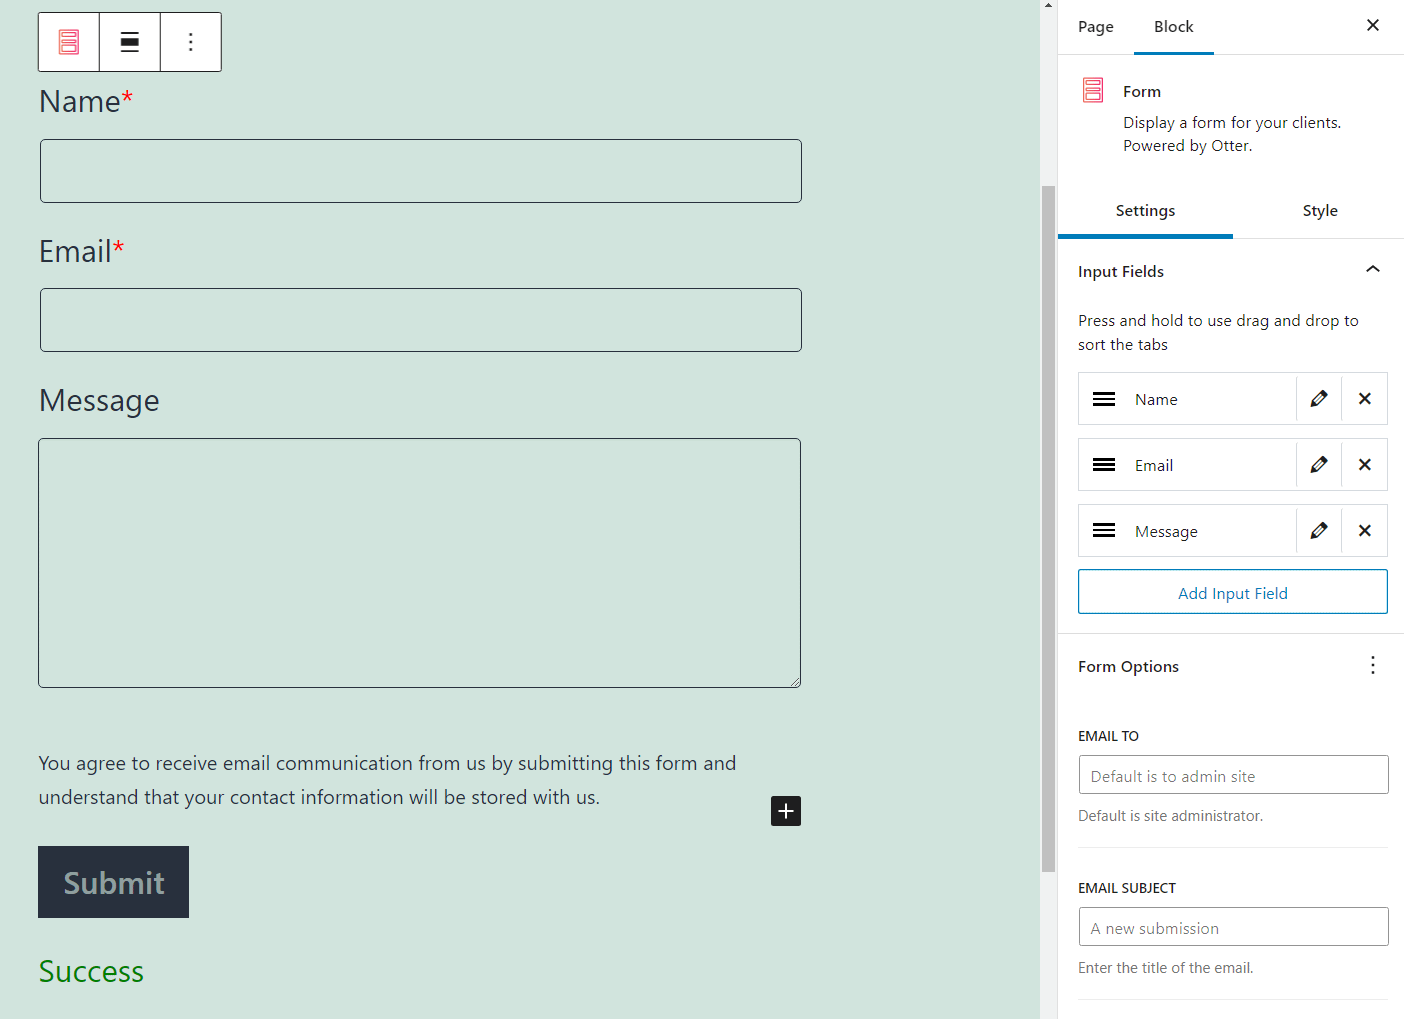
You can edit the default fields using the Block settings menu to the right of the screen. That includes the options to re-arrange fields by dragging and dropping them, editing their titles, and/or deleting them.
This menu also gives you the option to add new fields to the contact form. To do so, click on Add Input Field. Select the edit button for the new field and set a label for it:
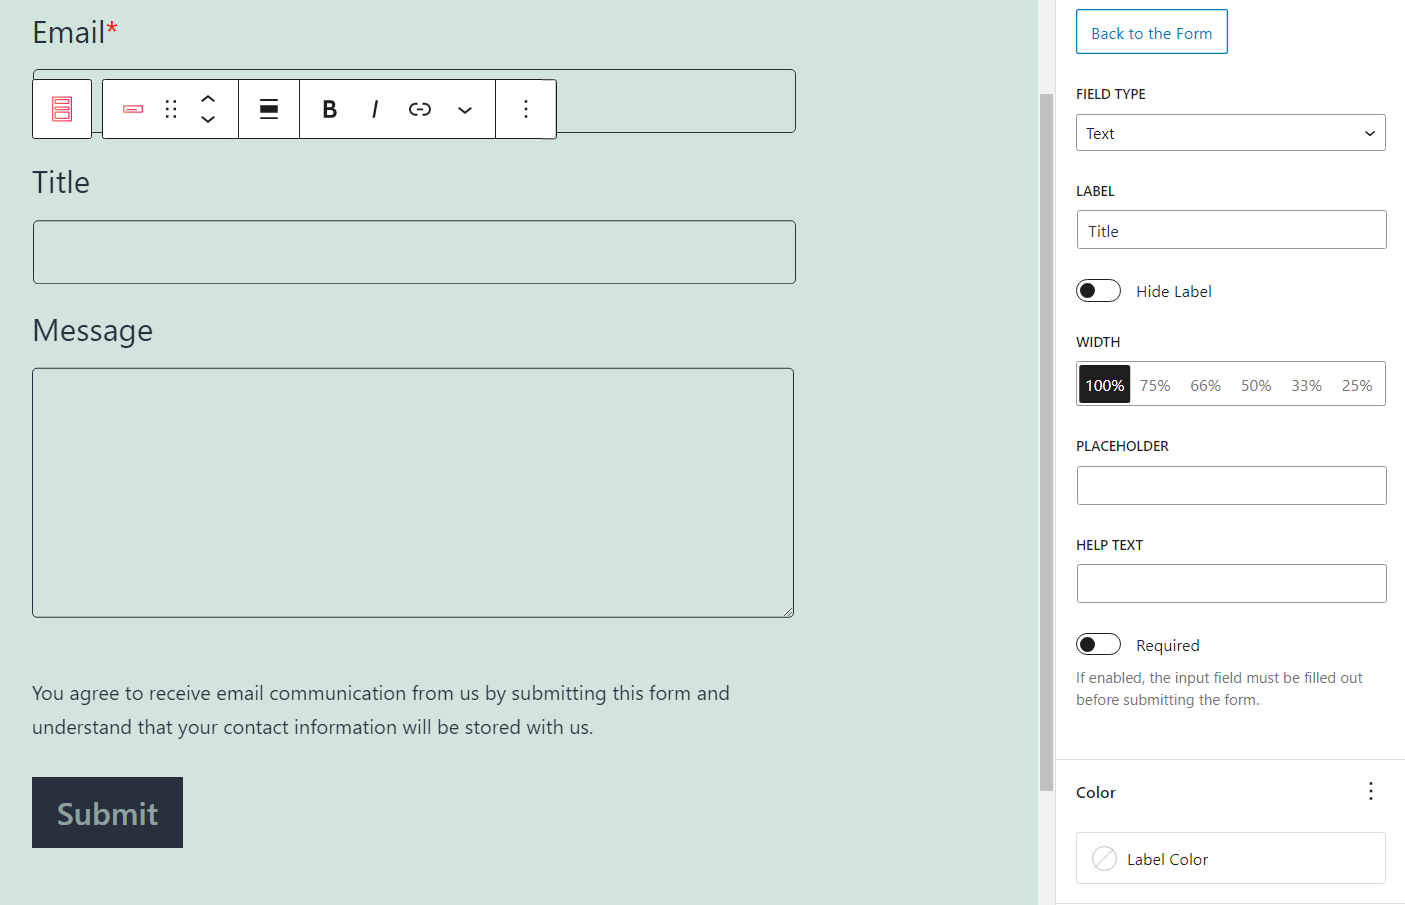
You can set the field to Required to make it compulsory for users to fill it out before being able to make a submission. We recommend enabling this option for the contact form’s core fields to avoid getting spam messages.
Once you’re happy with the fields in the contact forms, return to the main Block settings tab. Scroll down to Form Options and select which email to submit entries to:
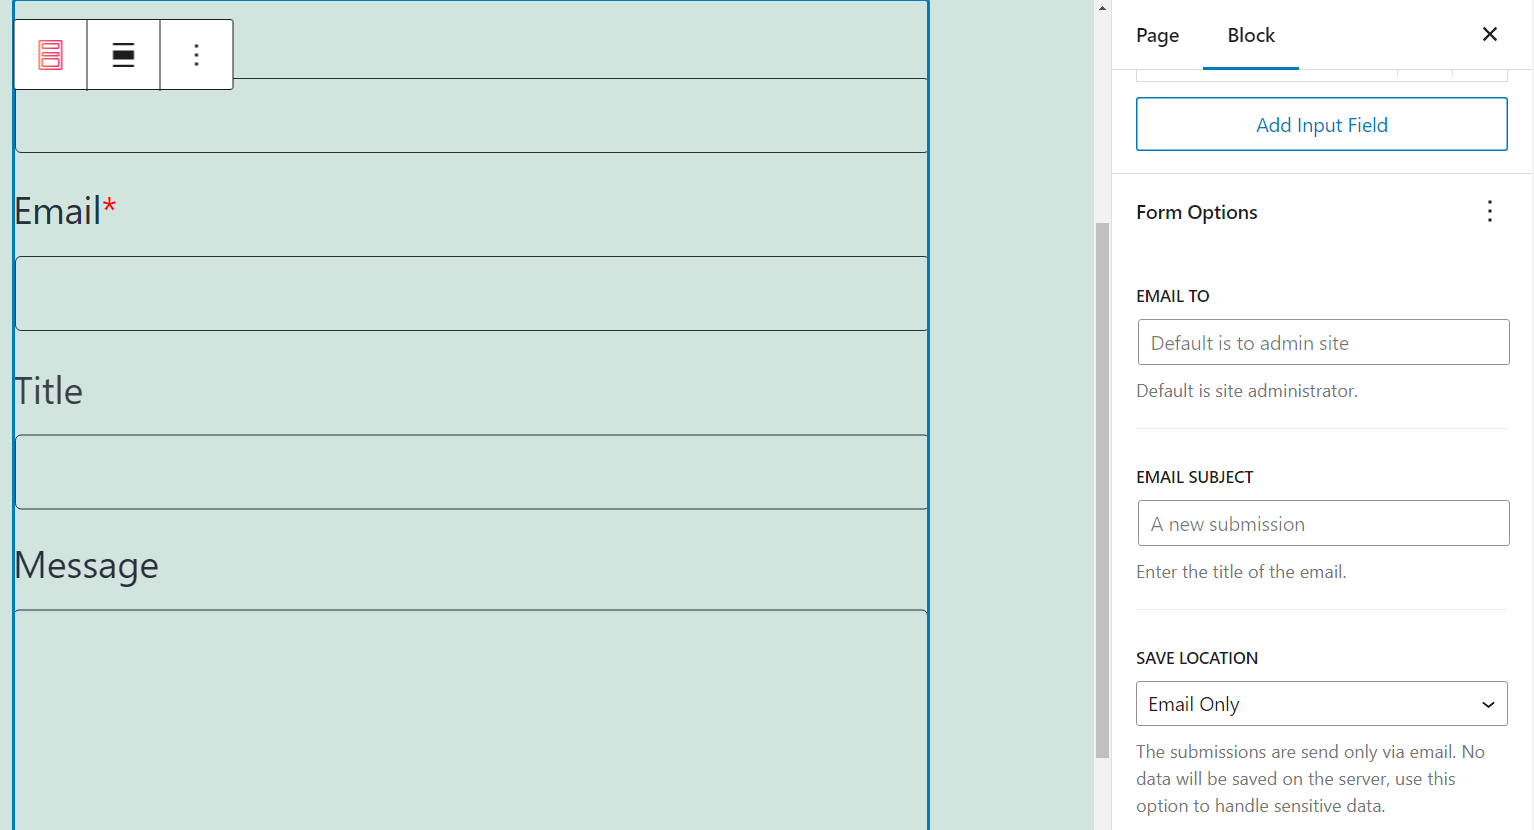
By default, the block will submit new queries to the administrator email, but you can change that by setting a new address in the EMAIL TO field. You can also configure a title for these contact form submissions, so you can recognize them.
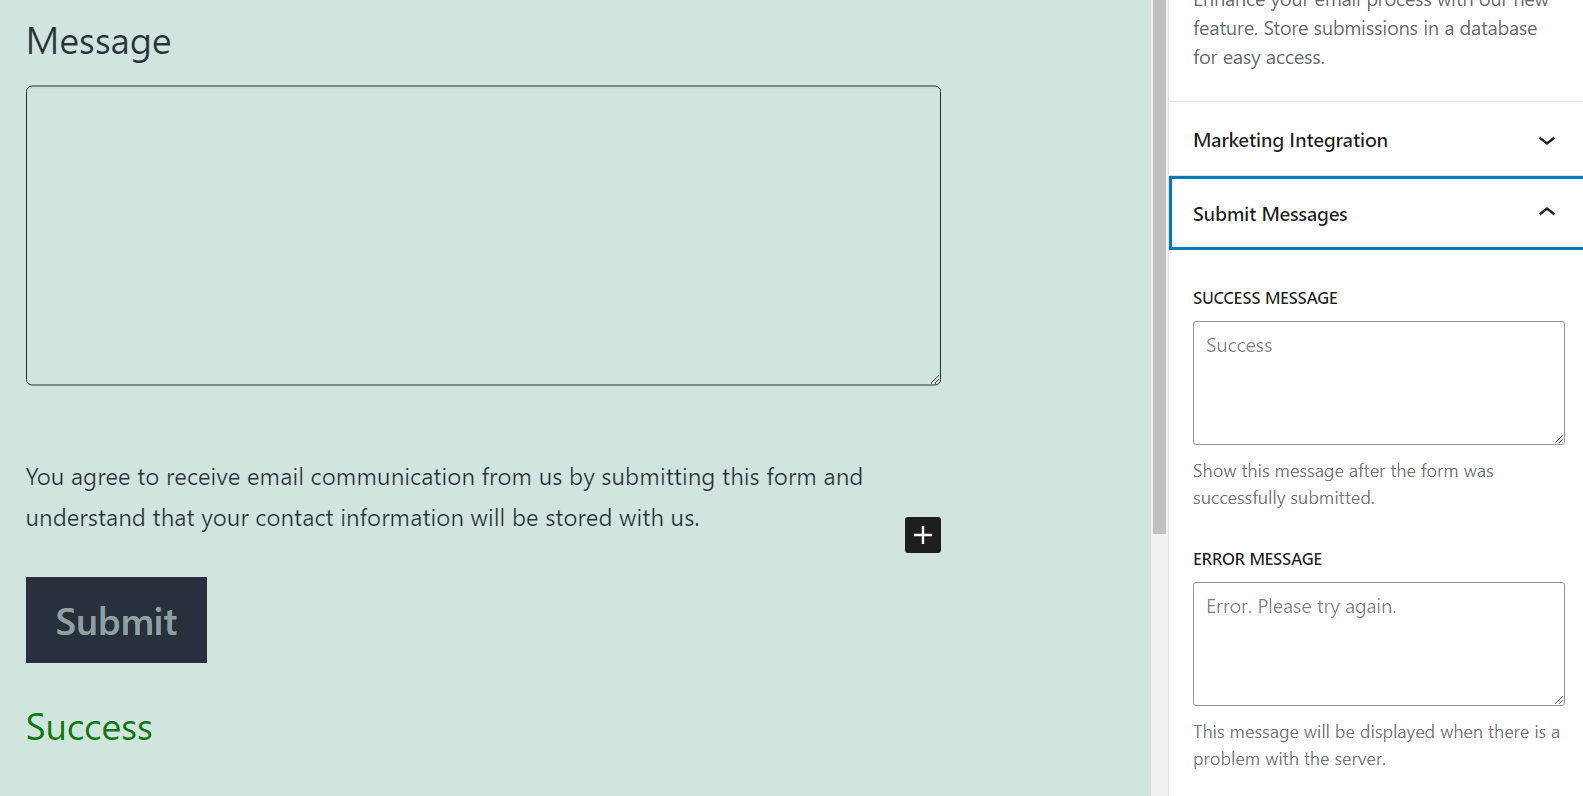
Finally, if you scroll down to the Submit Messages tab, you’ll be able to configure the error and success messages for the contact form. These are important elements since they’re the only indicators that tell users if they need to resubmit the form:
When you’re happy with the form’s setup, go ahead and save the draft or publish the page right away. Before you make the form public, though, you’ll want to test it.
Step 3: Test the form ⌛
Now that you know how to add a contact form in WordPress, you’ll want to test it. To get started, publish or preview the page that contains the contact form and fill out all the required fields:
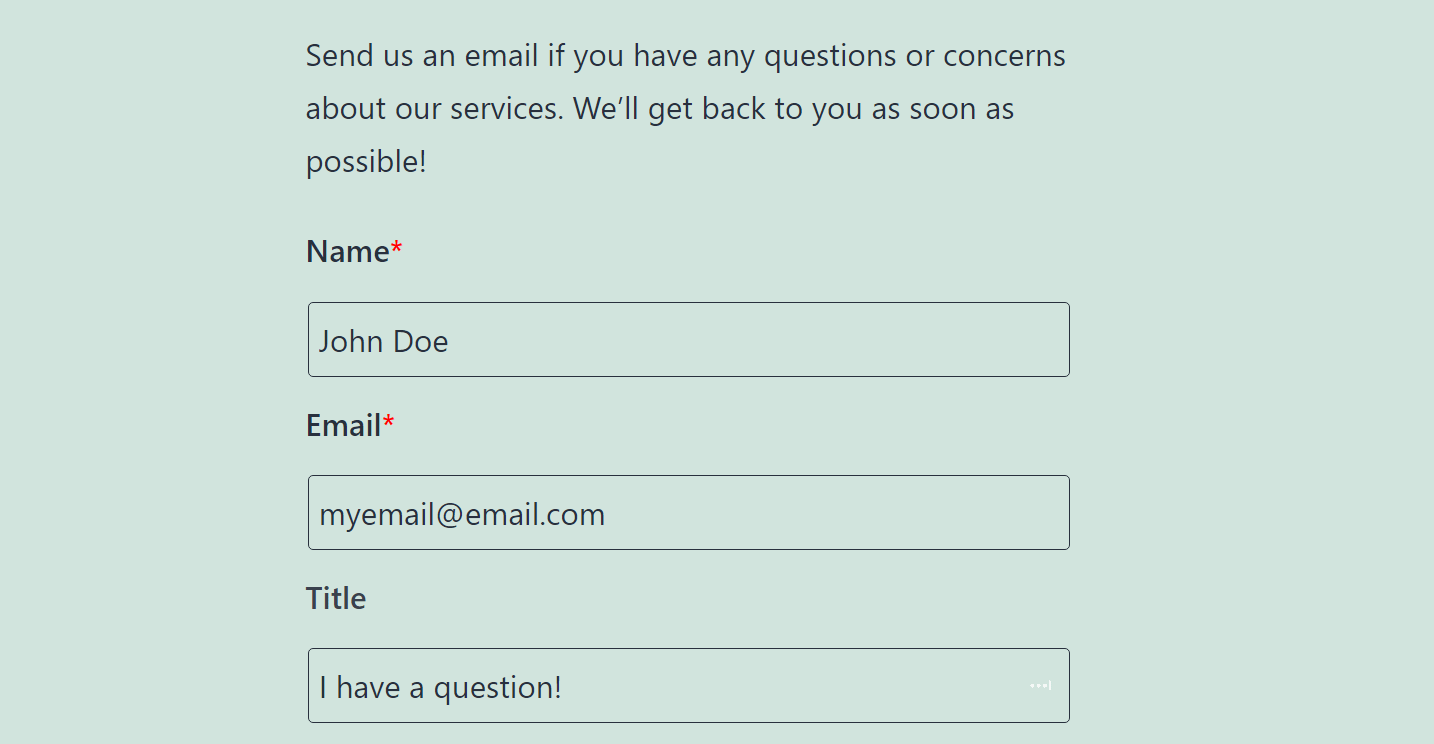
When you’re done, click on Submit and that’s it. If the contact form works, you’ll see a success message, and you should receive a corresponding email almost instantly.
If you see a success message, but you don’t get an email, check your spam folder just in case. You might also run into the occasional error where WordPress is not able to send emails, but that is easy to troubleshoot.
Contact form plugin alternatives
There are many methods and tools you can use to add a contact form in WordPress. If you want to explore a different approach from the previous tutorials, there are a lot of other plugins we can recommend for the job. Here are our top picks:
- Contact Form 7. The most recognizable and often the most recommended of the classic contact form plugins for WordPress. Here’s our guide on how to use it from top to bottom.
- WPForms. This plugin offers a drag-and-drop form builder, and its free version is more than good enough for simple contact forms.
- Gravity Forms. This premium plugin is designed to help you create advanced forms, including options with conditional logic and lots of marketing add-ons.
- Typeform. You can use this online service to build gorgeous hosted forms and embed them in WordPress.
- Ninja Forms. This freemium plugin comes with an intuitive visual builder, and its free version enables you to build a broad range of forms.
- Formidable Forms. This form plugin comes in free and premium versions. The free version is somewhat limited, while the premium option offers one of the most powerful form builders on the market.
You can read more about these WordPress form builders in this overview. None of them are a good fit for every kind of website, so your decision comes down to what type of form builder you want to use and the features you want access to.
Conclusion 🤓
WordPress doesn’t include built-in tools or blocks to add contact forms to your website. If you want to add a contact form to your site, you’ll need to install a plugin or use a third-party tool that enables you to do so.
🦦 You can do this using Otter Blocks, which also adds a whole collection of other blocks and patterns to the Block Editor. Here’s how to do it:
- Install and activate Otter Blocks
- Add and customize a contact form
- Test the contact form.
Do you have any questions about how to add a contact form in WordPress? Let’s talk about them in the comments section below!