If you want to keep your content protected by copyright laws, it’s a good idea to create a footer that states clearly when your site was created, and also when its most recent content was published. You can achieve this easily by adding a dynamic copyright date into your WordPress footer.
Why add a dynamic copyright date to your WordPress footer
By adding the date to your copyright notice, you can make sure your content is protected by copyright laws for the year (or range of years that your site has been running). However, it can be time-consuming to amend the date manually each year. Plus, it’s easy to forget to do it.
That’s why it’s a good idea to add a dynamic copyright date to your WordPress footer. That way, your footer will update automatically, ensuring that your content is always covered.
This is also an easy way to signal to search engines (like Google) that your site is active and fresh. Since search engines prioritize websites with relevant, valuable content, this can indirectly boost your search rankings. As such, you can gain visibility in the results page and drive more visitors to your content.
Now that you know why it’s a good idea to add a dynamic copyright date to your WordPress footer, let’s take a look at two simple ways to do it.
1. Use a plugin like Auto Copyright Year Updater 🔌
The easiest way to add a dynamic copyright date to a WordPress footer is to use a plugin. Auto Copyright Year Update is an excellent option since the year will update automatically. Plus, you’ll add the copyright notice using shortcode, so it can go anywhere on your site.
The process will looks slightly different depending on if you’re using a classic theme like Neve, or a block theme like Neve FSE. We’ll show you how to do it with both.
How to create a WordPress copyright footer with a classic theme
First, you’ll need to install and activate the plugin in your WordPress dashboard. Then, head to Appearance > Widgets and expand the Footer tab.
Click on the + icon to add a new widget and select the Shortcode block:

Enter the following shortcode: [cr_year]
You might also want to add a copyright symbol to your WordPress footer. In which case, you’ll need to add the following shortcode to the block: [cr_symbol]
Click on Update to save your changes. Then, open your site in a fresh tab to see your complete WordPress copyright footer:

While this method is the best way to create a WordPress copyright notice with a classic theme, the next section will show you how to do it with a block theme.
How to create a WordPress copyright footer with a block theme
If you use a block theme, the steps to add a dynamic copyright date to your footer using the Auto Copyright Year Updater plugin are slightly different. First, install and activate the plugin as usual.
But then, you’ll need to open the Full Site Editor (FSE) by going to Appearance > Editor within your dashboard. Select Template Parts > Footer:
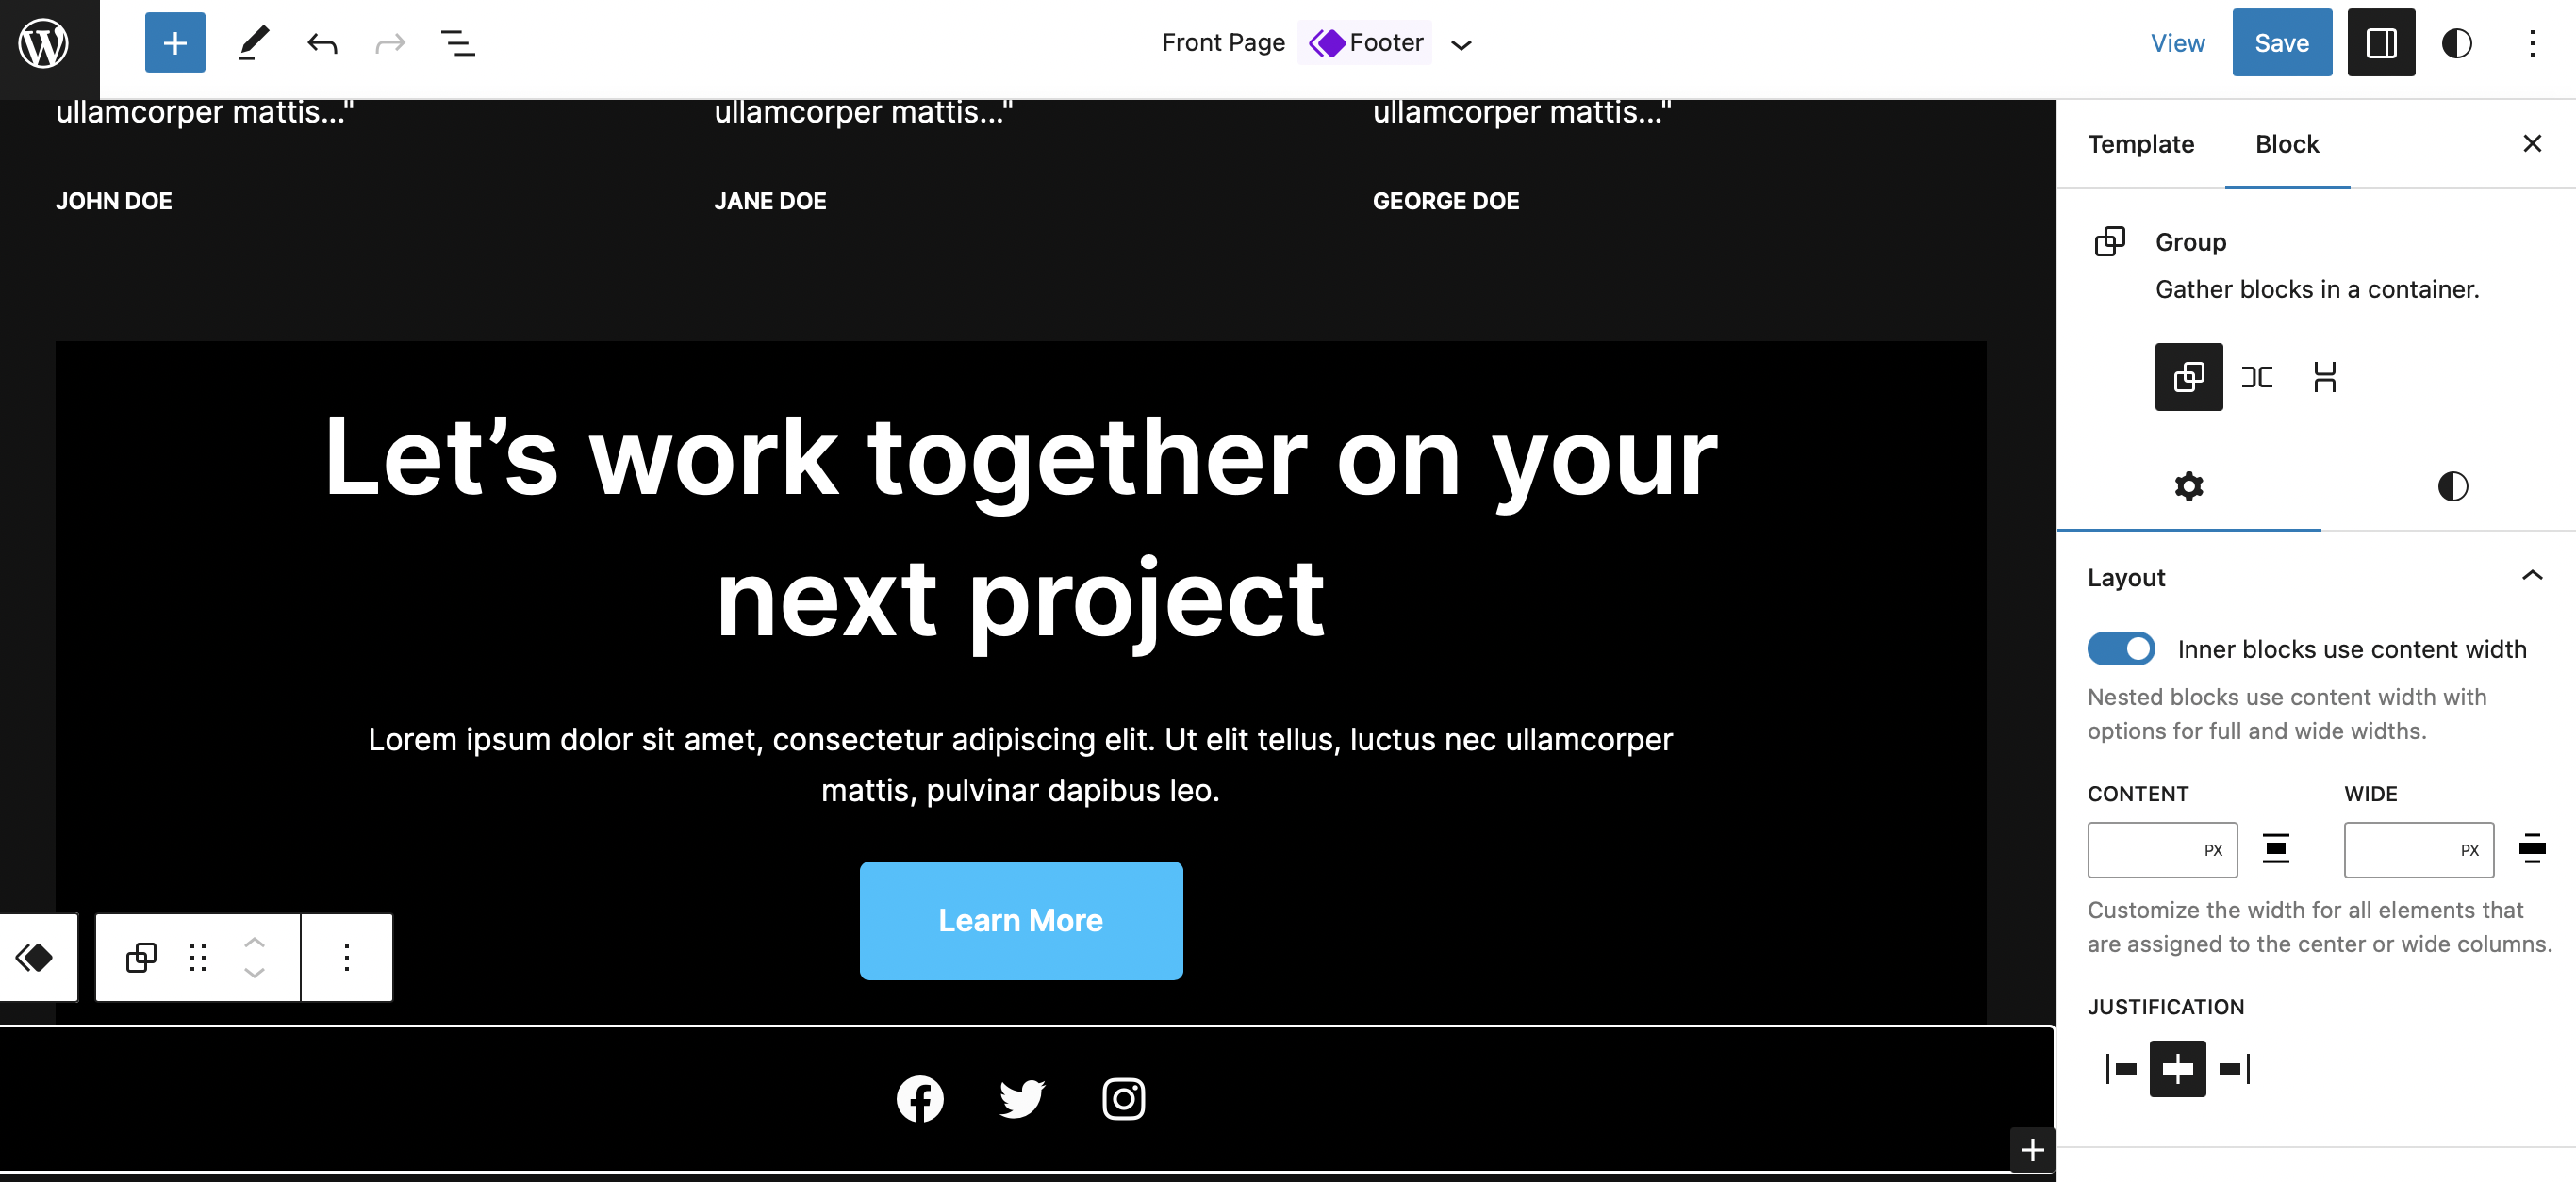
Click on the + icon to add a new block and choose Shortcode. Here, add the following shortcode to add a dynamic copyright date to your WordPress footer: [cr_year]
You might also like to add a copyright symbol using the following shortcode: [cr_symbol]
Now, click on Save. Then, preview the change on the frontend of your site:
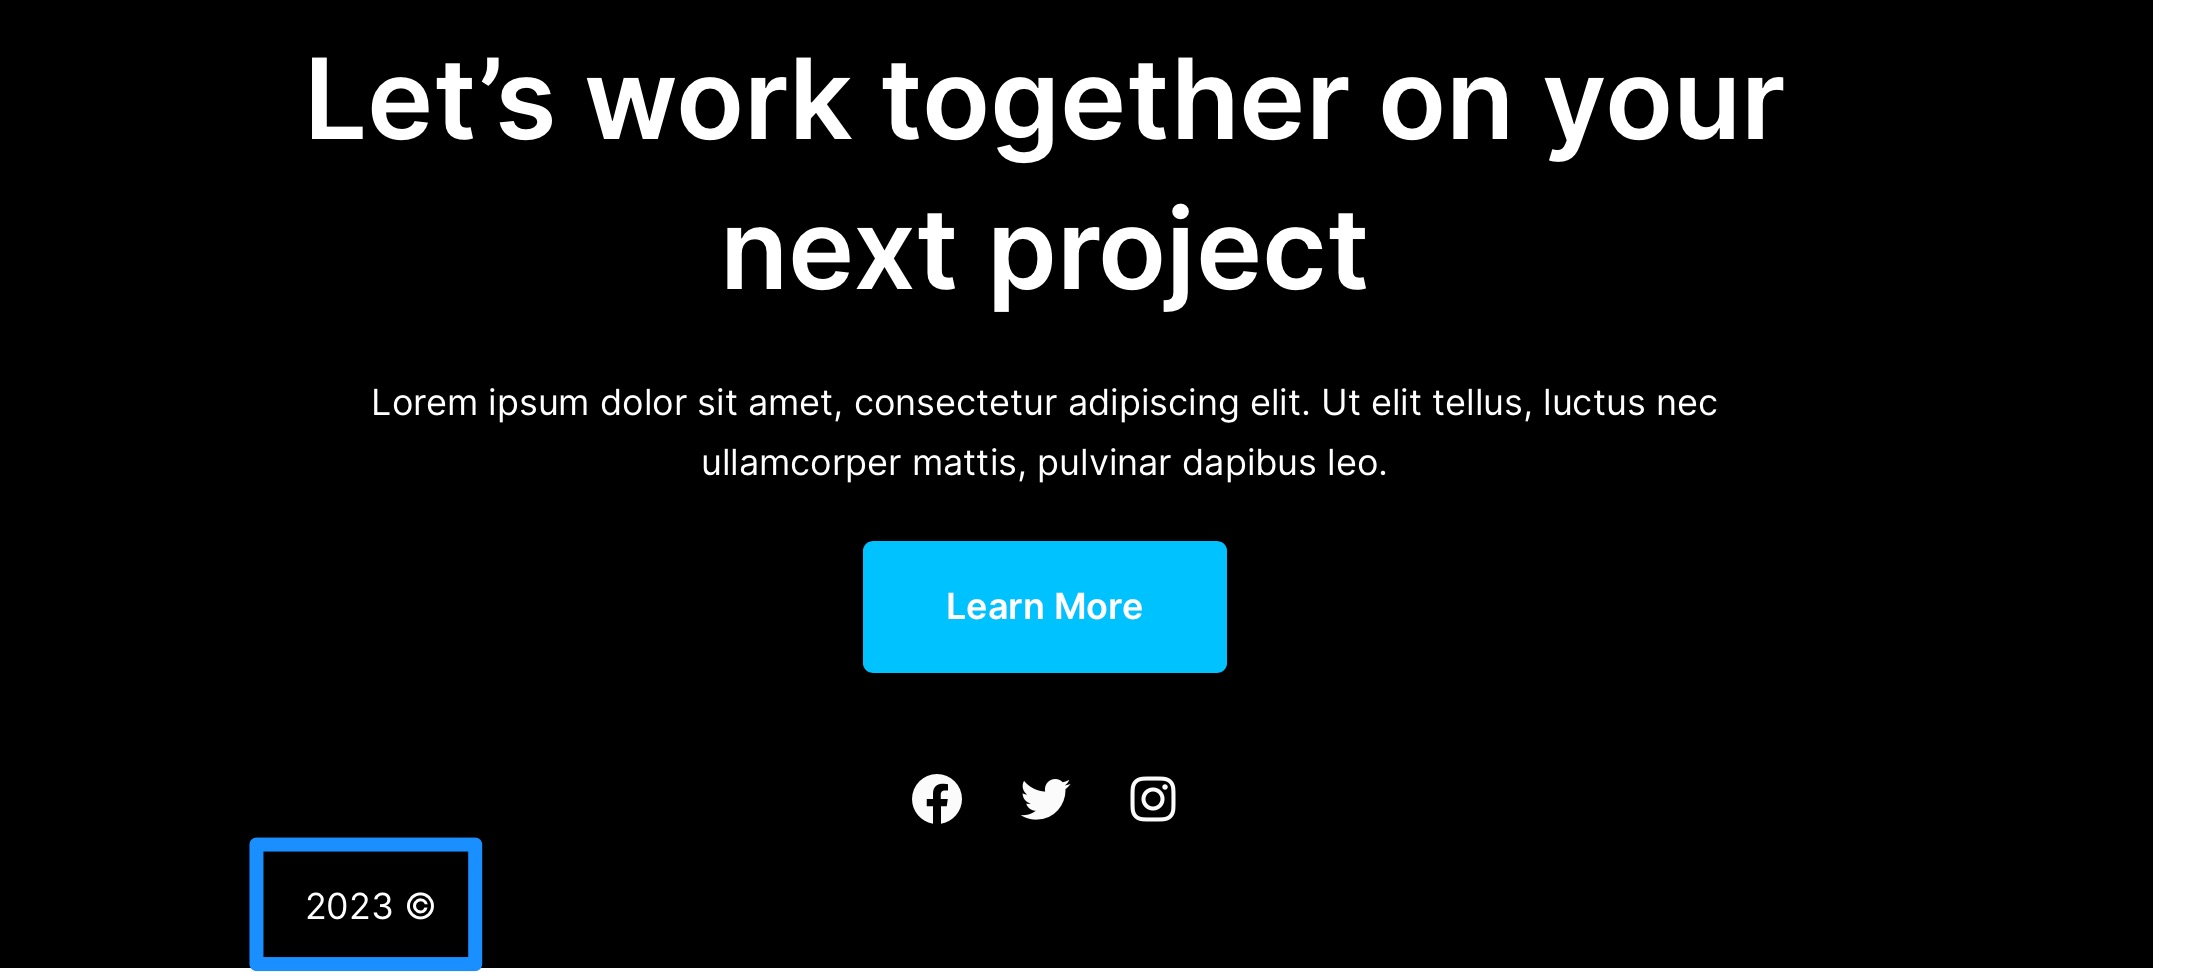
And that’s it. So at this point, you’ve added a dynamic date to your WordPress copyright footer in a block theme.
2. Apply a custom PHP snippet as shortcode (using Code Snippets) 👨💻
The downfall of using a plugin to add a dynamic date to your WordPress copyright footer is that it only displays the current year. However, you can add a dynamic date that covers all the years since you started your website (up until the current year). To do this, the code has to rely on the date of your oldest post.
This method usually requires you to edit your functions.php file. However, this can be risky (especially for beginners) since even a slight error can break your site. Therefore, it’s safer to use a plugin like Code Snippets to add and edit code.
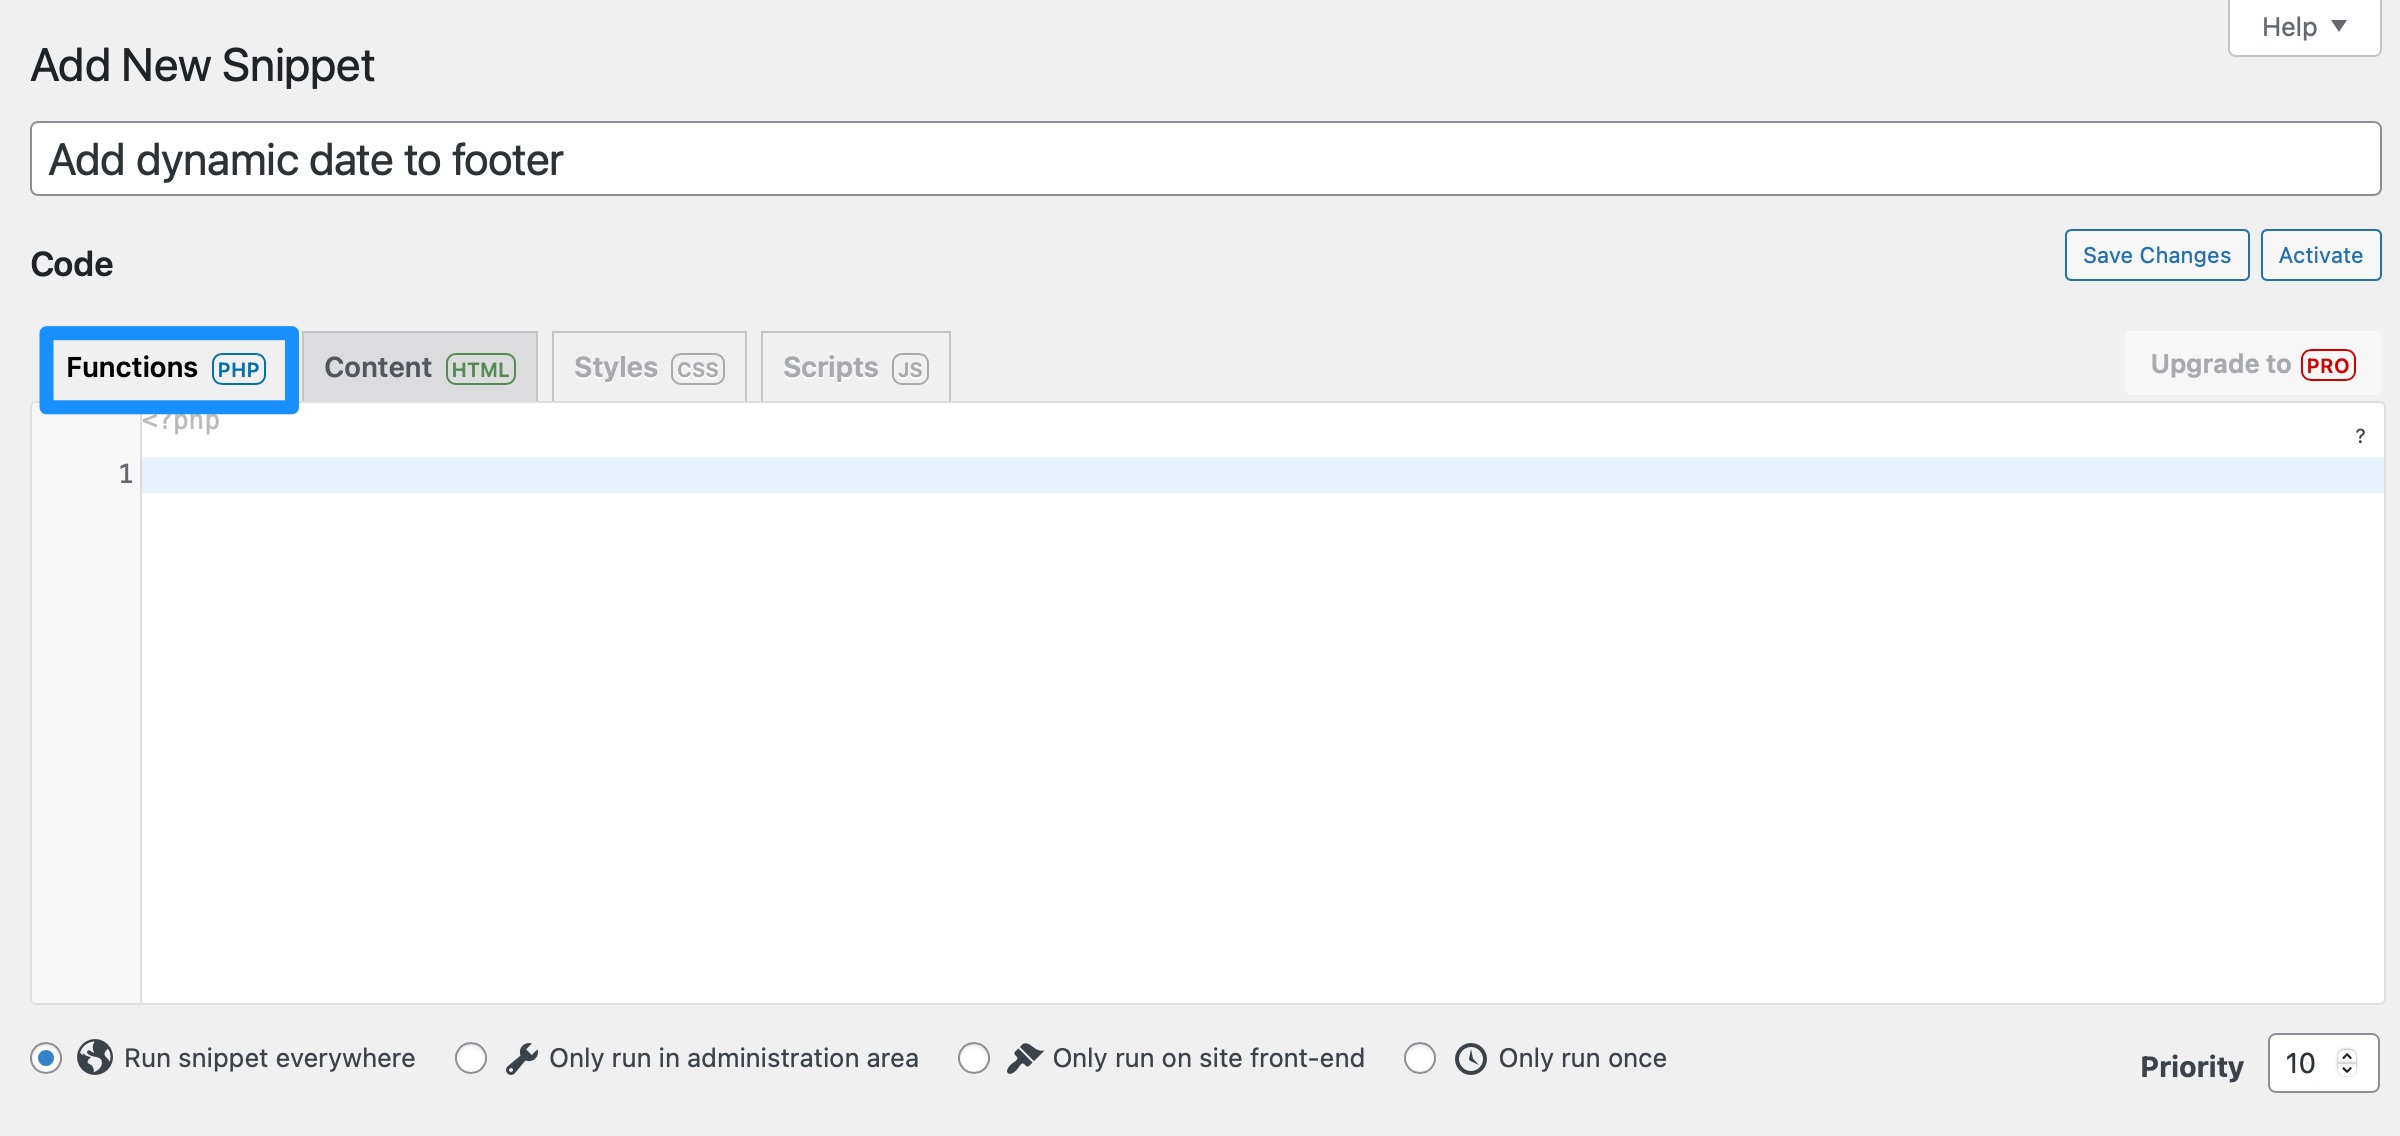
To get started, you’ll need to install and activate Code Snippets from your WordPress dashboard. Then, go to Snippets > Add New.
Here, give your snippet a memorable name and make sure to select the Functions PHP tab:
Now, copy the following code into the Code box:
add_shortcode( 'ti_dynamic_copy', function ()

if (!function_exists('ti_copyright'))
    function ti_copyright()
        //Check if we have the value cached, in which case we can fetch that instead
        $output = get_transient('ti_copyright_text');
        if (false !== $output) return $output;

        //Fetching the dates of the first and last post's publication
        global $wpdb;
        $copyright_dates = $wpdb->get_results("SELECT YEAR(min(post_date_gmt)) AS firstpostdate, YEAR(max(post_date_gmt)) AS lastpostdate FROM $wpdb->posts WHERE post_status="publish"");

        $output="";
        if ($copyright_dates)
            $output="© " . $copyright_dates[0]->firstpostdate . '-' . $copyright_dates[0]->lastpostdate;

            //Cache this value until tomorrow.
            set_transient('ti_copyright_text', $output, DAY_IN_SECONDS);


        return $output;


return ti_copyright();

 );
Scroll down and choose where you want to run the code. For instance, you can run the snippet everywhere, on the frontend, or in the admin area. For this specific code snippet, it only needs to run on the frontend of your site.

Next, click on Save Changes and Activate.
Next, go to your footer’s configuration. Depending on whether you’re using a FSE-enabled block theme or a classic theme, you’ll find this section in different areas of the WordPress dashboard.
- For block themes, go into Appearance → Editor.
- For classic themes, go into Appearance → Customize.
Then, add the following shortcode in the spot where you want your custom footer copyright to appear:
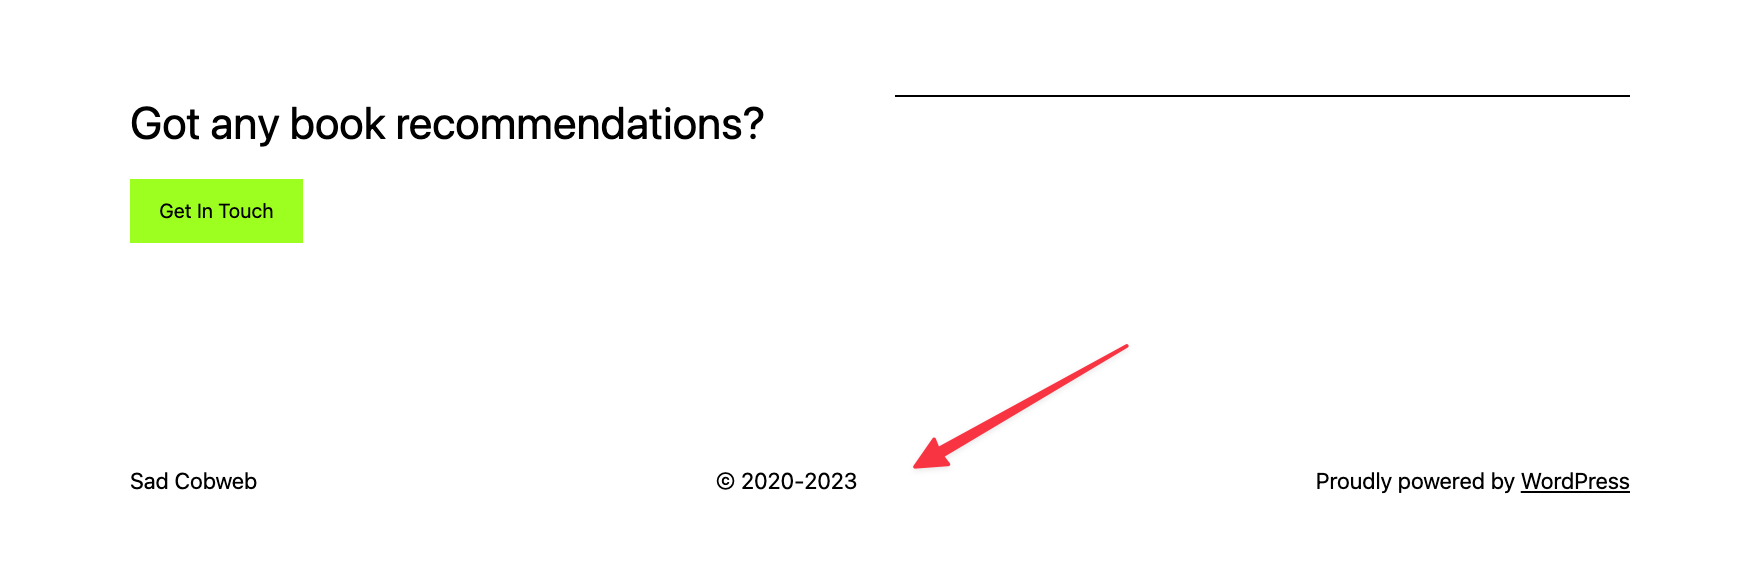
[ti_dynamic_copy]All that’s left to do now is simply head to the frontend to view the dynamic copyright date in your WordPress footer:
💡 Keep in mind, however, that modifying your site by using any custom code snippets can result in your WordPress crashing. It’s always a good idea to back up your site before you do any sort of modifications like this.
Conclusion 🧐
One of the easiest ways to keep your site protected by copyright laws is to display a clear notice in your website footer. However, it’s also a good idea to add a dynamic copyright date to your WordPress footer so that it automatically updates each year.
📌 To recap, here are two simple ways to add a dynamic copyright date to a WordPress footer:
Do you have any questions about how to add a dynamic copyright date to a WordPress footer? Let us know in the comments below!