There are times when it makes sense to change the author in WordPress. You might hire ghostwriters to create blog posts or run a content hub with lots of writers. Alternatively, you might want to hide the author from posts to make your site more cohesive. But you might not know how to do this.
Fortunately, there are plenty of ways to change the author in WordPress. 😎 The simplest options are to use the Block Editor or the Classic Editor. But you can also use the Quick Edit feature and even change the author for posts in bulk. ✒️
What to do before you change the author in WordPress
Obviously, if you want to change the author in WordPress to reflect your own name, you can go right ahead and do this. But if you want to show a different user as the author, your first job is to make sure that the user exists on the website.
To check this information, navigate to Users > All Users in your dashboard. If you’re logged into the administrator account, you can view and edit all users here. If you don’t see the user, click on Add New.
Then, enter the user details and use the Role dropdown to select Author:

Once the new user has been added, click to edit the user profile.
Now, scroll down to the Name section and review the Display name publicly as box. This is the author’s name that will be displayed on your posts.
If you want to change it, use the dropdown to select a different option. Then, save the changes.
How to change the author in WordPress (5 ways)
Now that you’ve got your user(s) all set up, we’re going to show you five ways to change the author in WordPress.
- Use the Block Editor
- Use the Classic Editor
- Use Quick Edit
- Change the author for posts in bulk
- Hide authors on WordPress posts
1. Use the Block Editor
If you’re using the Block Editor (or Gutenberg) to write your posts, you can change the author using the Post settings. To the right of your page, click on the Post tab and locate the Author option:
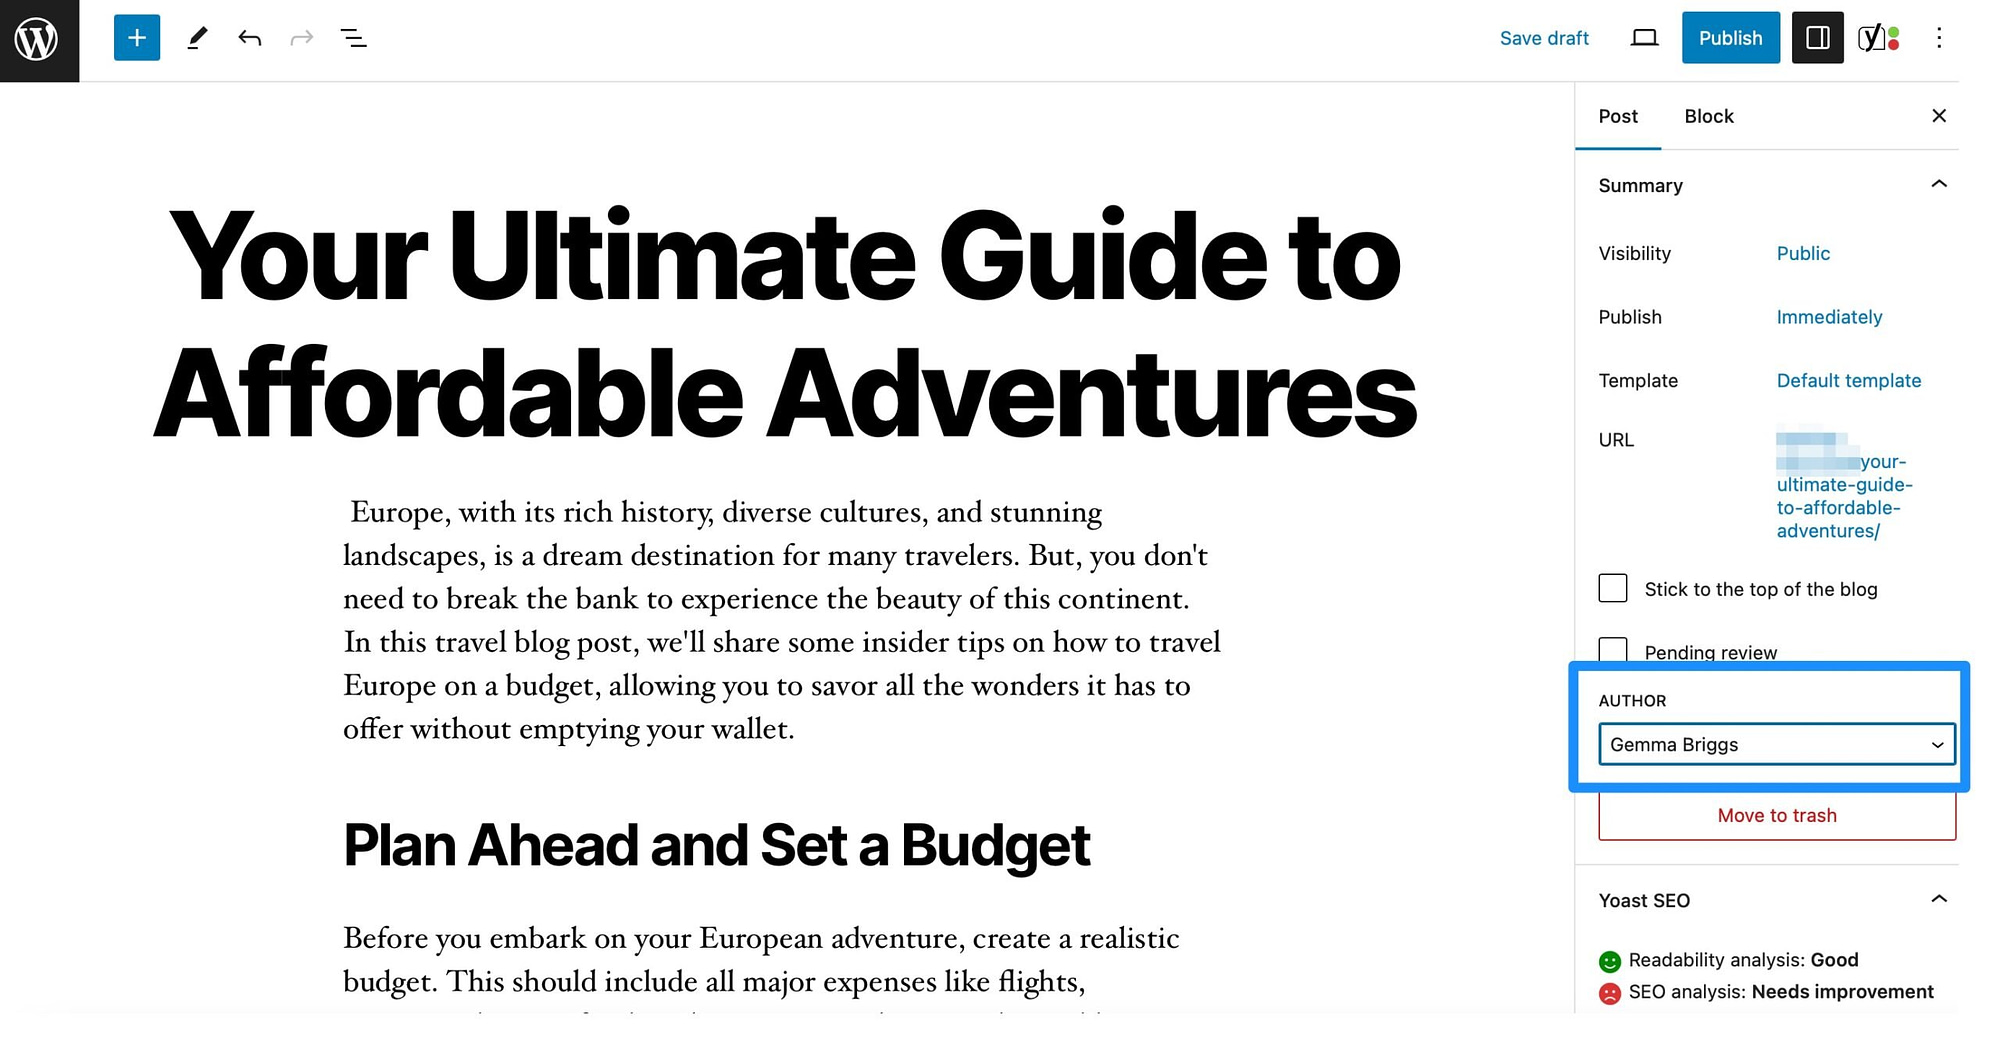
Now, all you need to do is use the dropdown to select the correct author’s name. Then, make sure to save or publish your post.
2. Use the Classic Editor
While most users prefer the Block editor, you might still be using the old Classic Editor to write posts in WordPress. Like the method above, you can change the author directly to the editor. However, first, you’ll need to add the author panel to the page.
To do this, click on the Screen Options button at the top of the page. Then, check the box besides Author:
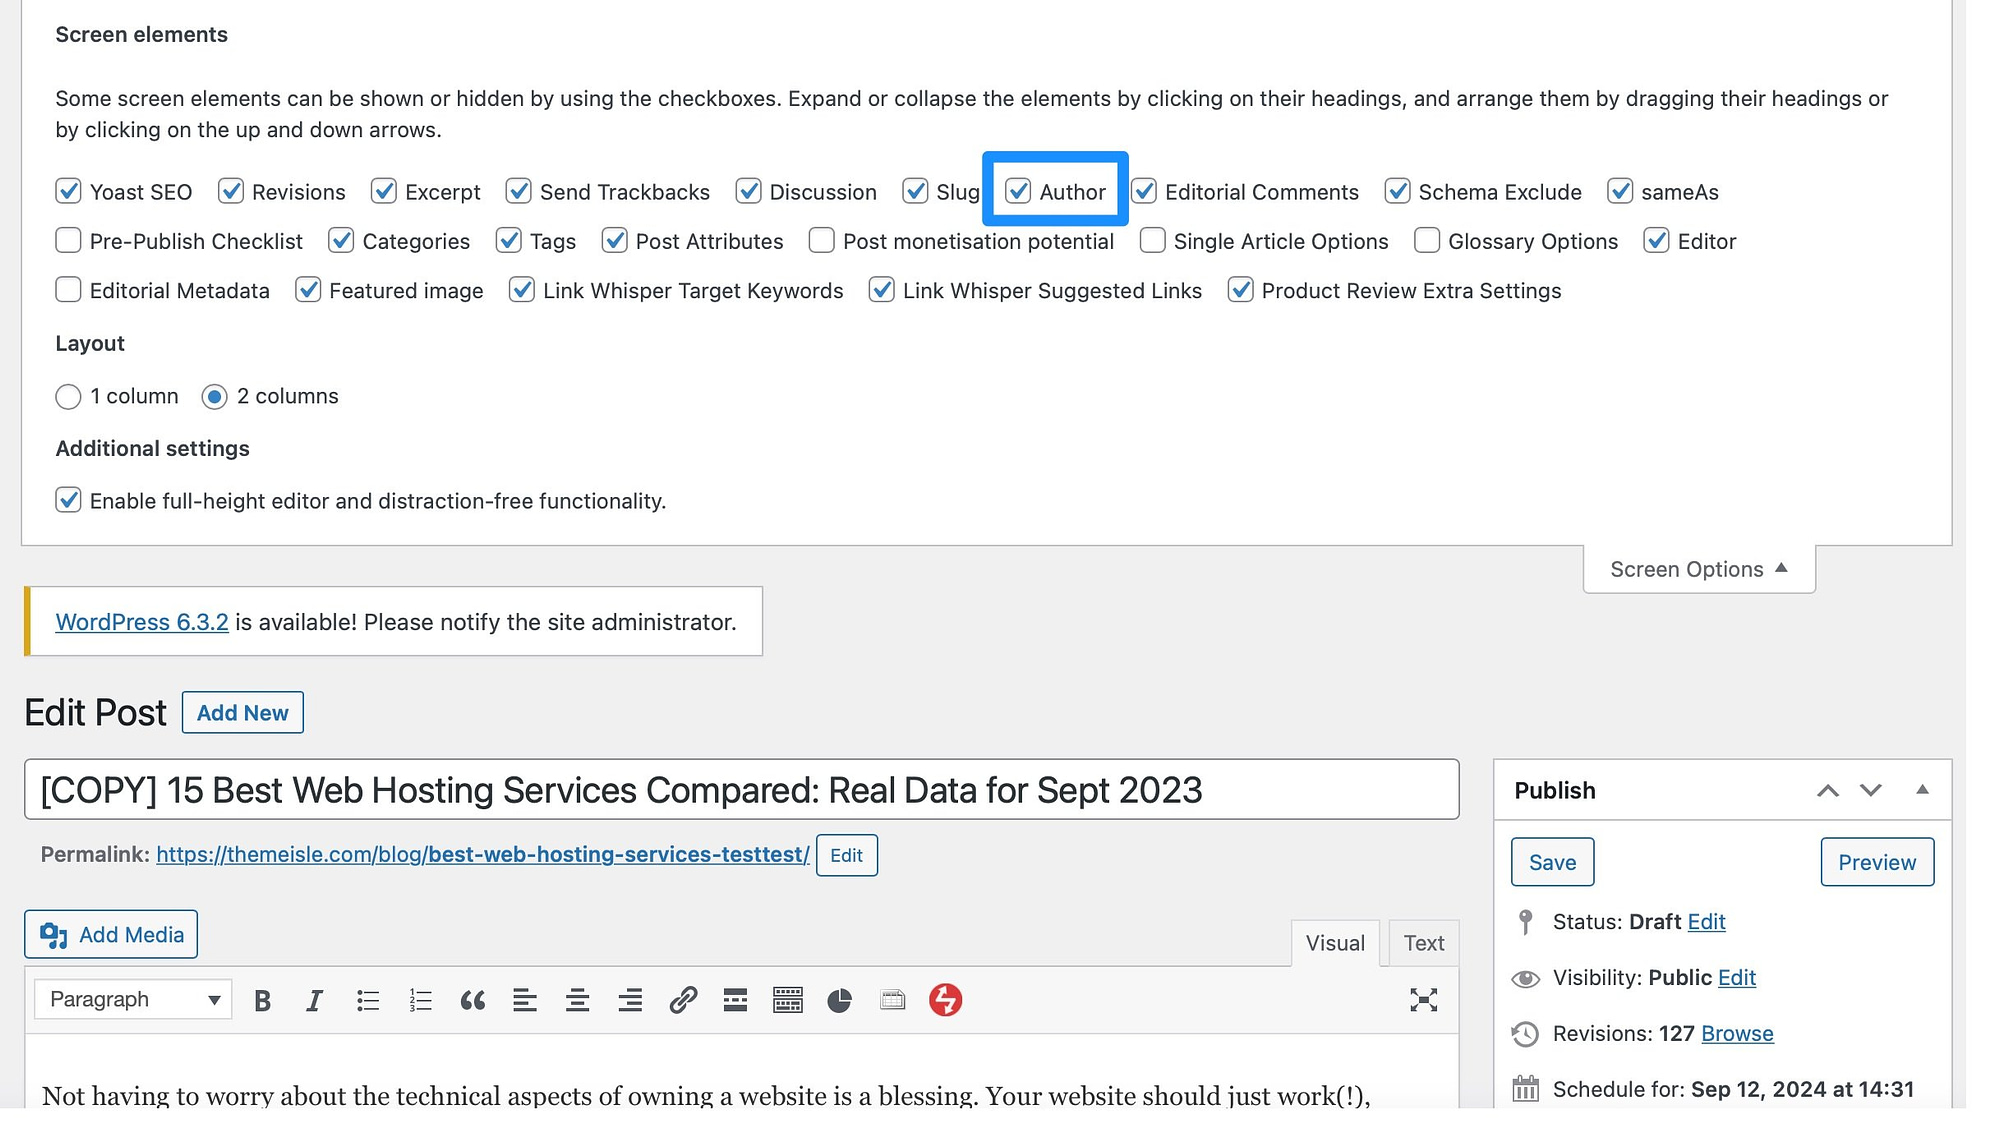
Now, the author panel should appear beneath the editor. Here, simply use the dropdown to select a new author. Then, update or save your post to show the change.
3. Use Quick Edit
If you’re in a hurry, you can use the Quick Edit link to change the author in WordPress. The benefit of this method is that you don’t need to edit your page or post to make the change.
Instead, you can do it by going to Posts > All Posts from your WordPress dashboard. Then, hover over the post you want to change and select the Quick Edit link beneath it.
From here, head to the Author section and choose a new author name using the drop-down menu:
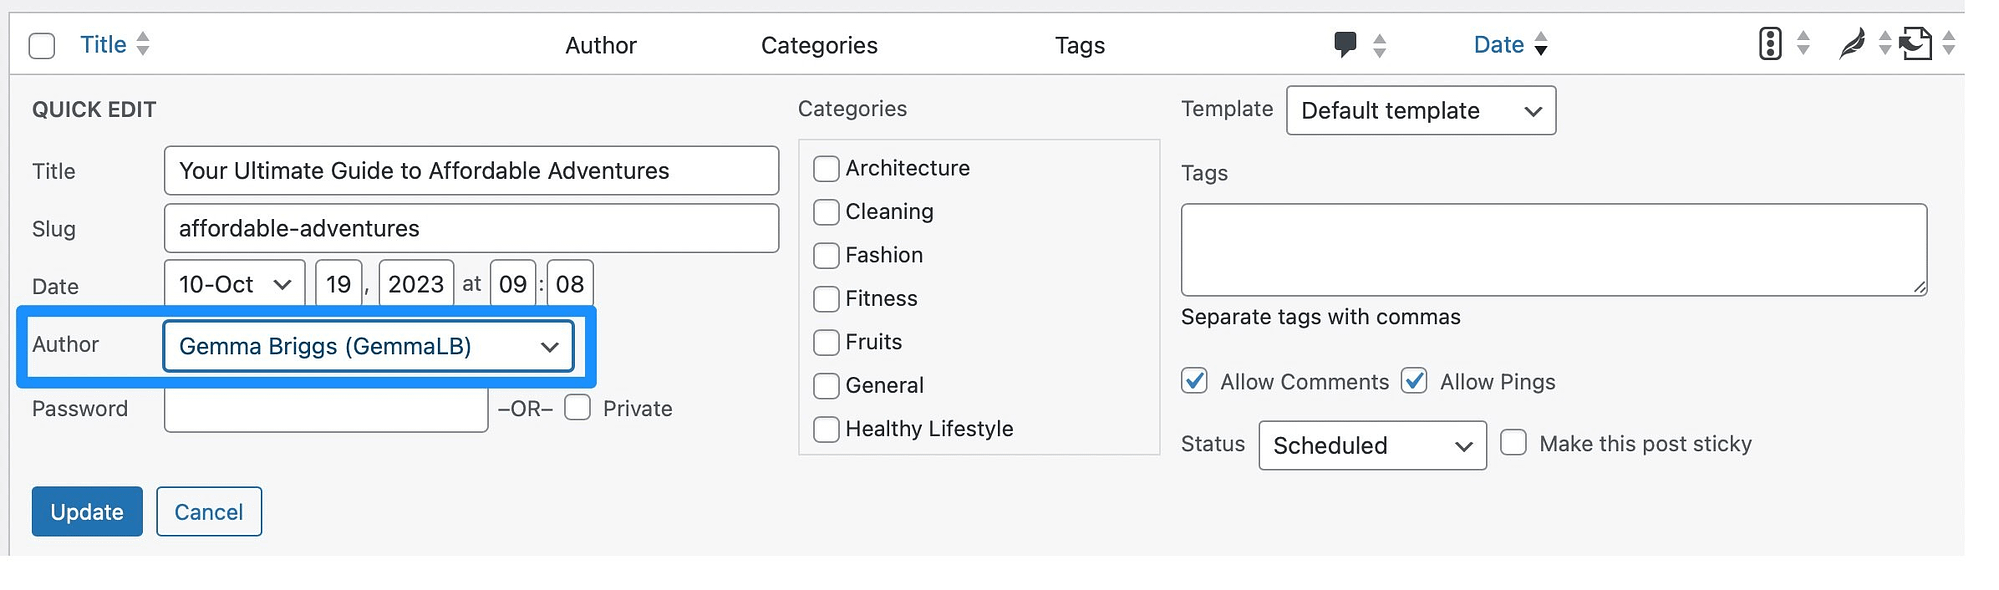
Then, click on Update to save the change.
4. Change the author for posts in bulk
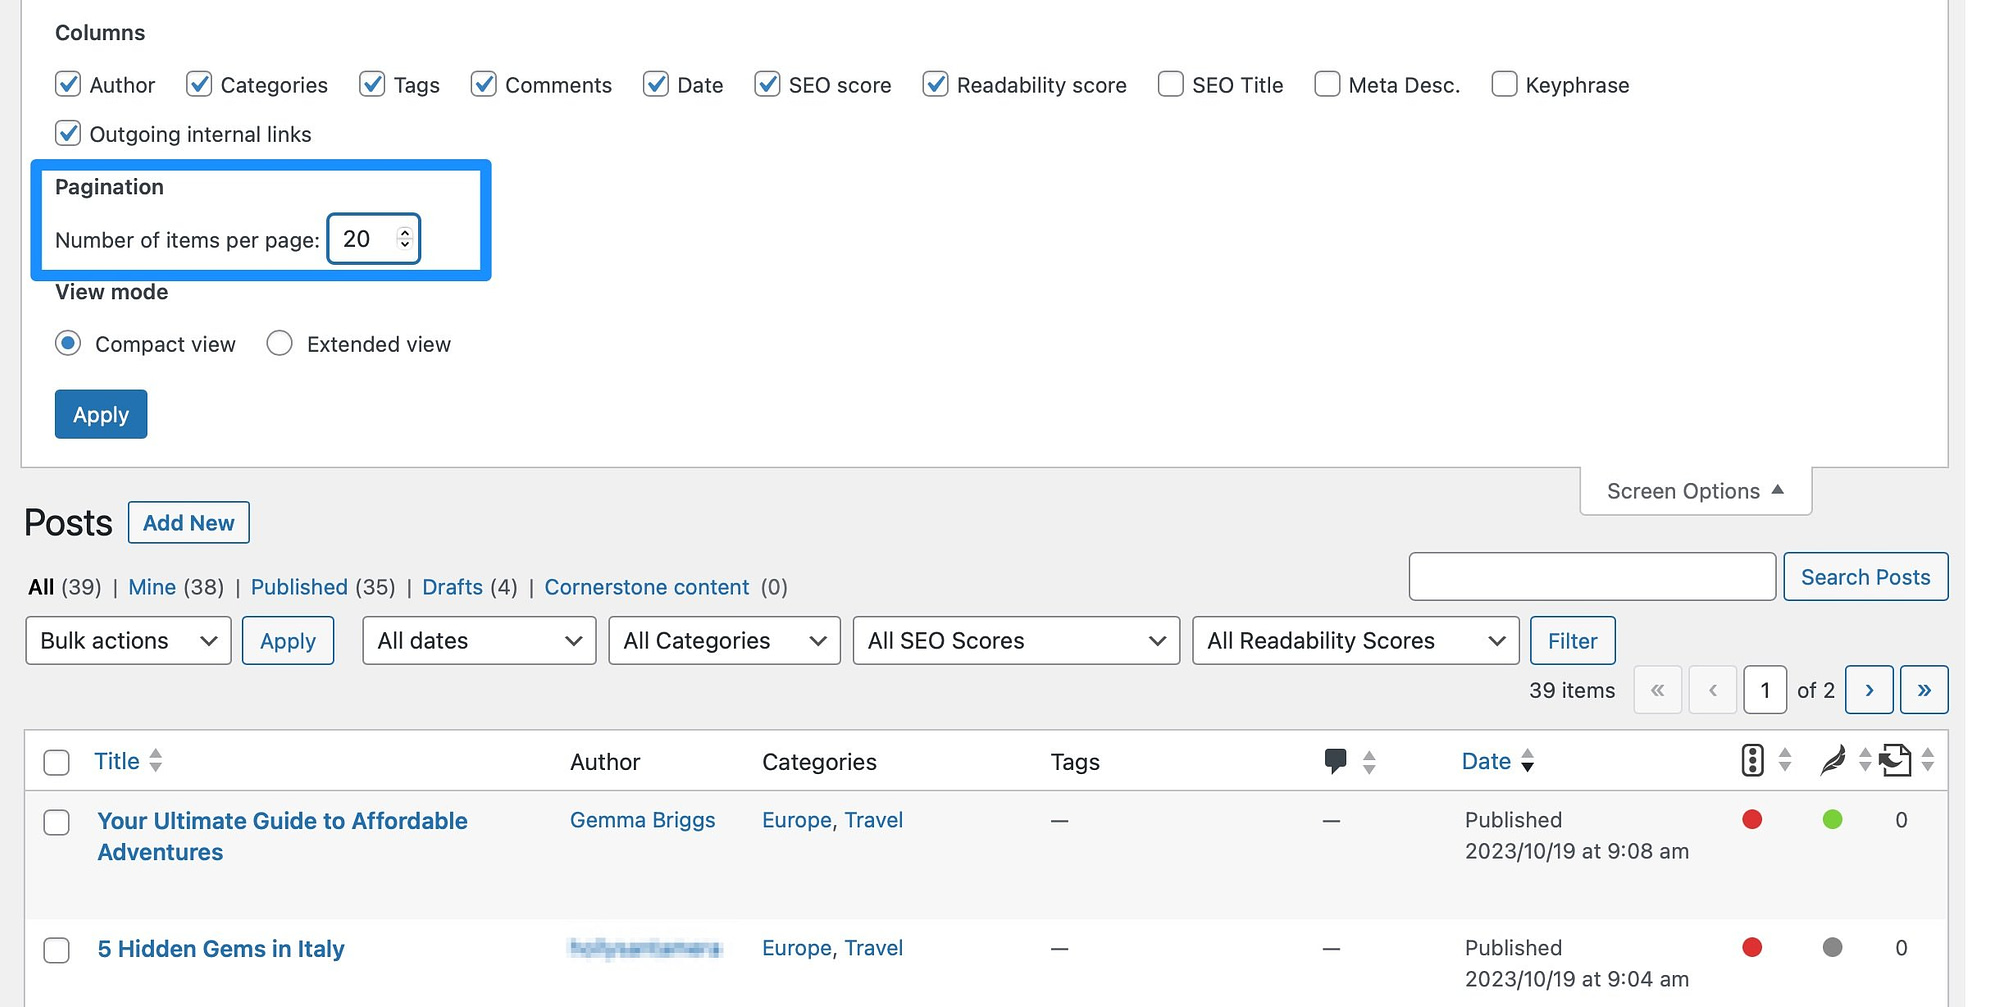
While the previous methods are great for changing the author on single posts, you might want to change it on multiple posts. In this case, you can bulk update authors from the Posts page.
So, in order to change the author in WordPress for multiple posts, you’ll need to head to Posts > All Posts in your dashboard. You’ll only be able to view 20 posts per page. So if you want to bulk change more posts, click on the Screen Options button and change the number of items per page:
Now, check the boxes besides the posts you want to change. Then, use the Bulk actions dropdown to select Edit and click on Apply.
In the meta box, all you have to do is select the right user from the Author dropdown:
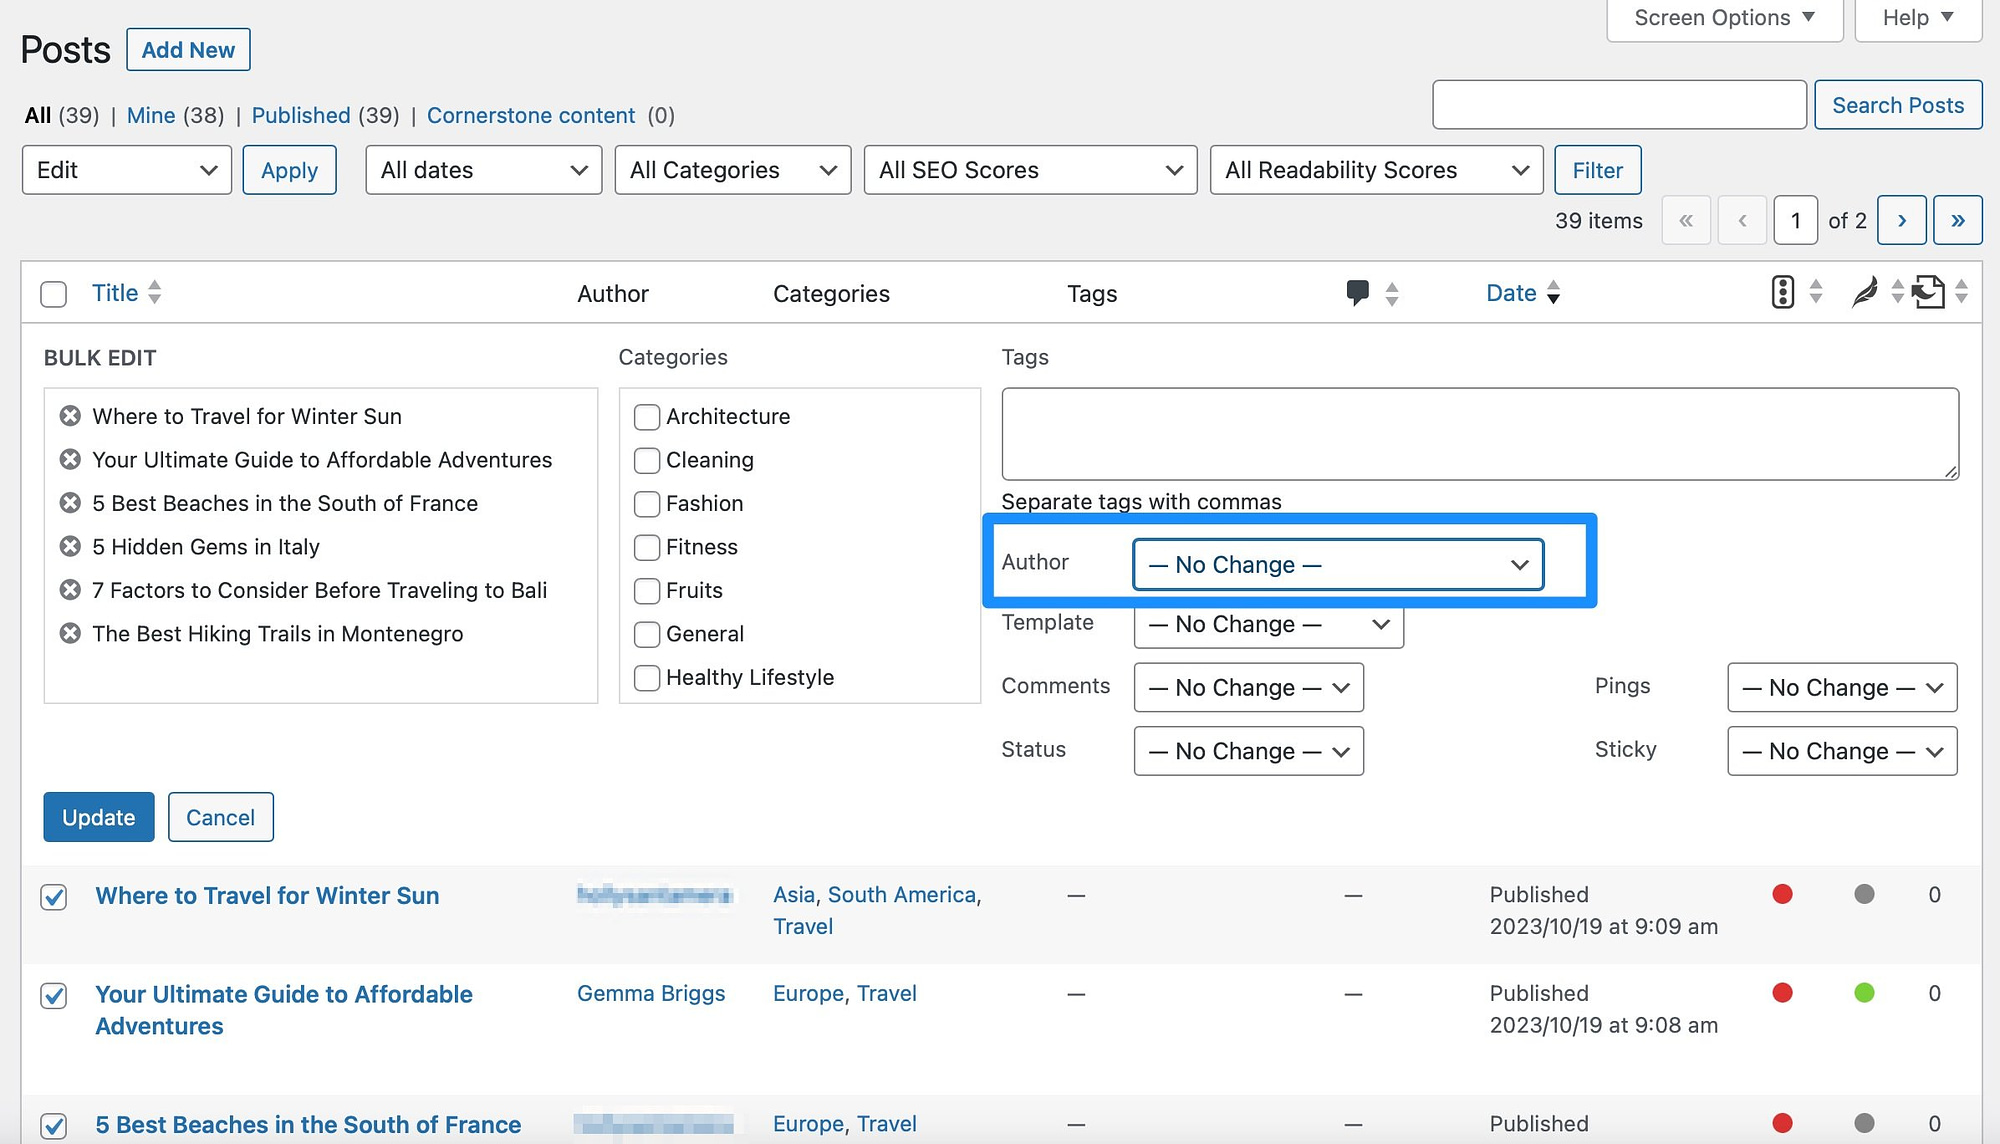
Then, click on Update to bulk change the author of all your selected posts.
5. Hide authors on WordPress posts
If you have lots of writers on your website, you can hide authors on WordPress posts to create a more cohesive experience. This minimizes distractions and encourages readers to focus only on your content.
There are various ways to do this, but the simplest method to hide authors on WordPress is to install a plugin like WP Meta and Date Remover. Upon successful activation, all meta information is automatically erased.
However, you can alter the settings by going to Settings > WP Meta and Date Remover. Then, switch to Primary Settings:

If you only want to hide authors on the front end of your site, just make sure CSS based removal is enabled. The PHP based removal hides authors on the back end, which you might not want to do.
Conclusion 🧐
If you have a multi-author website like a large blog or content hub, there may be times when you want to change the author in WordPress. For instance, you may have a writer leave the publication. Or, you might want to use the same author name for all posts to make your site more cohesive.
✍️ To recap, here’s how to change the author in WordPress:
- Use the Block Editor
- Use the Classic Editor
- Use Quick Edit
- Change the author for posts in bulk
- Hide authors on WordPress posts
Do you have any questions about how to change the author in WordPress? Let us know in the comments below!