An interactive landing page can help you get conversions and boost sales. However, if you’re not familiar with web design or you don’t have the right tools, making one can be challenging.
Luckily, with WordPress, you can use free plugins to make your landing pages more engaging. For instance, you can incorporate dynamic visuals, such as animations, countdown timers, and flip cards.
What is an interactive landing page?
Before we show you how to create an interactive landing page, let’s go over what exactly that means.
Firstly, landing pages are standalone web pages that encourage visitors to take a specific action. They might prompt them to sign up for a newsletter, complete a survey, purchase a product, or try out a tool:
A landing page always features a clear call to action (CTA). Usually, it also contains a contact form or a button that allows visitors to complete the desired action.
It is sometimes confused with a homepage, but the two are very different. A landing page is meant to drive conversions. Meanwhile, a homepage is typically the hub of your main website.
Now, you still might be wondering what makes a landing page interactive. Simply put, this means the page offers some elements that allow for engagement.
As an example, an interactive landing page could include eye-catching visuals like images and animations. Alternatively, it might feature an interactive map, survey, or countdown timer.
If your landing pages aren’t working, it’s likely because they’re not engaging enough. Adding interactive features can be a great way to improve your landing pages.
How to create an interactive landing page
1. Include eye-catching images 🤩
One of the easiest ways to create a positive and engaging user experience (UX) is by including eye-catching visuals on your landing pages. But you won’t want to clutter them with too many images, as this can distract from the action you’re trying to encourage.
If you have lots of relevant images you’d like to display, consider adding a slider:
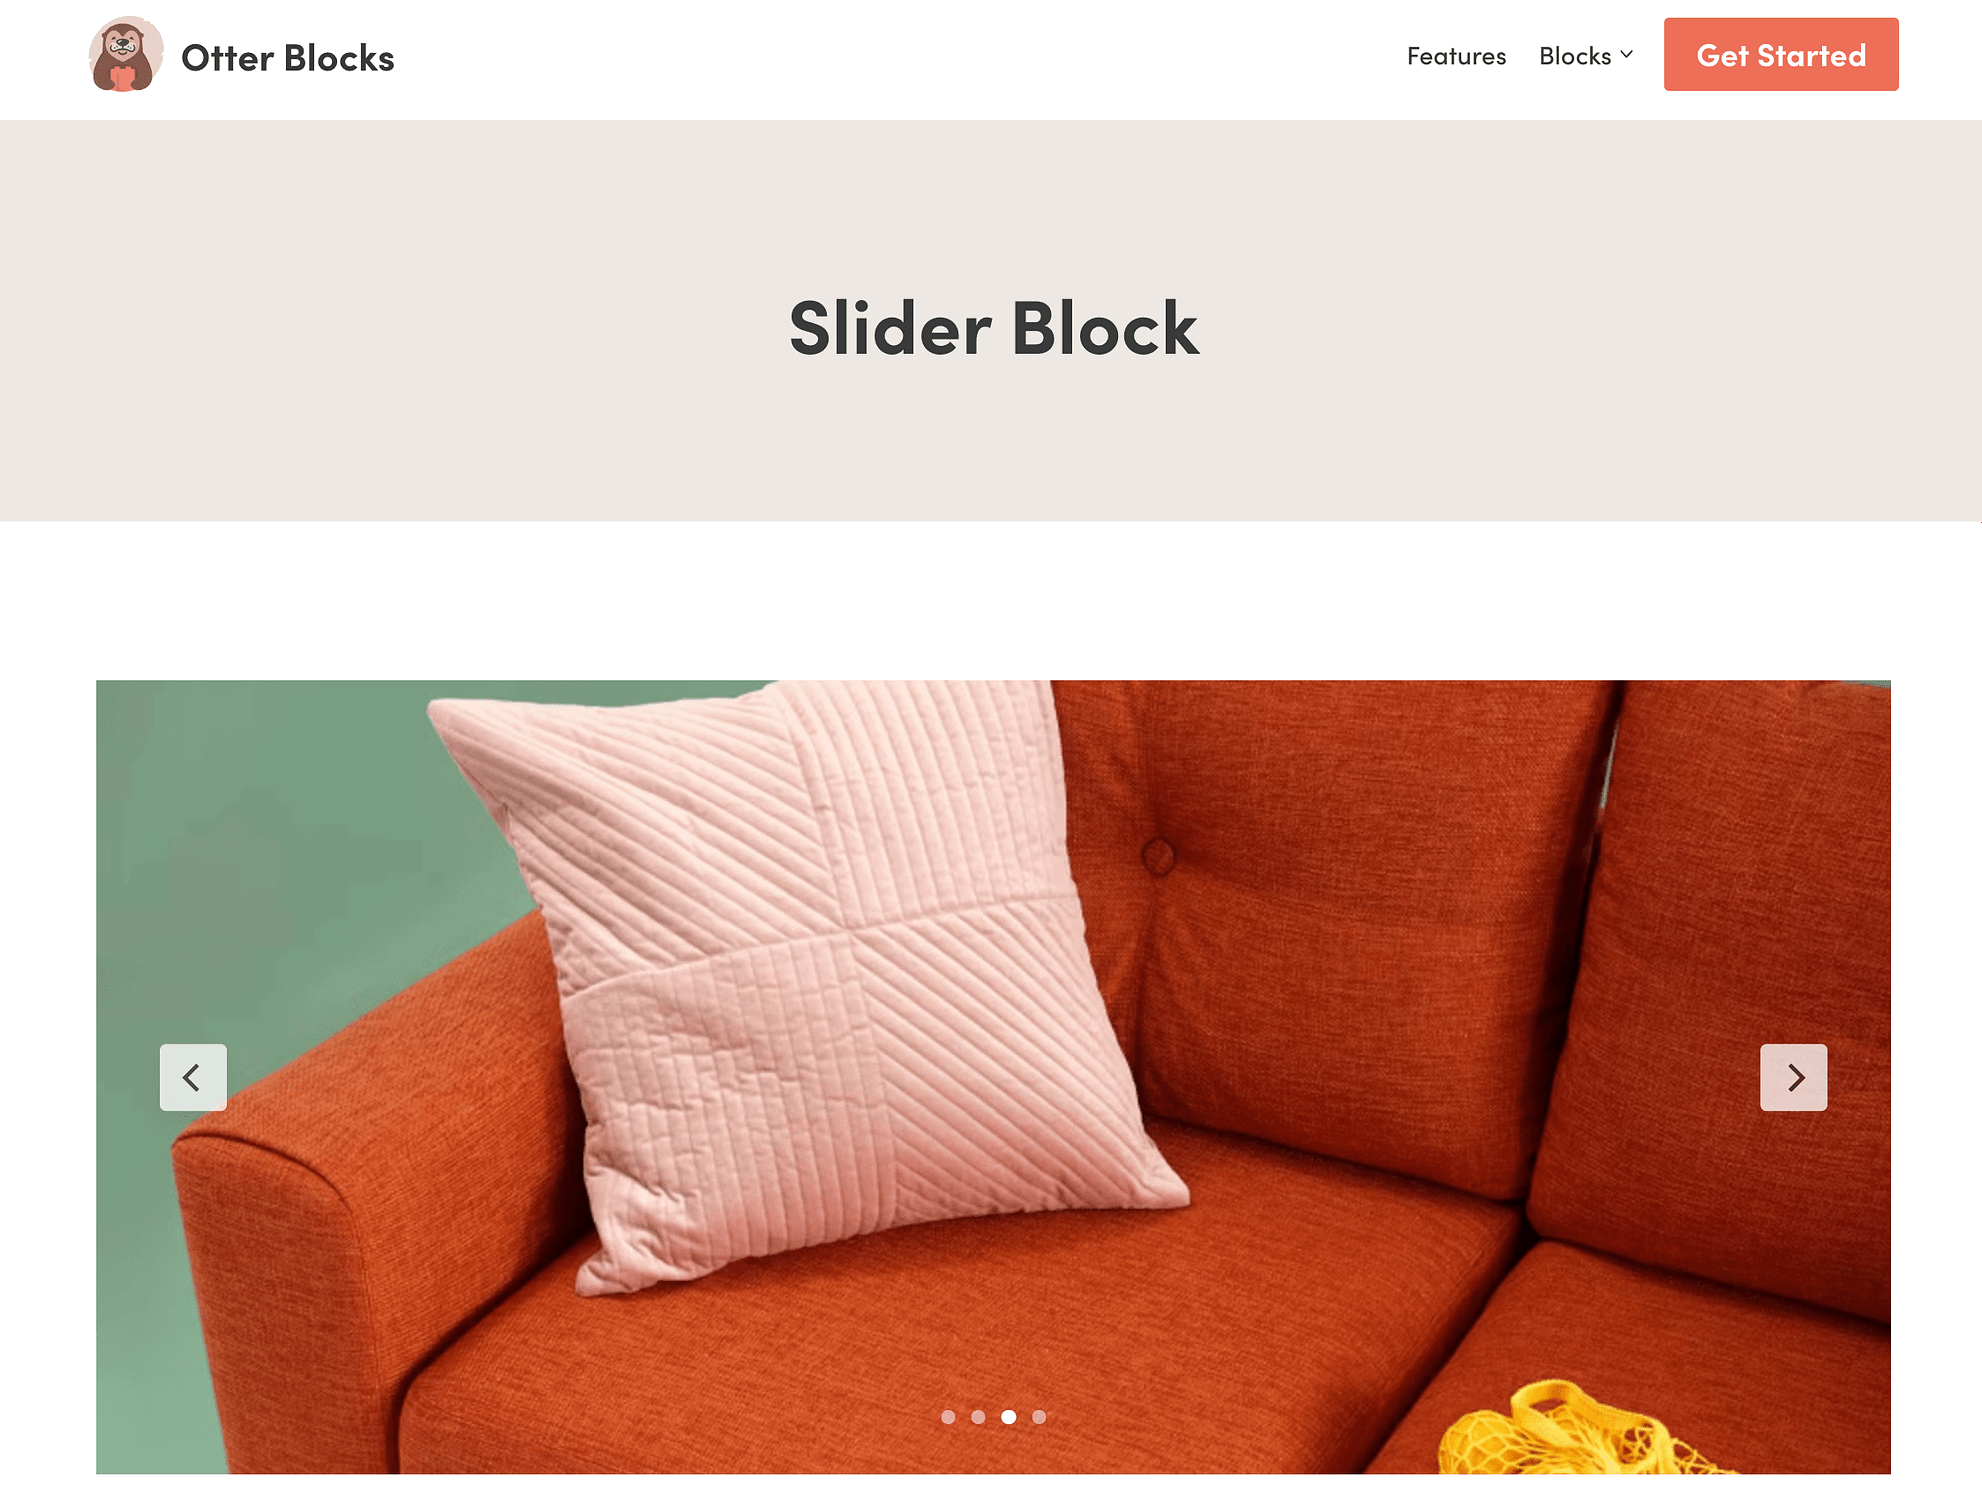
Usually, a slider includes interactive features like arrow buttons, and users can see how many images there are thanks to overlaid slider indicators (like the circles in the bottom-center of the above example).
Image sliders can be especially useful for landing pages that promote products. Otter Blocks doubles as an image slider plugin because it includes a simple Slider block.
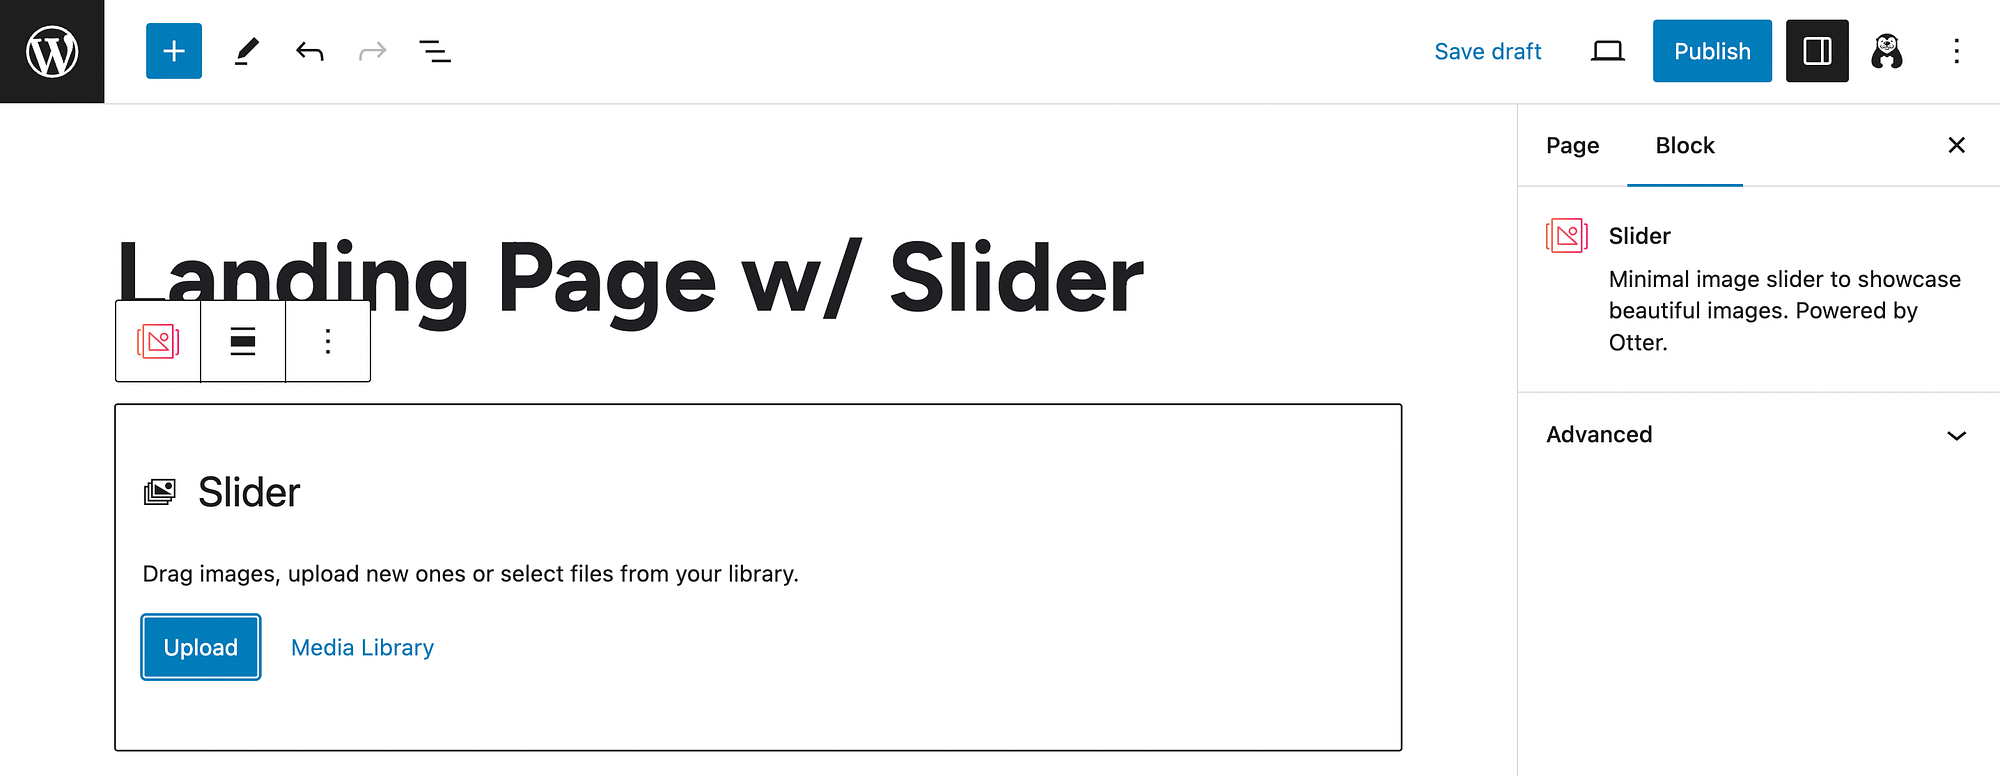
To use it, simply add the Slider block to your page and start uploading media:
It’s also important to note that using lots of image files can slow down your site. However, fast page loading times are essential for creating a strong landing page experience.
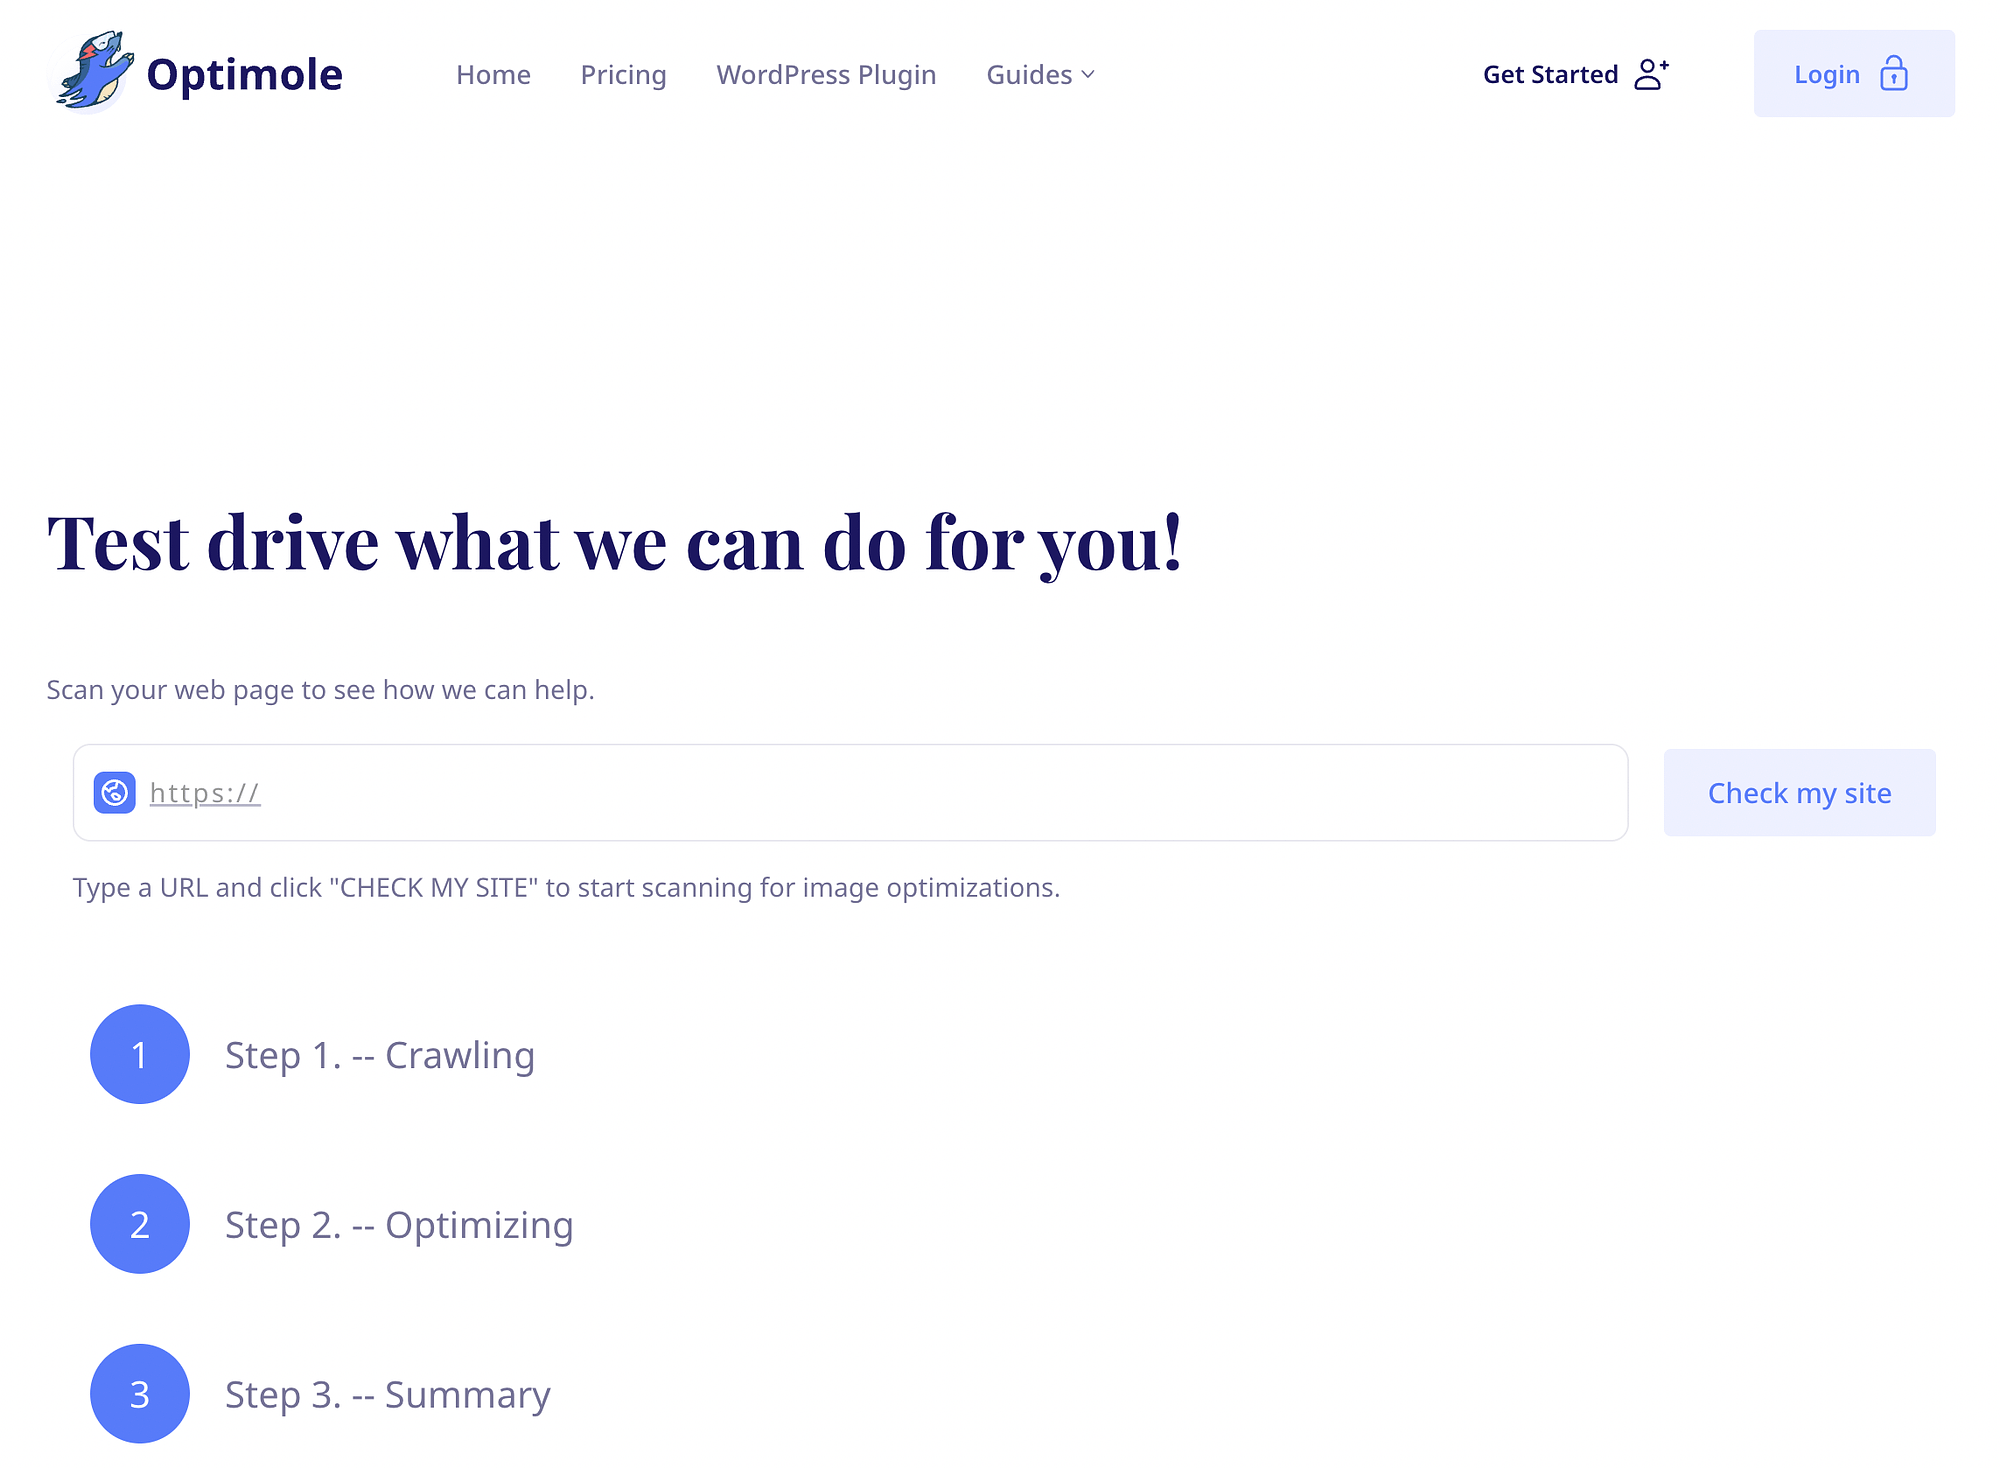
Therefore, it’s a good idea to use an image optimization tool, like Optimole, when creating a media-rich slider. This free plugin uses an image CDN, lazy loading, and other on-the-fly optimization techniques to ensure a good UX.
When it comes to landing pages, attention-grabbing headers are also crucial. So, you might want to consider sprucing them up.
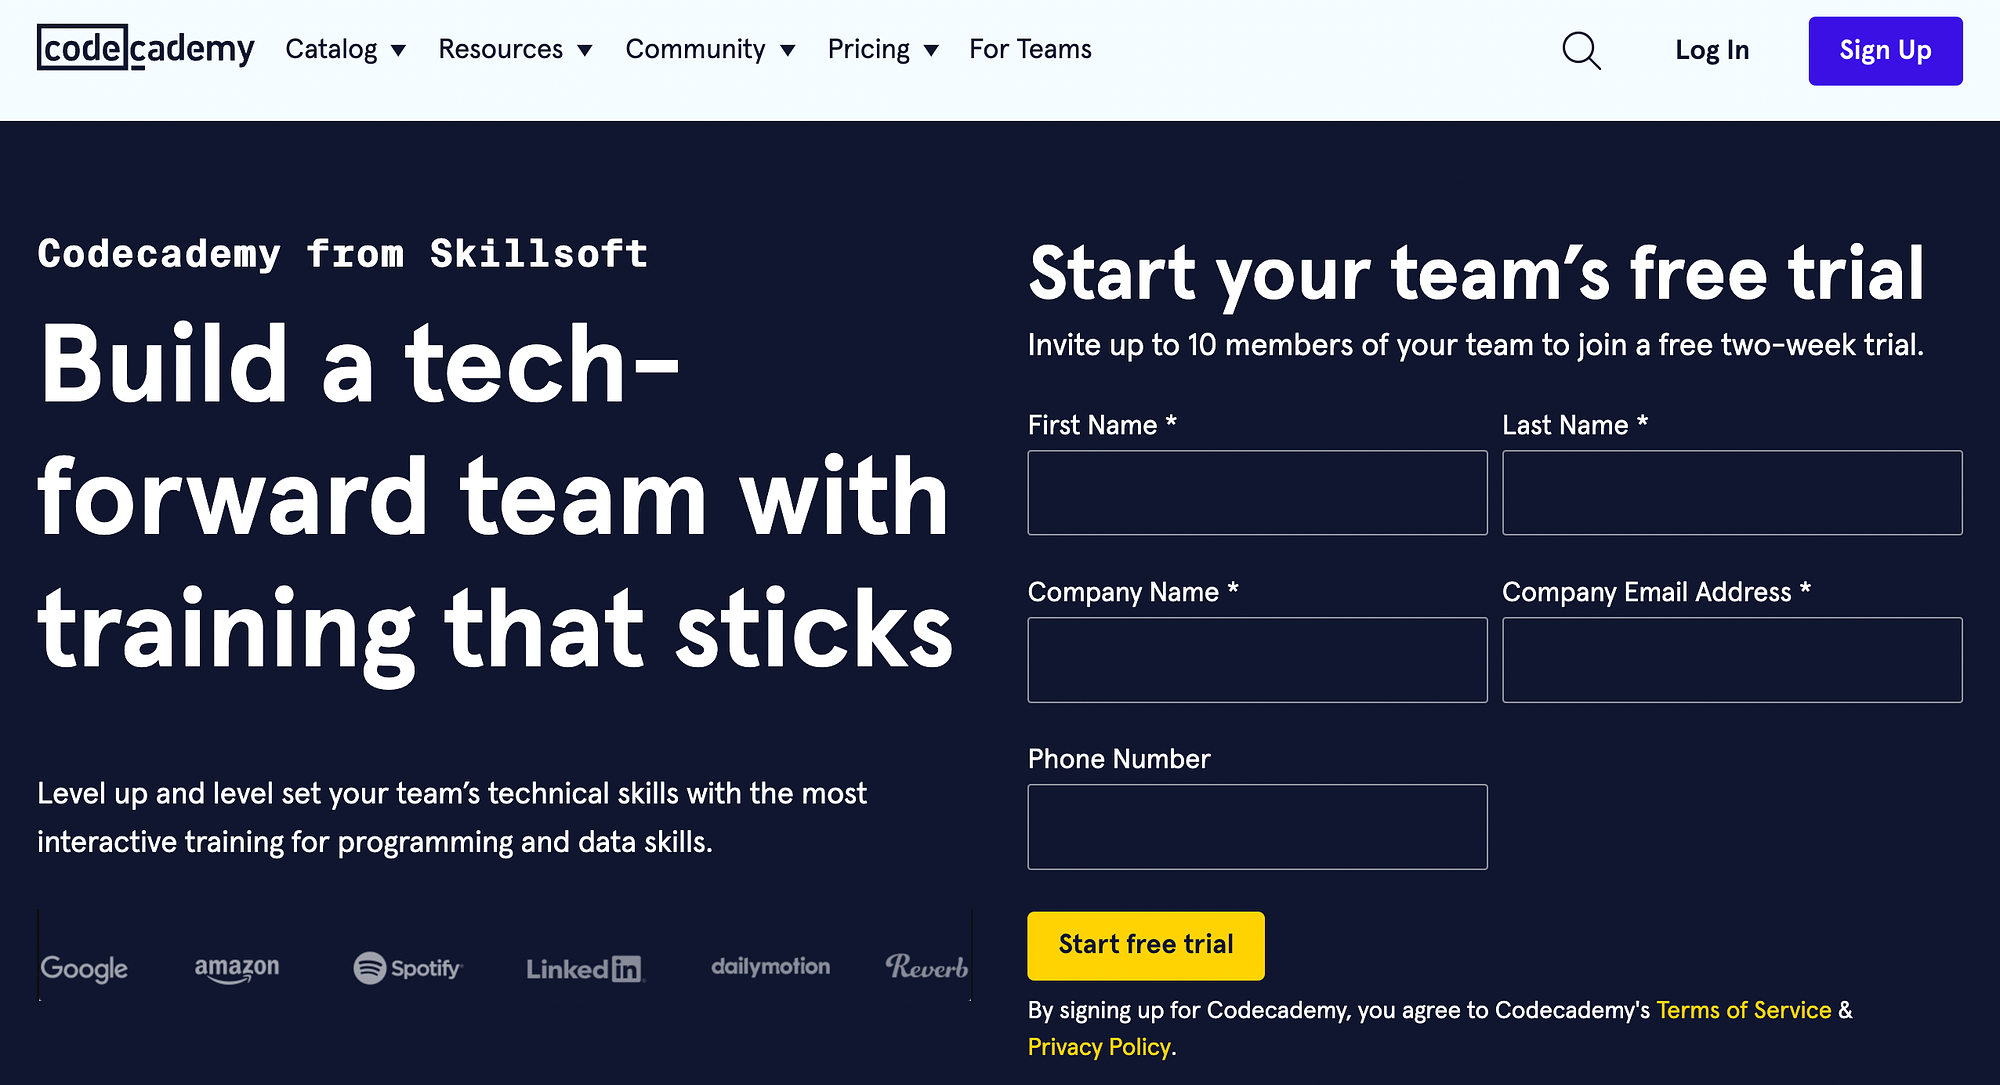
Most importantly, you’ll want to make sure your headline copy is catchy. Avoid tired clichés, and aim to be original. You’ll also want to make sure you stay on brand, cultivating the tone and voice you want customers to associate with your business.
For instance, Codeacademy does a great job on this landing page promoting free trials for teams:
If you’re looking for inspiration, check out some of these real landing page examples.
Once you’ve come up with some zippy copy for your header, you can use Otter Blocks’ Advanced Heading block to create it. This block enables you to create sophisticated headers easily by customizing fonts, spacing, and much more.
After you add the block to your page, just use the Settings and Style tabs to customize it:
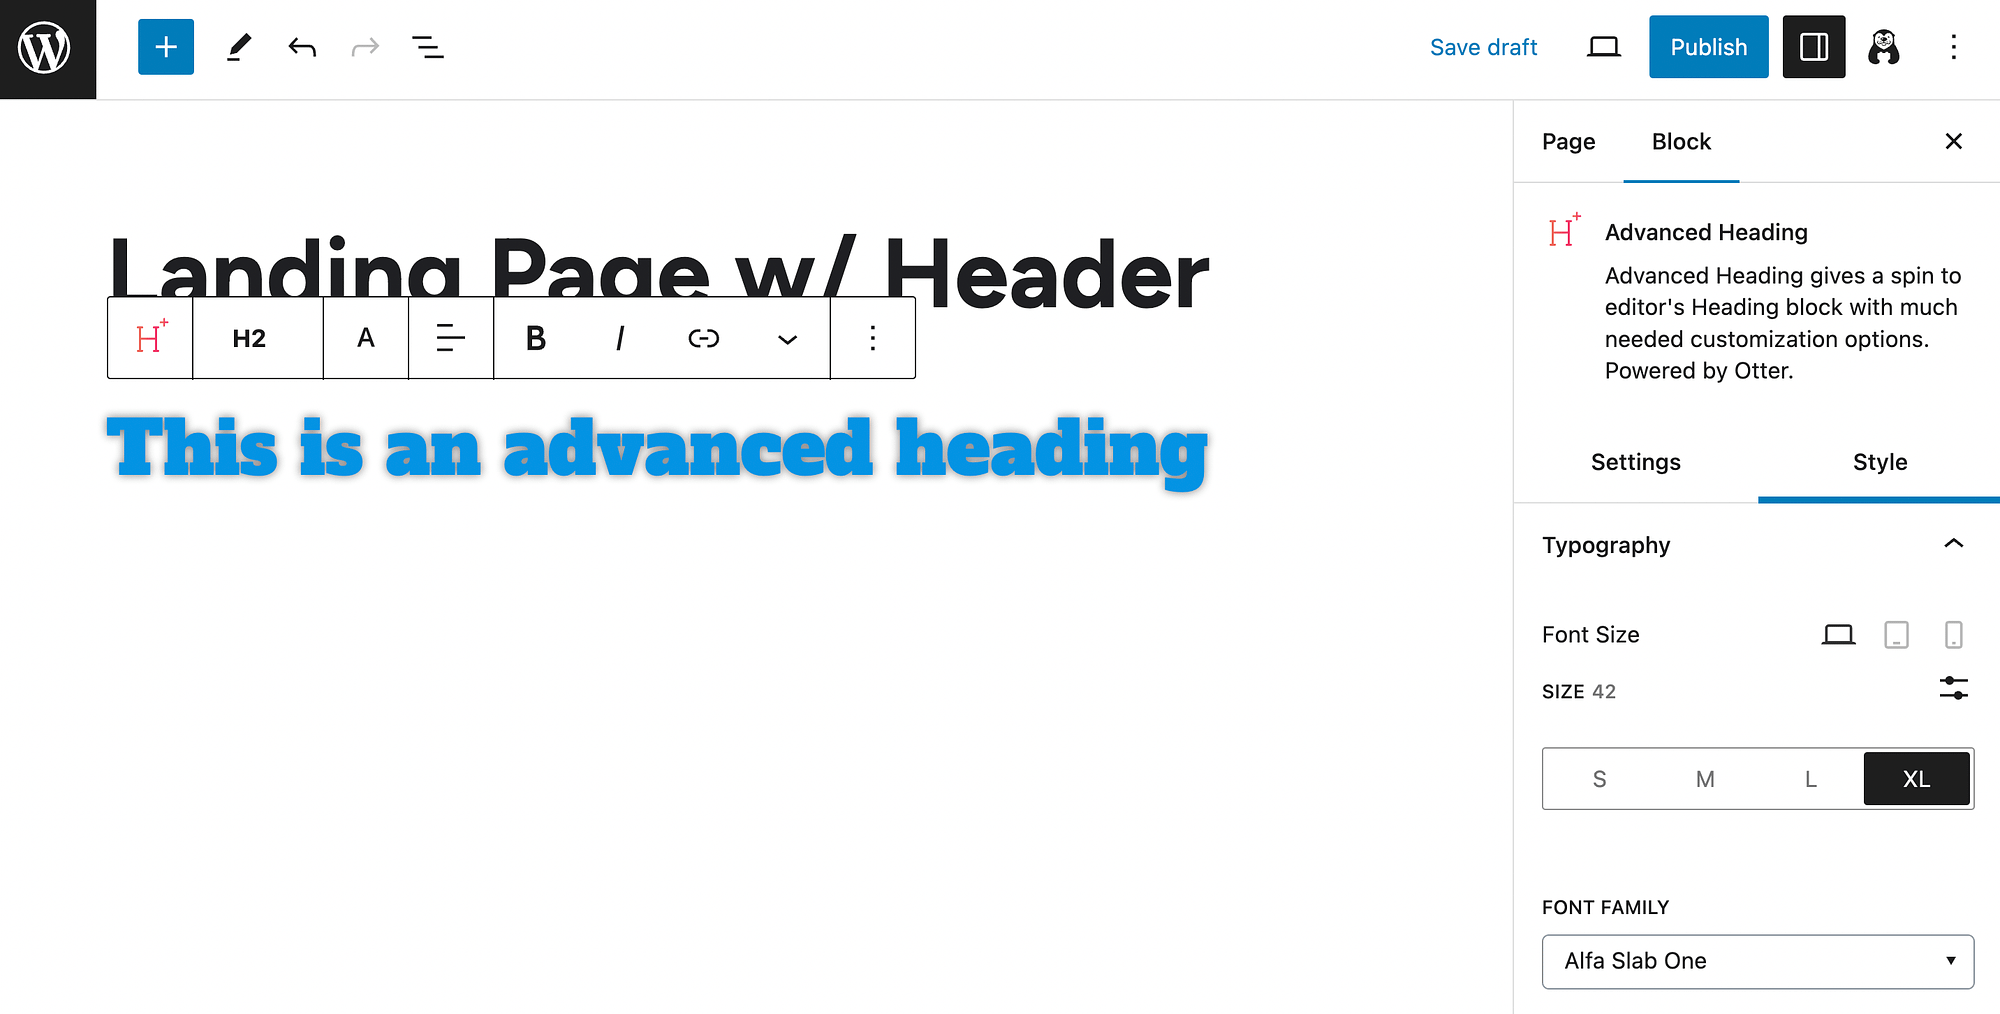
You can even add features like shadows and custom Cascading Style Sheets (CSS).
3. Add a contact form 📋
One common way to make a landing page interactive is by adding a contact form. This can help you achieve lots of goals. For example, it can help you collect contact information, conduct a survey, and much more.
The key to a successful form is an engaging design and a strong CTA button. Once again, you’re able to create a good-looking contact form using Otter Blocks. Simply add the Form block to a page:
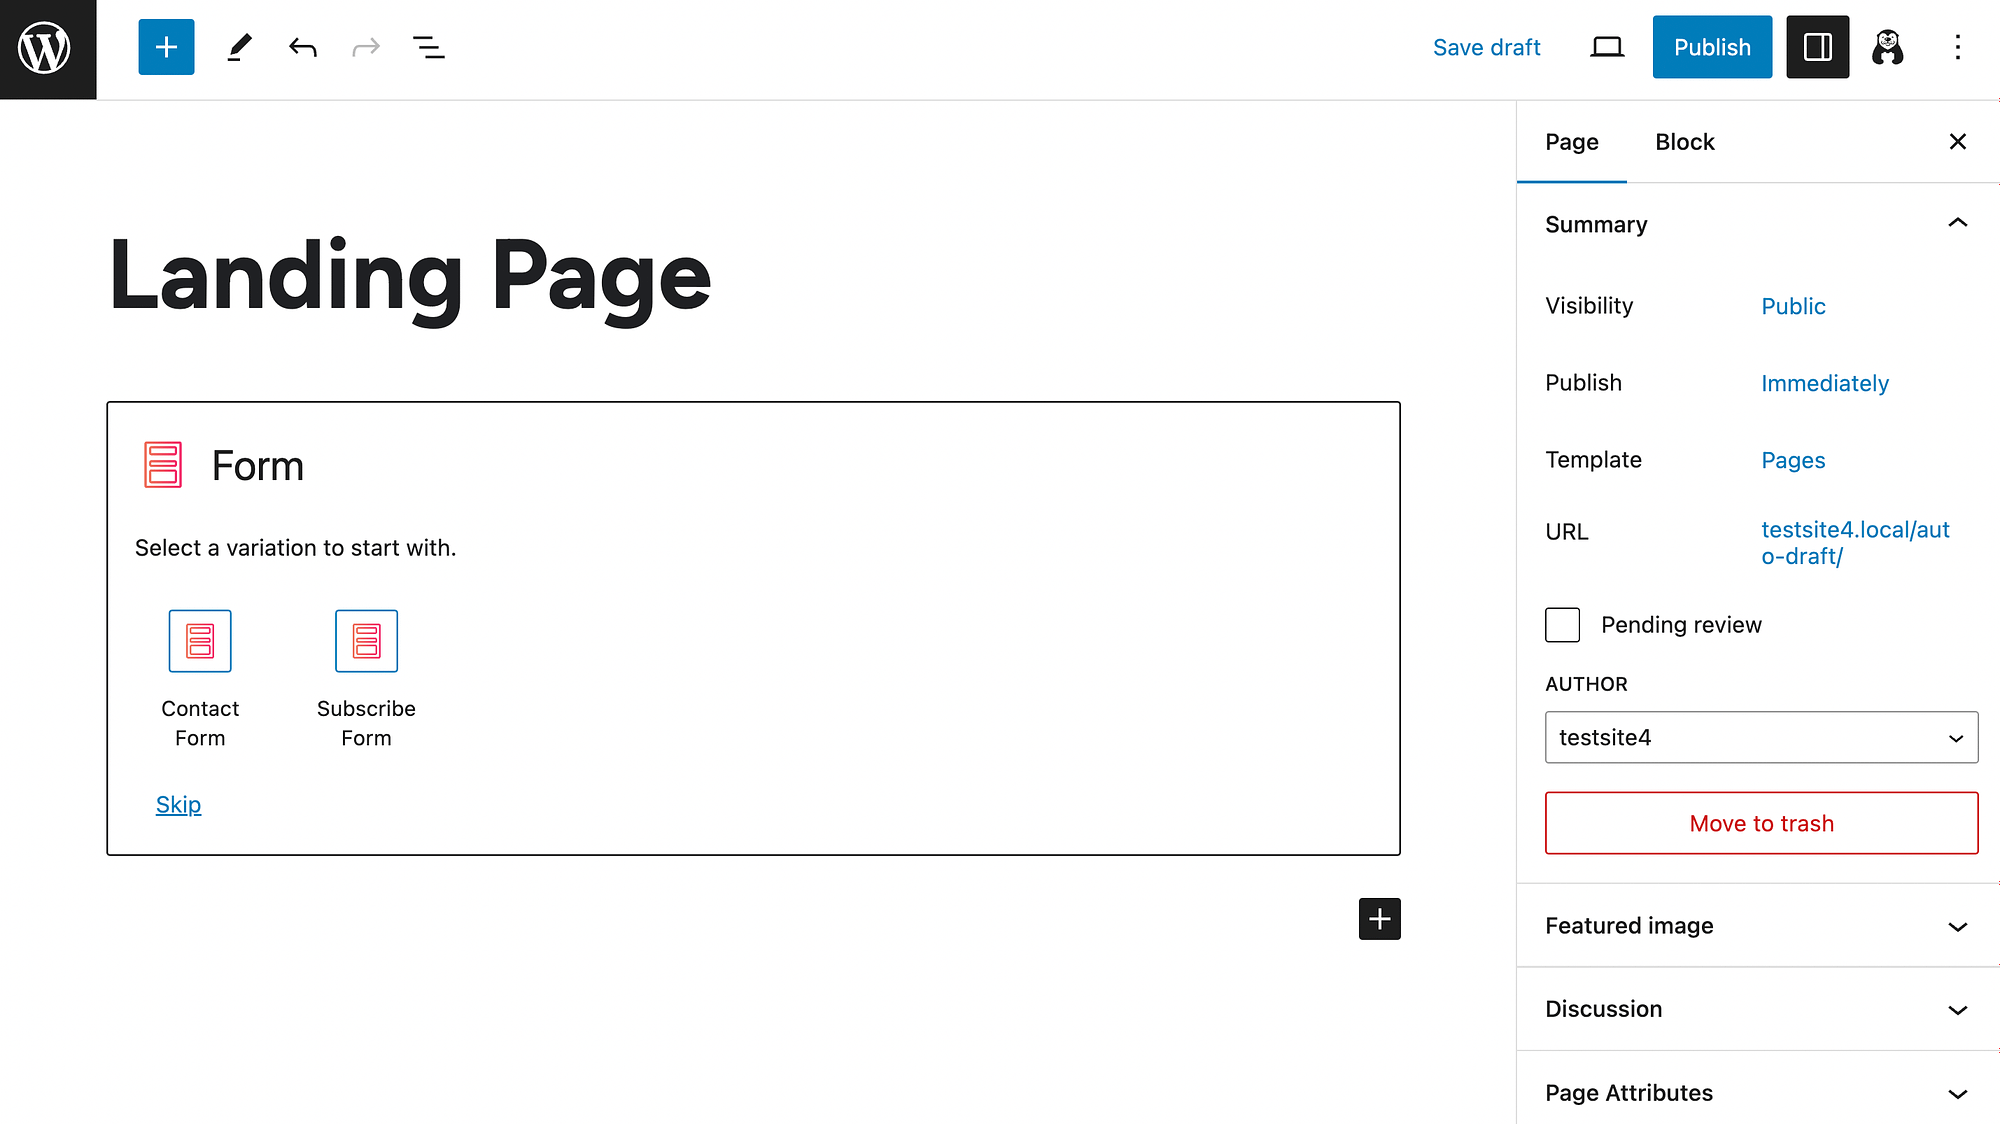
Choose your form layout or create one from scratch.
After that, you can use your block Settings to add fields and customize additional form options:

You can modify the submission message, enable marketing integrations, and more.
Next, you’ll likely want to use the Style tab to further customize the form appearance:
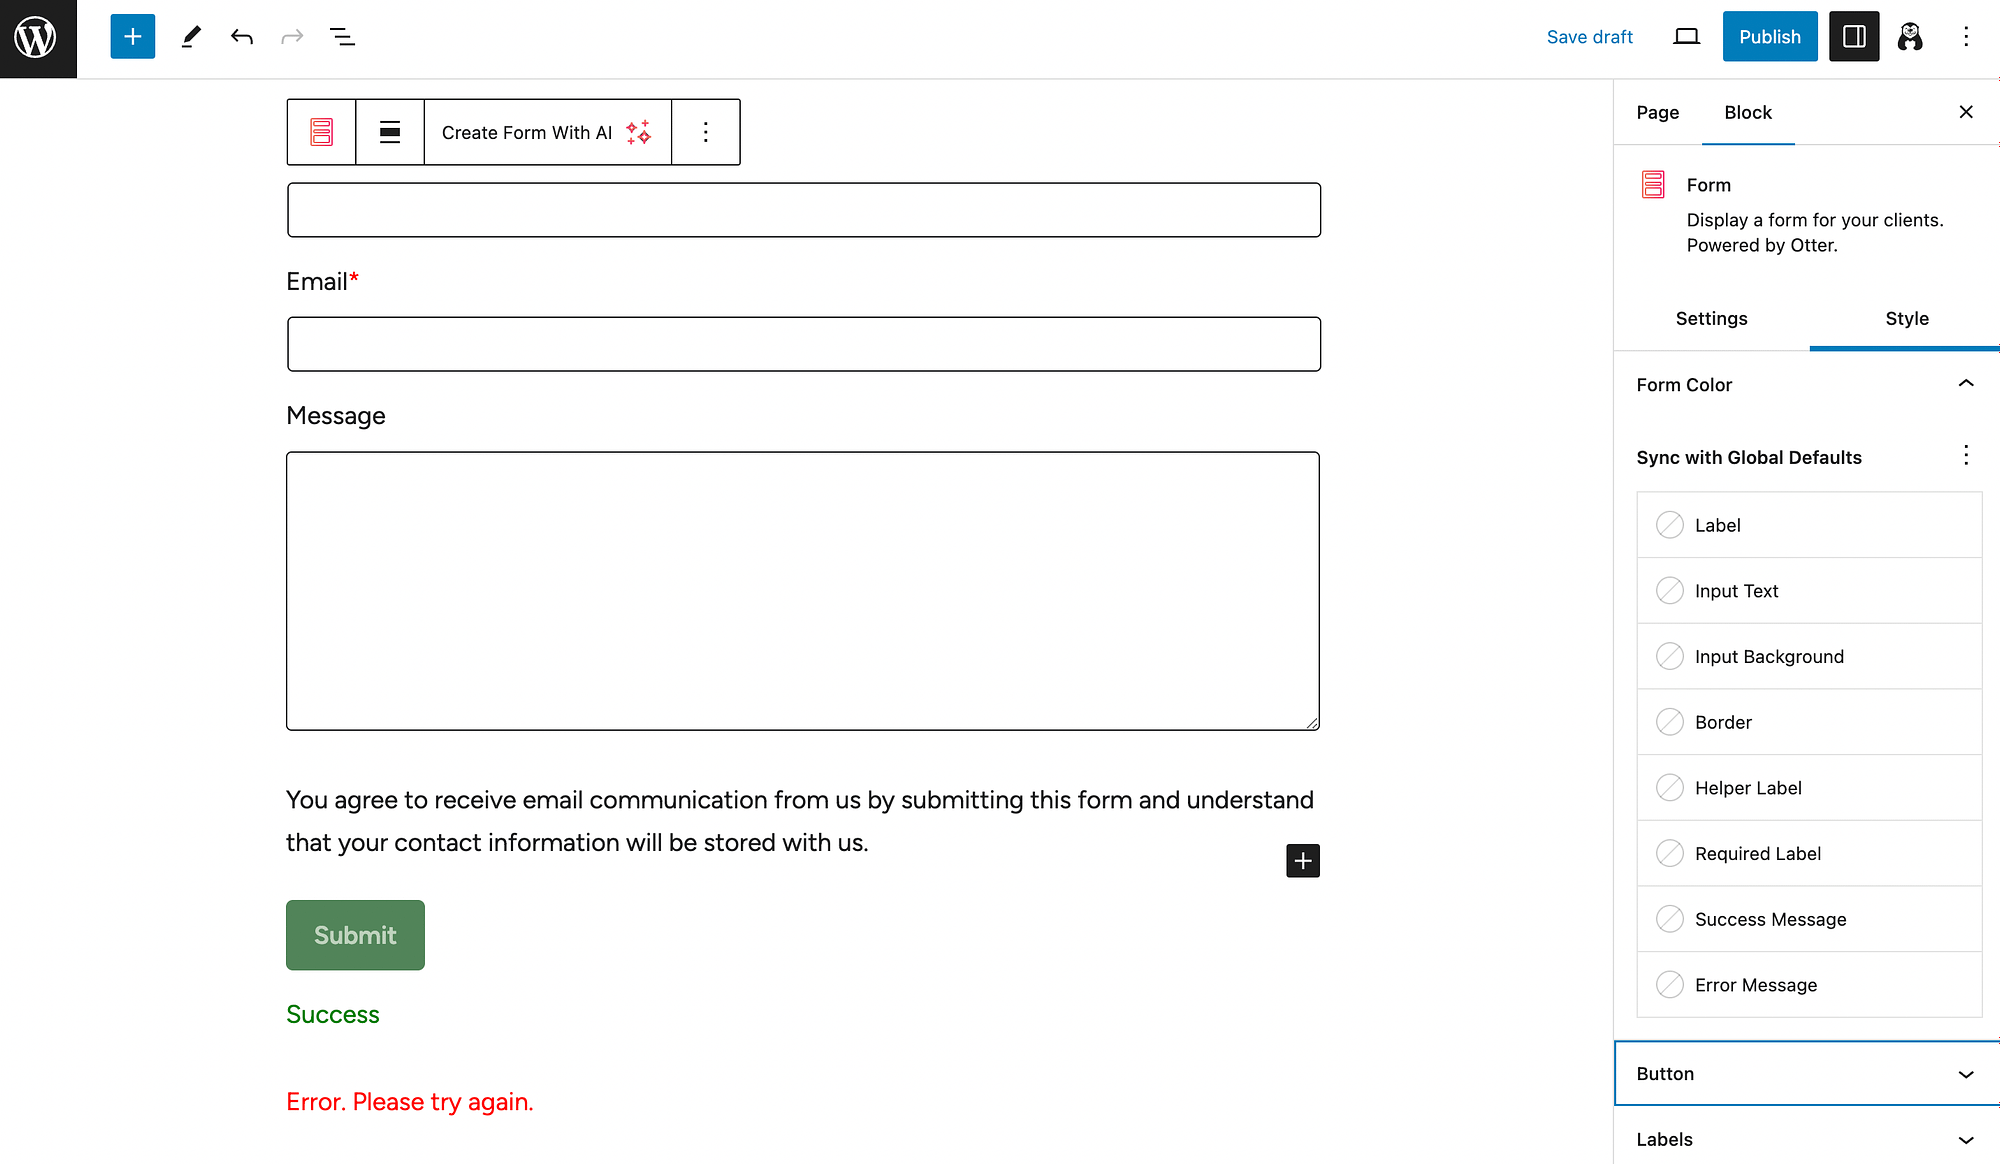
Alternatively, you can even use the AI Block (Beta) to generate a form:

Additionally, if you need to add multiple buttons to your form, you can try out the Button Group block.
4. Incorporate dynamic visuals 📊
Incorporating dynamic visuals can also greatly improve the user experience of your landing pages. For example, you can use graphs and charts to persuade people to convert. The Visualizer plugin is a great tool for this.
Once it’s installed on your site, navigate to Visualizer → Add New Chart to check out your options:
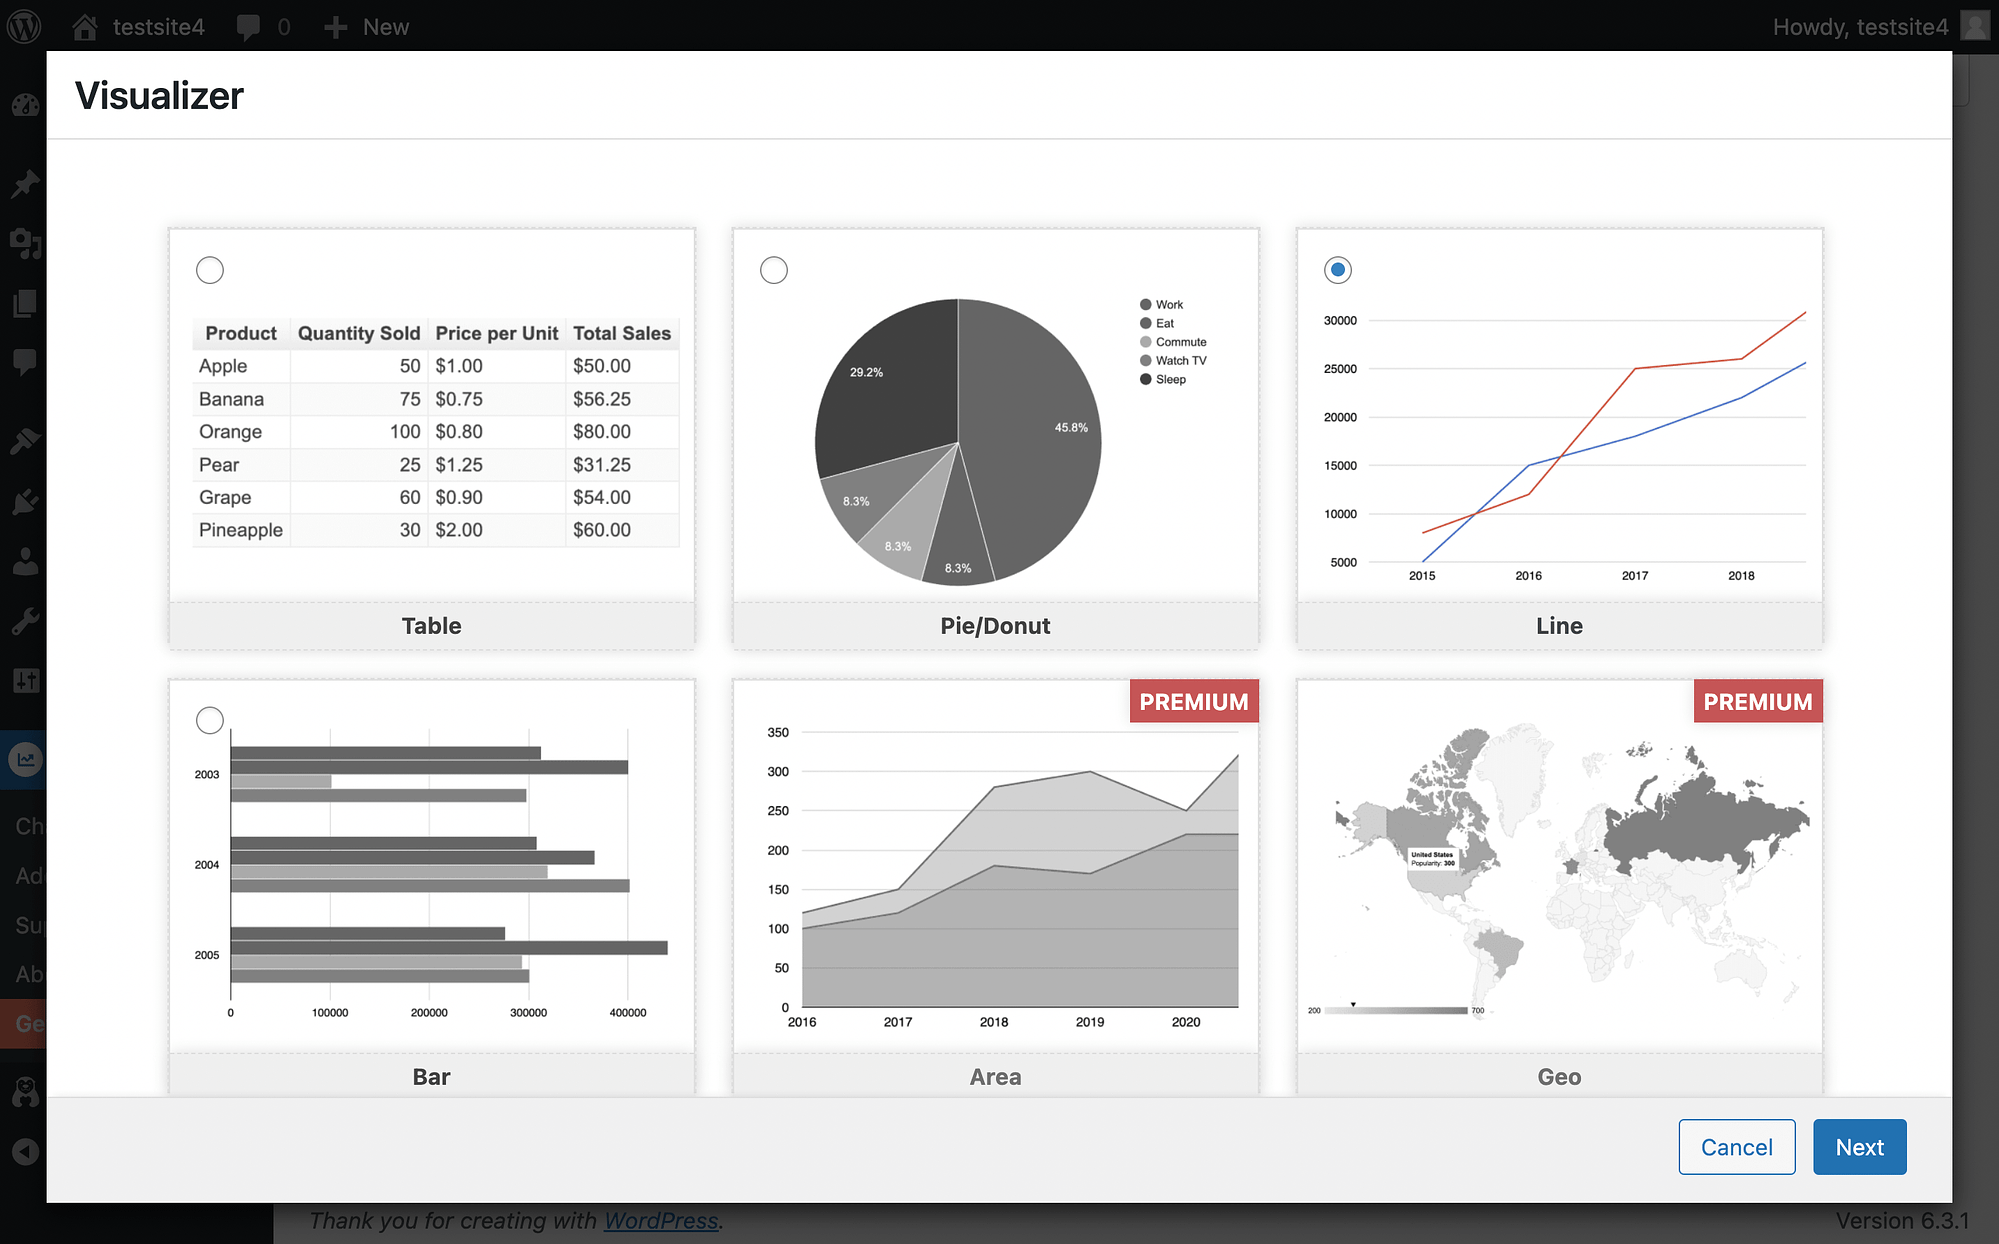
Decide on your chart design and hit Next. On the following page, you’ll be able to import data in the Source tab:
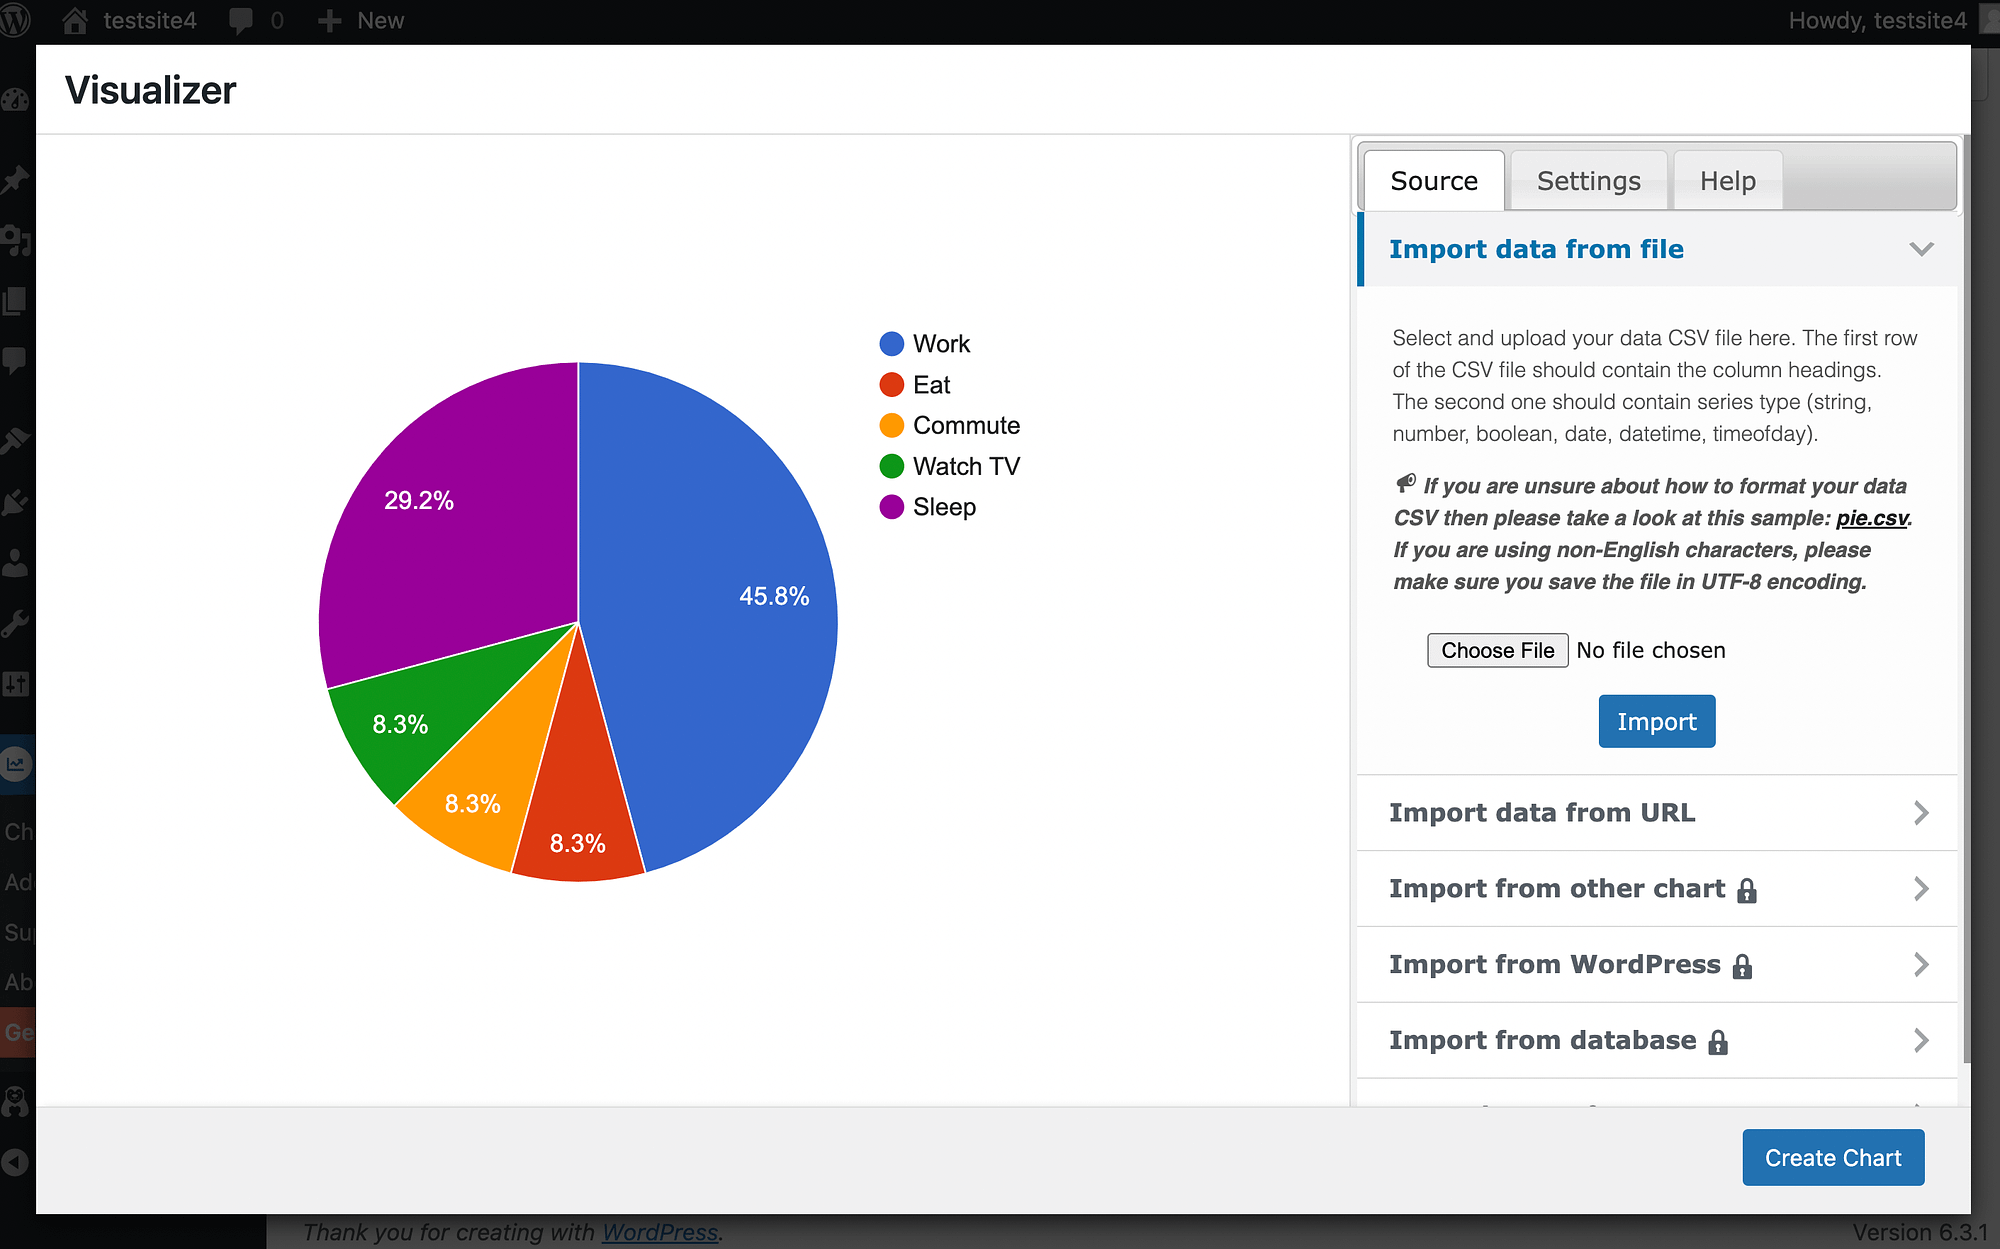
You can also further customize your chart in the Settings tab. After that, just add the Visualizer Chart block to any page:
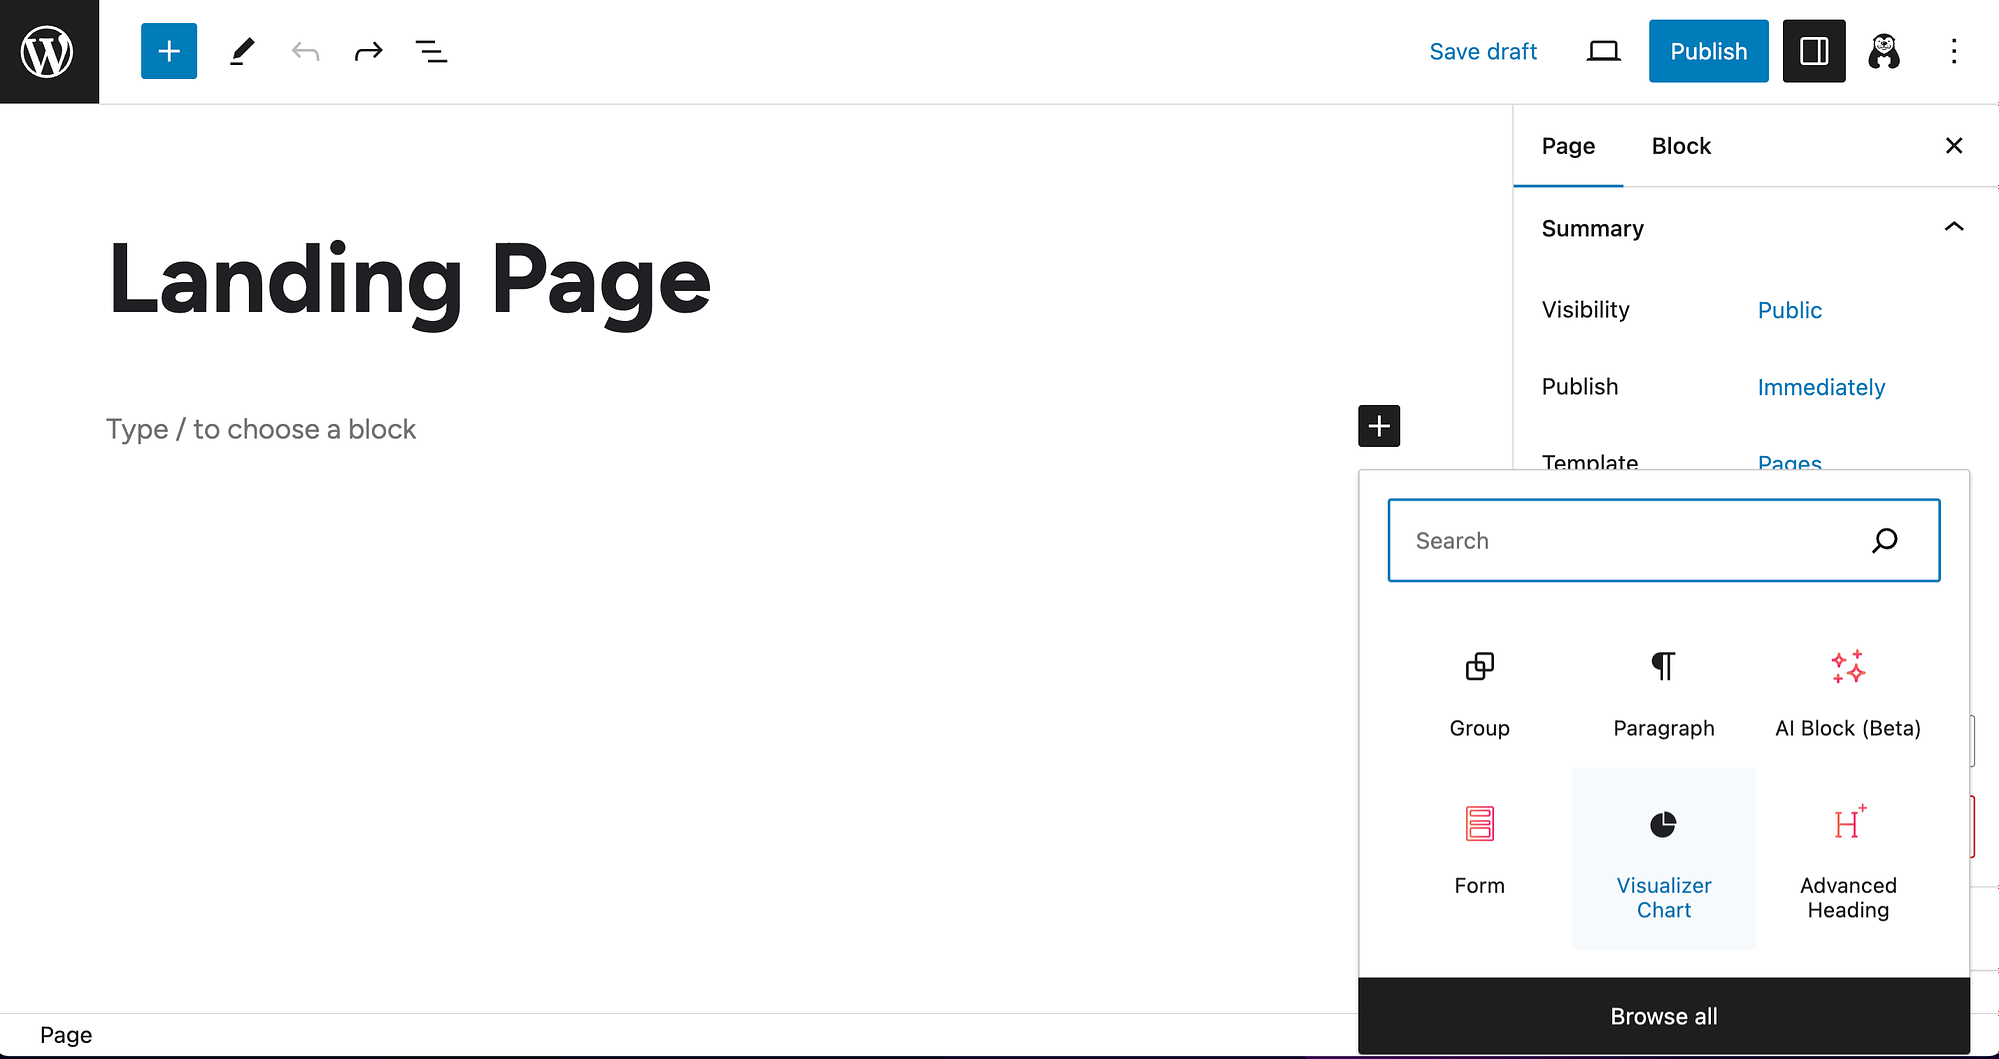
Then, select Display an existing chart to insert your design.
Interactive maps are another popular dynamic visual. The Maps block can help you with this:
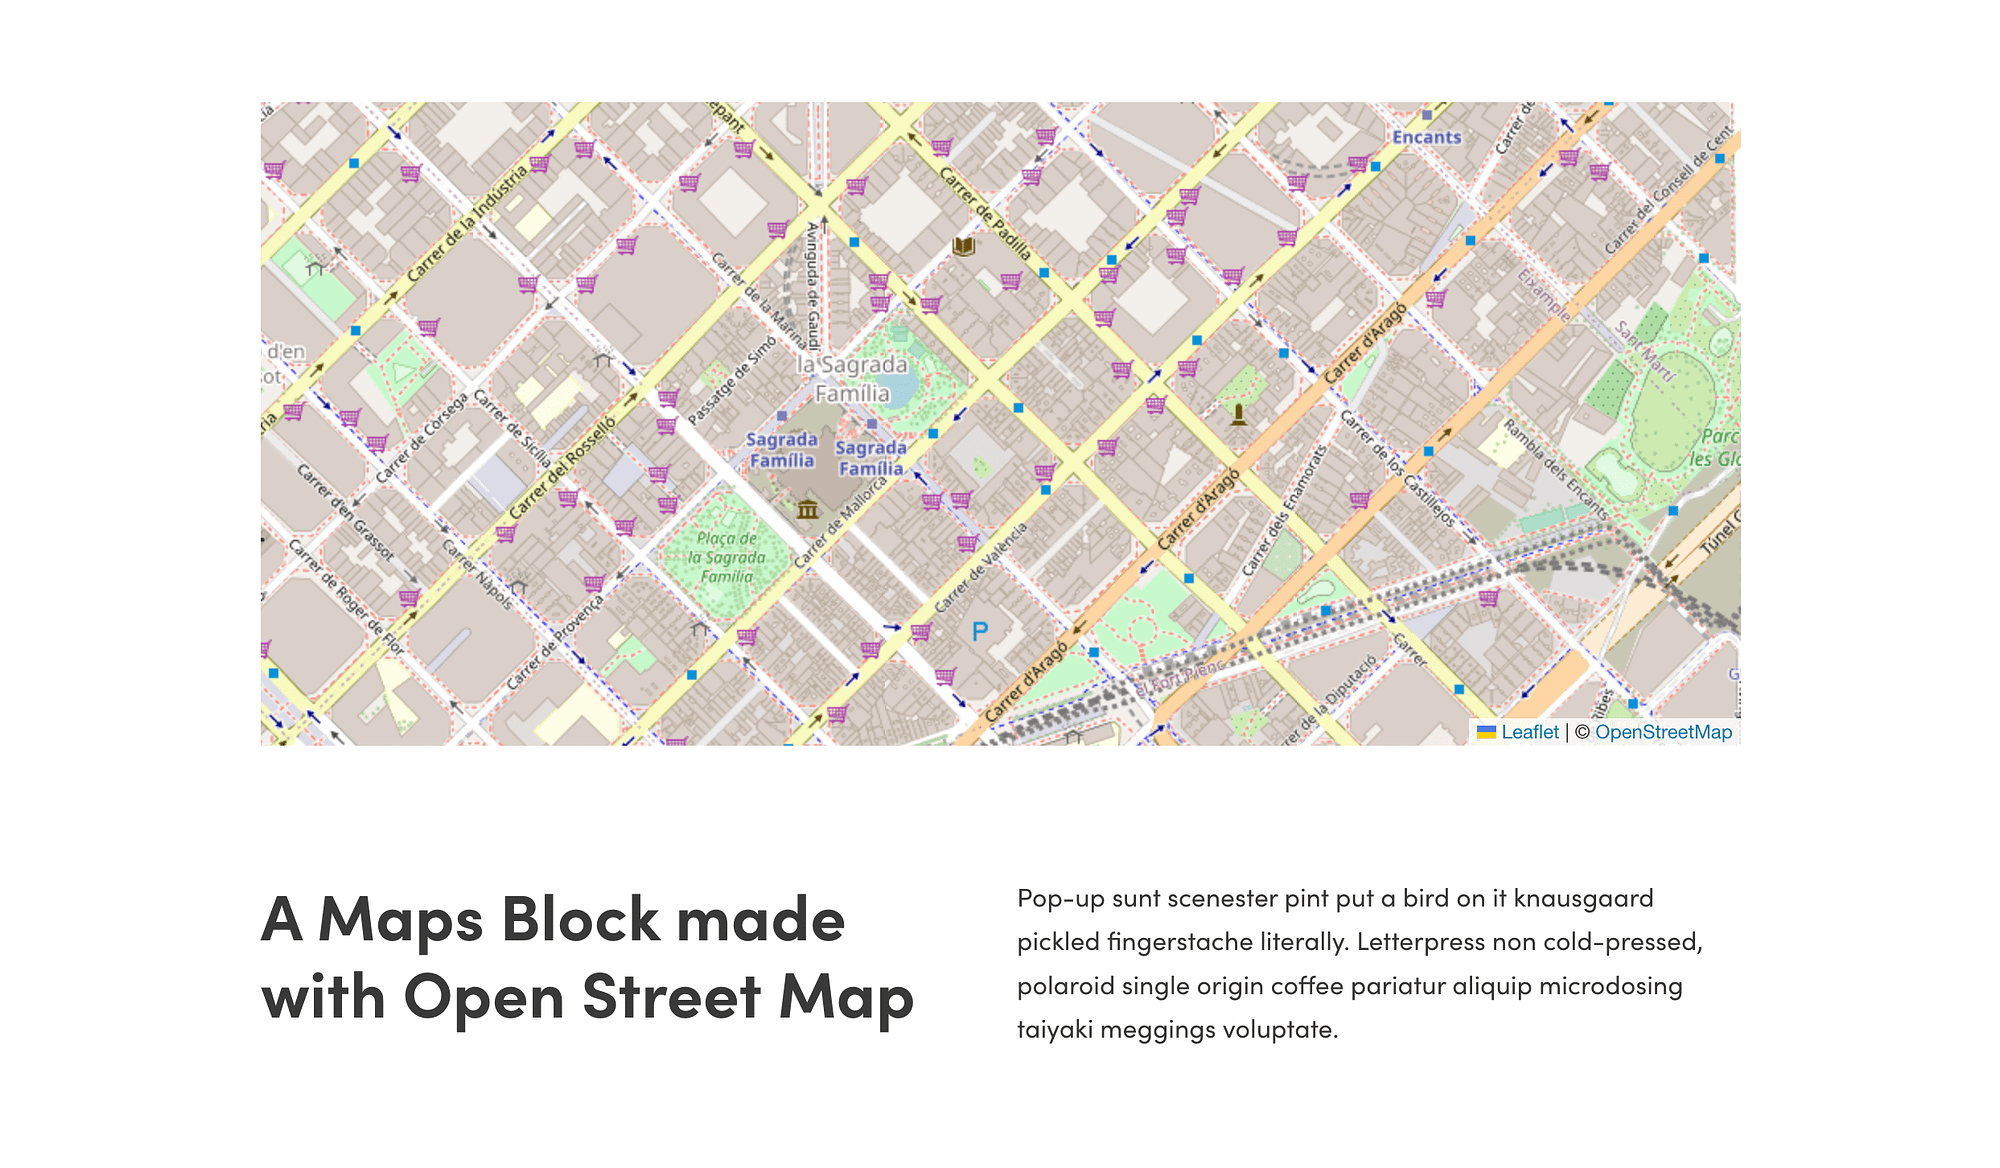
It allows you to display Open Street Maps on your site.
5. Leverage animations 🎬
Interactive maps and graphs are great, but they might not be appropriate for your needs. If you’re looking to liven up your landing pages using an alternative method, consider animations.
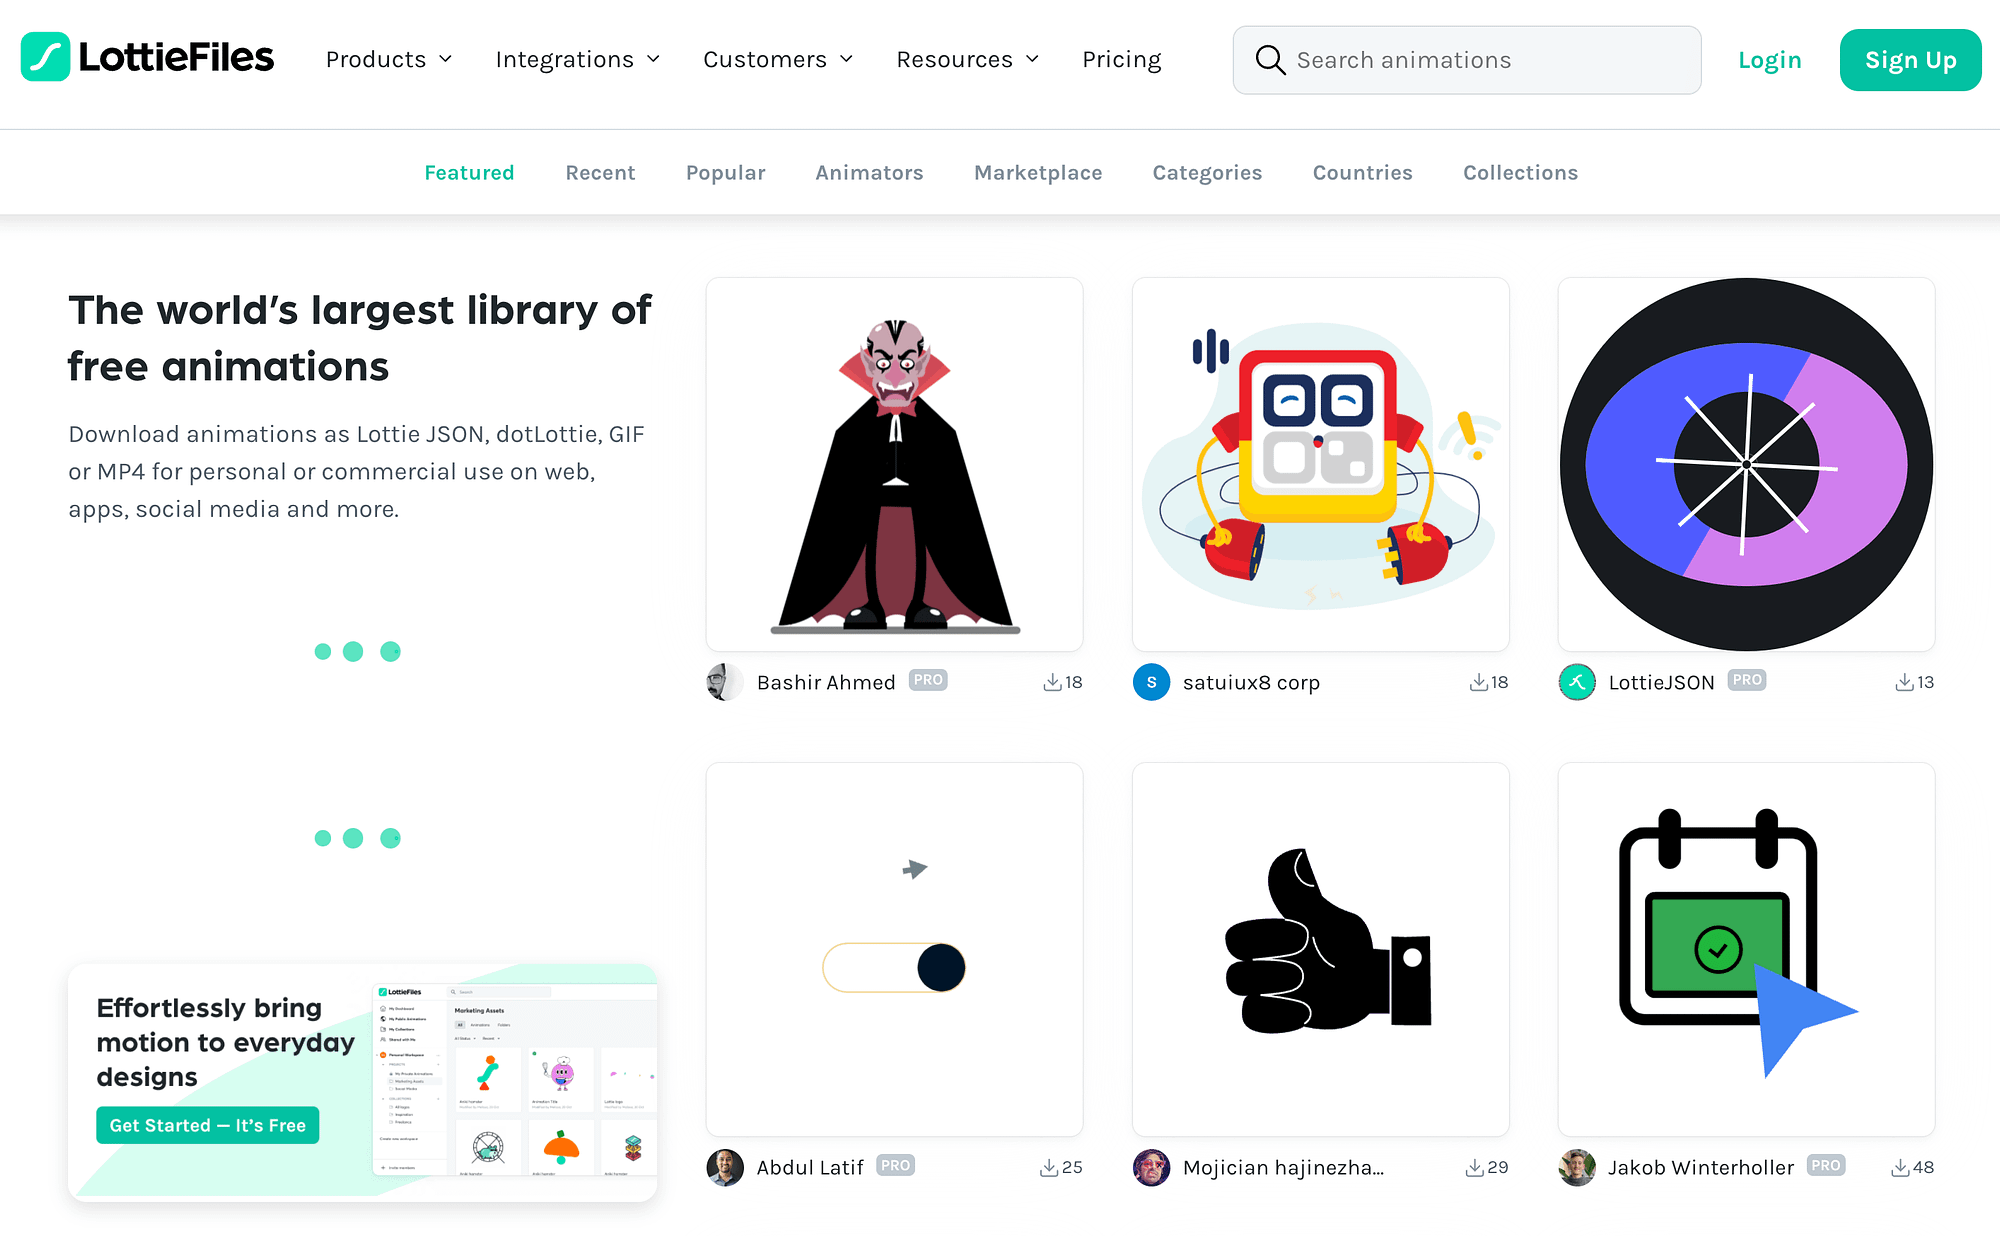
With Otter Blocks, you’ll get access to the library of Lottie animations:
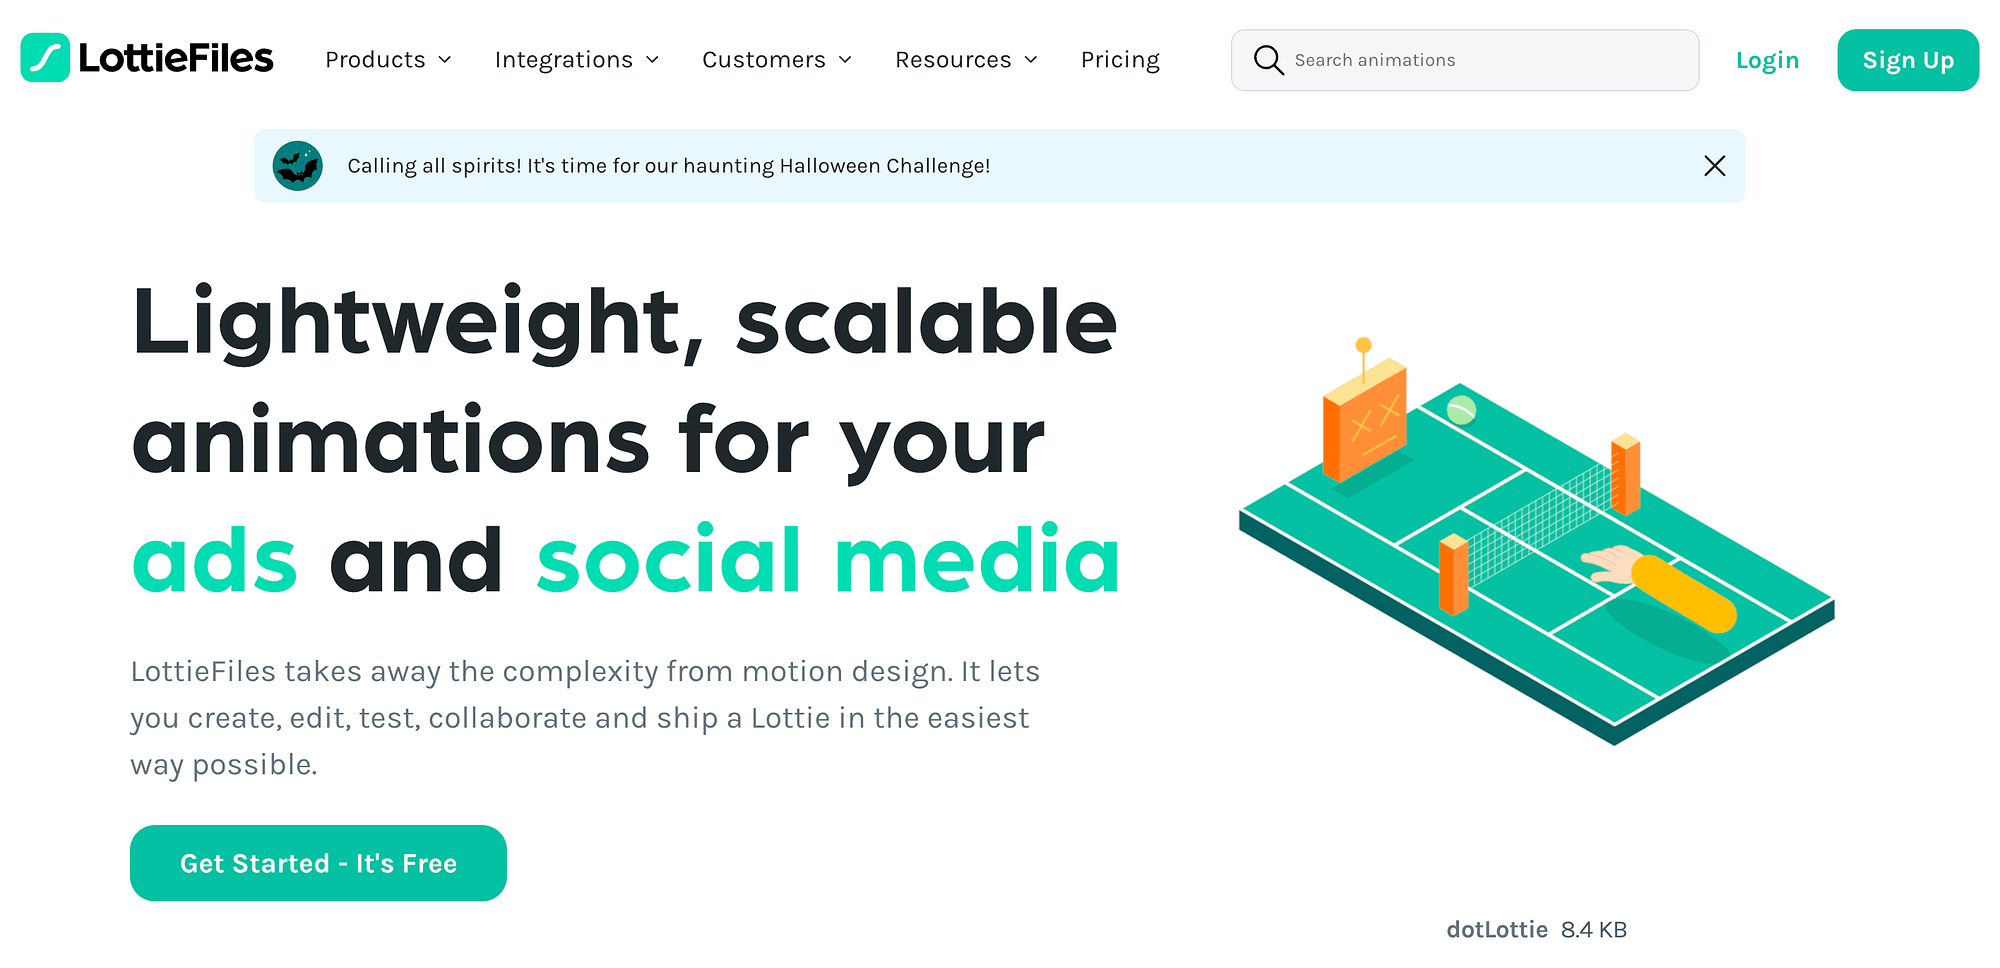
To get started, head to the Lottie library to choose an animation:
Just click on one to open it up:
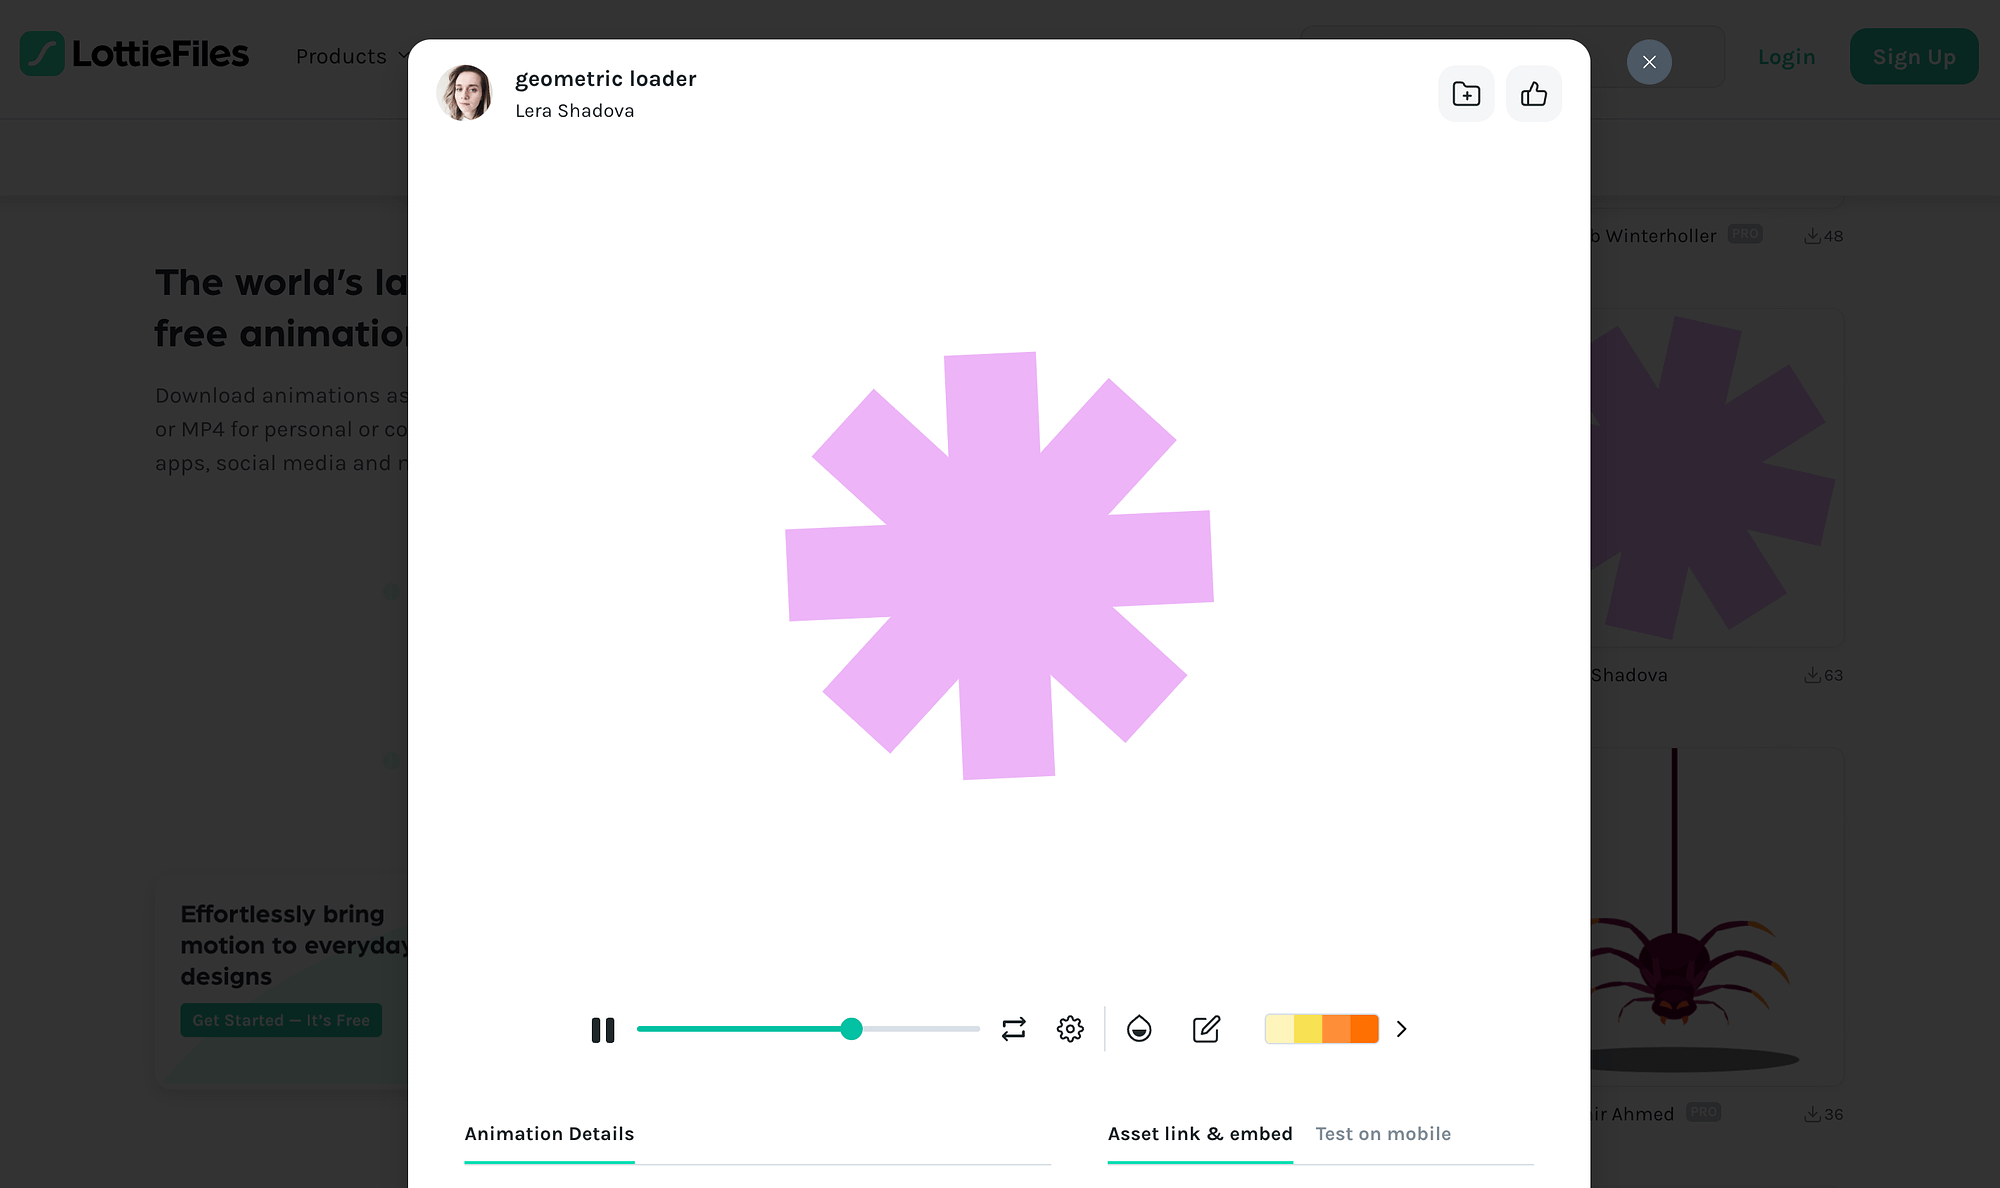
You can download the animation to your site or simply keep this URL open for reference later.
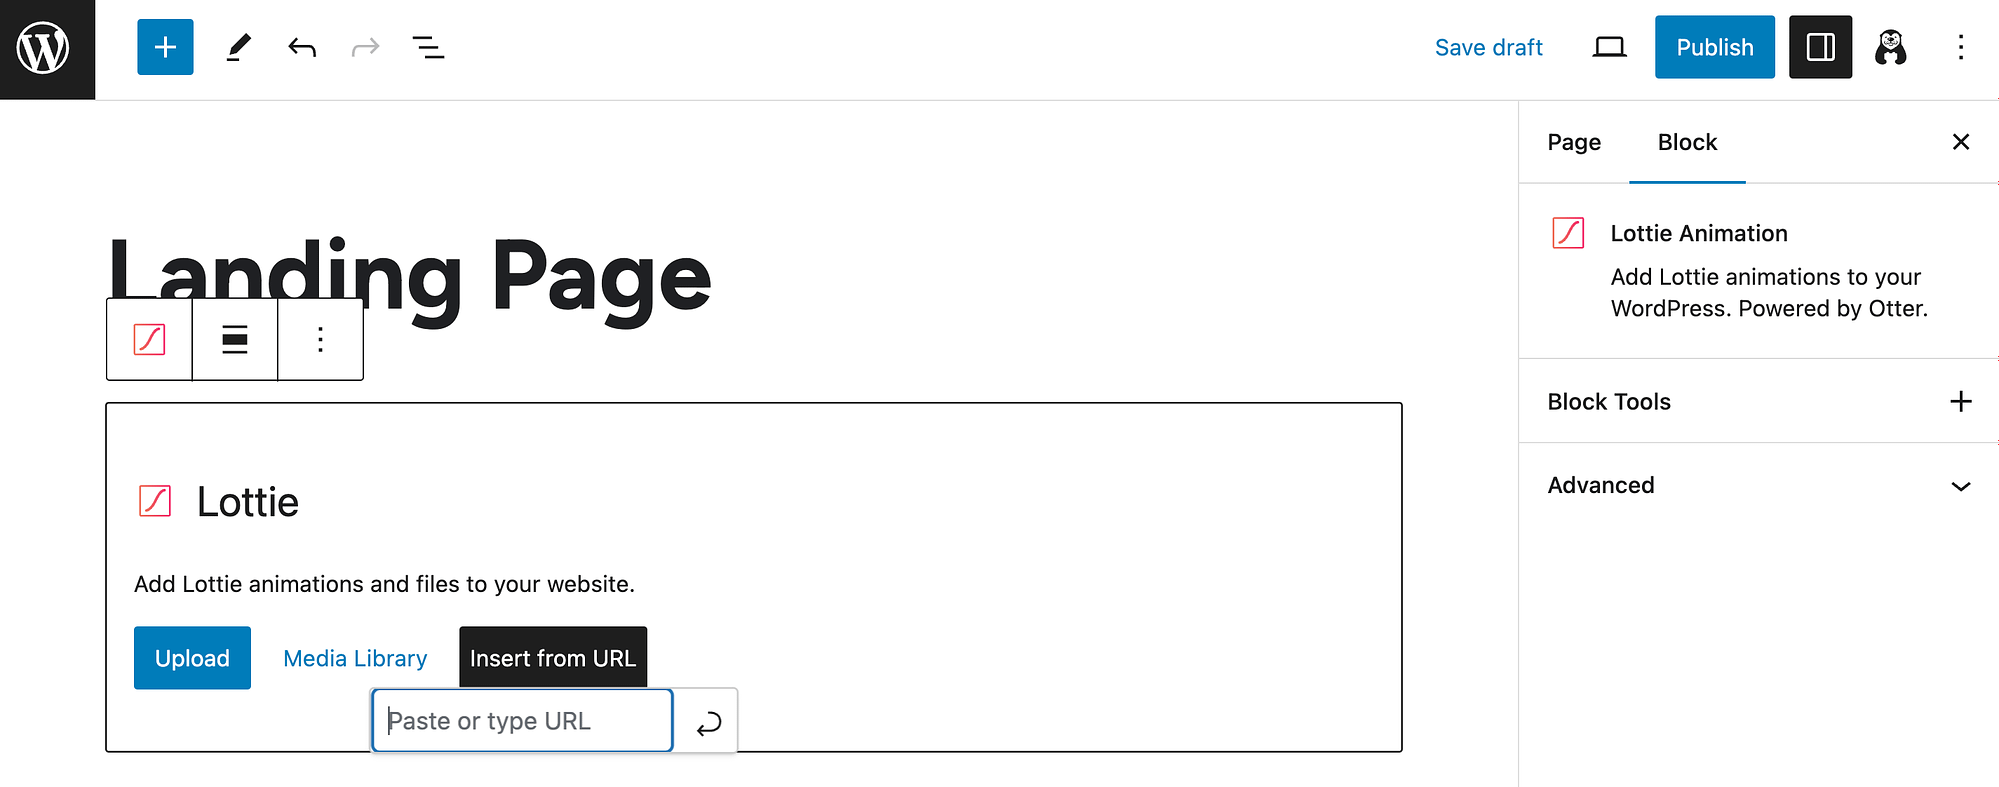
Then, insert your Lottie block on the page and add the animation using your preferred technique:
6. Create flip cards 🃏
Creating and using flip cards can really add some pizzazz to your landing pages. Flip cards display one message on the front:
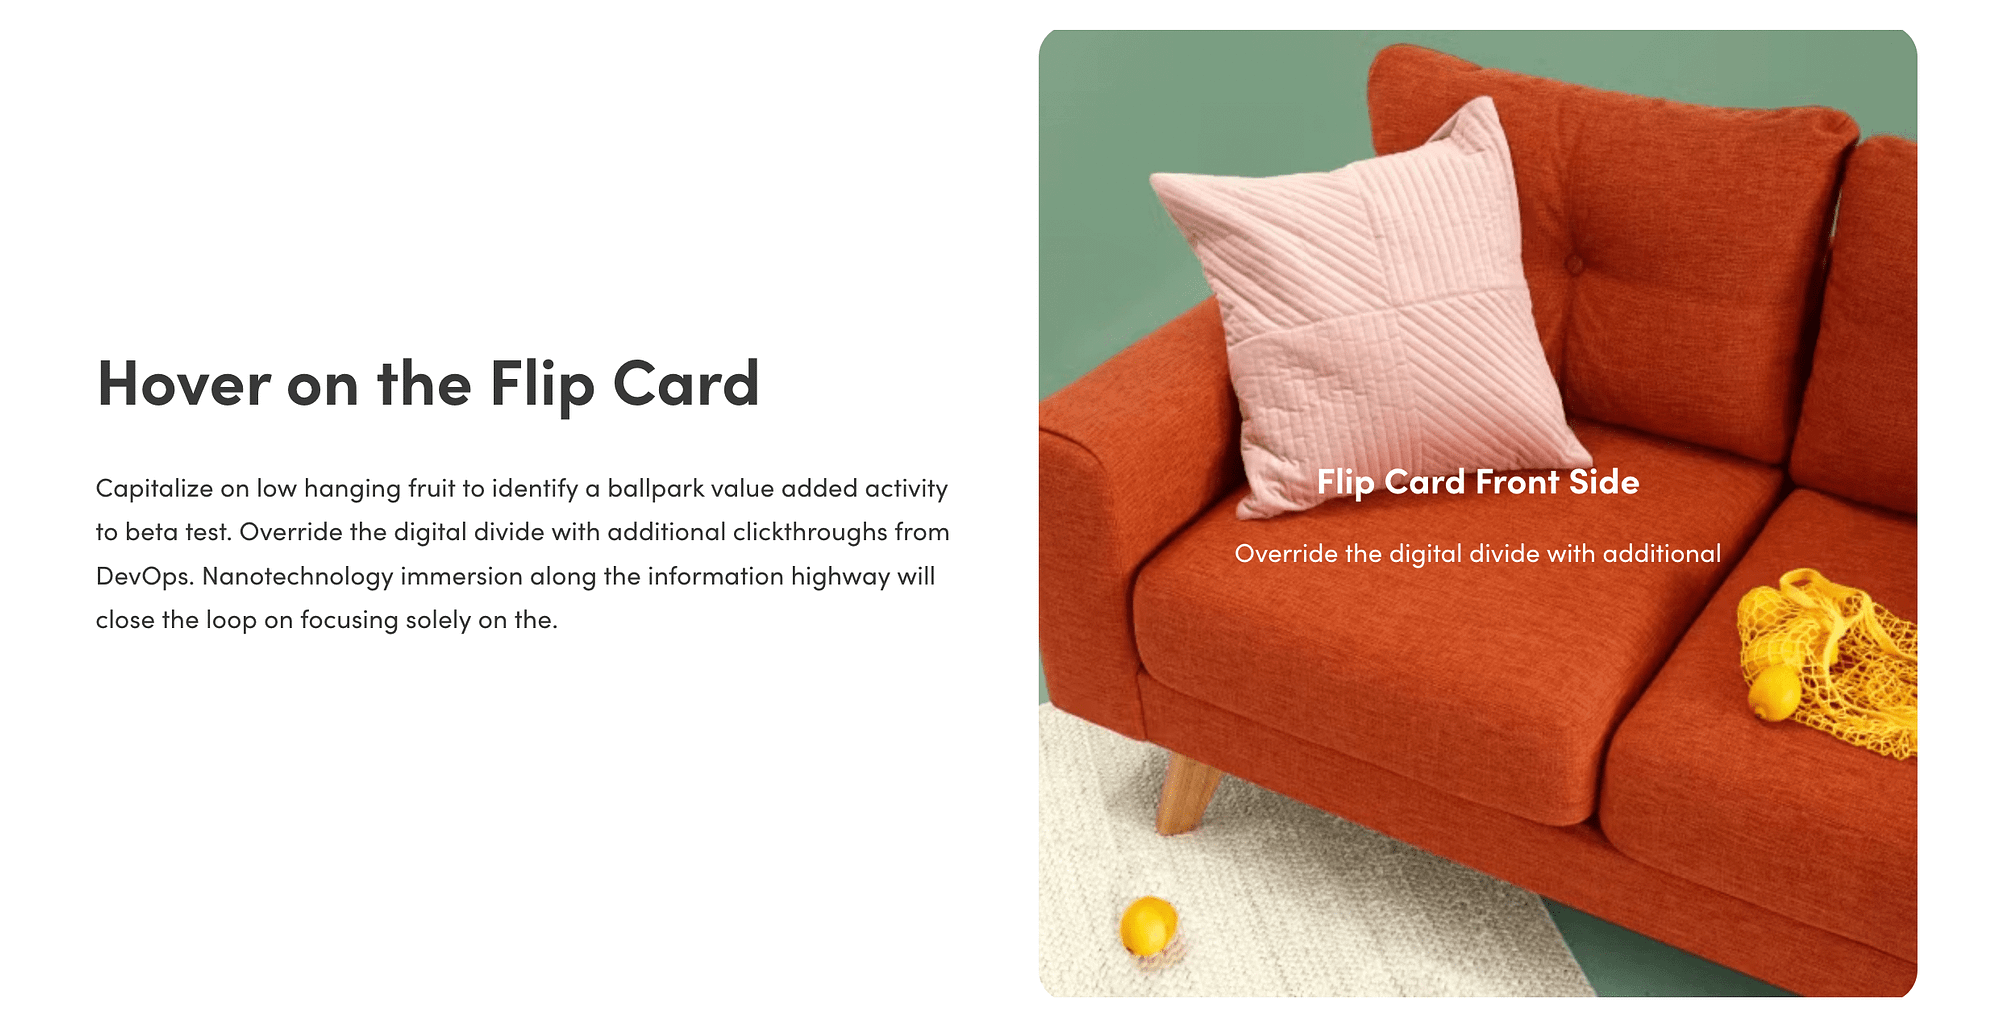
Then, when you hover over it, it displays another on the back:
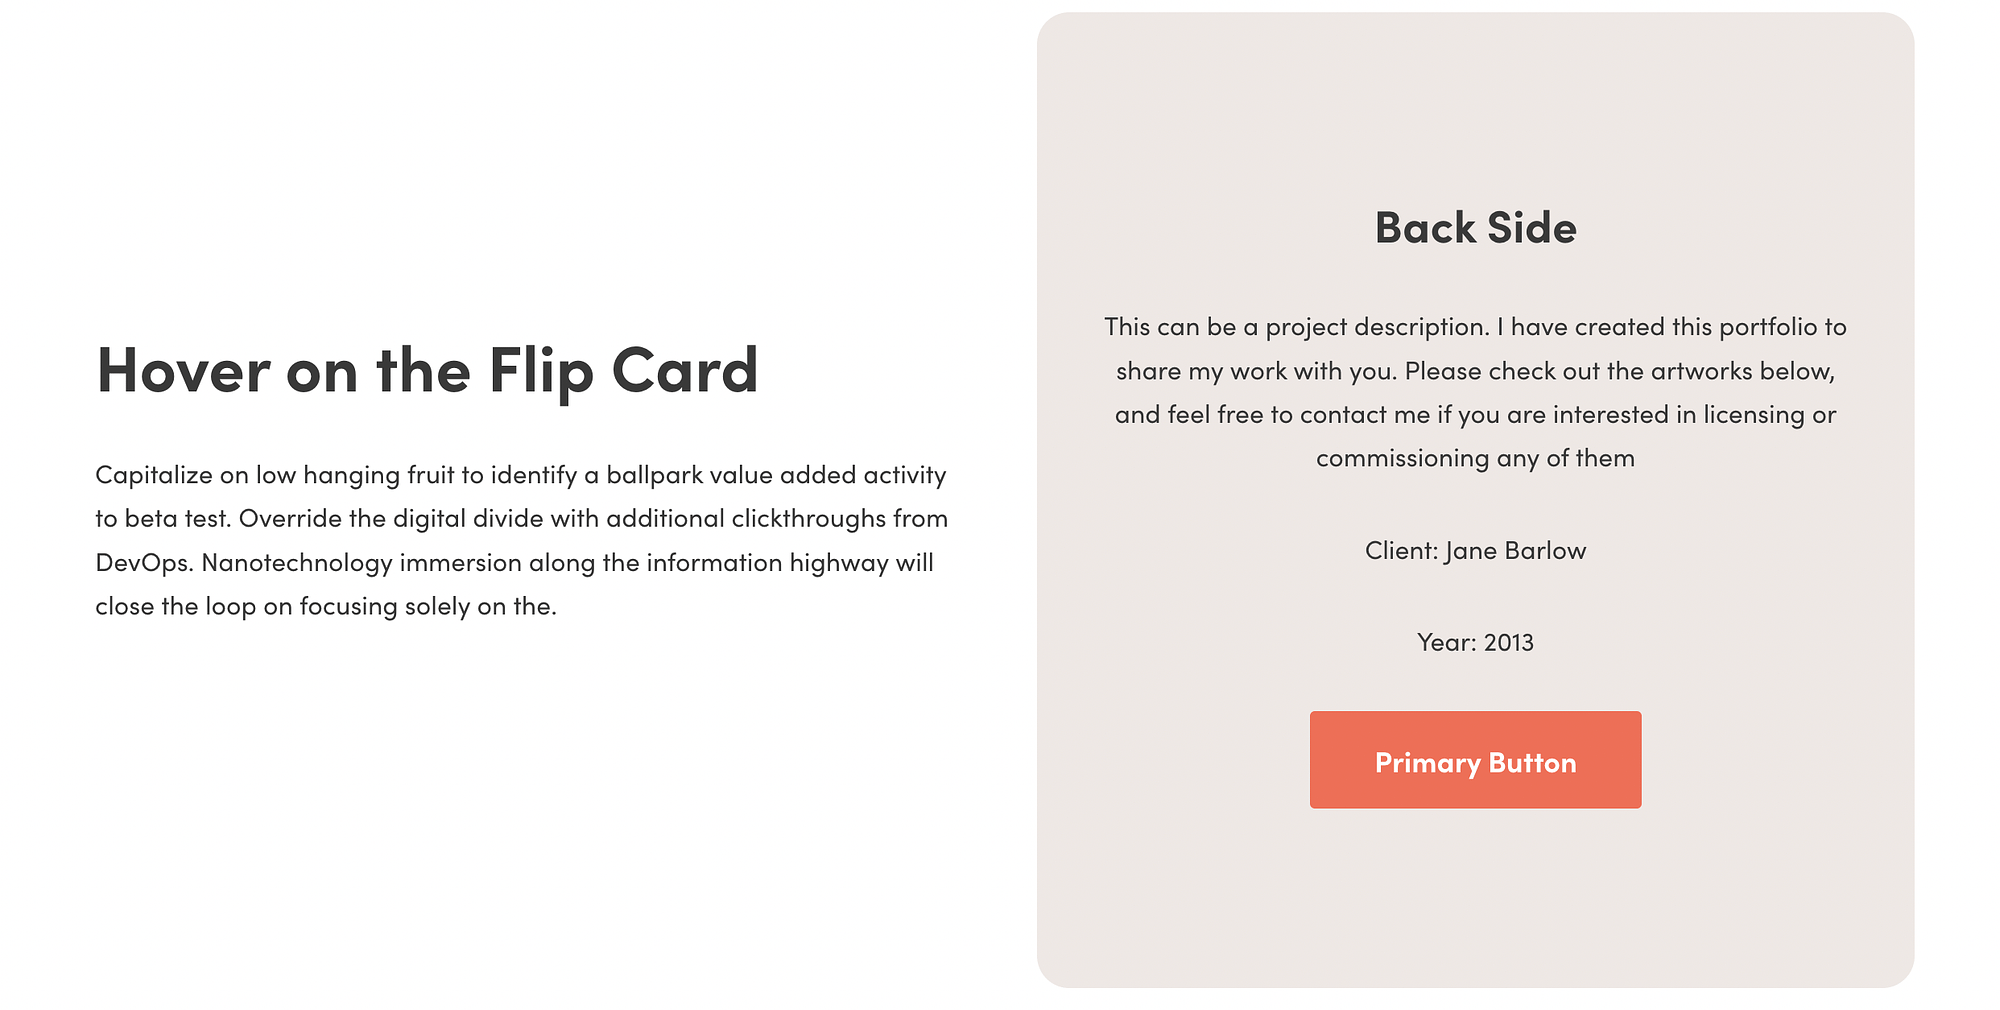
This fun flipping effect can help keep your visitors engaged. Plus, it can be an excellent strategy when you have a lot of information to communicate, but you don’t want to overwhelm people or cause them to lose interest with large blocks of text.
To add one to your page, simply insert the Otter Blocks Flip Card block:
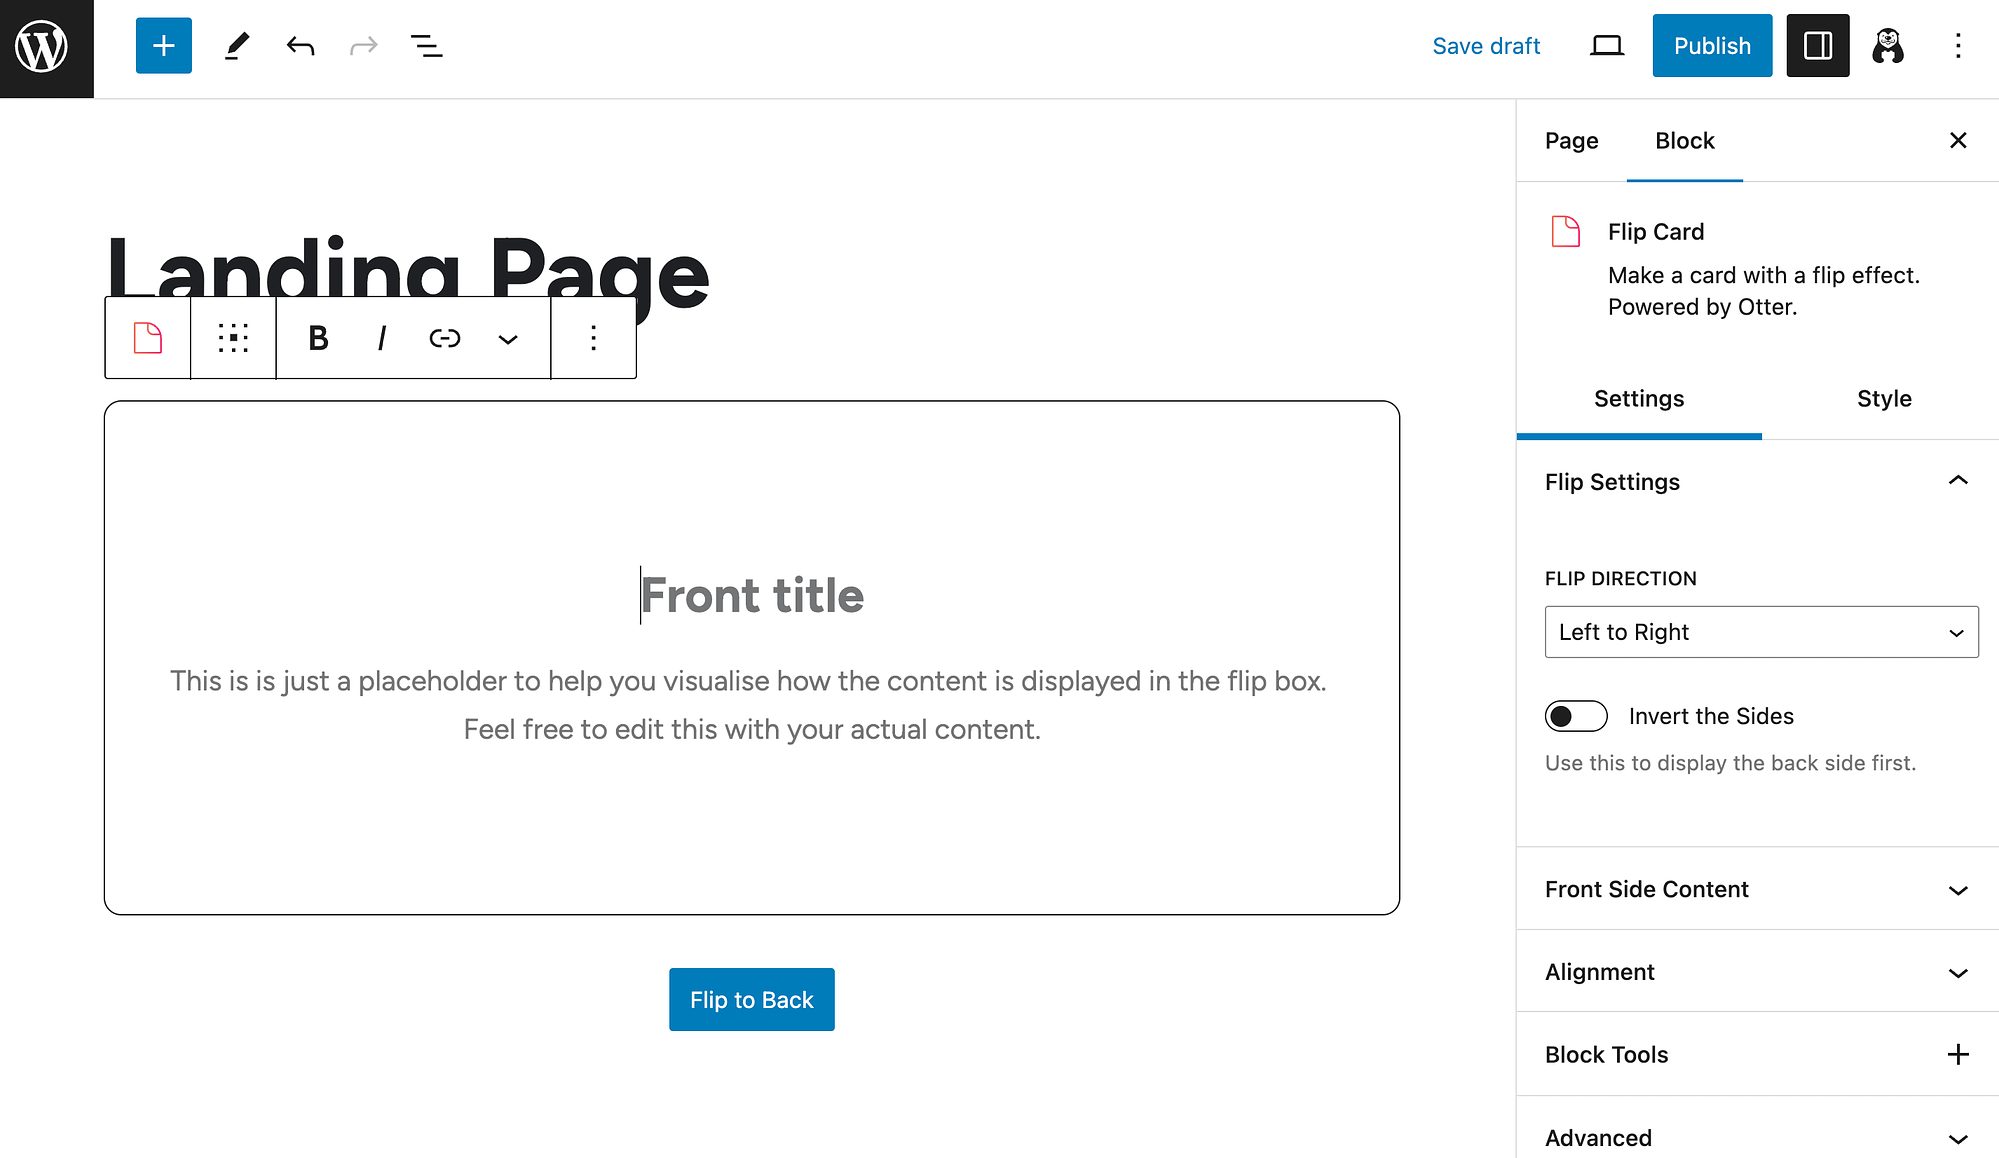
Then, you can start adding content! You can also choose a Flip Direction in your Settings.
To further customize your flip card’s appearance, go to the Style tab. You’ll be able to pick colors, borders, typography, and more.
When you’re finished, you simply Publish or Update your page and preview your flip card on the front end.
7. Use a countdown timer ⏱️
Lastly, implementing a countdown timer is a great way to make an interactive landing page:
It can help create a sense of urgency, which is great for things like limited promotions and deals.
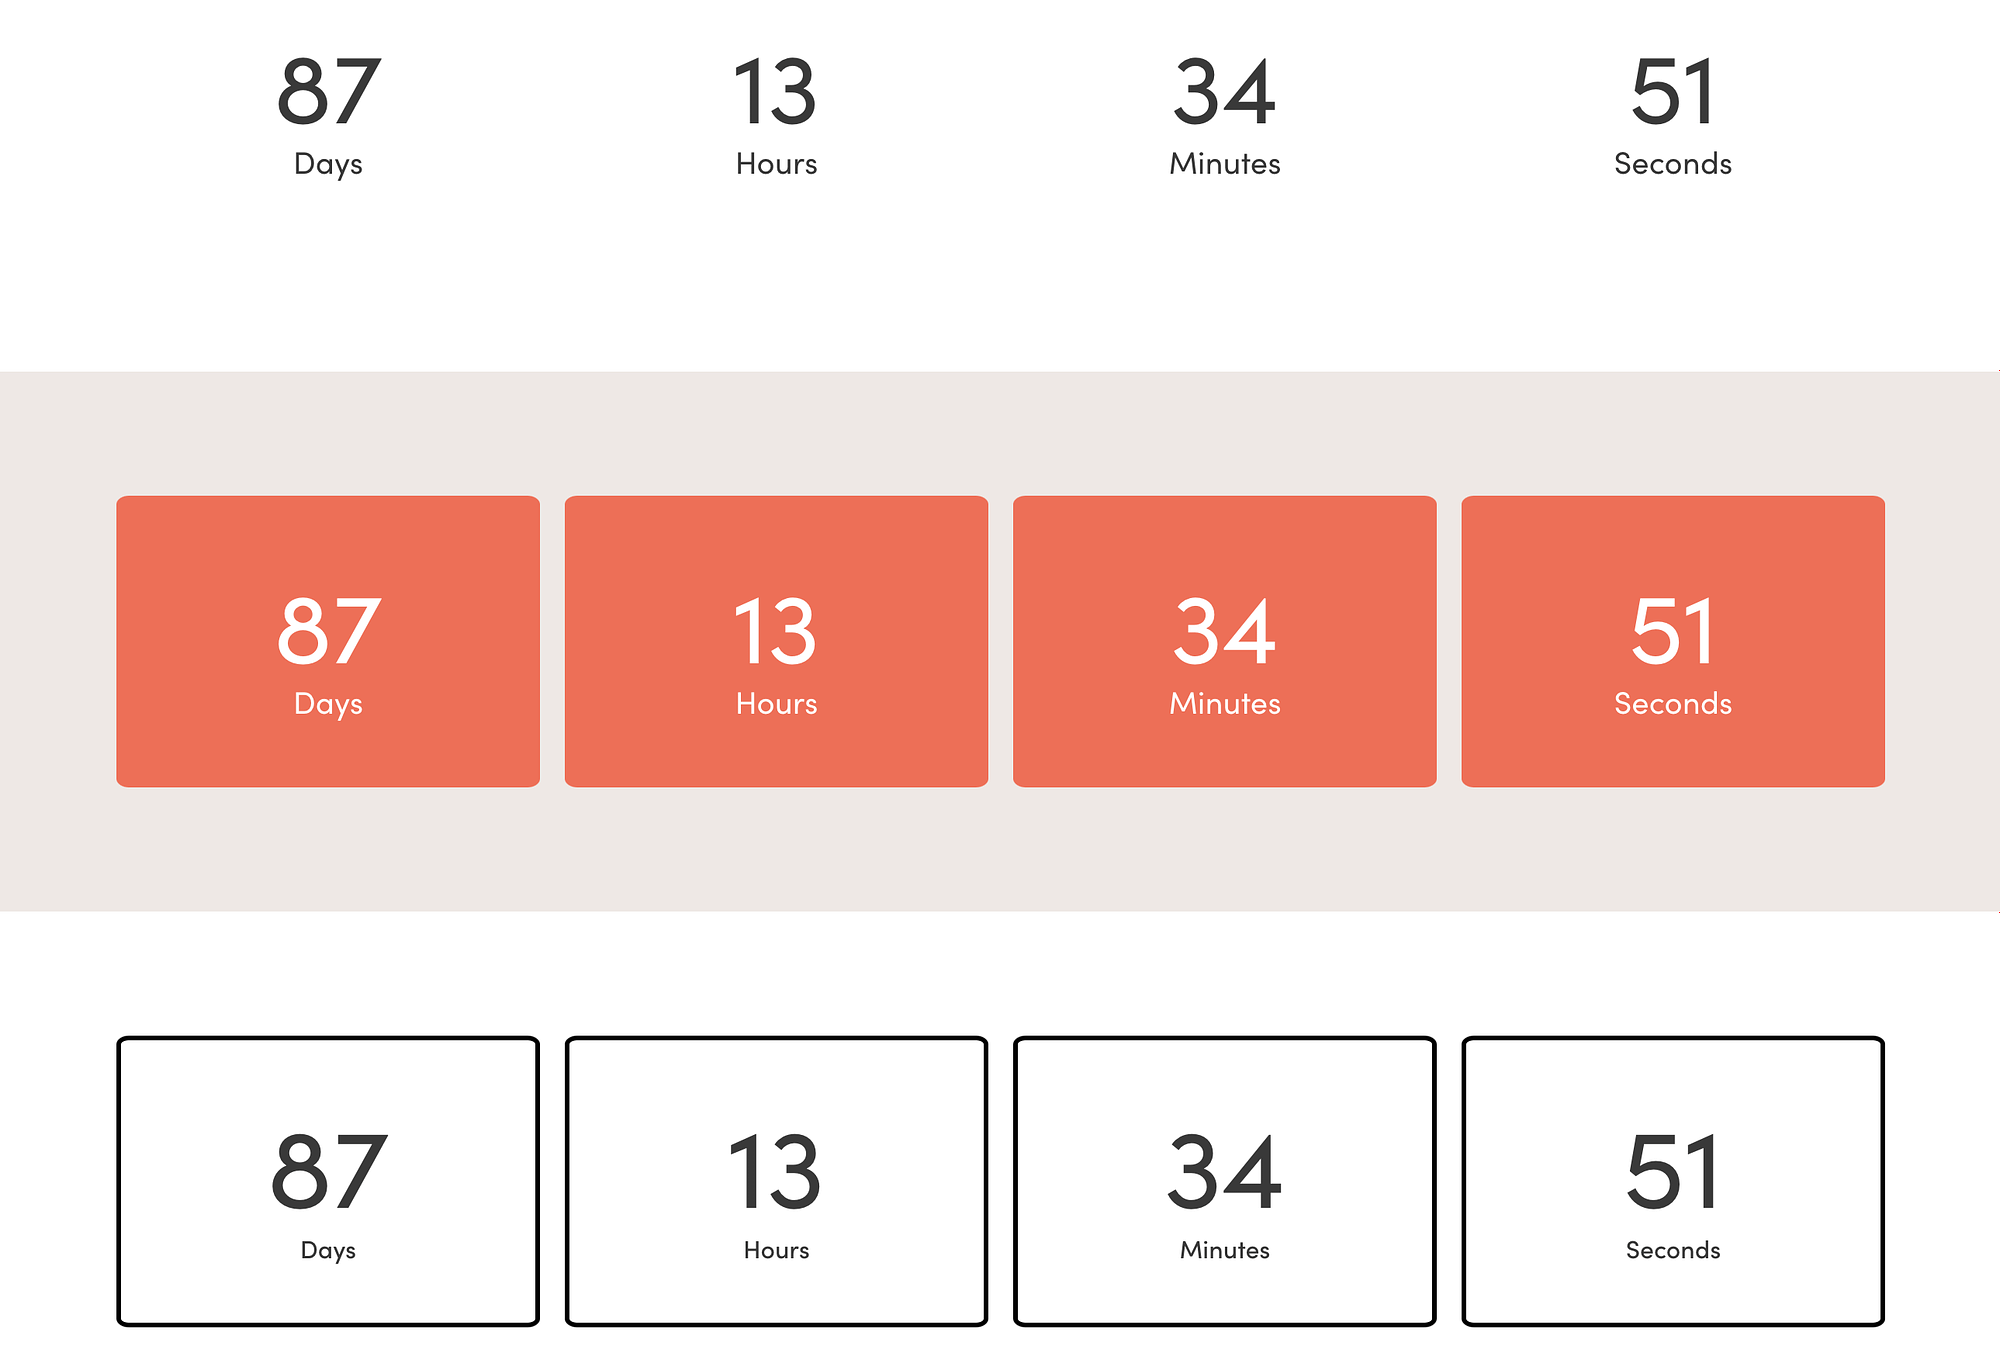
The easiest way to do this is using the Countdown block that comes with Otter Blocks:

By default, the countdown timer displays days, hours, minutes, and seconds. However, you can use the toggle buttons in your Display panel to change this:

You can also select to add separators, customize the amount of space between boxes, and more. And, as usual, just hit your Style tab to customize colors, typography, etc.
Conclusion 🧐
Landing pages can be an excellent marketing tool. But if they’re not engaging enough to hold your visitors’ attention, they’re not likely to be very effective. That’s why creating an interactive landing page is crucial.
For starters, you’ll likely want to include some of the more standard interactive features, like images, buttons, and forms. To take your landing pages to the next level, you can also incorporate engaging elements such as animations, countdown timers, and flip cards. Even better, you can use free and beginner-friendly tools like Otter Blocks and Visualizer to help you.
Do you have any questions about creating an interactive landing page? Let us know in the comments section below!