The WordPress software is regularly updated to improve performance and security. Usually, the process is automated when it’s a minor upgrade. However, you might be wondering how to disable WordPress auto update to maintain more control over your website. 🌐
Fortunately, you can use a free plugin for this, so there’s no need to edit your site’s files. Plus, if you want to disable automatic updates for plugins and themes, the process is equally simple.
Why disable auto updates in WordPress
When WordPress releases a minor update to the core software, your site will likely run it automatically. On the other hand, major updates may need to be initiated manually. This is because they are more likely to break your site, so it gives you a chance to make a backup.
However, even a small WordPress update could have undesirable effects on your content. For example, it might be incompatible with a theme or plugin on your site.
Similarly, a new plugin version could break your website or make it glitchy. This is usually due to a conflict with another plugin on your site.
Therefore, you might want to learn how to disable WordPress auto update on your site. This enables you to test new versions on a staging site and make sure that they are compatible with other tools before making these changes live.
Of course, if you have a recent backup, you can easily restore your site should it break. But if a plugin, theme, or WordPress is automatically updated while you’re away from the office, it might take some time before you’re able to fix any issue caused by these updates.
If your site is down for a long time, 🕰️ it can have a huge impact on your conversions and rankings. For this reason, it might be better to run all updates on your site manually. ✋
How to disable WordPress auto update
Now, let’s look at how to disable WordPress auto updates. We’ll show you three methods for disabling automatic WordPress core updates, as well as plugin and theme updates.
💡 Note. Not all web hosts will allow you to disable WordPress auto updates for security reasons. If you’re having trouble following through any of these tips, contact your web host for assistance.
- Disable auto updates with a plugin
- Use a code snippet
- Disable auto updates of each plugin and theme one by one
1. Disable auto updates with a plugin 🔌
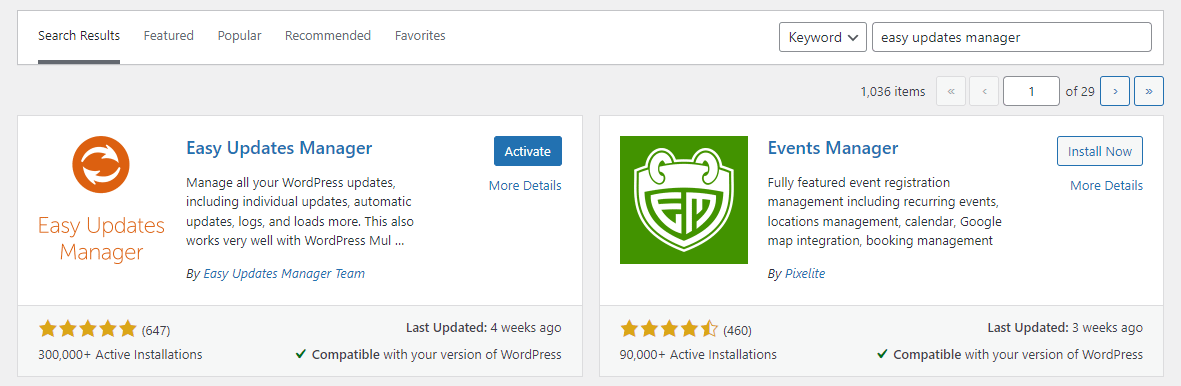
The easiest way to disable automatic updates in WordPress is to use a plugin like Easy Updates Manager. This tool enables you to control all updates on your website.
To get started, navigate to Plugins → Add New in your dashboard, and use the search bar to look for the plugin. Then, click on Install Now, followed by Activate:
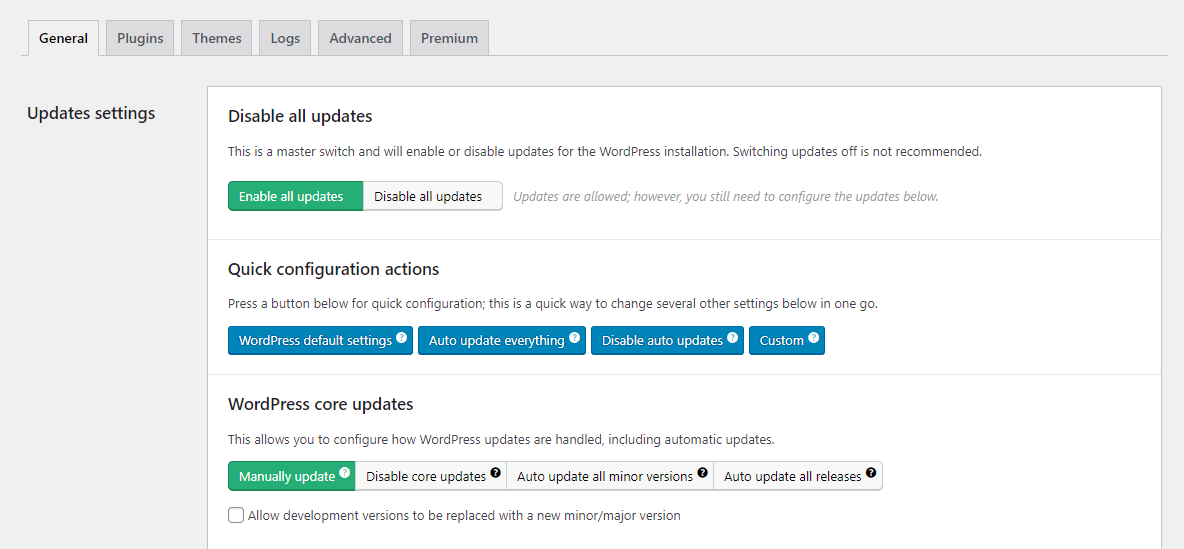
Once you’ve activated the plugin, go to Dashboard → Updates options. Here, you can choose to disable all auto updates, or disable updates for WordPress core, plugins, and themes:
For example, you might choose to manually update WordPress core, but enable auto updates for plugins and themes:
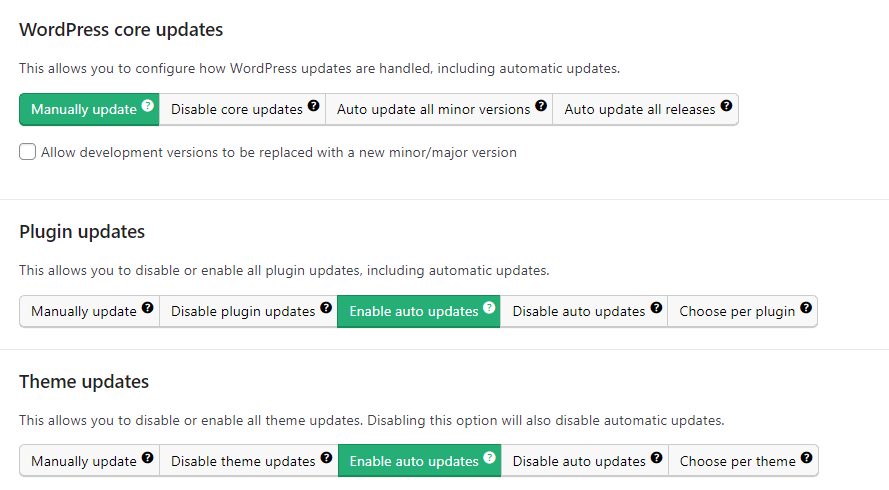
You can even configure update settings for each plugin and theme on your site. Once you select your preferences, these changes will take effect straight away.
2. Use a code snippet 📟
You can also disable auto updates by adding a piece of code to your site. We recommend using Code Snippets for this.
Start by installing the plugin on your website (as shown earlier). Then, go to Snippets → Add New:
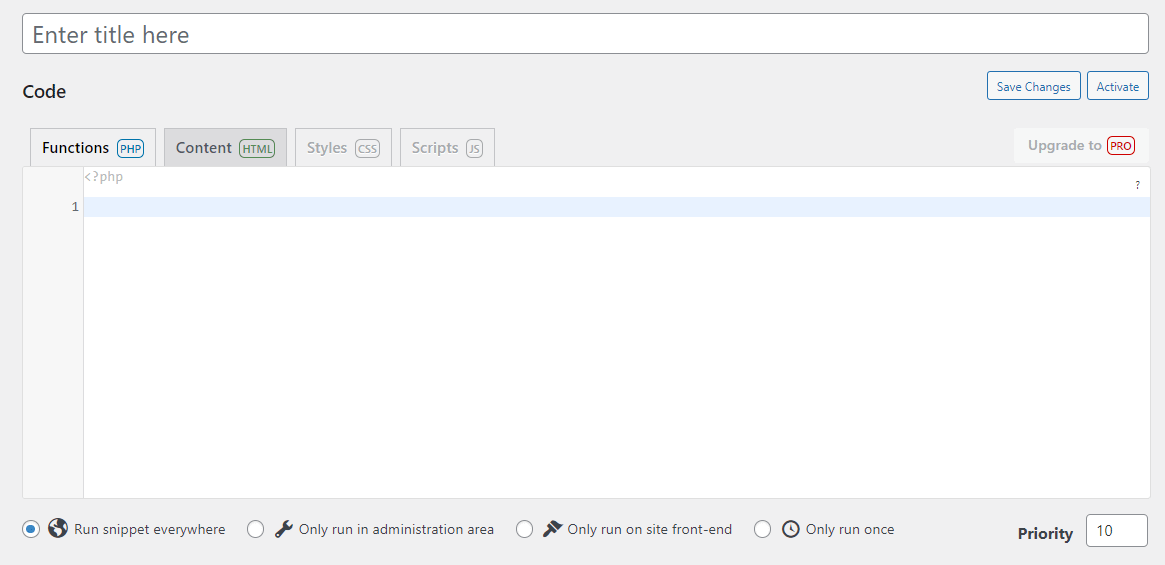
Enter a title for your code snippet (such as “disable auto updates”). Then, make sure the Functions tab is selected and paste the following code into the box provided:
//Disable auto-updates for the WordPress core
add_filter( 'auto_update_core', '__return_false' );
//Disable auto-updates for plugins
add_filter( 'auto_update_plugin', '__return_false' );
//Disable auto-updates for themes
add_filter( 'auto_update_theme', '__return_false' );
Next, select Run snippet everywhere and click on Save Changes and Activate. This will disable all automatic updates in WordPress. If you only want to disable auto updates for WordPress core, you can simply remove the lines for plugins and themes from the code snippet.
3. Disable auto updates of each plugin and theme one by one 🚫
If you only want to disable auto updates for plugins and themes, there’s a quicker way to do this and it doesn’t require a plugin. By default, WordPress lets you enable or disable auto updates for each tool on your site.
Navigate to Plugins → Installed Plugins. Next to each plugin, you’ll see an option that says Enable auto-updates:
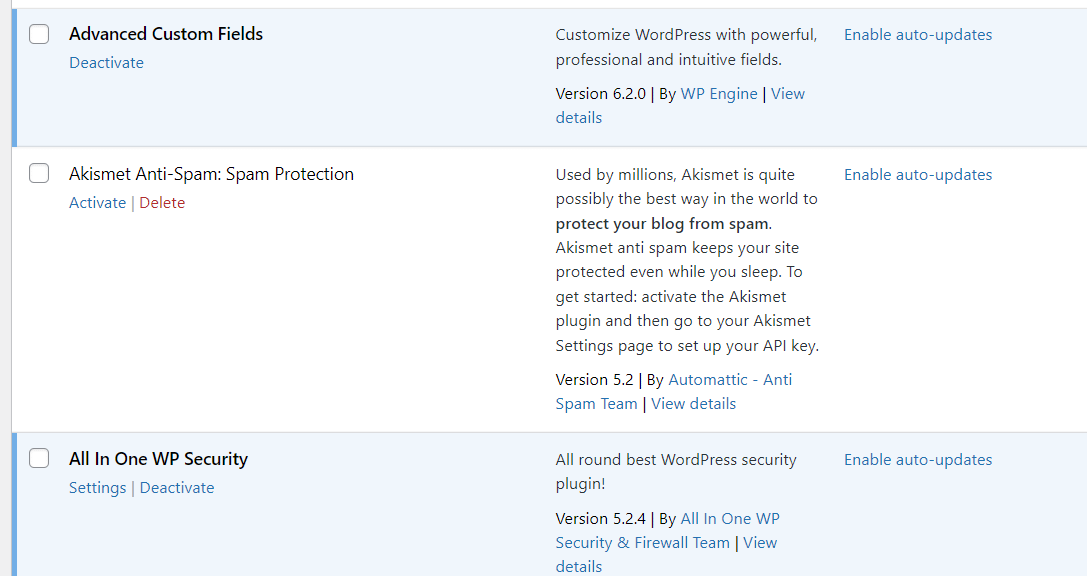
If automatic updates for a particular plugin are already enabled, you’ll see Disable auto-updates instead:
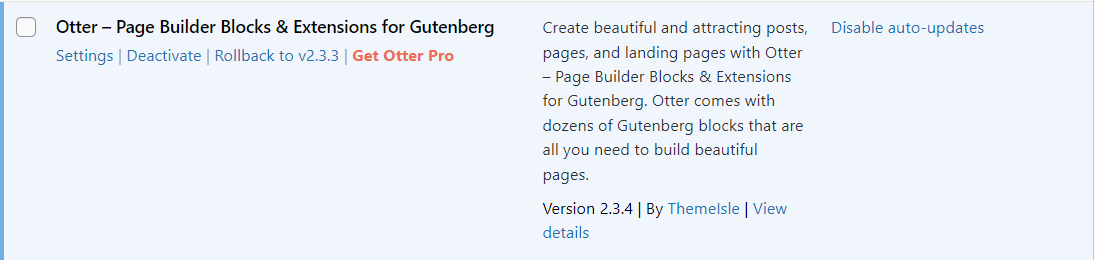
Simply click on this option to disable auto updates for that plugin. You can then do the same thing for the other plugins on your site.
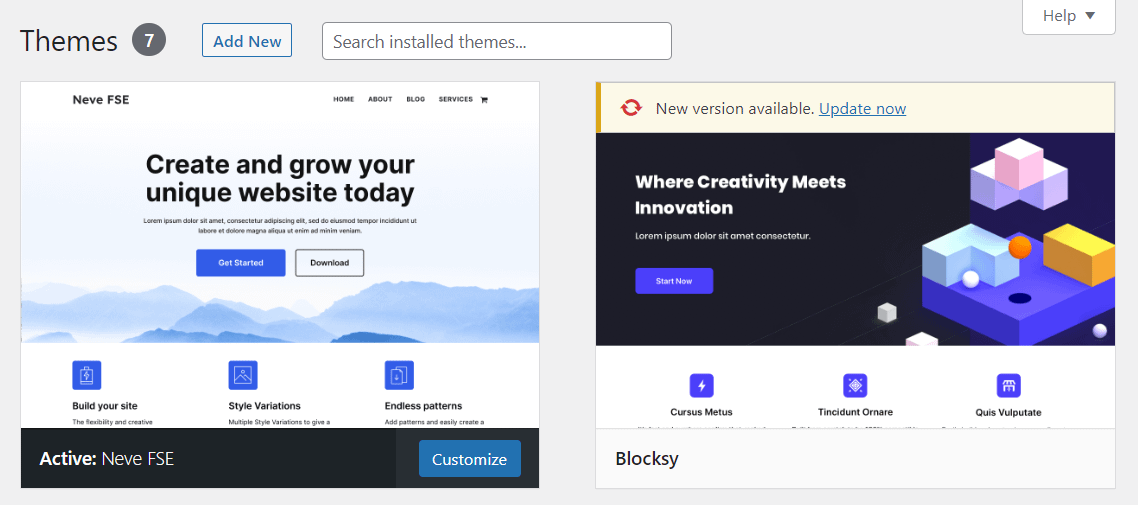
Now, let’s look at how to disable WordPress auto update for themes. Go to Appearance → Themes and select a theme:
This will open a window with more details about the theme. Here, you’ll see a Disable auto-updates option:
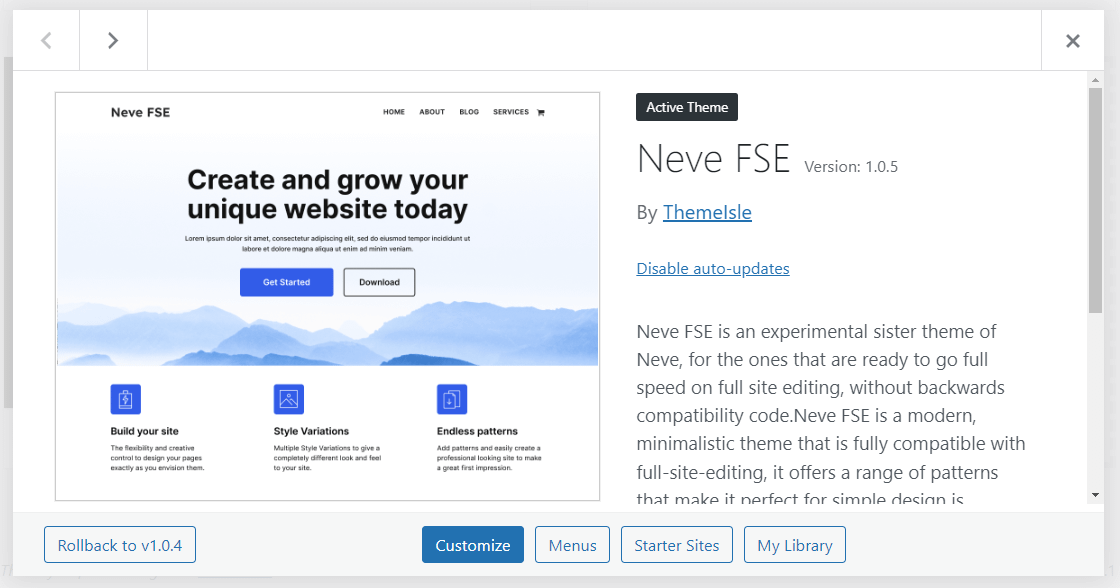
Go ahead and click on it, then close the window. You can now repeat the same process for your other themes.
Conclusion 🧐
WordPress updates may cause compatibility issues with other tools. In some cases, an update could also break your website. Therefore, it’s a good idea to test these changes before making them live. To do this, you’ll first need to disable all automatic updates on your site.
With that step handled, you can start testing any updates to plugins or WordPress itself through a staging site. Or, you can use a WordPress migration plugin to create a test environment on a completely different WordPress install.
🔨 To recap, here’s how to disable WordPress auto update:
- 🔌 Disable auto updates with a plugin like Easy Updates Manager.
- 📟 Use a code snippet.
- 🚫 Disable auto updates of each plugin and theme one by one.
One more thing to keep in mind once you disable auto updates in WordPress is that you’ll need to monitor your site for security vulnerabilities yourself, and manually check for and install security patches on a regular basis.
Do you have any questions about disabling automatic updates in WordPress? Let us know in the comments section below!