A WordPress countdown timer can help you build excitement about an upcoming event. For example, if you’re launching a new website, visitors will know when to expect it to go live. However, you might be looking for the easiest way to add this feature to your site.
Well, the good news is that you don’t need to add any code to create a WordPress countdown timer. You can simply use a plugin like Countdown Timer Ultimate to create a custom timer and insert it on any page on your site. ⏱️
When to use a WordPress countdown timer
As the name suggests, a WordPress countdown timer is a feature that displays the days and hours left until a particular event. For example, if you’re revamping or launching a site, you might display the countdown timer on the “coming soon page.”
You can even use countdown timers to create hype about an upcoming event, like a webinar or online course. If you run an online shop, you might add this element to your homepage to promote an upcoming product launch. Also, if you’re running a limited-time offer or a pre-order then a countdown timer can be a great option to create interest.
Countdown timers can also build a sense of urgency and prompt users to take action before it’s too late. For example, you might use them for flash sales or time-sensitive offers. If you’re hosting an event with a short booking window, a countdown timer can encourage users to sign up straight away.
As you can see, a WordPress countdown timer is a versatile tool that can be used for different occasions. It also helps you communicate key information (like course starting dates) in an engaging way. 📢
How to add a countdown timer in WordPress
Now, let’s look at how to add a countdown timer in WordPress. For this tutorial, we’ll be using Countdown Timer Ultimate, which is a free plugin that enables you to create a custom timer:
So, here’s how to create a basic countdown timer with this tool in three steps:
Step 1: Install Countdown Timer Ultimate 👨💻
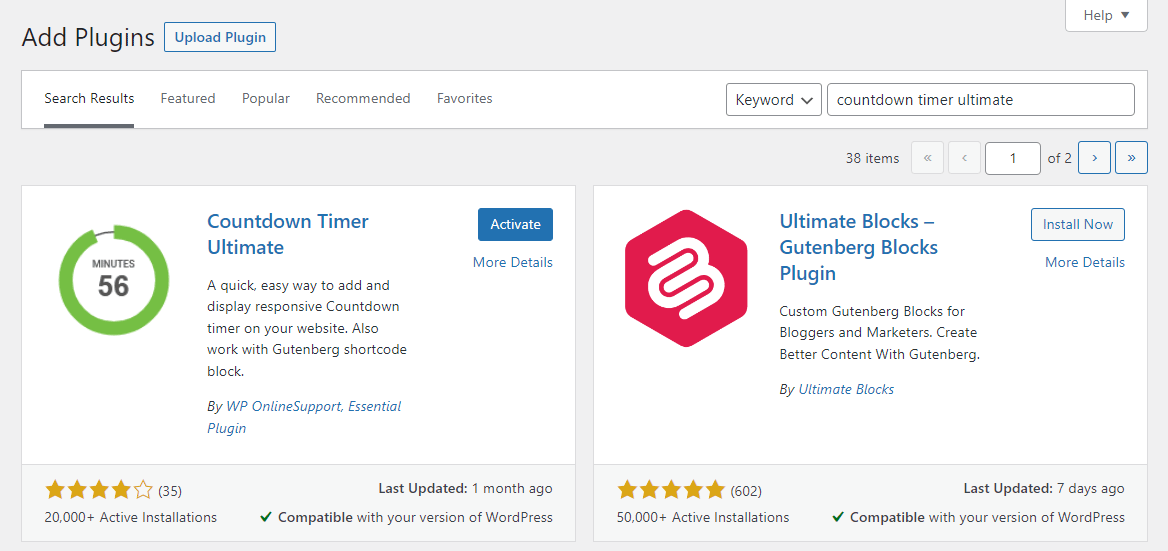
First, you’ll need to go to Plugins → Add New in your WordPress dashboard to install the plugin. In the search bar, look for “countdown timer ultimate.” Then, click on Install Now, followed by Activate:
You’ll then be directed to the plugin’s welcome page:
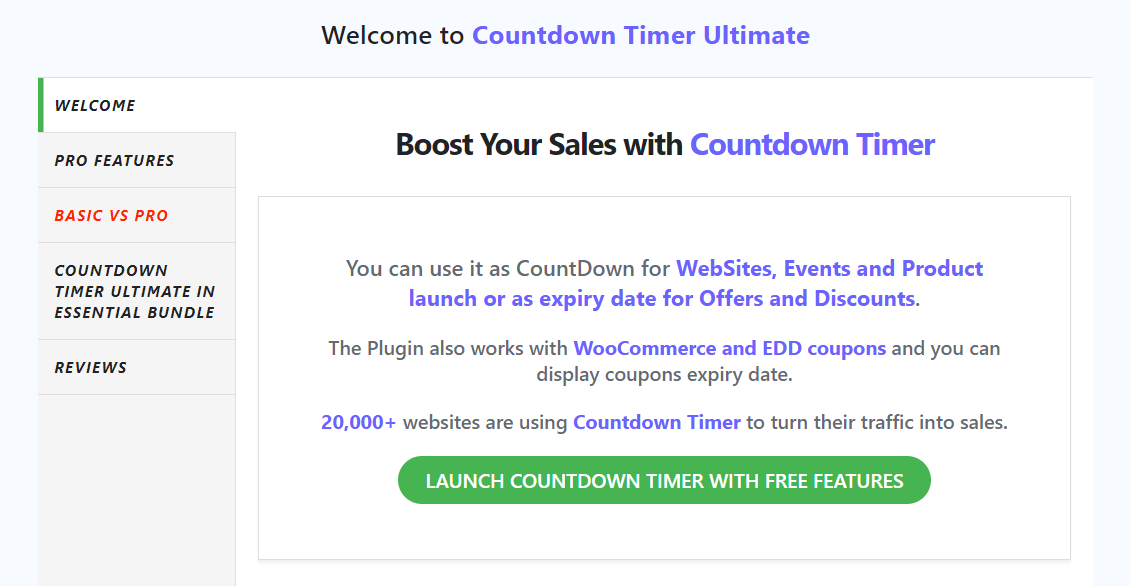
Here, you can simply click on the button to launch the WordPress countdown timer with free features. Alternatively, go to Countdown Timer → Add Timer to get started.
Step 2: Create and customize your countdown timer ⏱️
Now, let’s create the timer. First, you’ll want to add a title and set an expiry date and time:
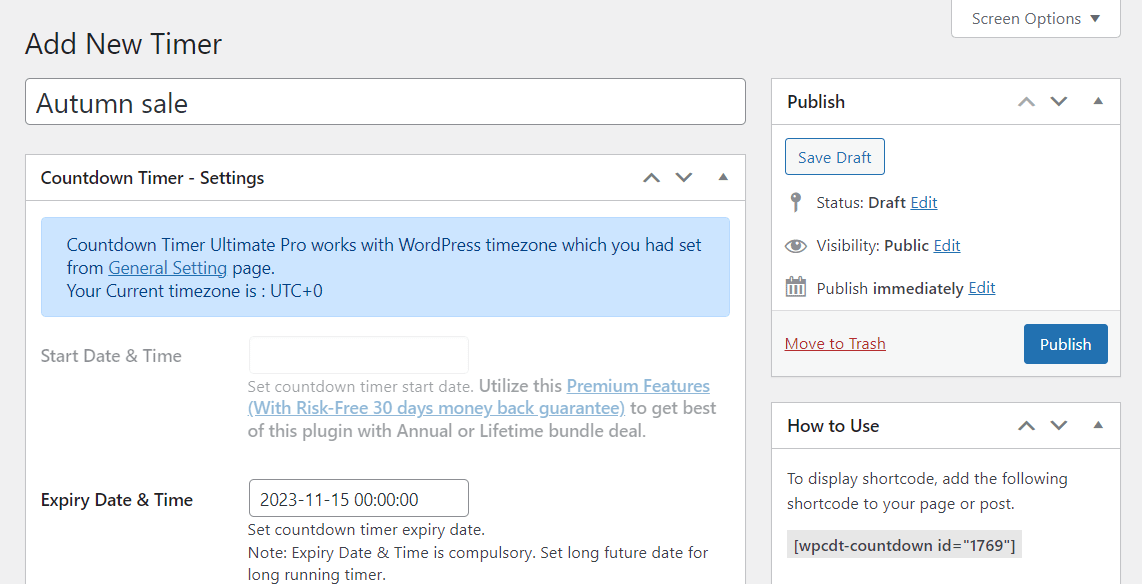
For example, if you want to run a sale until midnight on November 15, you’ll need to set this as your expiry date.
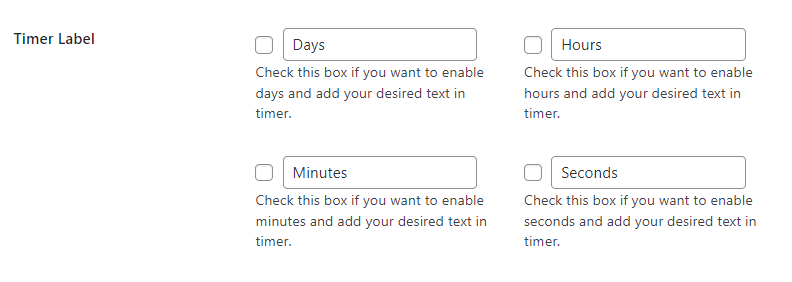
You also have the option to hide or show and edit certain labels in the timer, such as “days” or “hours.”
To customize the appearance of the timer, scroll down the page and select the Design tab:
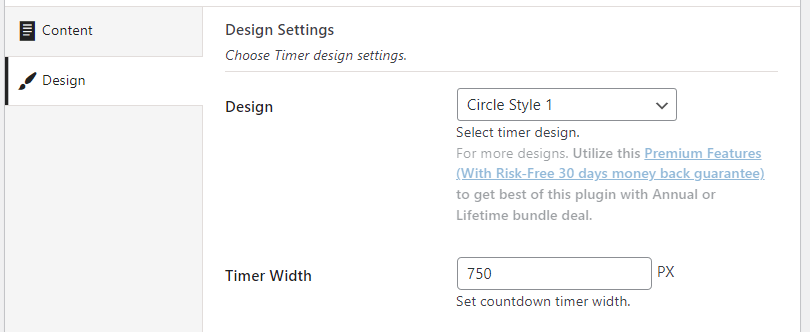
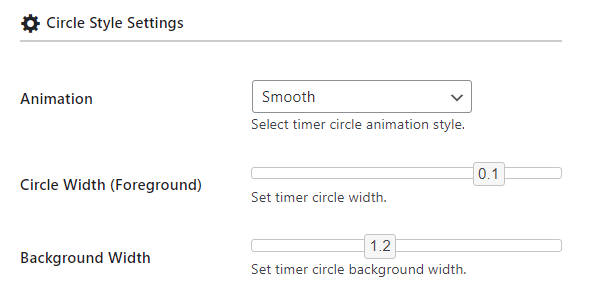
You can start by choosing a style for the timer (though you only get one with the free version) and adjust the width of the timer. Under Circle Style Settings, you’ll see further options for the design, including the type of animation and the background width:
Finally, you can select your colors for the WordPress countdown timer:
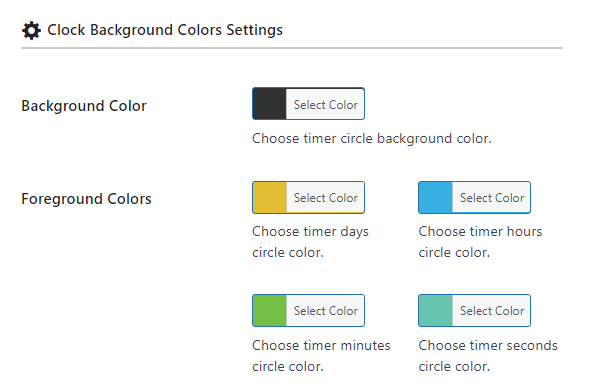
For instance, you can select the color for individual elements within the timer, such as the days, hours, minutes, and more. When you’re ready, scroll back up to the top and hit the Publish button.
Step 3: Add the countdown timer widget to your page ⚙️
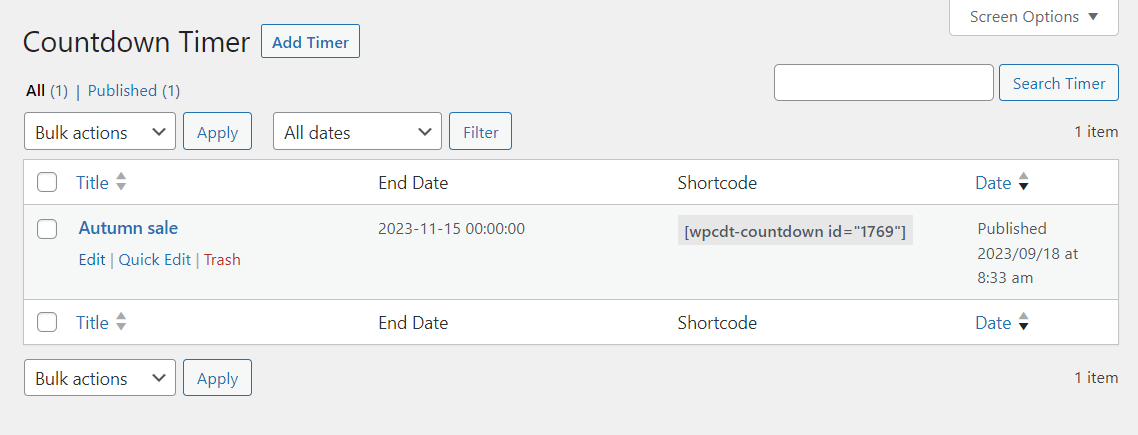
On the same page where you created the timer, you’ll see a box on the right labeled How to use:
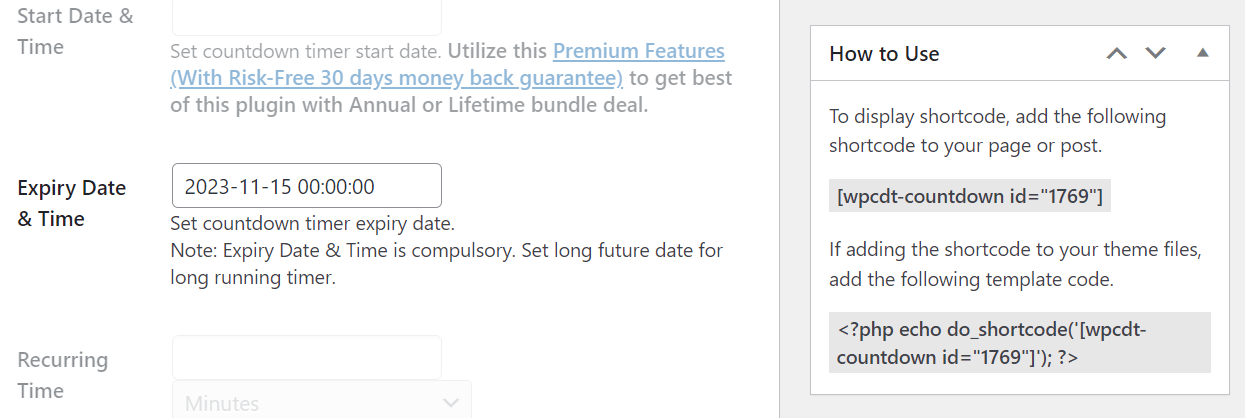
👉 Here, there’ll be a shortcode that looks something like this:
[wpcdt-countdown id="1234"]Copy that shortcode. Then, open the page or post where you want to display the WordPress countdown timer.
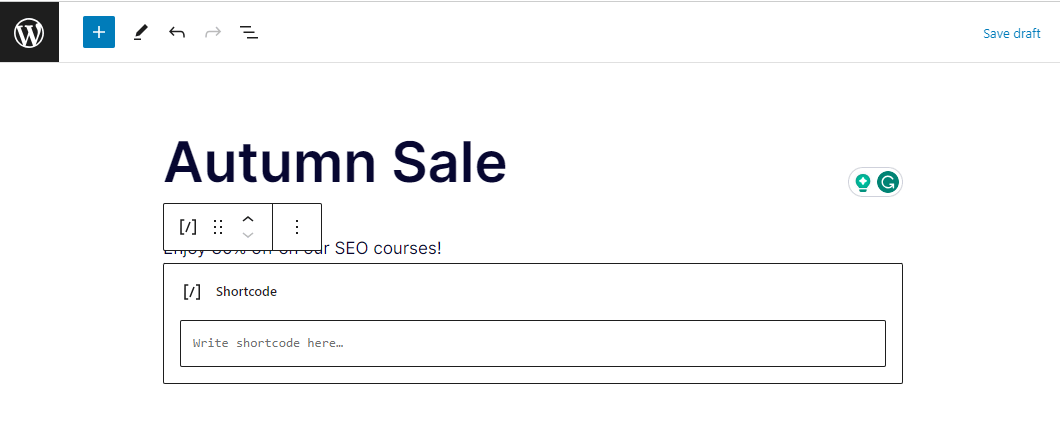
Here, you’ll need to add the shortcode block. Simply type in shortcode or look for the block by clicking on the plus (+) sign:

In the Shortcode block, paste in the line of code you copied earlier:
If you’ve used this block before, you’ll know that you won’t be able to see the widget within the Block Editor. To view the countdown timer, you’ll need to visit the page on the frontend.
Here’s what our WordPress countdown timer looks like to visitors:

If you want to edit the timer, you can simply navigate to Countdown Timer in the WordPress dashboard. Then, hover over the timer and click on Edit:
Note that the free plugin has very limited options. If you upgrade to the Pro version, you’ll be able to create unlimited countdown timers, choose from over 12 timer designs, schedule the timer in advance, and more.
Conclusion 🧐
Countdown timers can help you generate buzz around an upcoming event, like product launches. You might even use them to encourage users to purchase a discounted product or course before the offer expires. This can help create a sense of urgency and lead to more sales.
To recap, here’s how to create a countdown timer 🕰️ in WordPress:
- 👨💻 Install the Countdown Timer Ultimate plugin.
- ⏱️ Create and customize your countdown timer.
- ⚙️ Add the countdown timer widget to your page.
Do you have any questions about adding a WordPress countdown timer? Let us know in the comments section below!