There are times when it makes sense to edit a menu on WordPress. You might want to create a mega menu to display all your web pages. Or, you can change the menu colors to reflect your branding. However, without coding skills, it can be difficult to achieve.
Fortunately, there are plenty of ways to edit a menu on WordPress. Beginners can use the built-in options in the dashboard or install a handy plugin. Meanwhile, more experienced users can apply custom CSS 🎨 to edit the default WordPress menu.
🖱️ In this post, we’ll take a closer look at why you might want to edit your WordPress menu. Then, we’ll show you three ways to do it. Let’s get started!
A WordPress menu gives your content order and structure so that visitors can easily find what they’re looking for. However, while the default WordPress menu is sufficient for some websites, you might like to edit your menu to make it more unique.
For example, you can change the colors and fonts to slot in nicely with the rest of your site. Plus, you can add your most important pages, posts, and products. Or, you might even include elements like images to make it more visually appealing.
On the other hand, you can add contact details or links to your social media. Or, you can create dropdown menus or mega menus if you have lots of content pages. This is a practical option for a limited space.
Lastly, it can be a good idea to change the position of your WordPress menu (which is determined by your theme). Typically, your menu is displayed in your header. But you might also be able to configure a secondary menu, footer menu, or a mobile menu.
How to edit your menu on WordPress (3 ways)
Now that you know why it can be a good idea to edit a menu on WordPress, let’s take a look at the best ways to do it.
- Edit your menu using the built-in options
- Edit your menu using a plugin
- Use CSS to edit your menu on WordPress
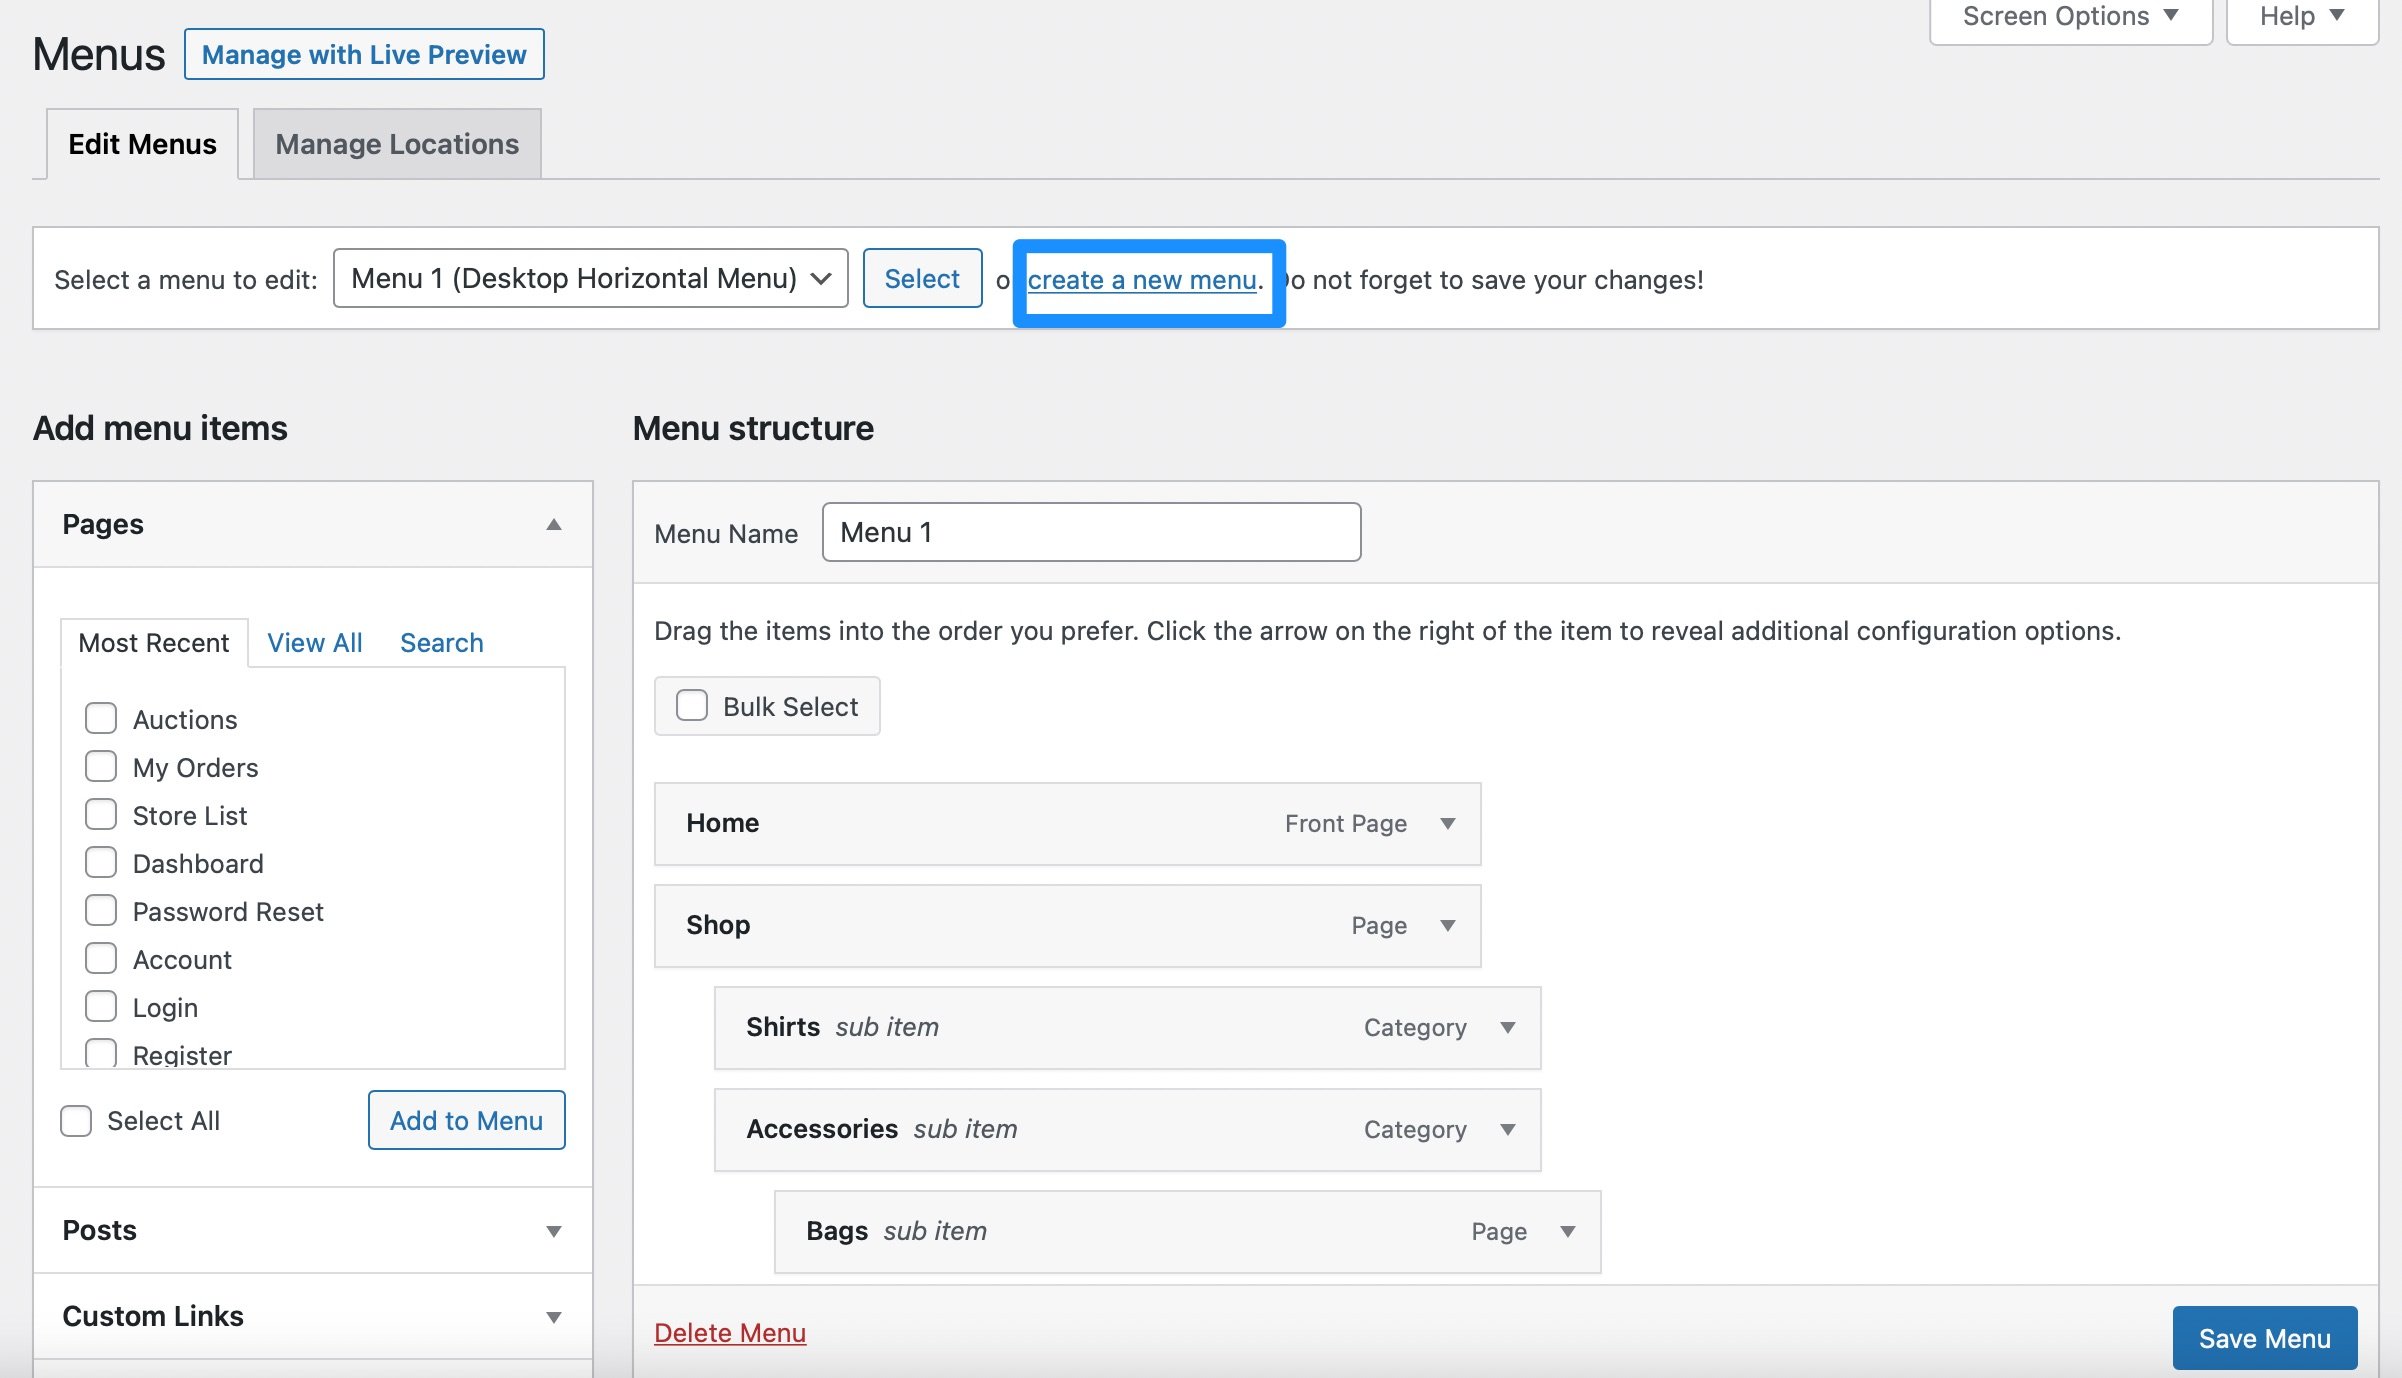
The easiest way to edit a menu on WordPress is to use the built-in options. To access your menu settings, head to Appearance > Menus in your WordPress dashboard.
Then, you can select a menu from the dropdown or create a custom menu using the link:
In the Add menu items section, you can add important pages and posts to your navigation menu by checking the relevant box(es). Then, click on Add to Menu:
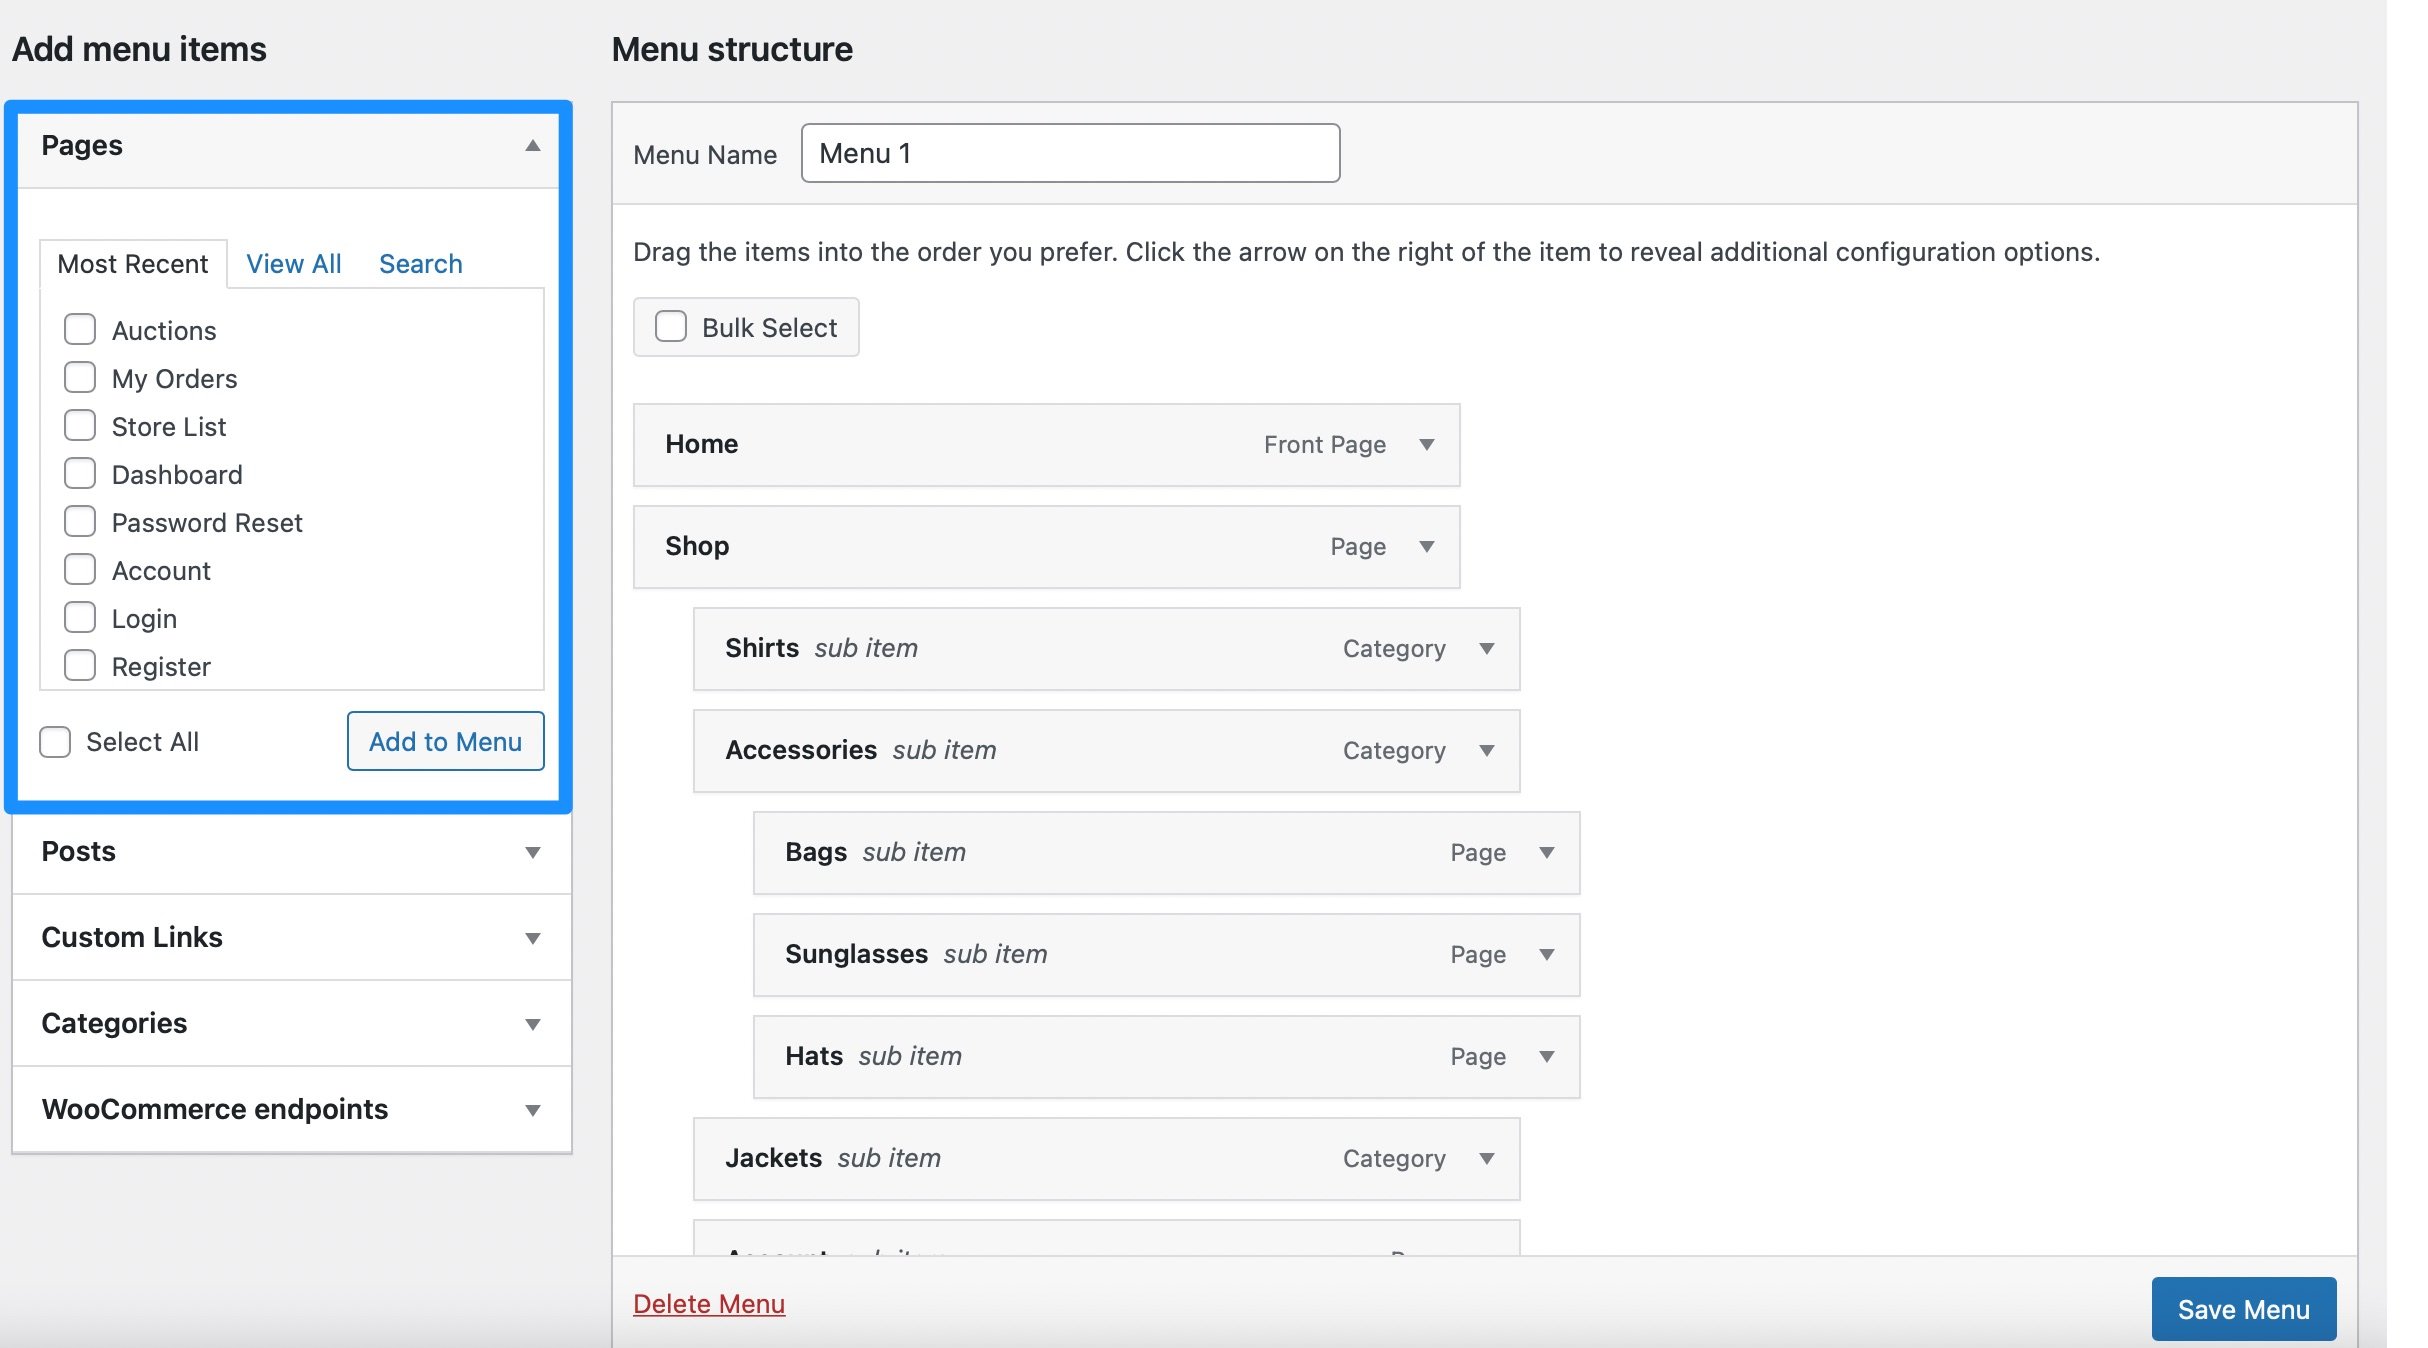
At this point, you can re-order your menu by simply dragging and dropping the items around.
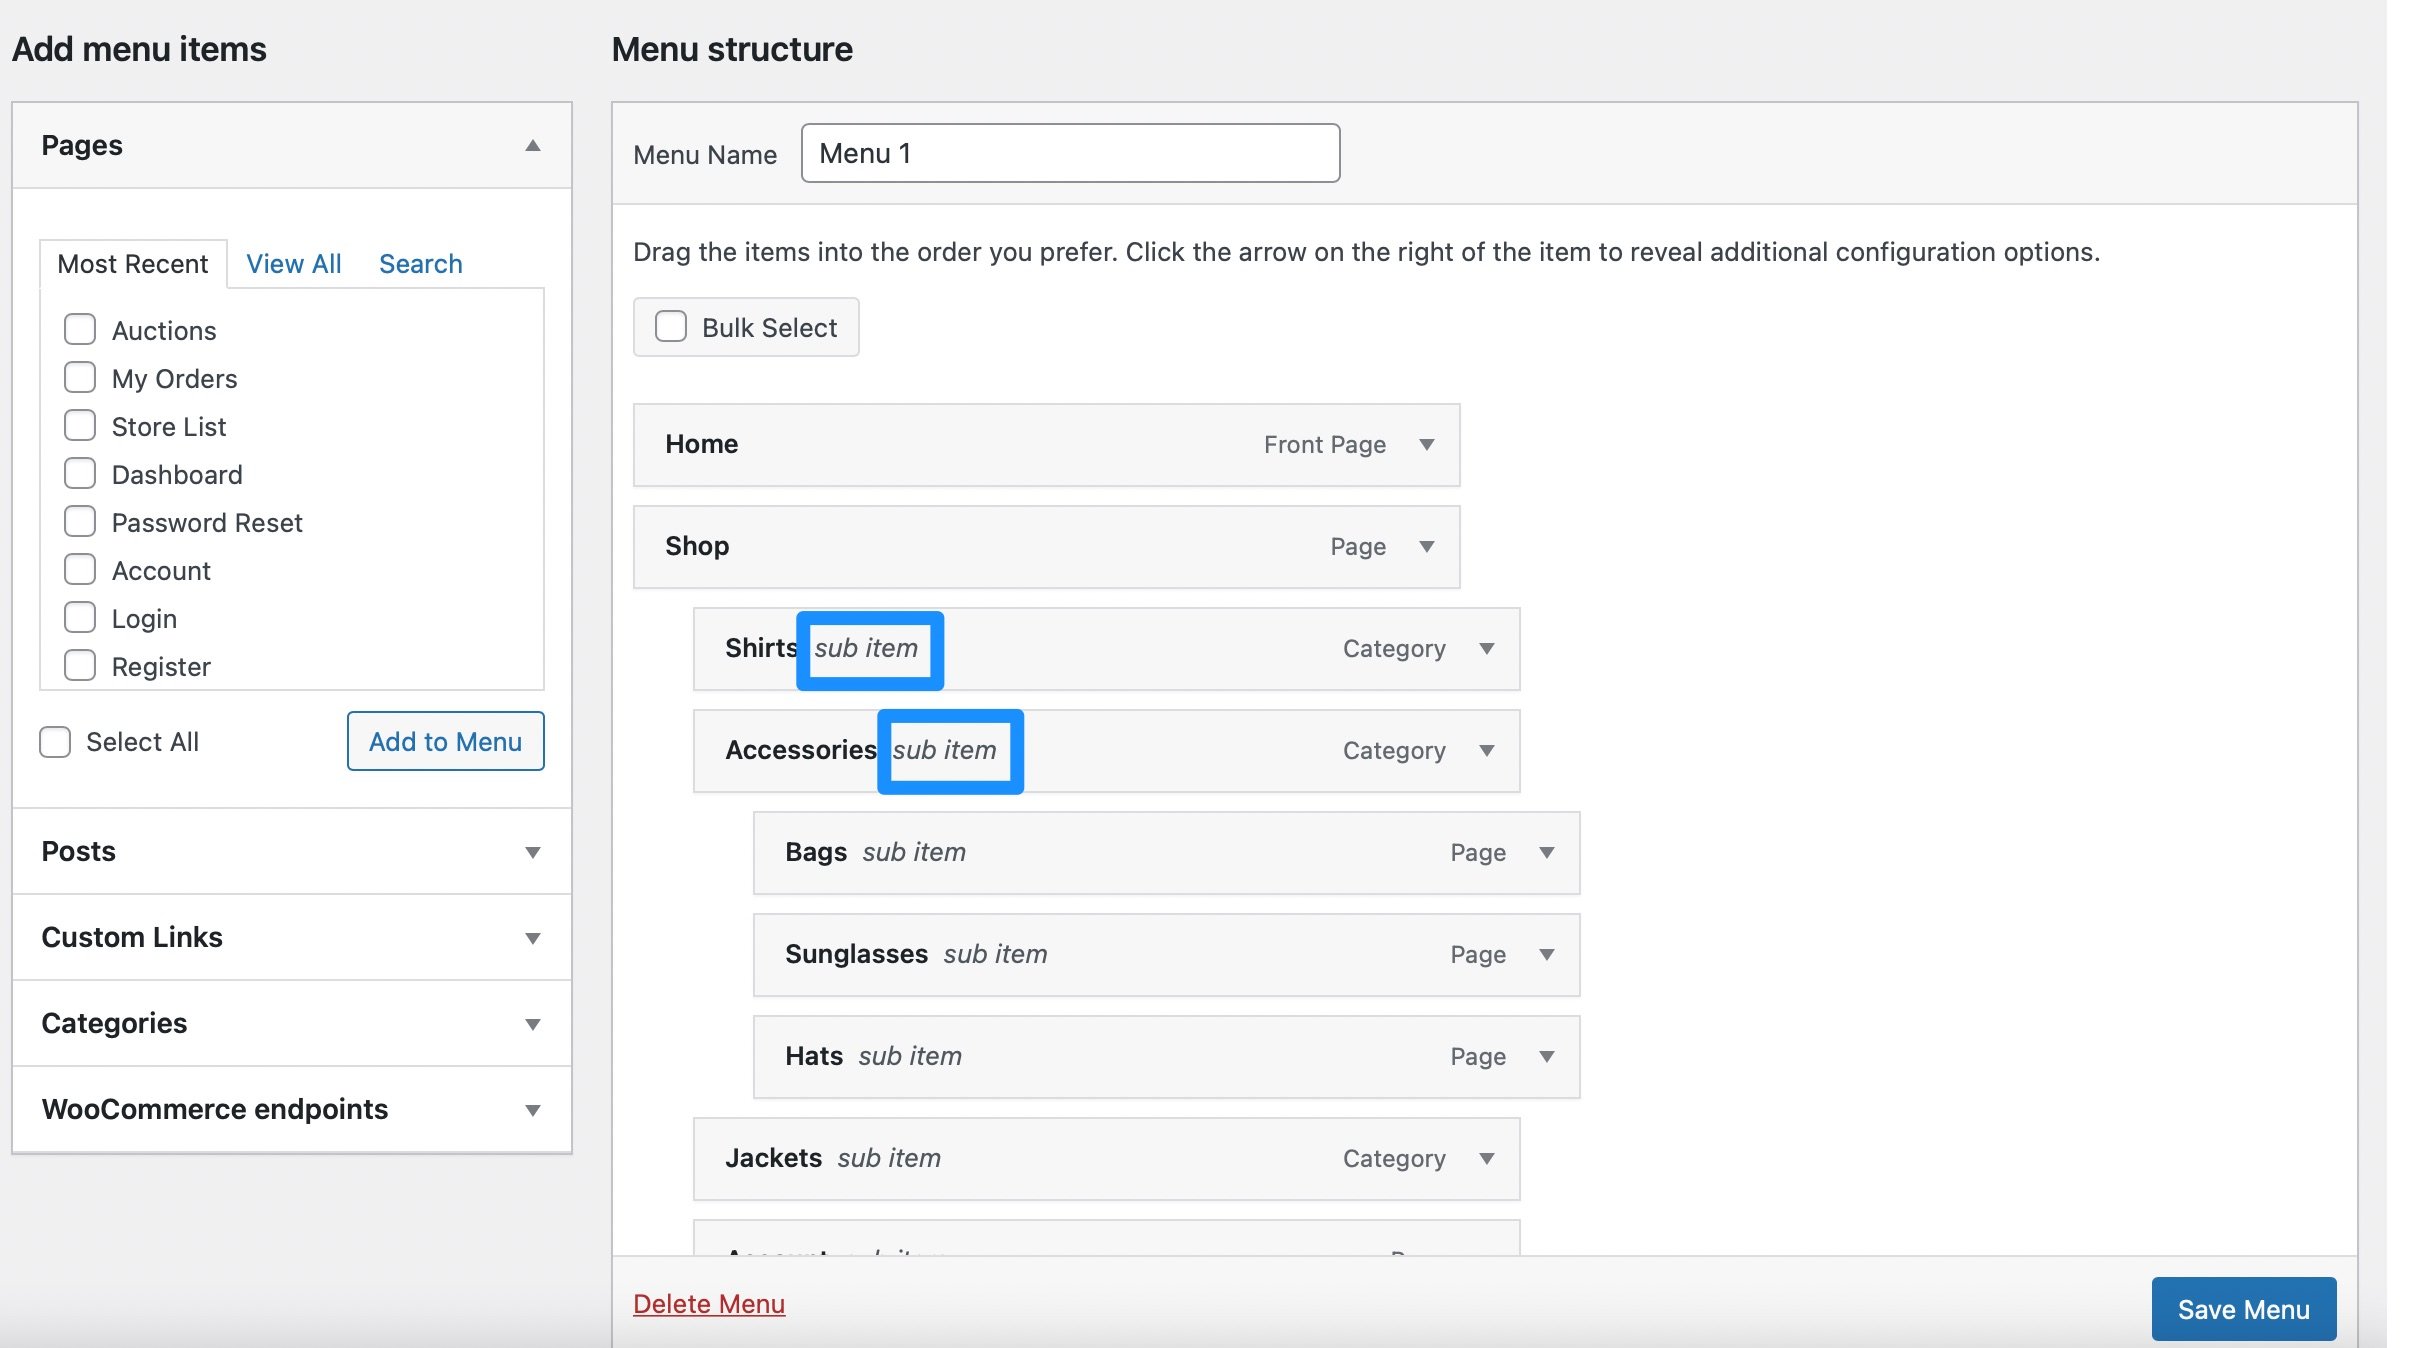
Additionally, you might want to create a sub-menu that will drop beneath your main menu items. To do this, all you need to do is drag the item slightly to the right.
Once you drop the item in place, you’ll see that the words “sub menu” appear on the item:
You can also add WordPress categories and custom links to your menu. Plus, if you run an ecommerce store, you can include some WooCommerce endpoints like account details and orders.
If you want to edit a menu on WordPress by adding more content types to it, click on the Screen Options button:
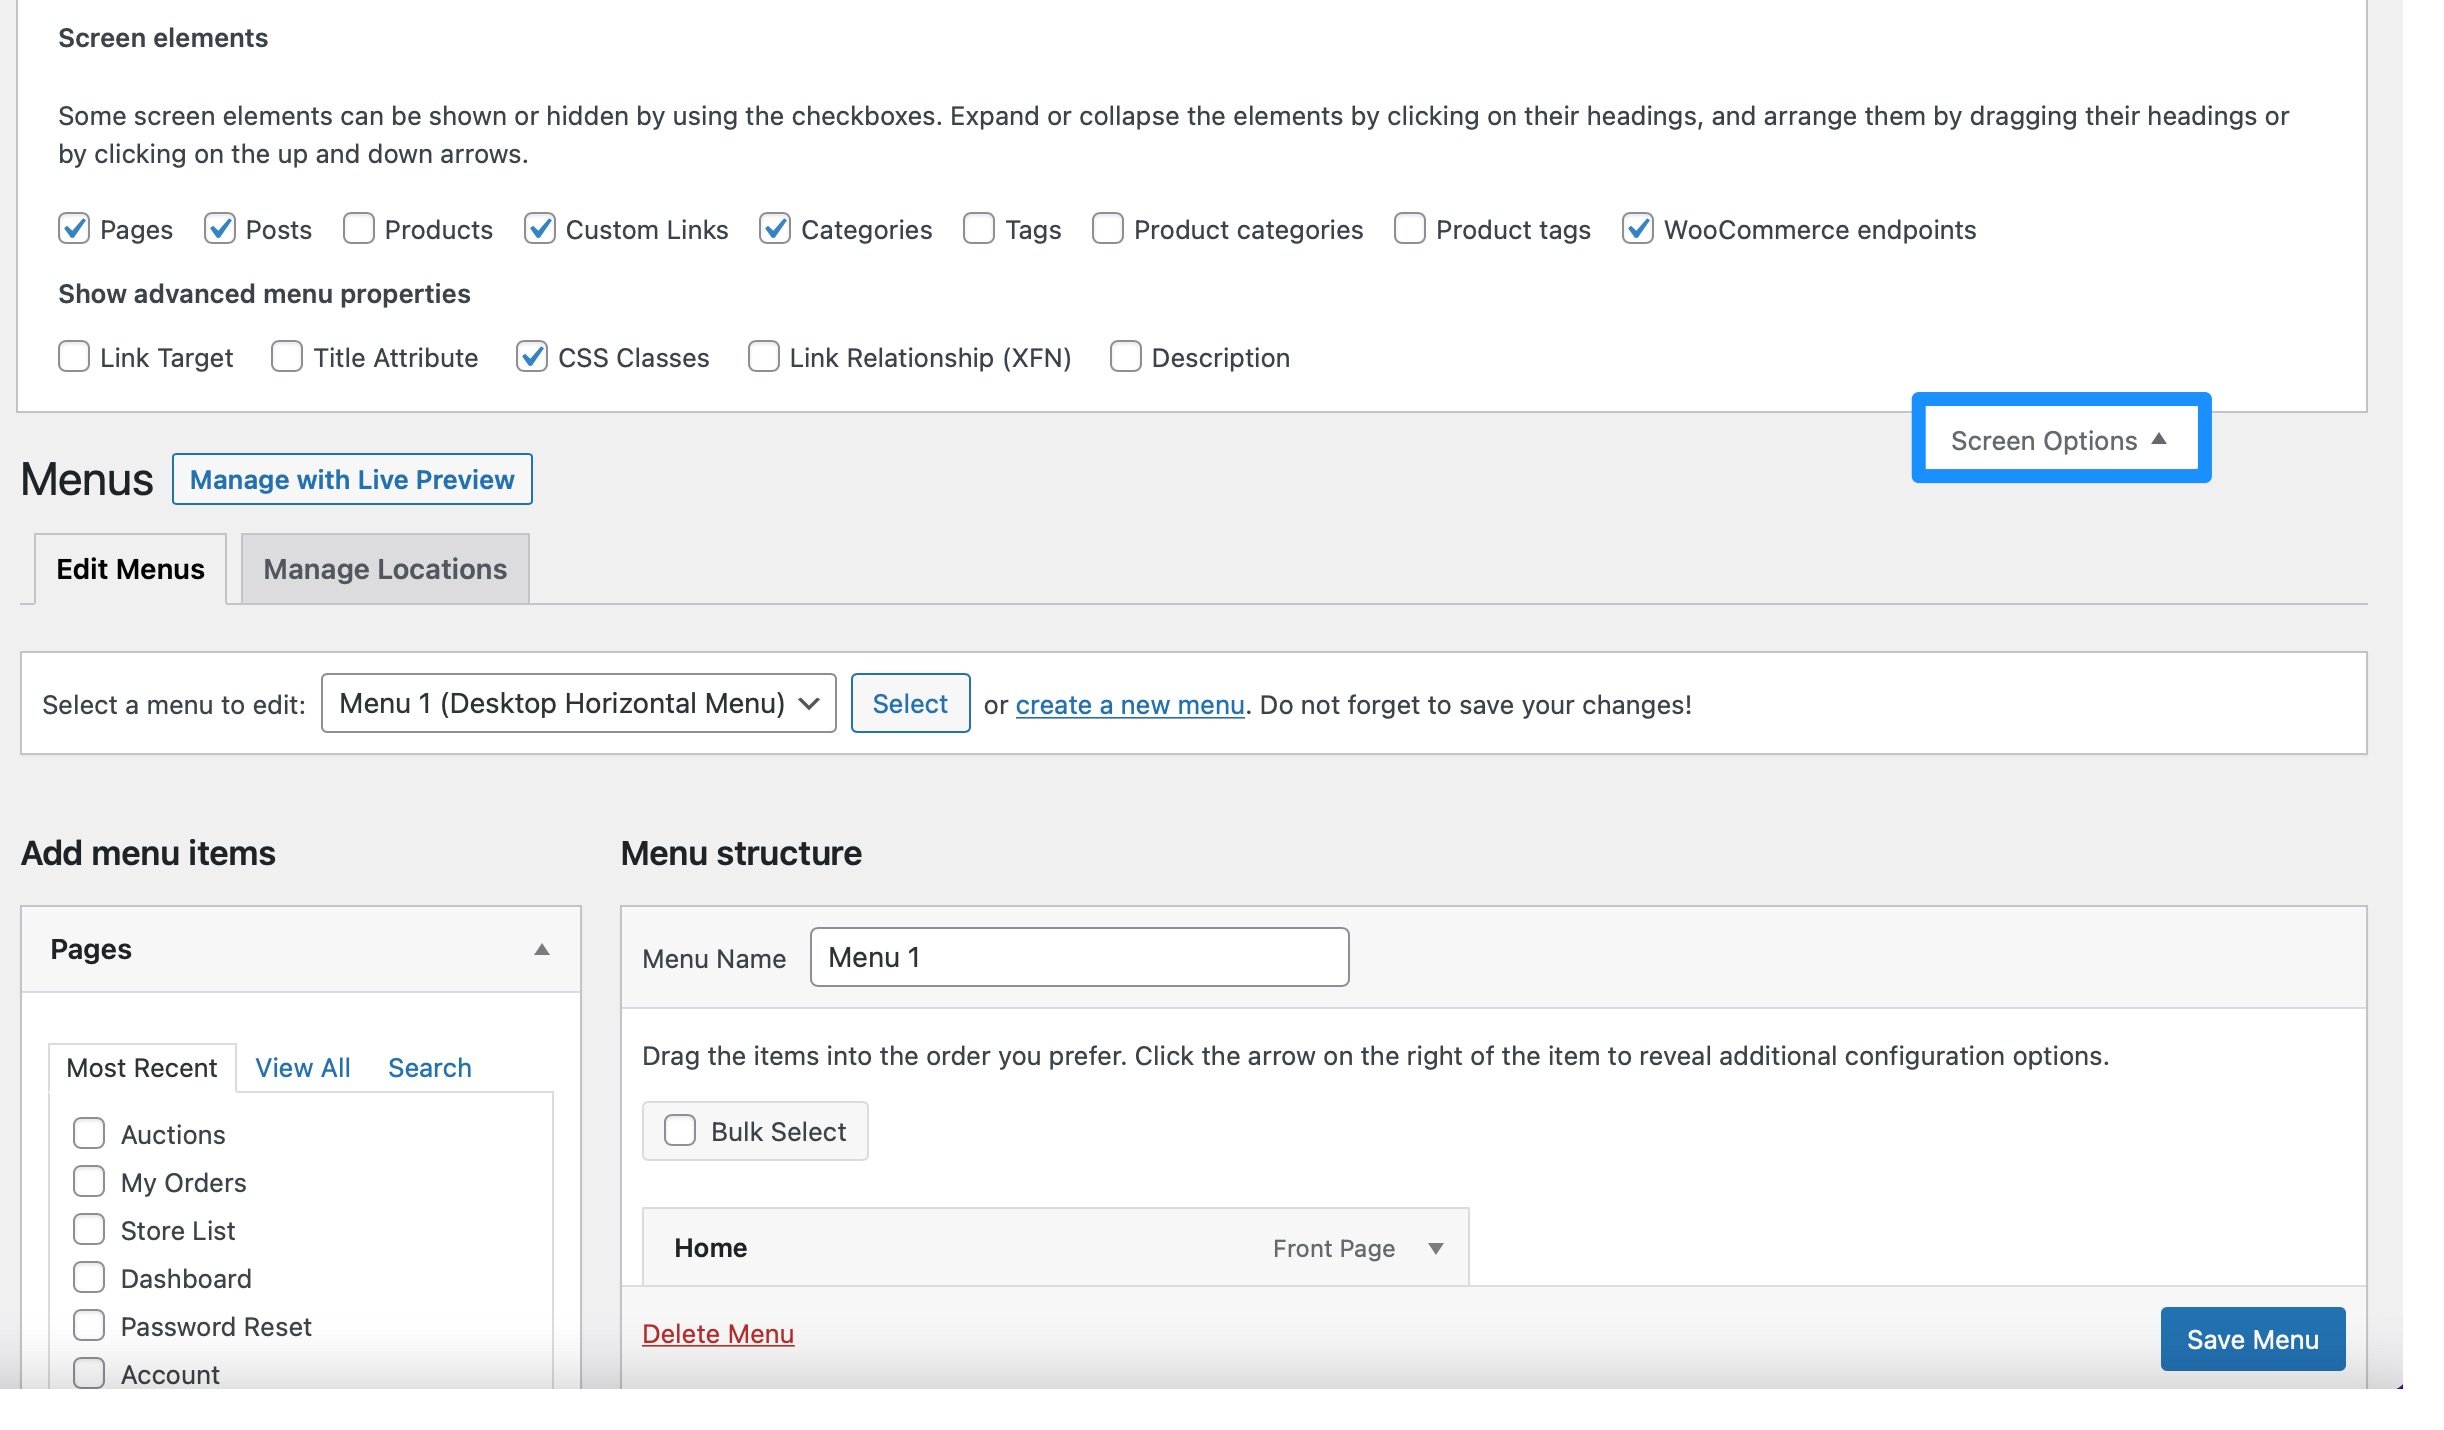
Here, use the checkboxes to add extra items like products and tags. Plus, you can remove existing items here too.
Then, you’re able to determine the exact location for your menu in the Menu Settings at the bottom of the page:
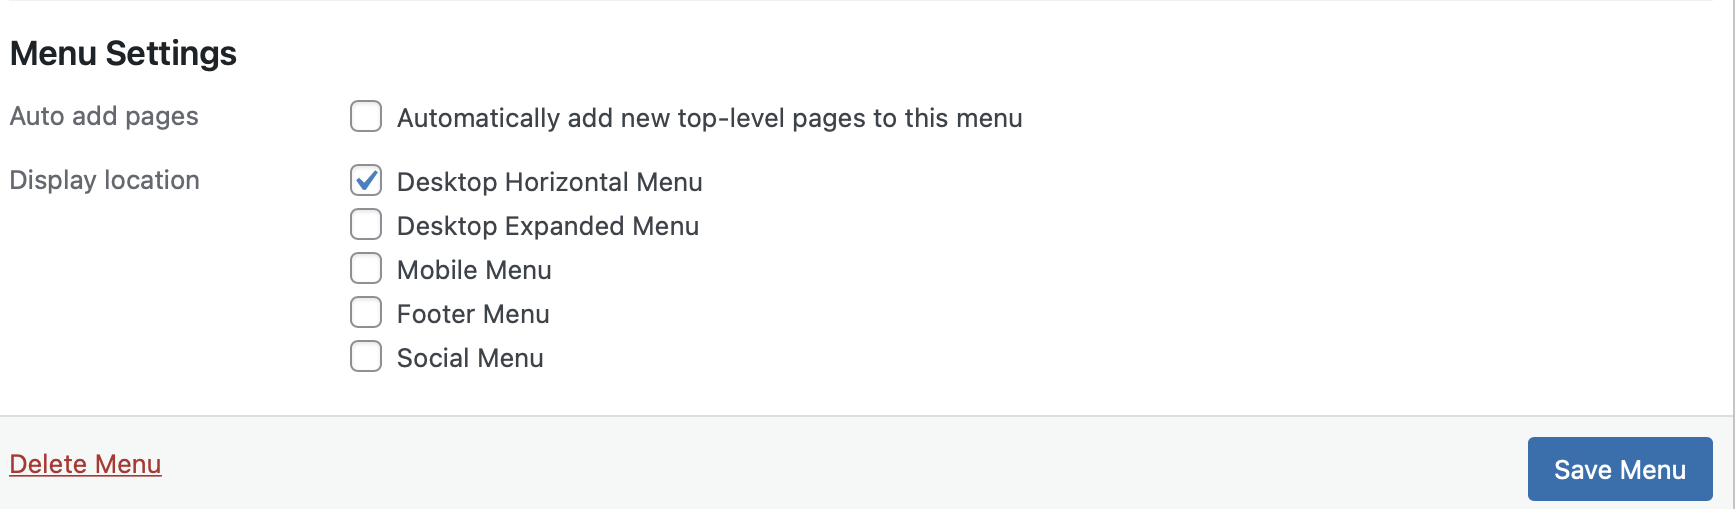
Your theme might let you create horizontal menus, mobile menus, or footer menus. Once you’re happy with the changes, click on Save Menu.
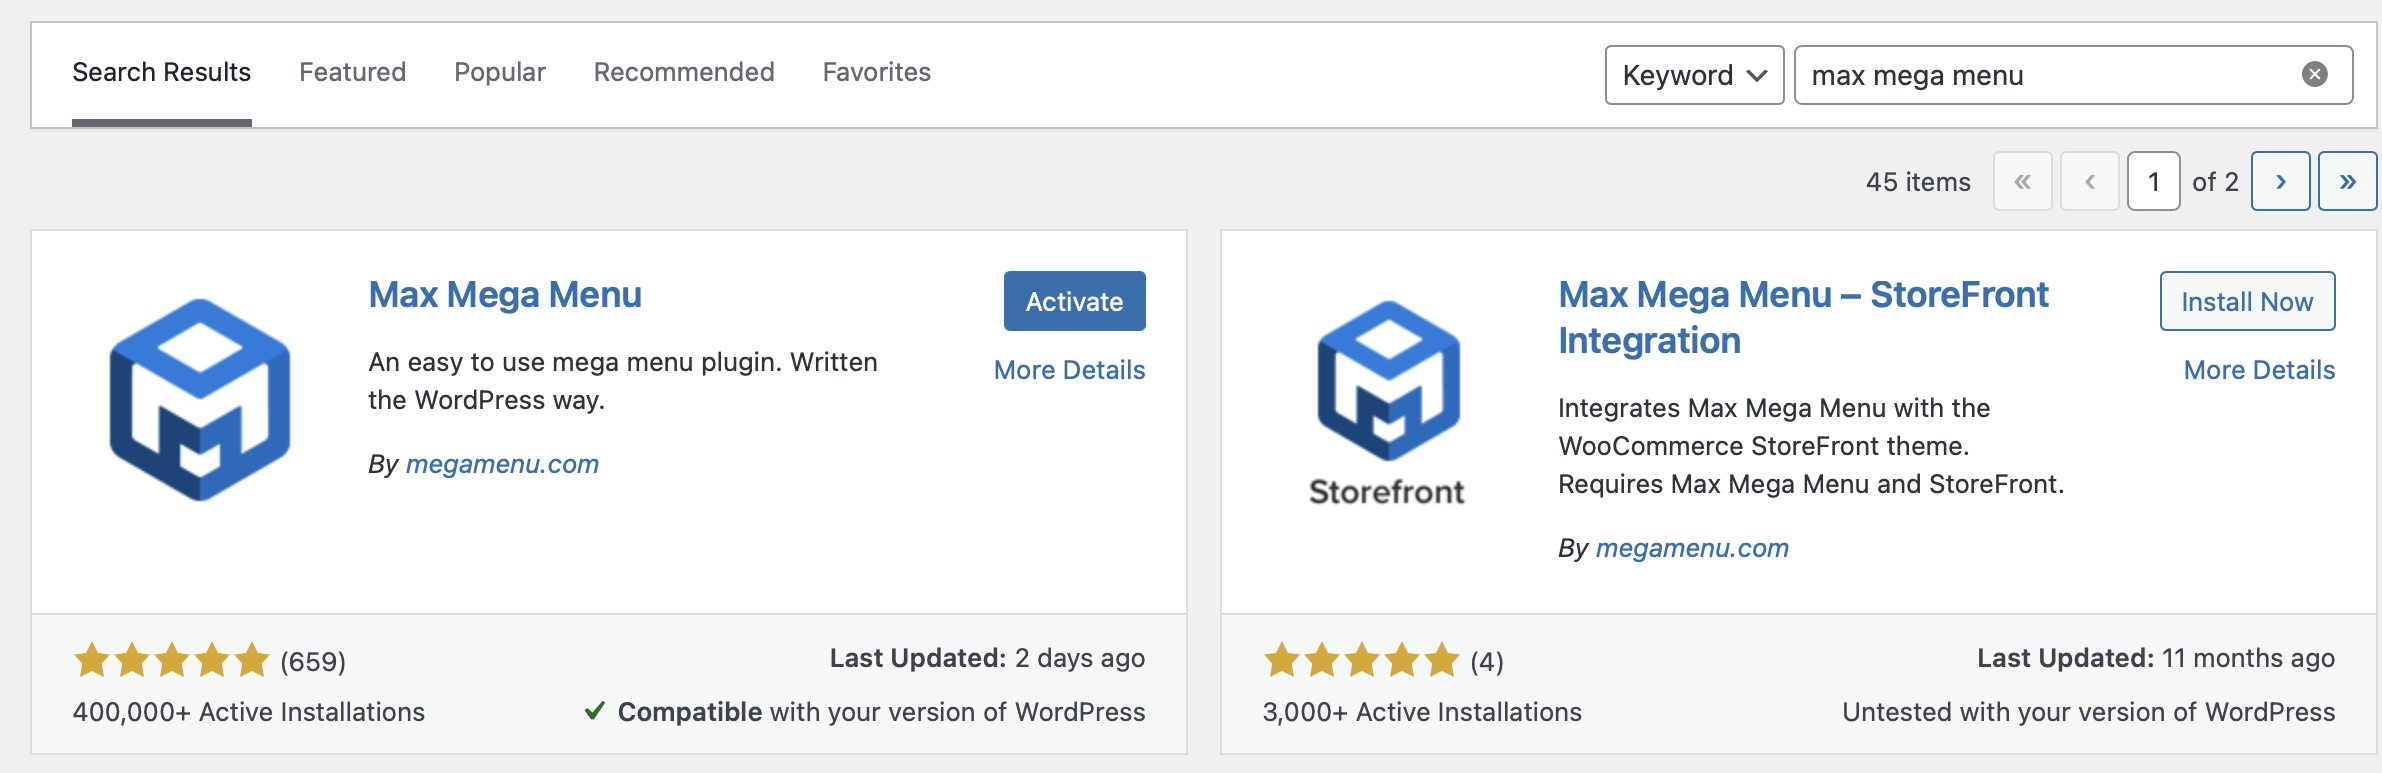
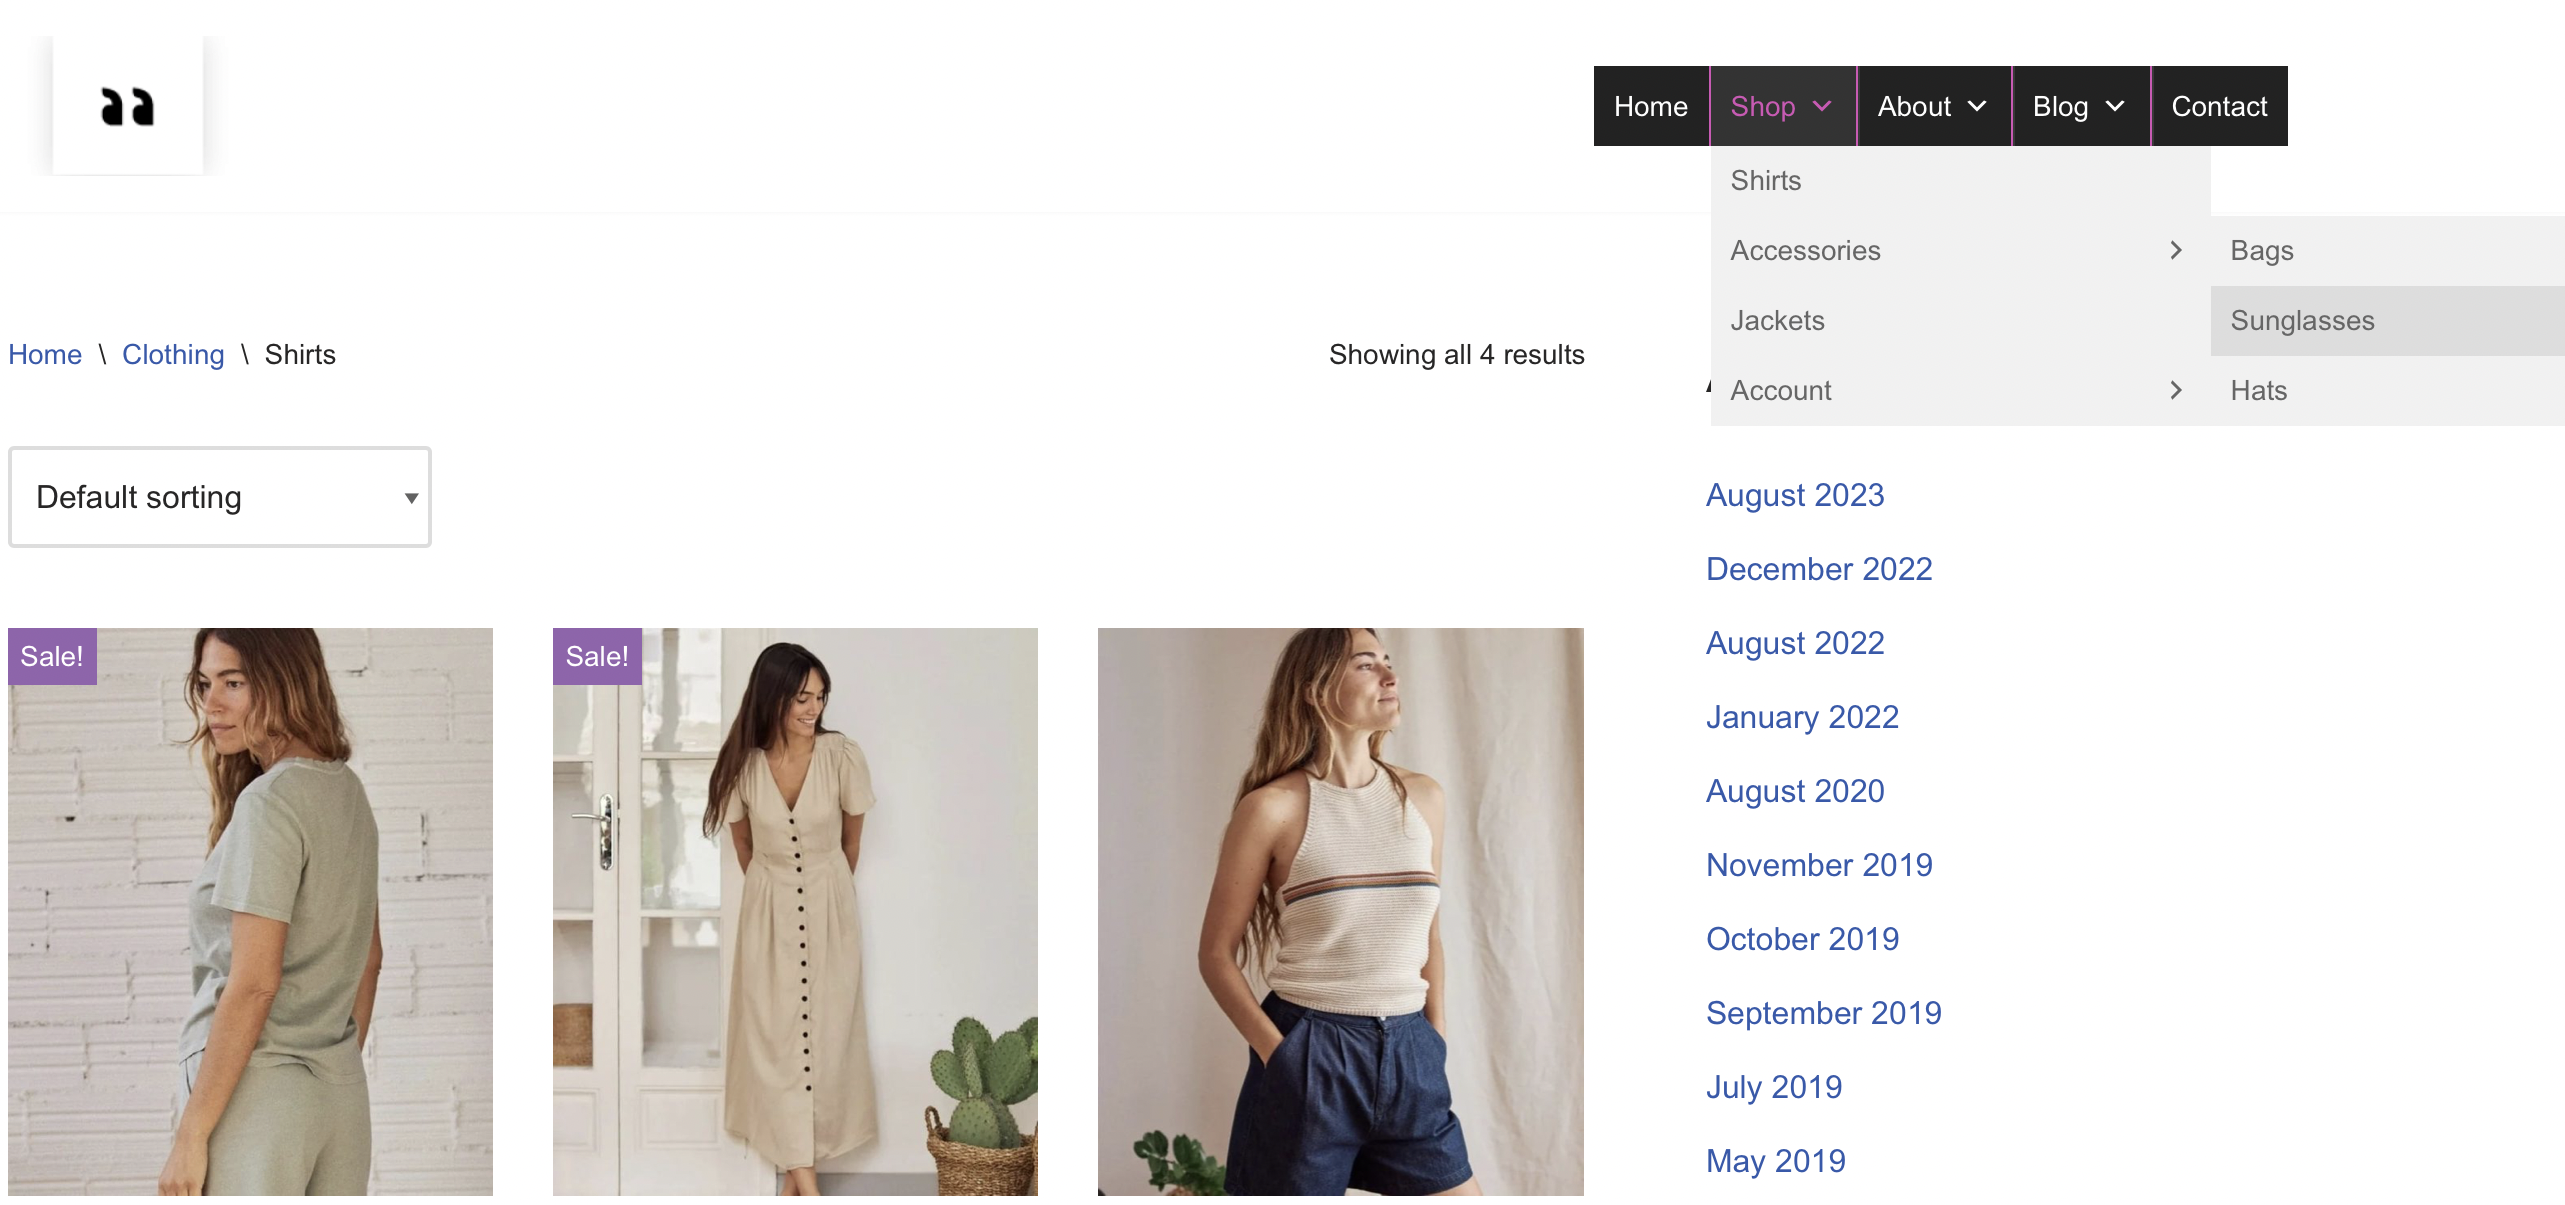
If you want to edit a menu on WordPress by building more complex menus, like mega menus, the built-in options may not be sufficient. In this case, you can use a plugin to create a mega menu consisting of multi-column dropdowns.
This is a great option for ecommerce stores that have lots of pages to display. Better yet, you can install a free plugin like Max Mega Menu to add this functionality to your site:
Upon successful installation, click on Mega Menu > Menu Locations:
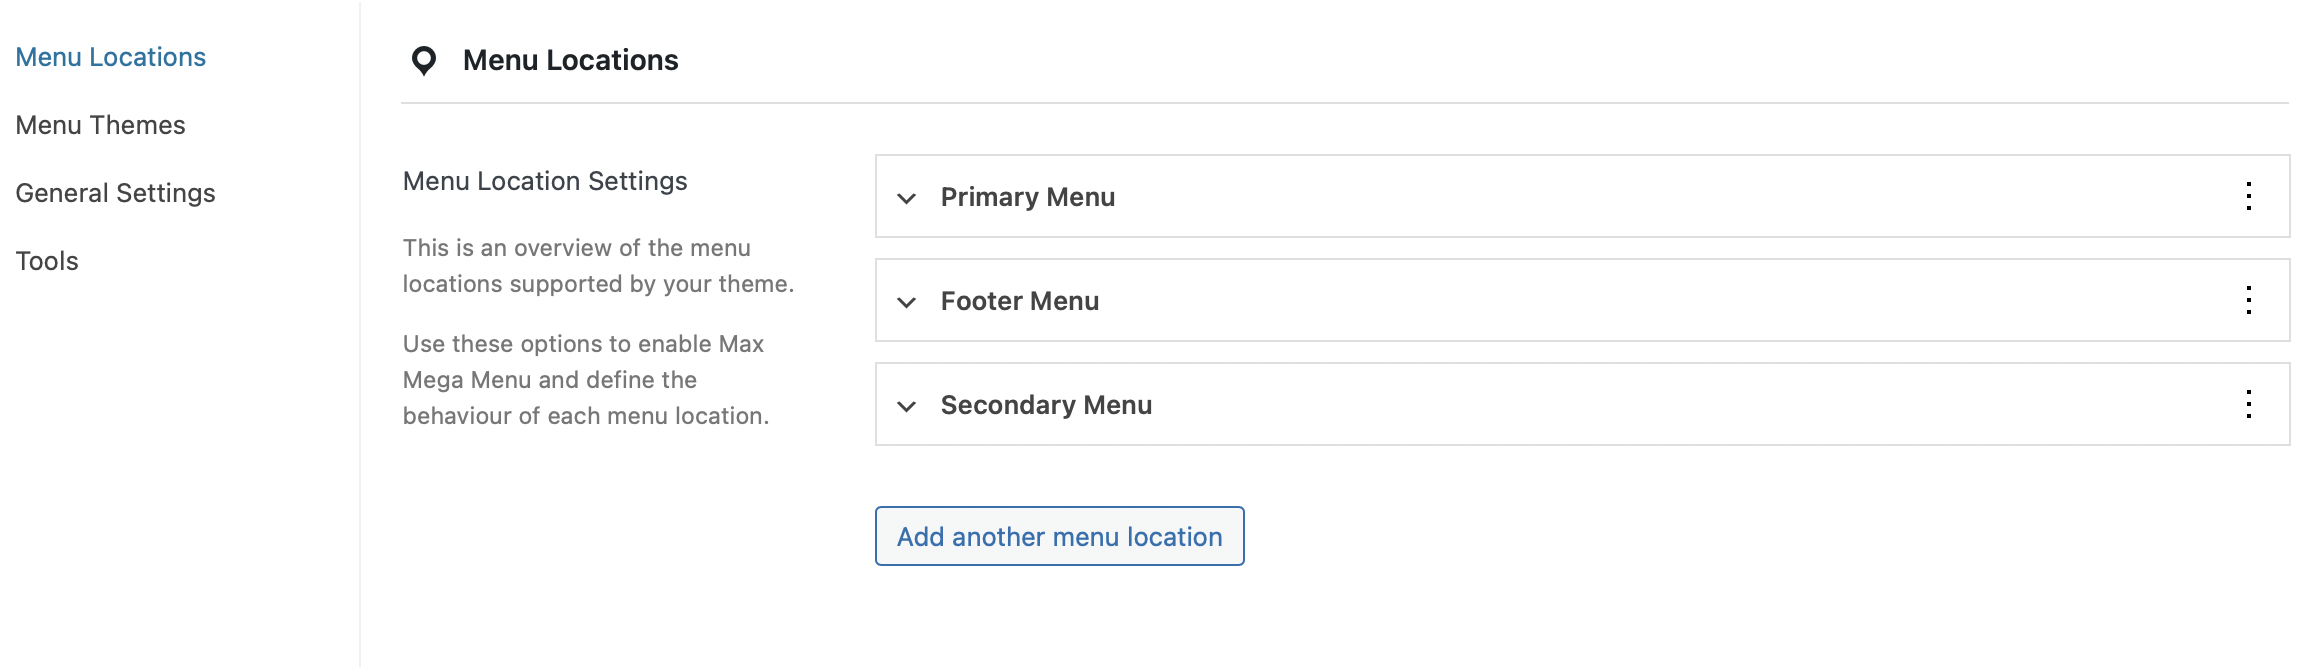
Here, you’ll see the areas where you can add a mega menu (dependent on your theme). To enable the mega menu, select an option and tick the Enabled box:
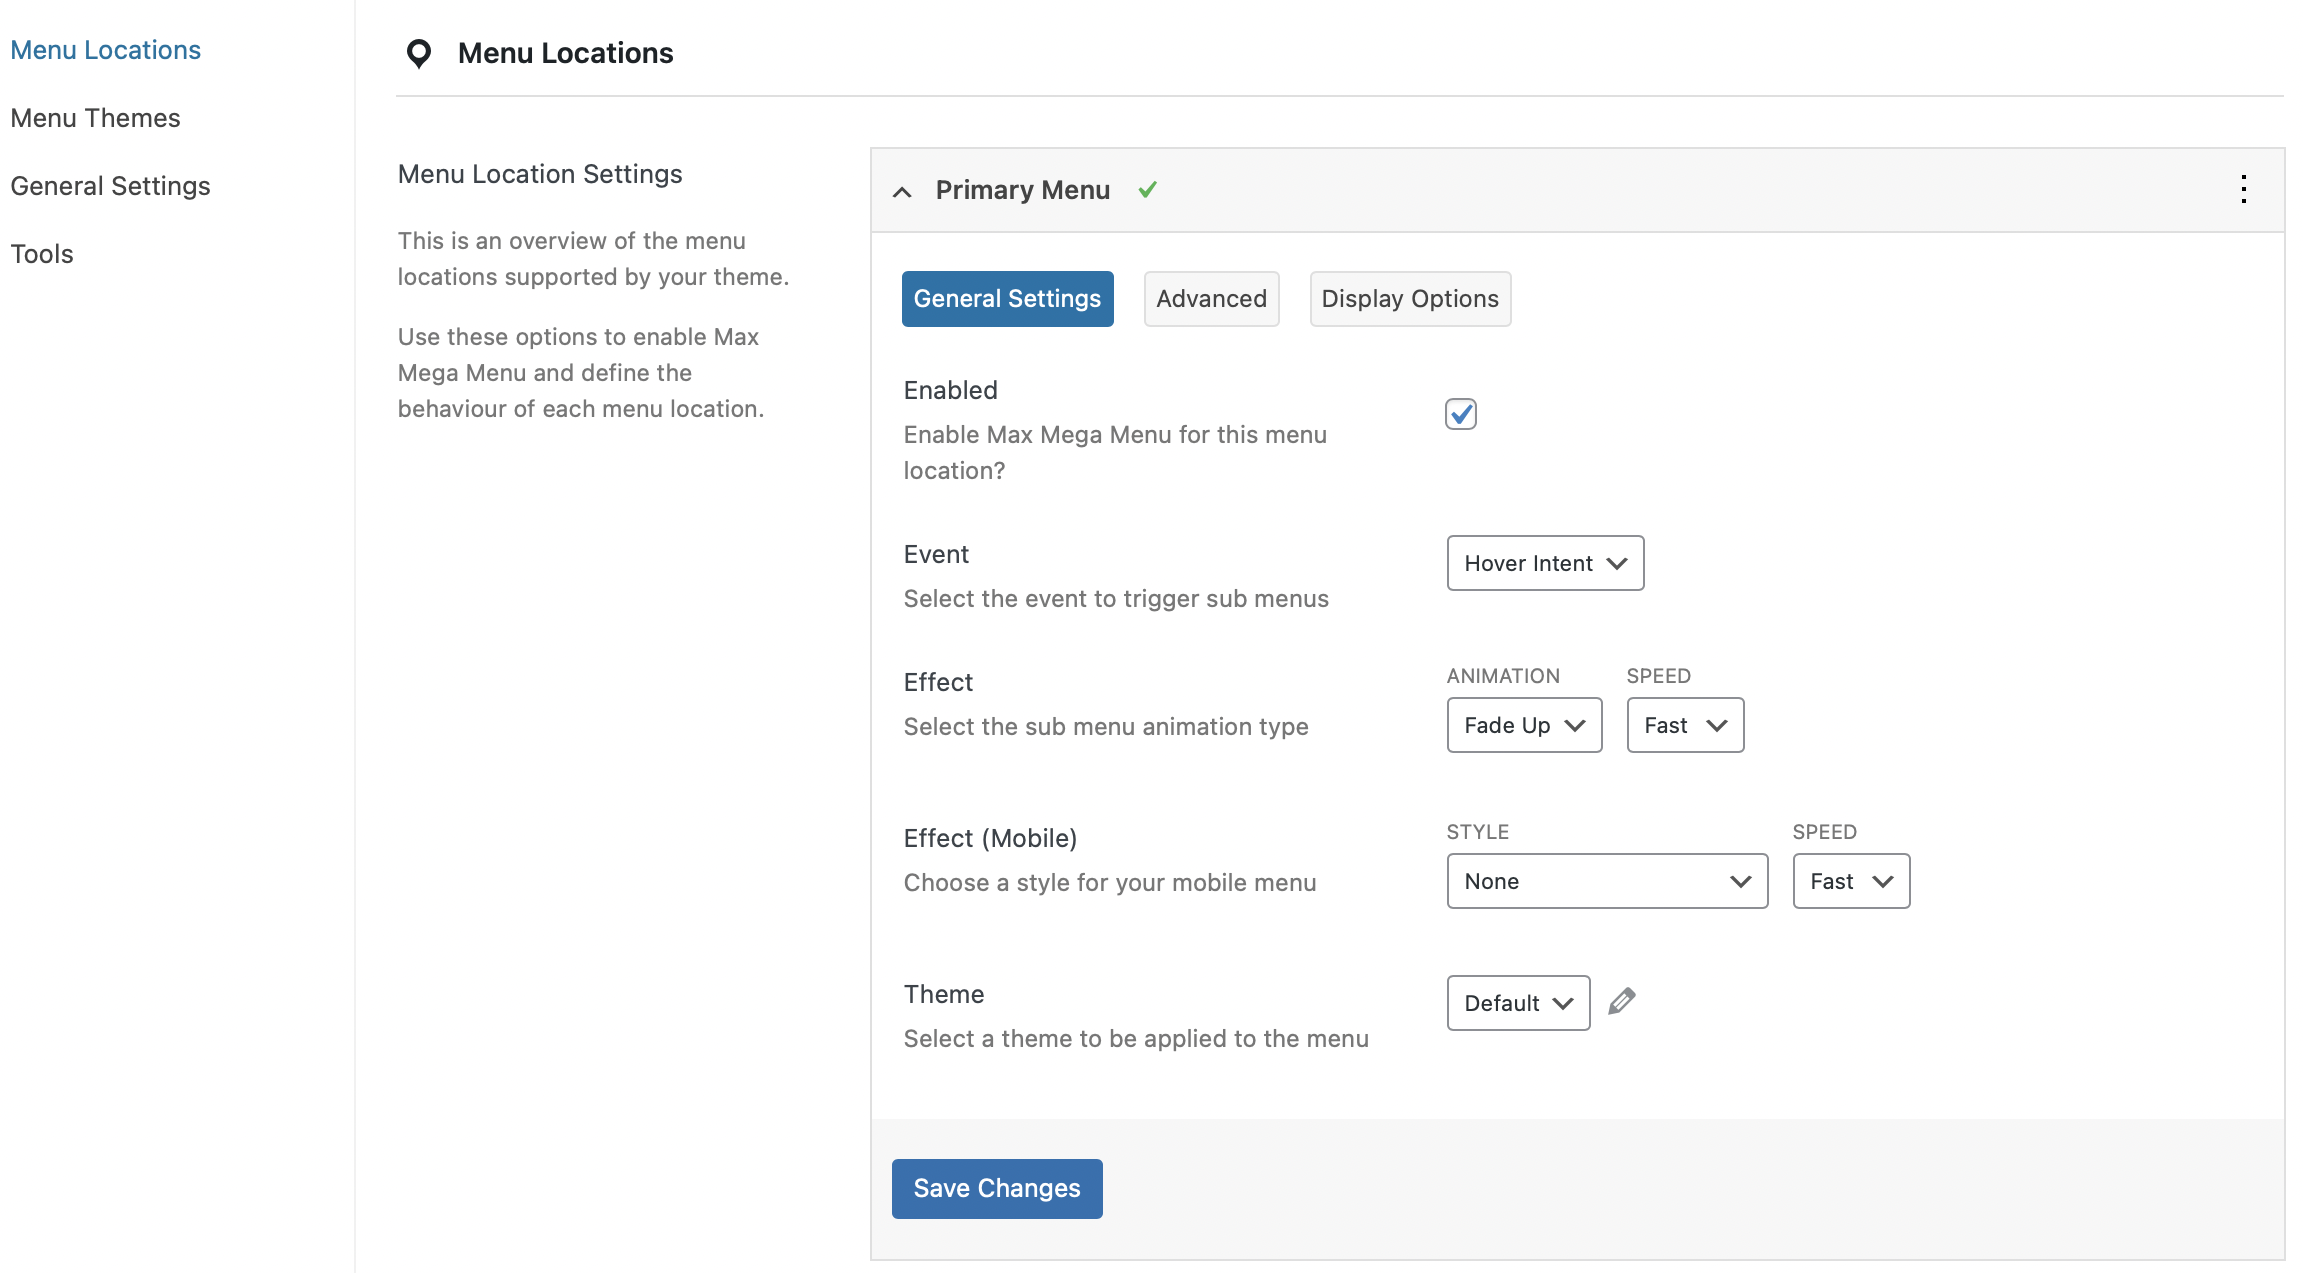
Under Event, you can determine how visitors trigger the menu. Then, use the Effect settings to change how the menu opens.
Now, switch to the Menu Themes tab to customize the appearance of your menu. First, you’re able to change the arrow style and line height:
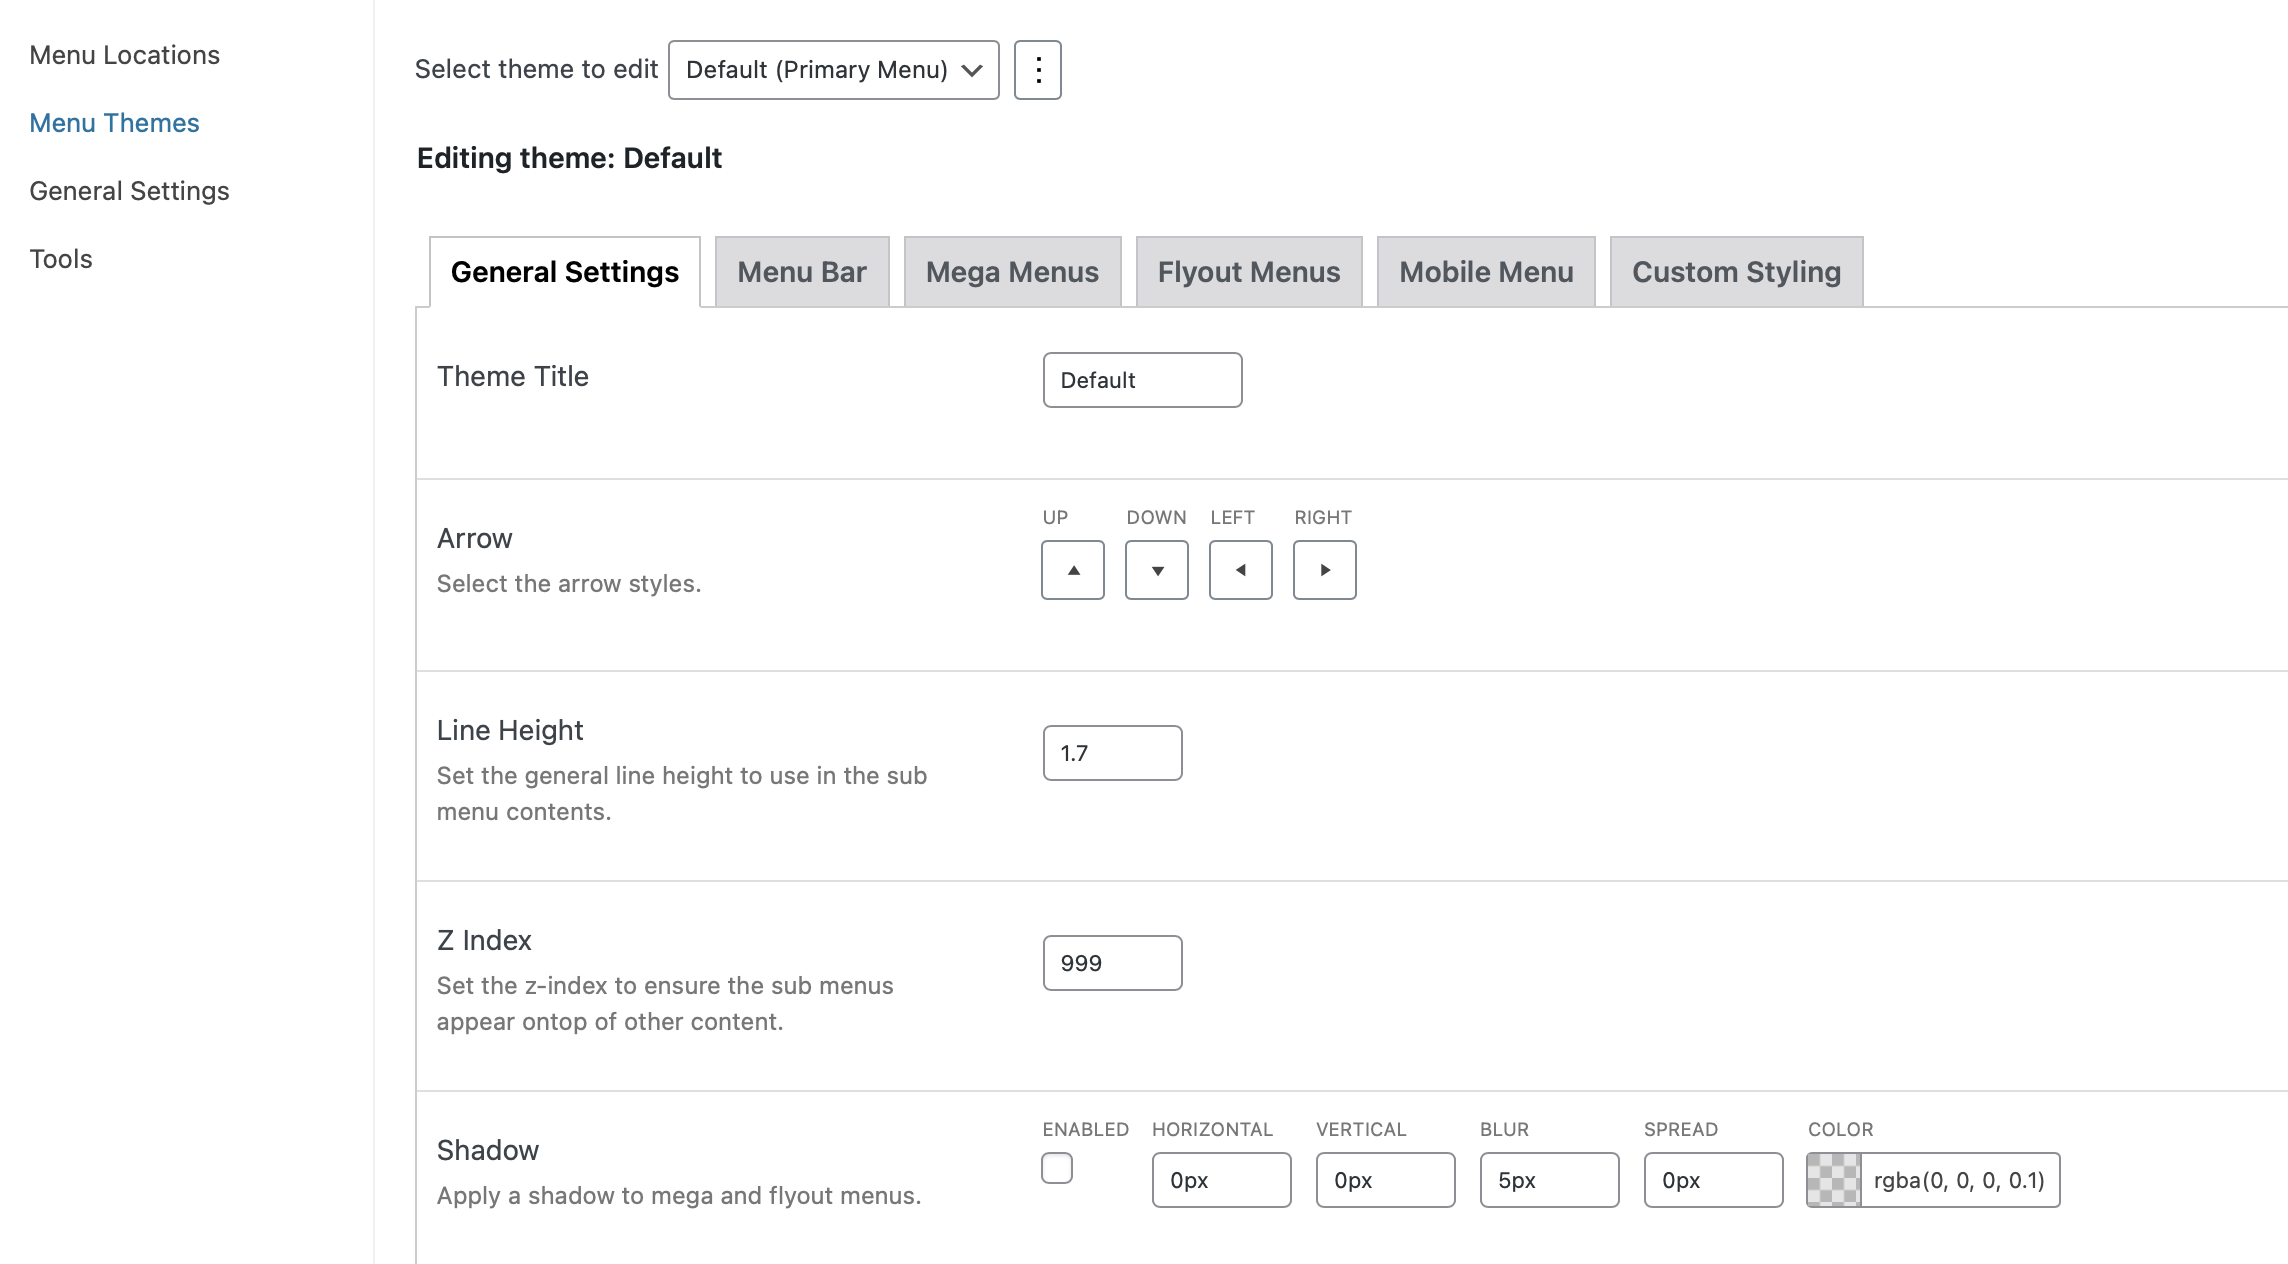
Meanwhile, if you head over to Menu Bar, you can alter the menu height and apply a background color. Further down, you can define the appearance of your top-level menu items:
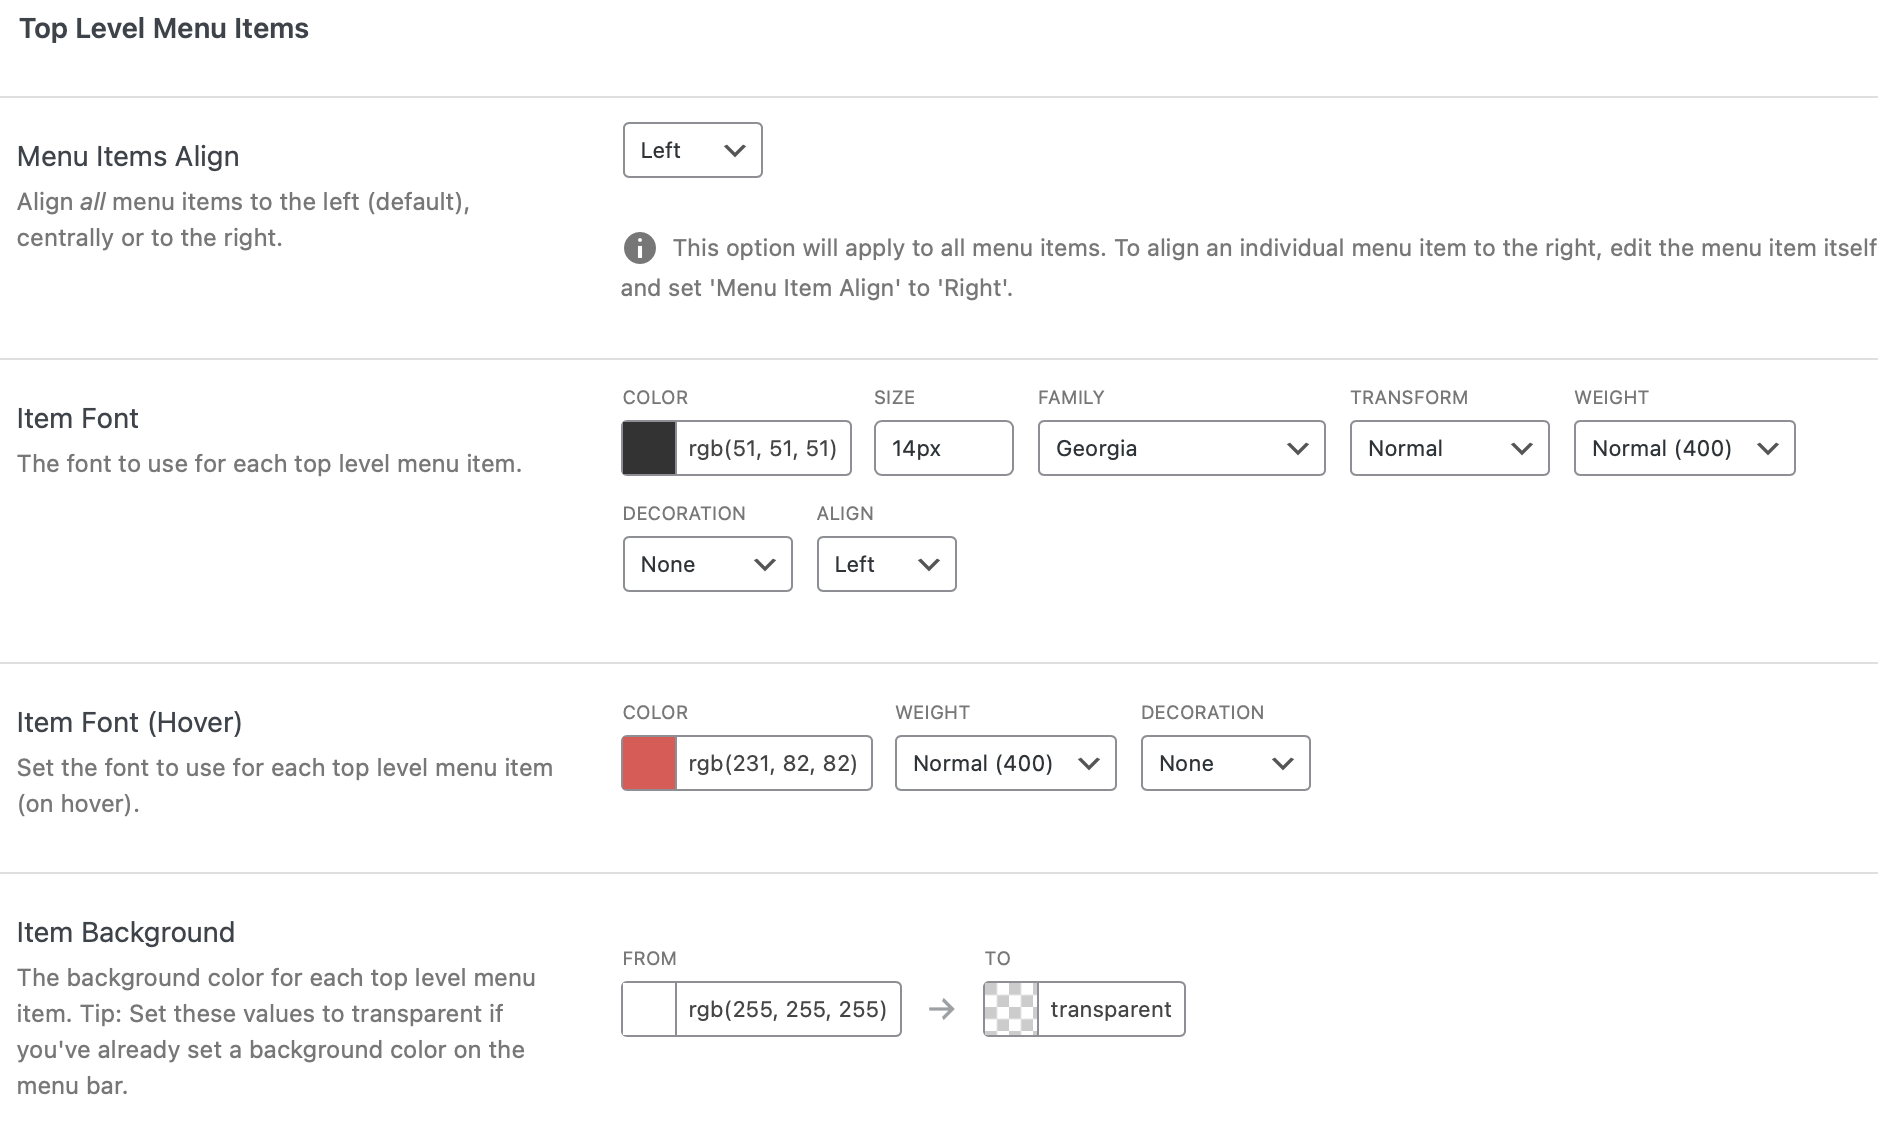
For instance, you can change the font, colors, spacing, borders, and more.
You can do the same for your submenus in the Mega Menus tab. Plus, if you add any widgets to your mega menu (like search bars or galleries), you can customize their appearance in the Widgets section.
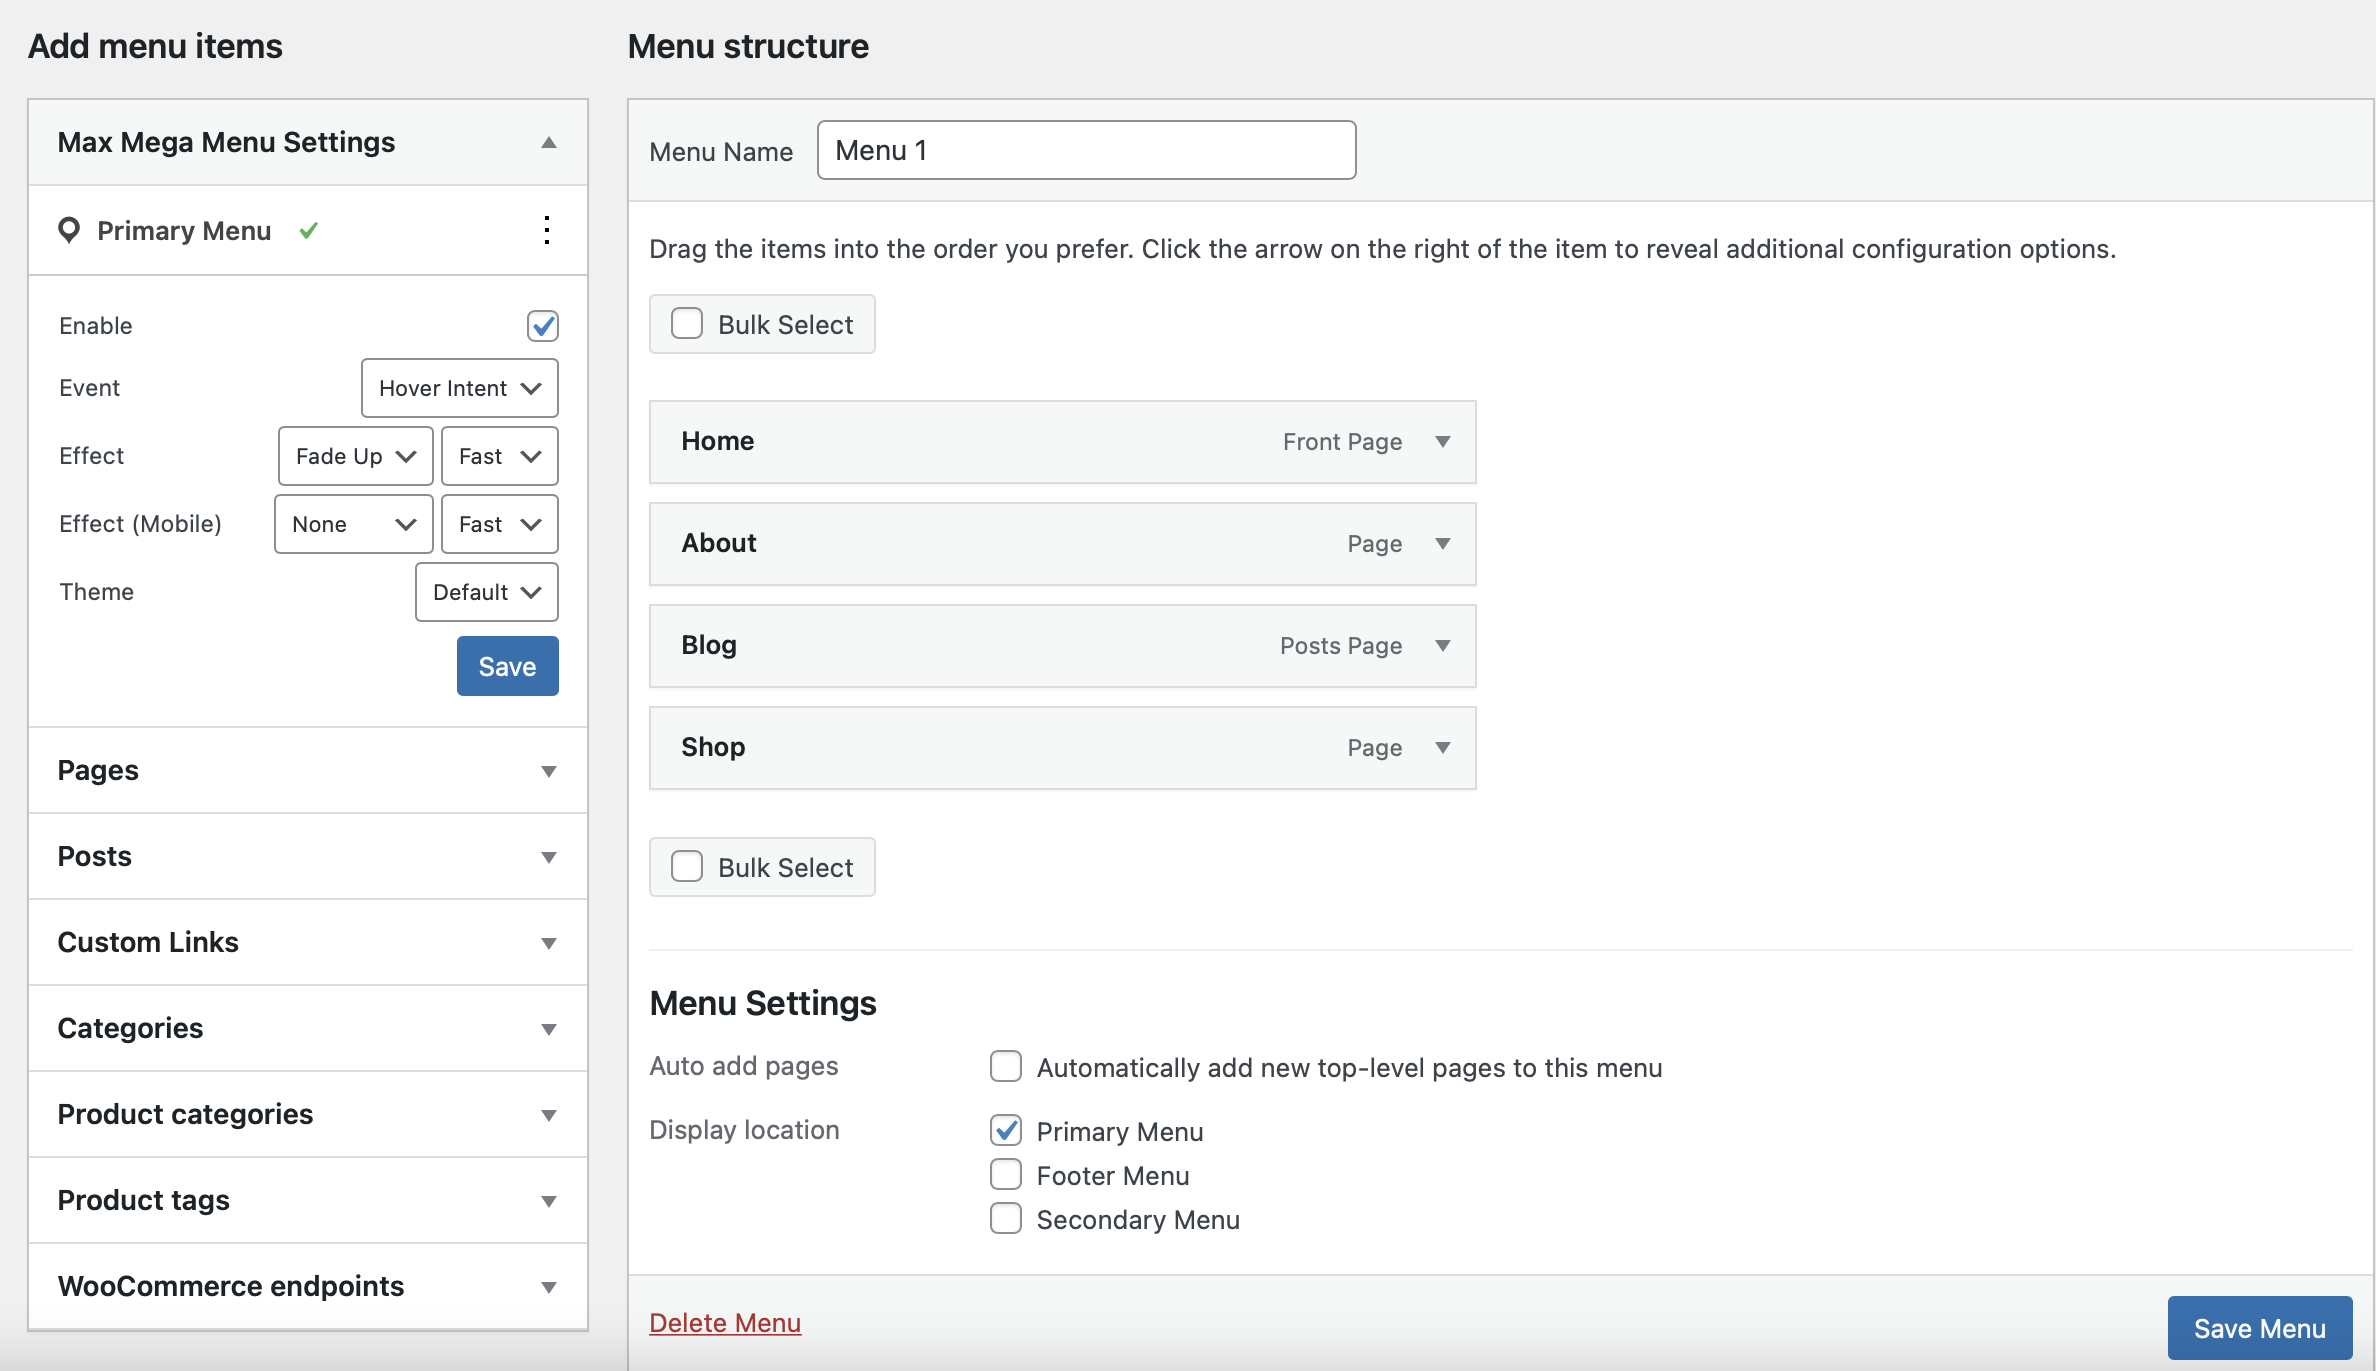
Once you’ve saved all the changes, you’re ready to add the mega menu you’ve created to an existing or new menu on your site. So, you’ll need to head to Appearance > Menus.
Now, select the relevant menu, and you should see Max Mega Menu Settings appear in the Add menu items section:
In order for this to work, you’ll need to make sure that you enabled the plugin in the Menu Locations page. You should see a Mega Menu button appear when you hover over each menu item:
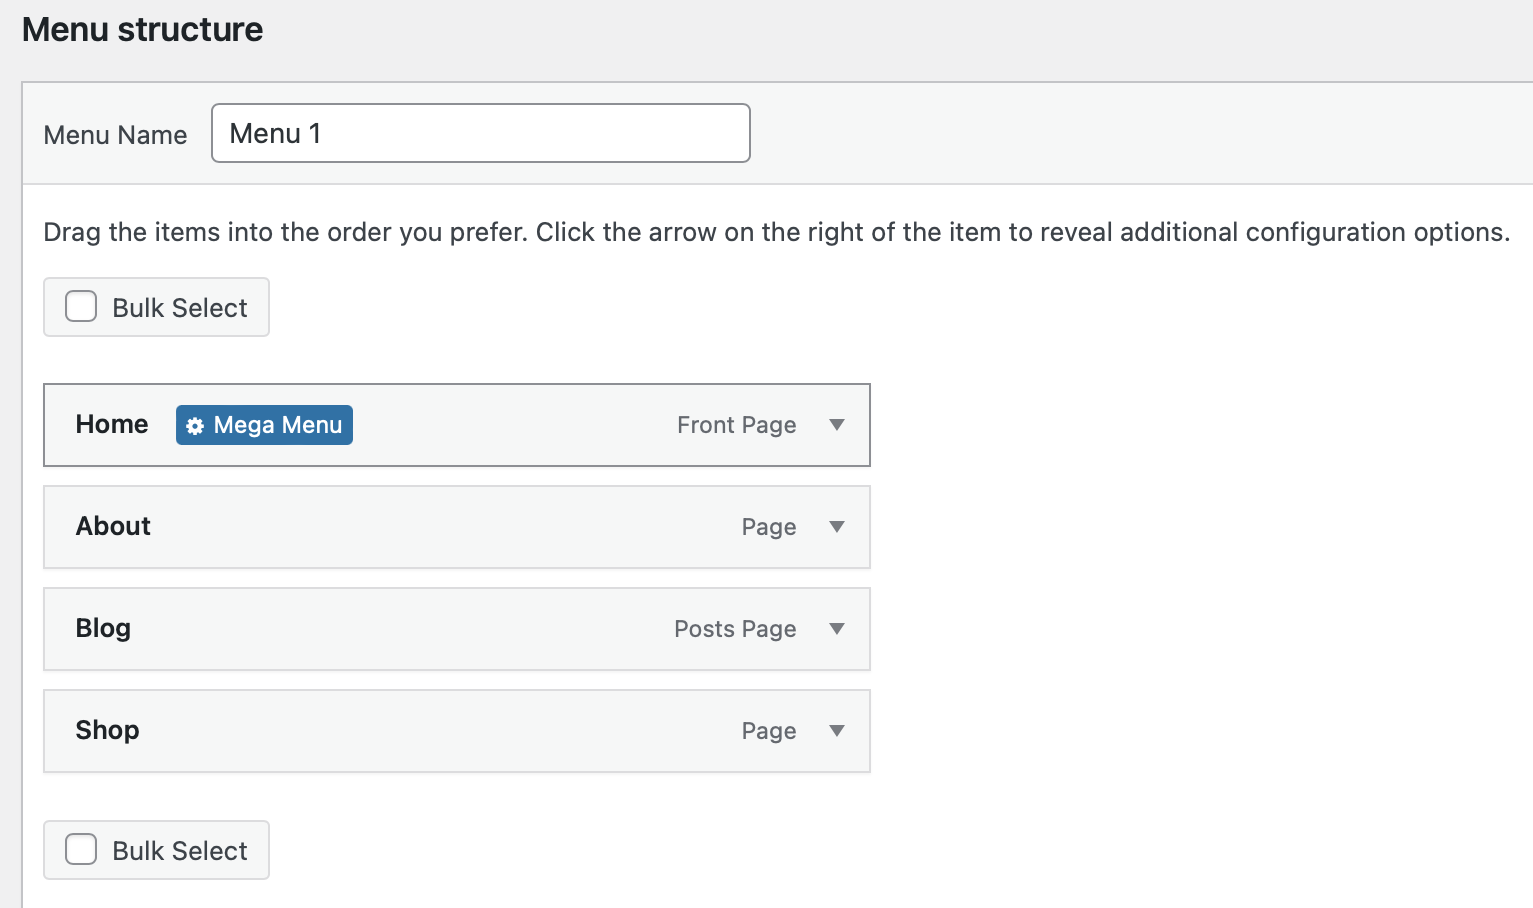
If you click on this button, you can configure display settings for that specific item. Make sure to save your changes. Then, preview your menu on the front end:
If you need to tweak more settings, return to the Mega Menu tab.
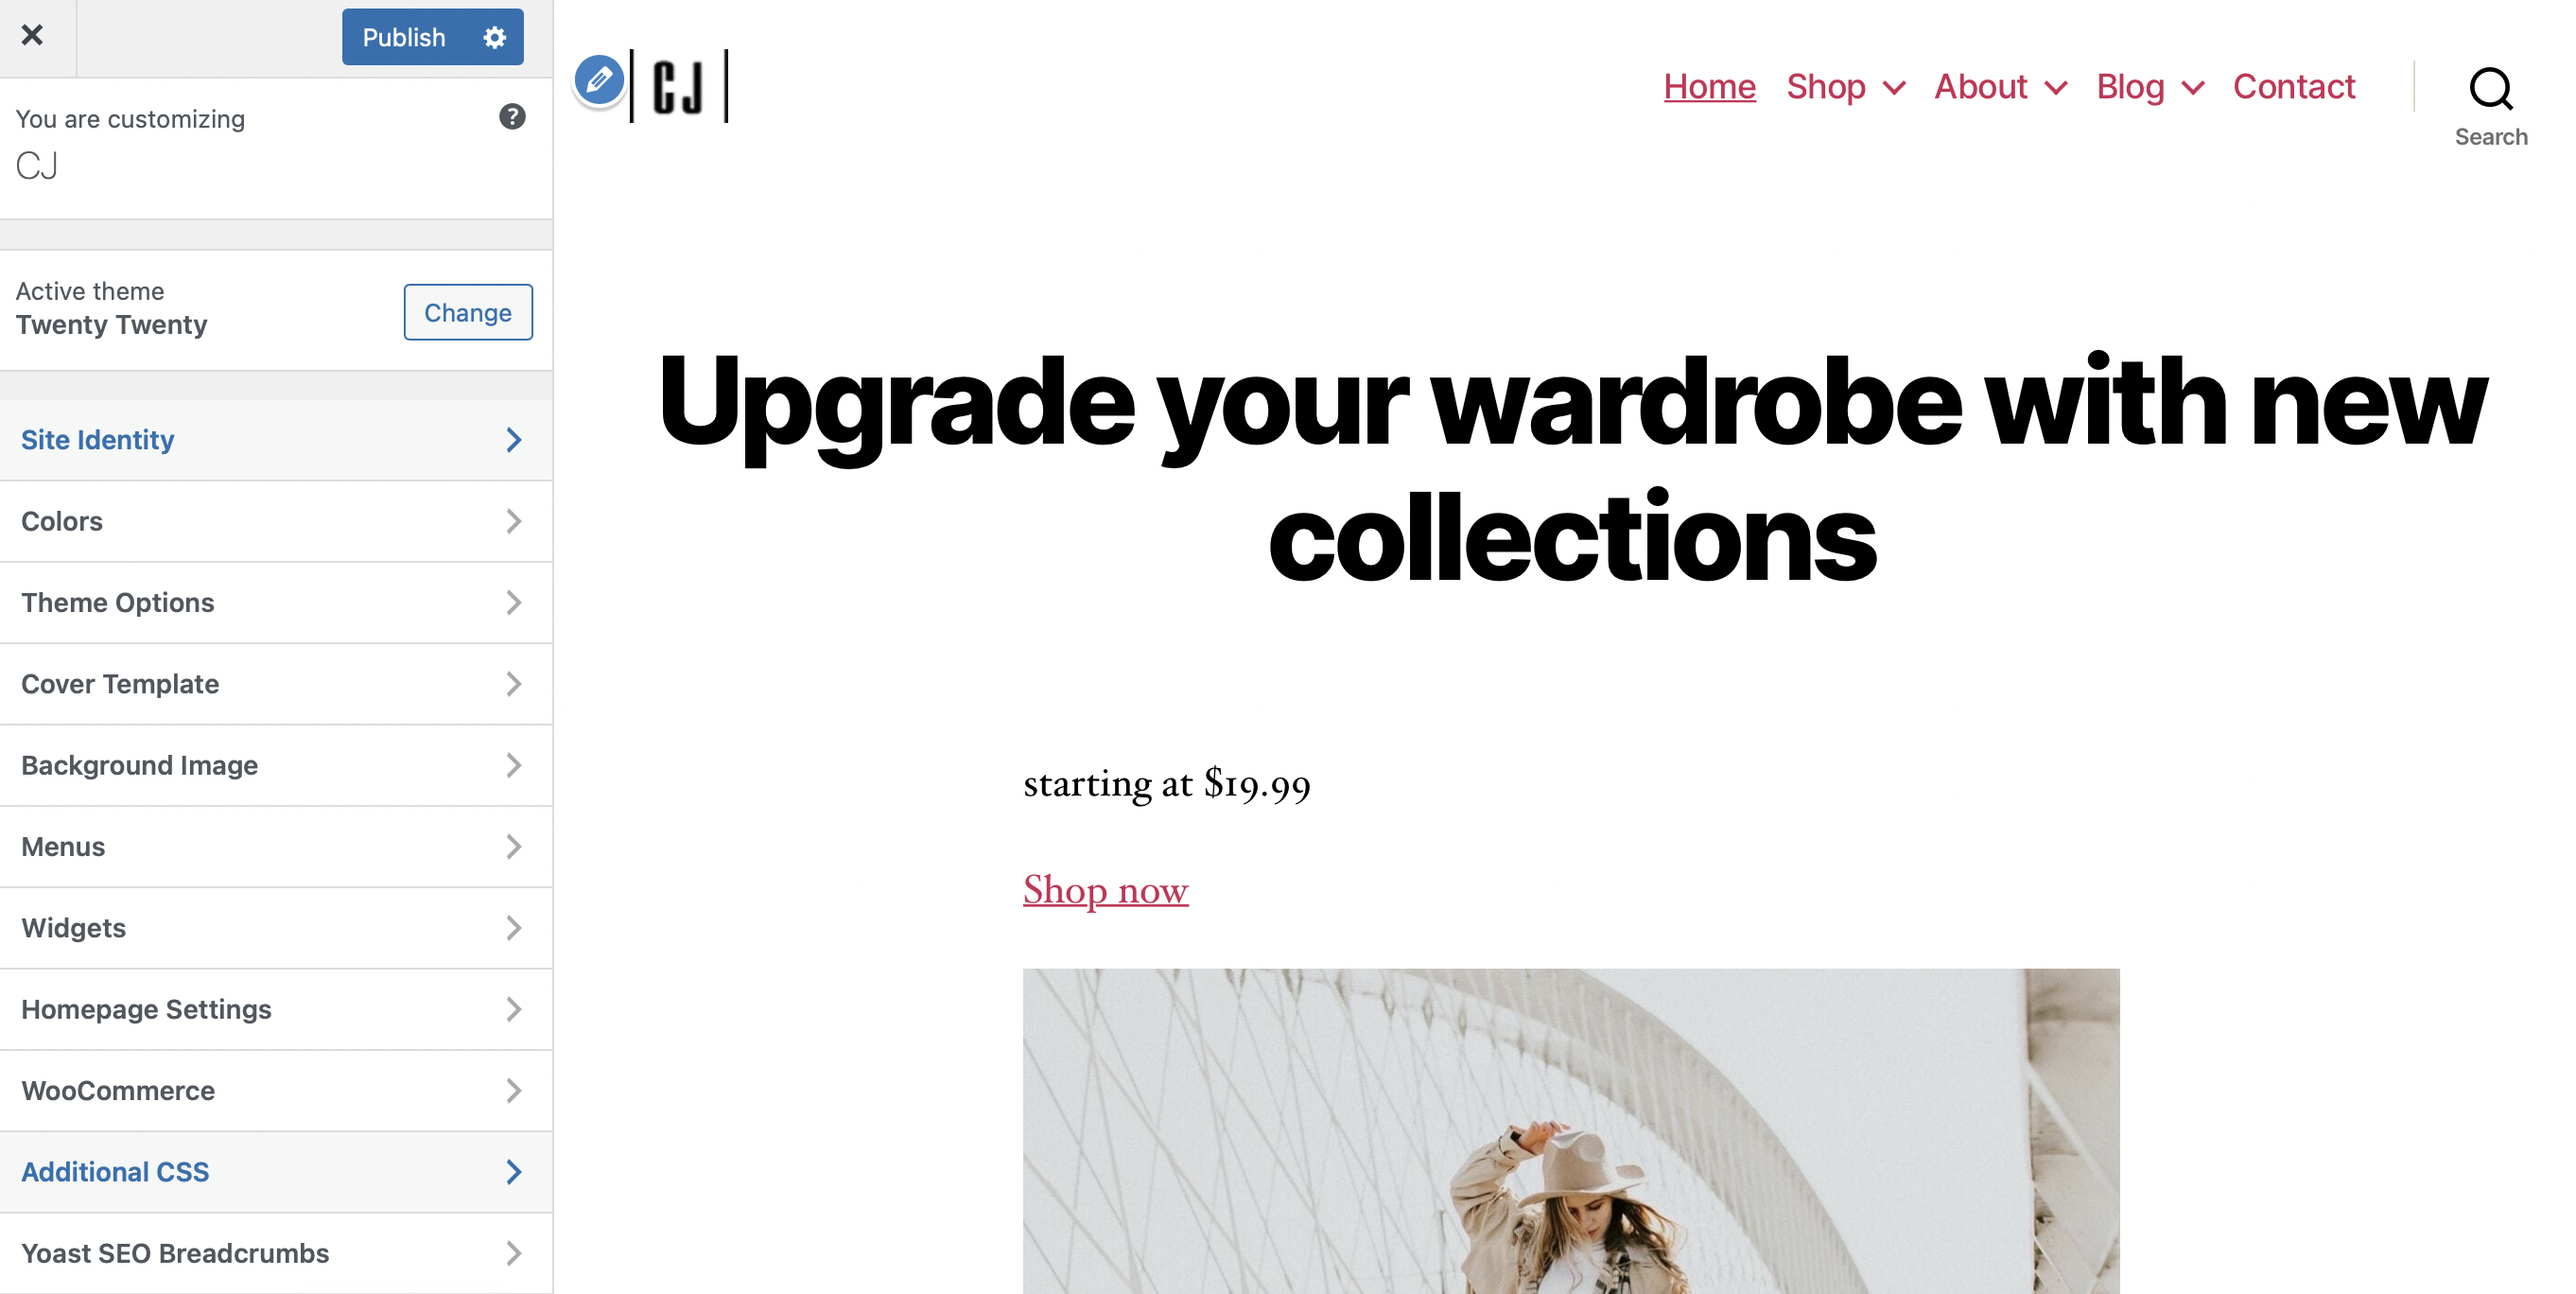
Finally, if you’re a more advanced user, you can edit a menu on WordPress using CSS. While you can edit your site files directly, it’s safer (and easier) to use the Additional CSS box in the WordPress Customizer.
You can usually find this right at the bottom of the Customizer tabs:
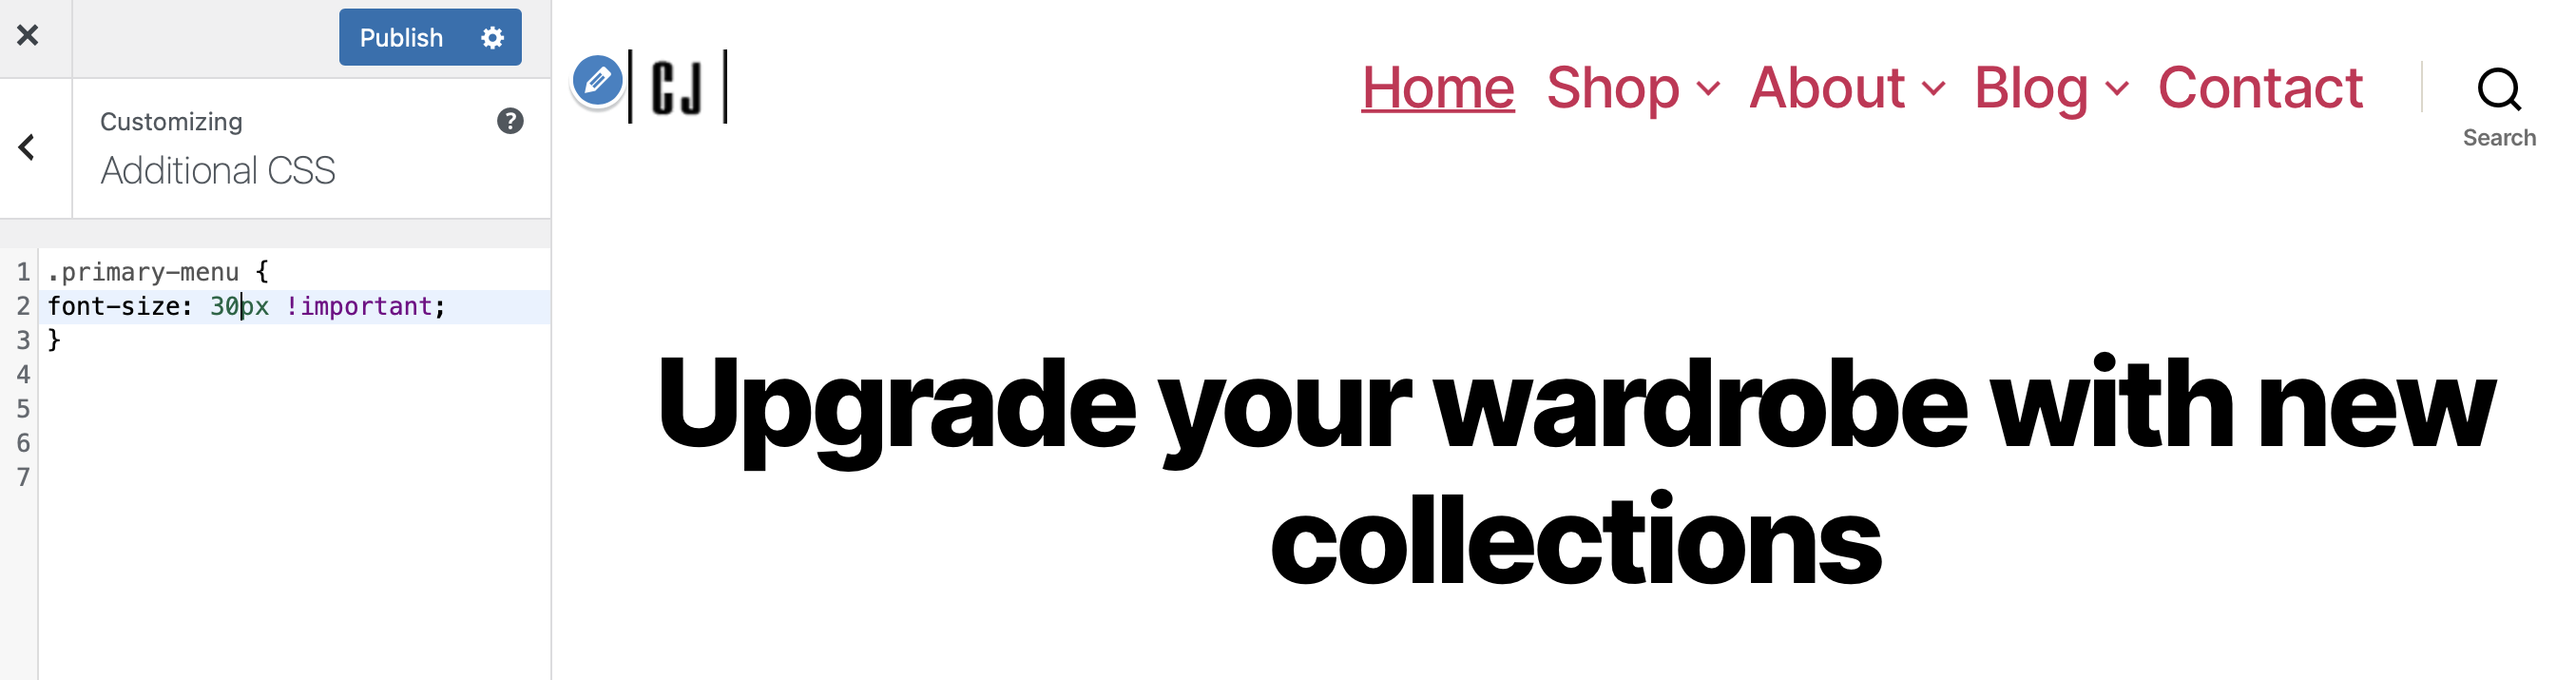
However, first, you’ll need to identify your theme’s menu class. To do this, right-click on your menu and select Inspect Element. Here, you can see that the Twenty Twenty theme uses the menu class “.primary-menu”.

So you’ll need to use this for all the CSS code that you write. Now, return to the Customizer and open the Additional CSS box.
If you want to increase the font size of your menu, use the following code: .primary-menu font-size: 30px;
Of course, you’ll need to replace .primary-menu with your theme’s menu class. If this doesn’t work, your theme may be forcing a certain style. In which case, you can add the !important tag to override the style:
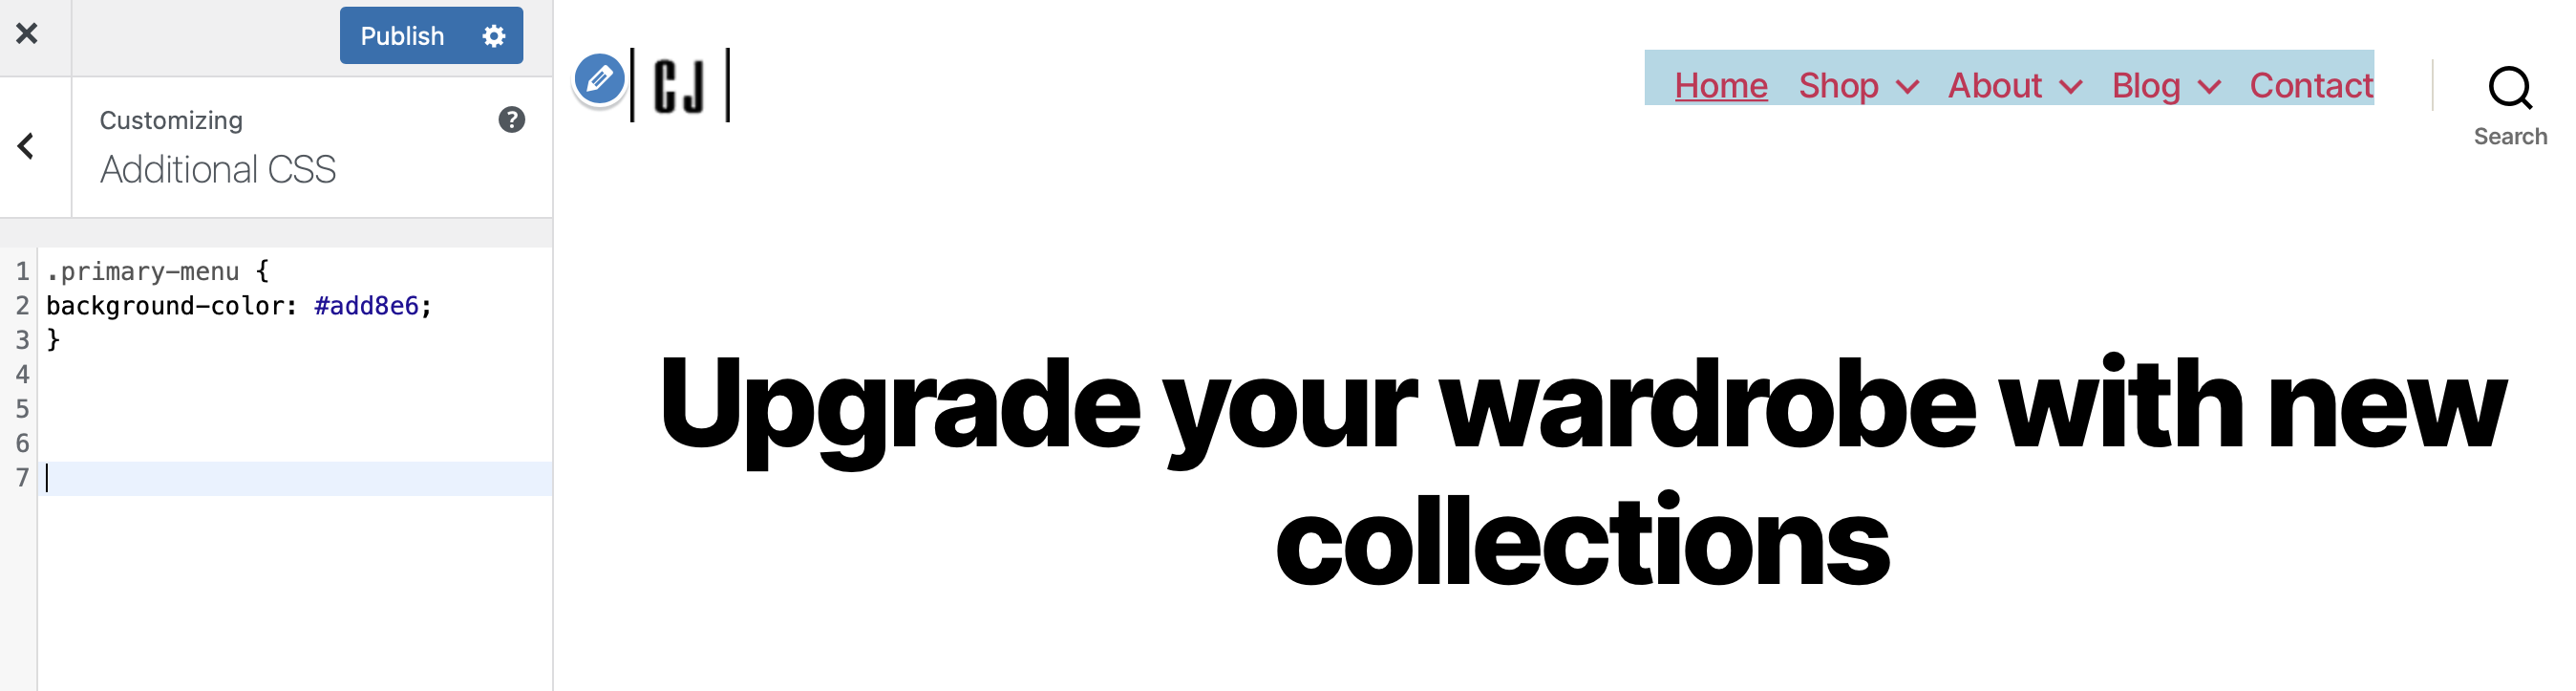
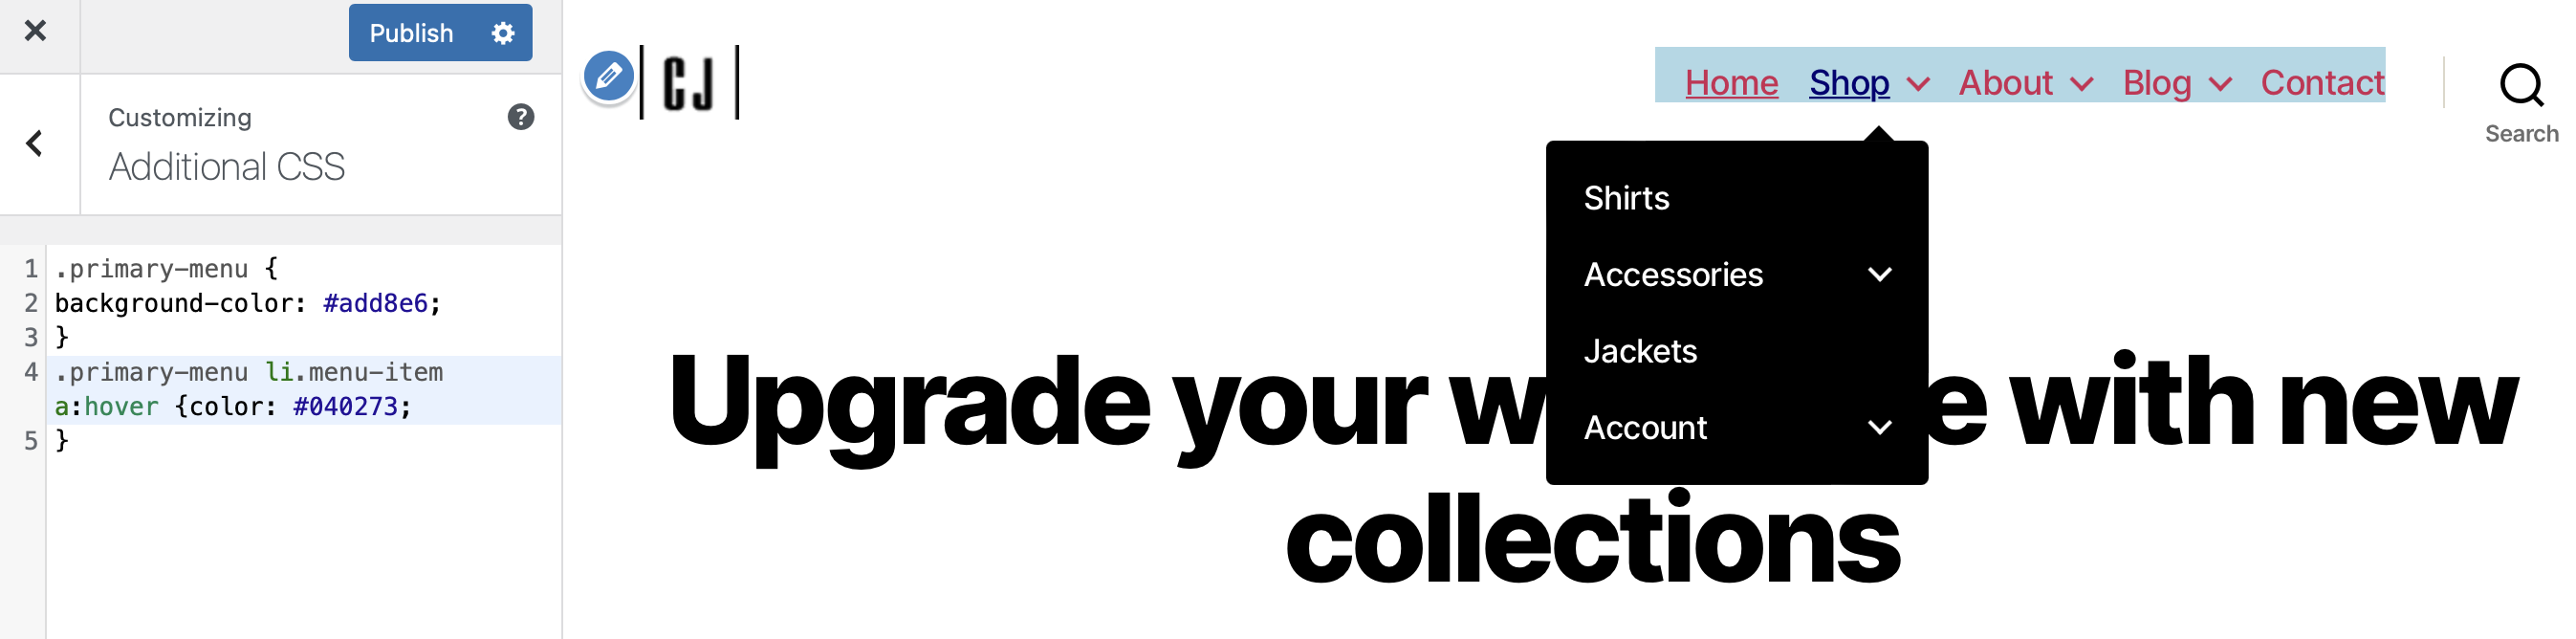
Additionally, you can edit the background color of your menu using this code: .primary-menu background-color: #add8e6;
Then, replace the hex code to reflect your own preferences:
Another way to edit a menu on WordPress is to apply a hover effect. For example, you can change the font color when visitors hover over a menu item.
To do this, use the following code: .primary-menu li.menu-item a:hover color: #040273;
This way, the font turns indigo when you hover over a link:
There are plenty of other ways to edit a menu on WordPress using CSS. For instance, you can change the opacity, borders, and padding.
Conclusion 🧐
Although your menu design is determined by your theme, you can edit a menu on WordPress to match your branding or incorporate key pages and elements. This makes your site more unique, but it can also make it easier for visitors to navigate your content.
👉 To recap, here’s how to edit a menu on WordPress:
- Edit your menu using the built-in options ⚙️
- Edit your menu using a plugin like Max Mega Menu 🔌
- Use CSS to edit a menu on WordPress 👨💻
Do you have any questions about how to edit a WordPress menu? Let us know in the comments below!