Are you looking to embed a Discord widget into WordPress? This is a great idea if you run a membership site, forum, or other online community, since it provides an easy way for users to connect with each other. However, you might not know exactly how to unlock this functionality on your site.
Fortunately, it’s super easy to embed a Discord widget into WordPress. 😎 Once you’ve set up a Discord account, all you need to do is configure the server settings and add a widget block to any WordPress page.
Why embed a Discord widget into WordPress?
Discord is a communications app that enables users to share voice, video, and texts messages. Although it’s used socially, it’s also relied on heavily within gaming communities, and by developers.
You can use it to set up private channels and create custom member access. Plus, it’s a great way to share videos, collaborate with other users, and watch friends live stream games.
With the growing popularity of Discord, you might want to embed a Discord widget into your WordPress site purely because of it. While Slack is a platform that’s more popular among professionals, Discord is more in tune with casual audiences that gather around a cause [1].
Your Discord widget will offer a simple way for users to connect with each other. Additionally, the widget will clearly display the number of users on your Discord server. Plus, you can even send links to invite new members to join your chat rooms.
Now that you know why to embed a Discord widget on your site, let’s take a look at how to do this in WordPress in three steps.
Step 1: Set up a Discord account and create a server 🖥️🧍
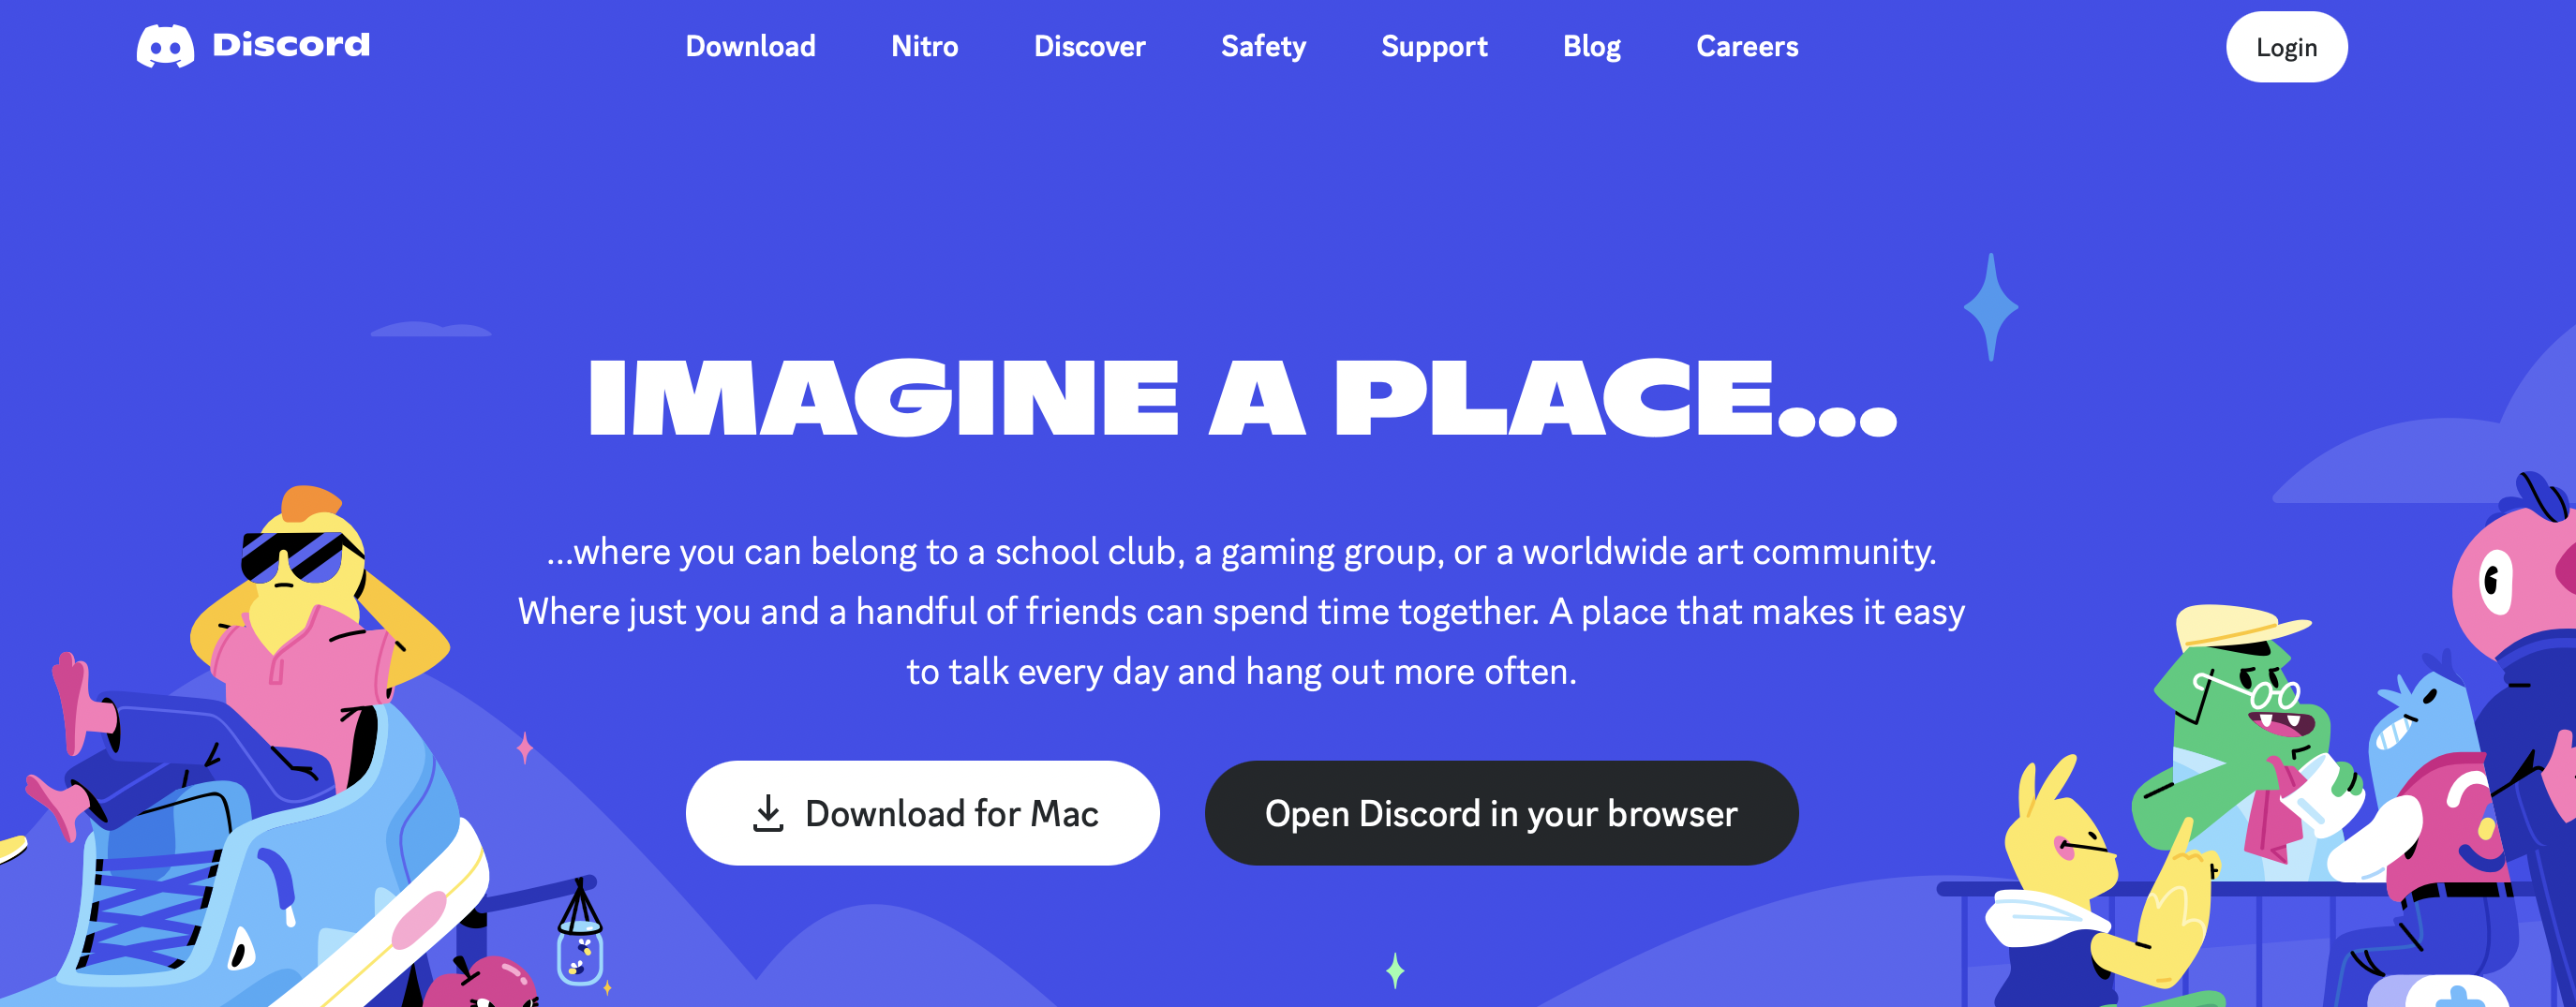
To embed a Discord widget into WordPress, you’ll first need to create a Discord account. So, head over to Discord’s official website.
If you already have a Discord account, click on the Login button in the top right corner of the screen. Otherwise, select Open Discord in your browser:
At this point, you can choose a username for your Discord account. This will become the handle for other users to find you.
Next, you’ll be asked to fill in your date of birth. You’ll then be prompted to create your first Discord server. To do this, you can either use a pre-built template, with options for gaming, friends, artists, and more. Or, click on Create My Own.
Now, you’re able to customize your Discord server. Here, you can give your server a name and upload a logo or icon. Then, click on Create:

You’ll be notified when your server is ready. Then, follow the link that says Take me to my server!
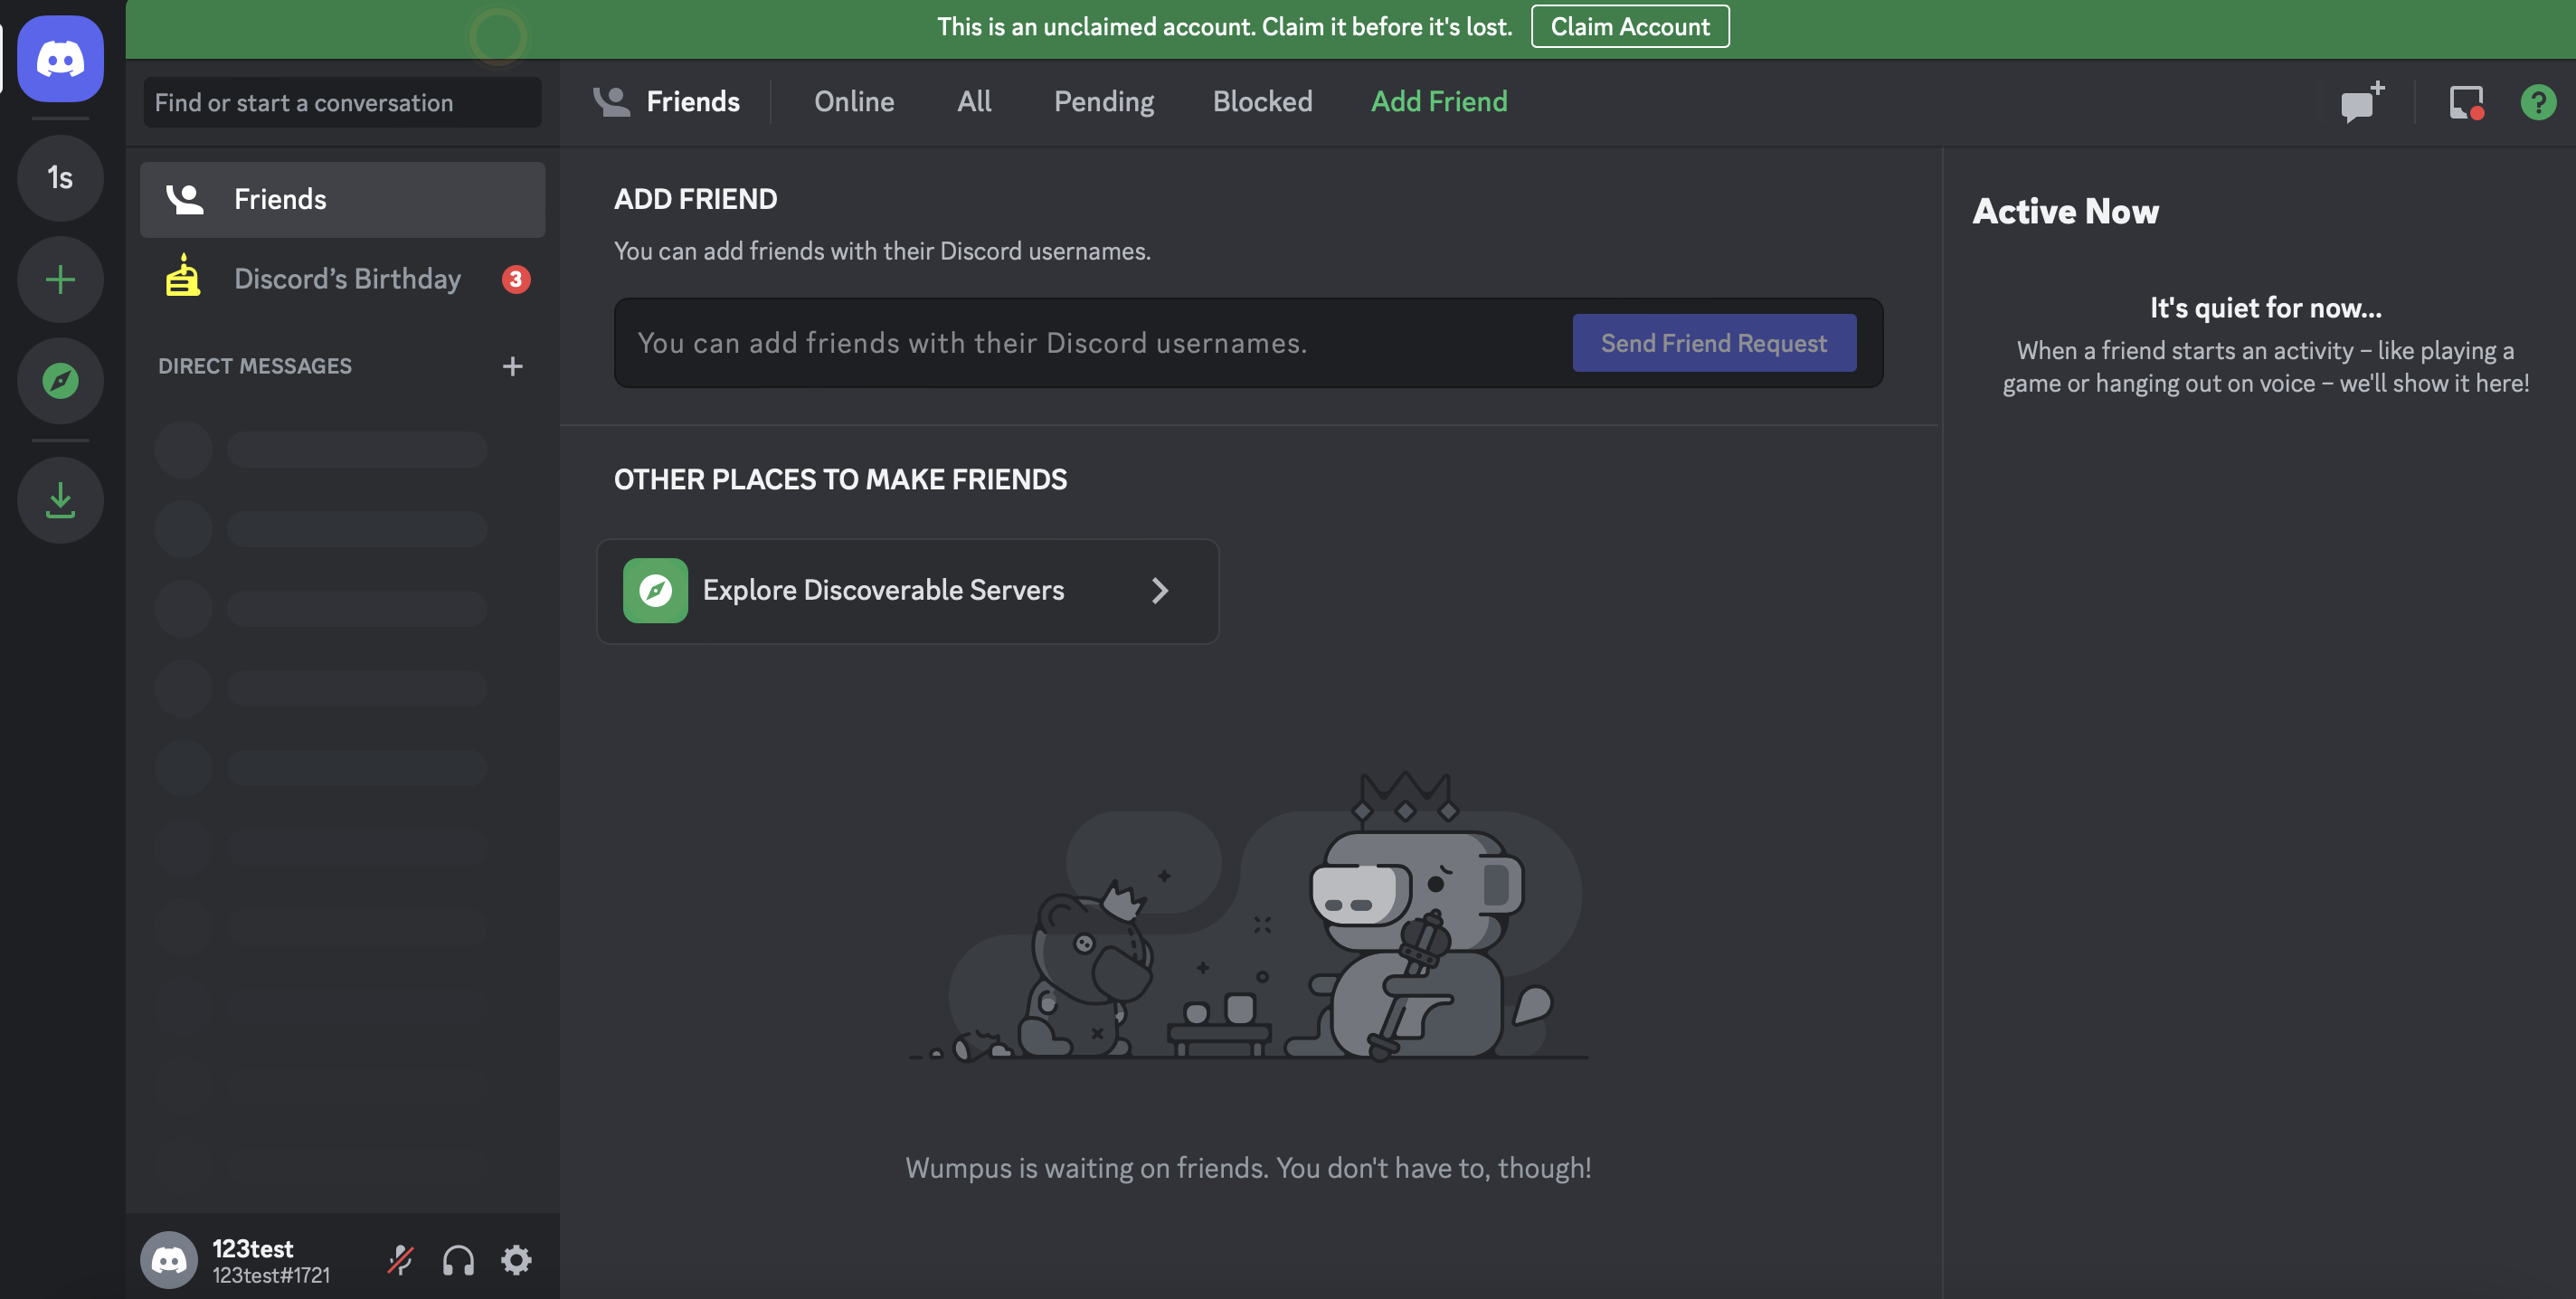
Although you’ll arrive in your server, be aware that your account hasn’t yet been verified. Therefore, you need to click on the Claim Account link from the green banner at the top of the page:
Here, enter your email address and a password.
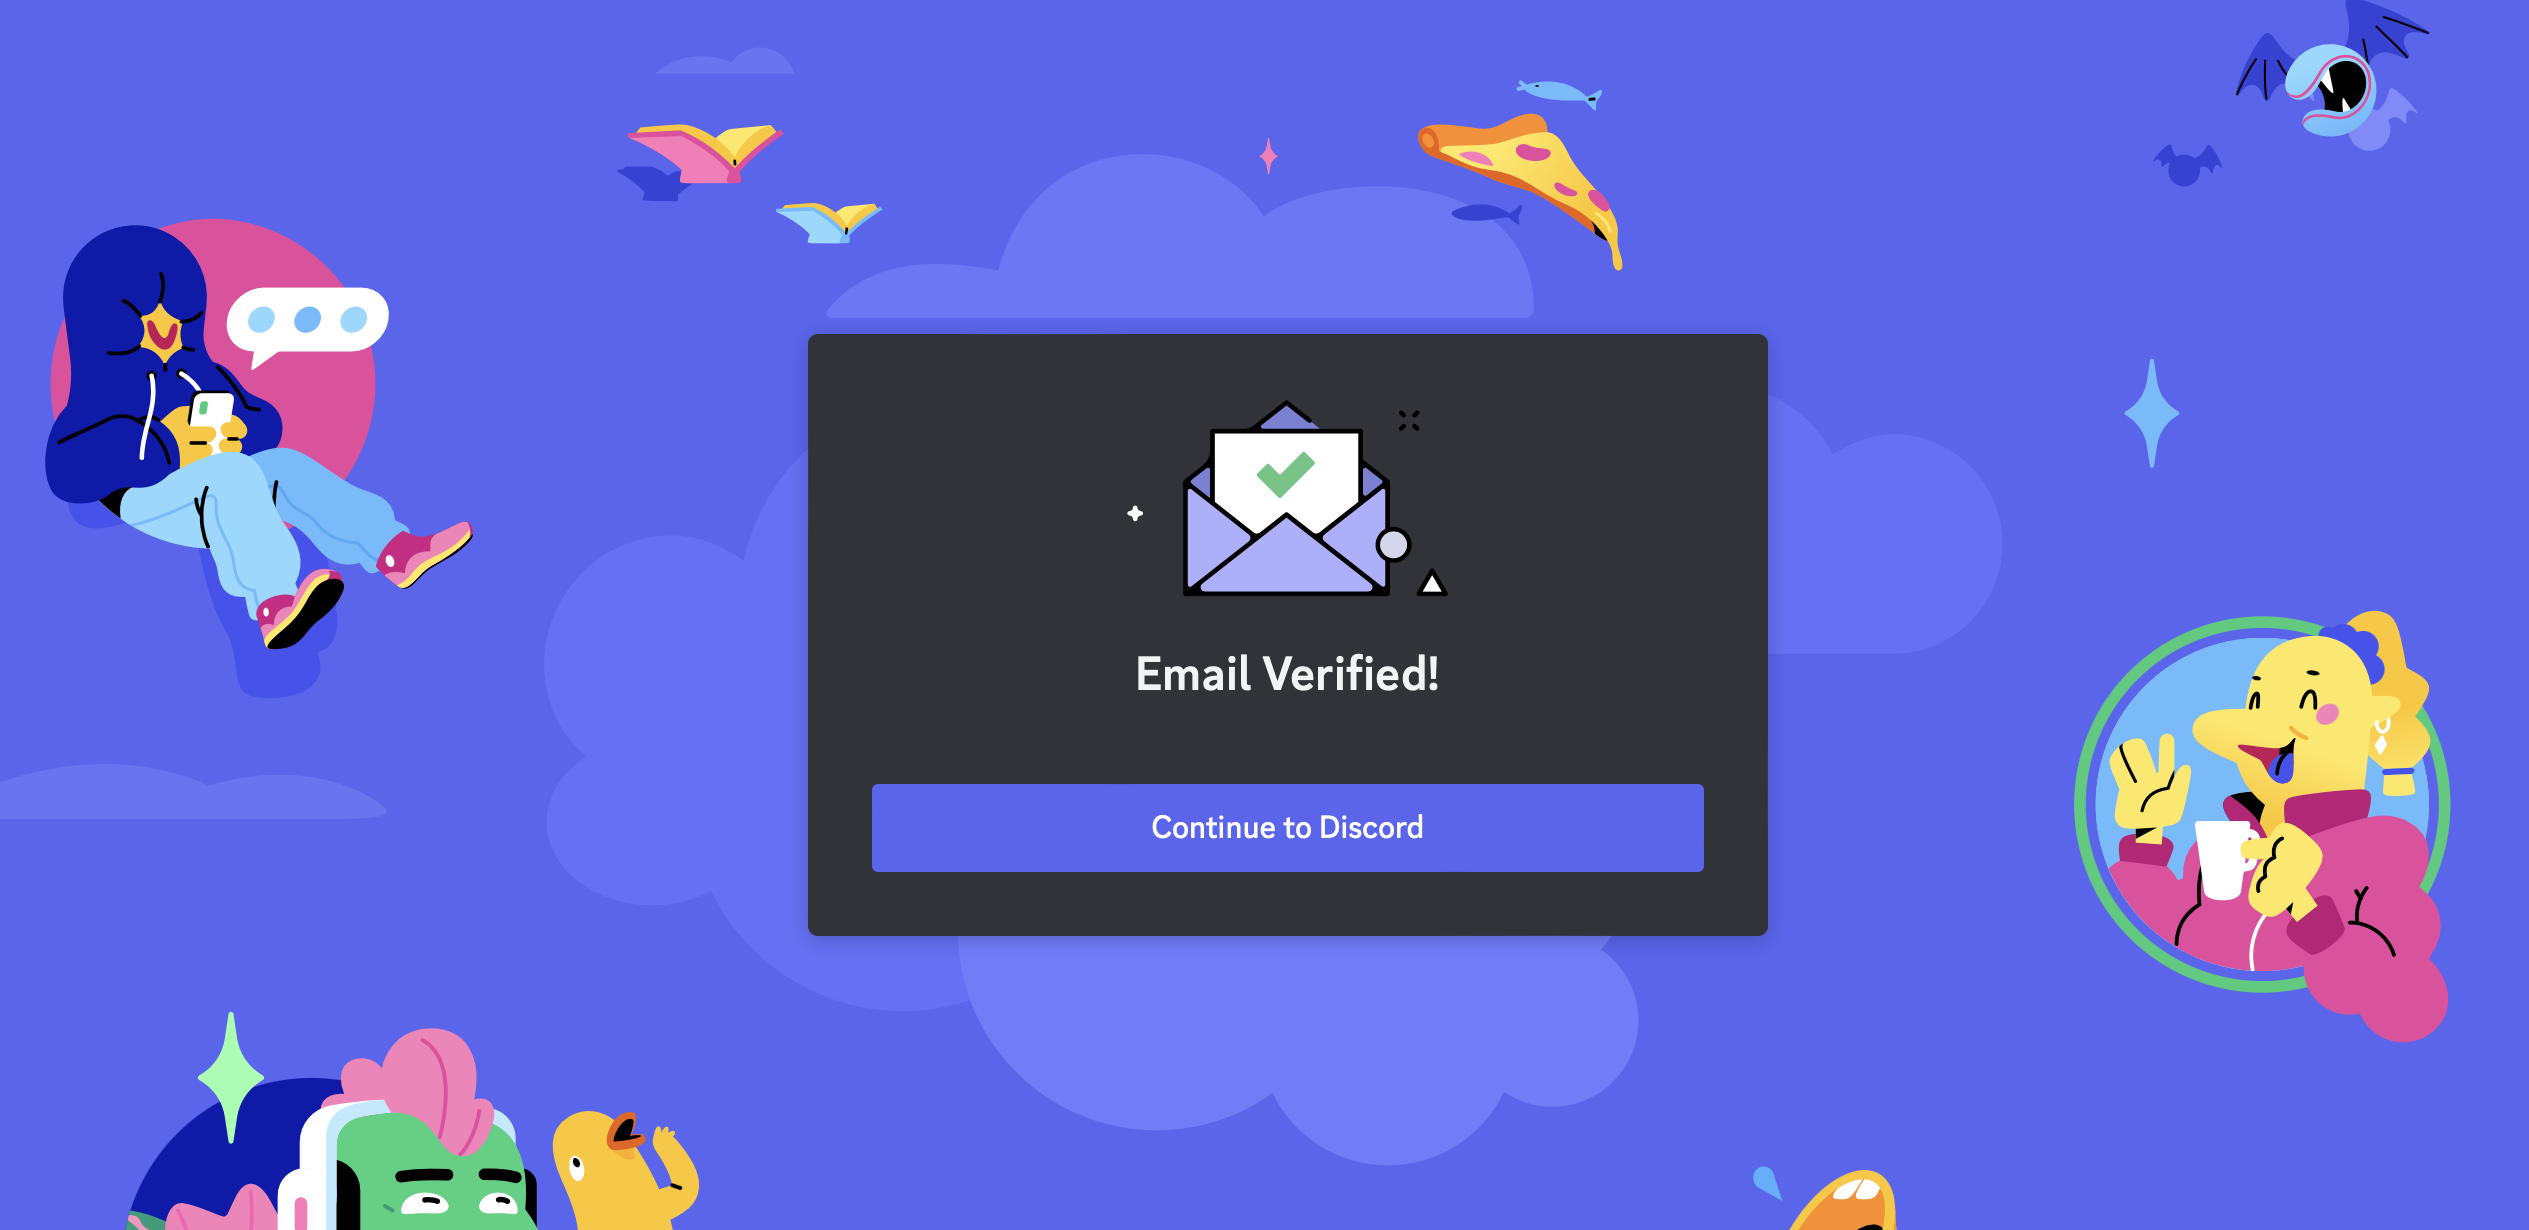
A confirmation link will be sent to your email. Click on the link in your inbox to verify your account. Then, select Continue to Discord:
Now, you should be able to see your Discord server without the Claim Now banner.
Step 2: Enable the server widget and copy the embed link 🖥️🔗
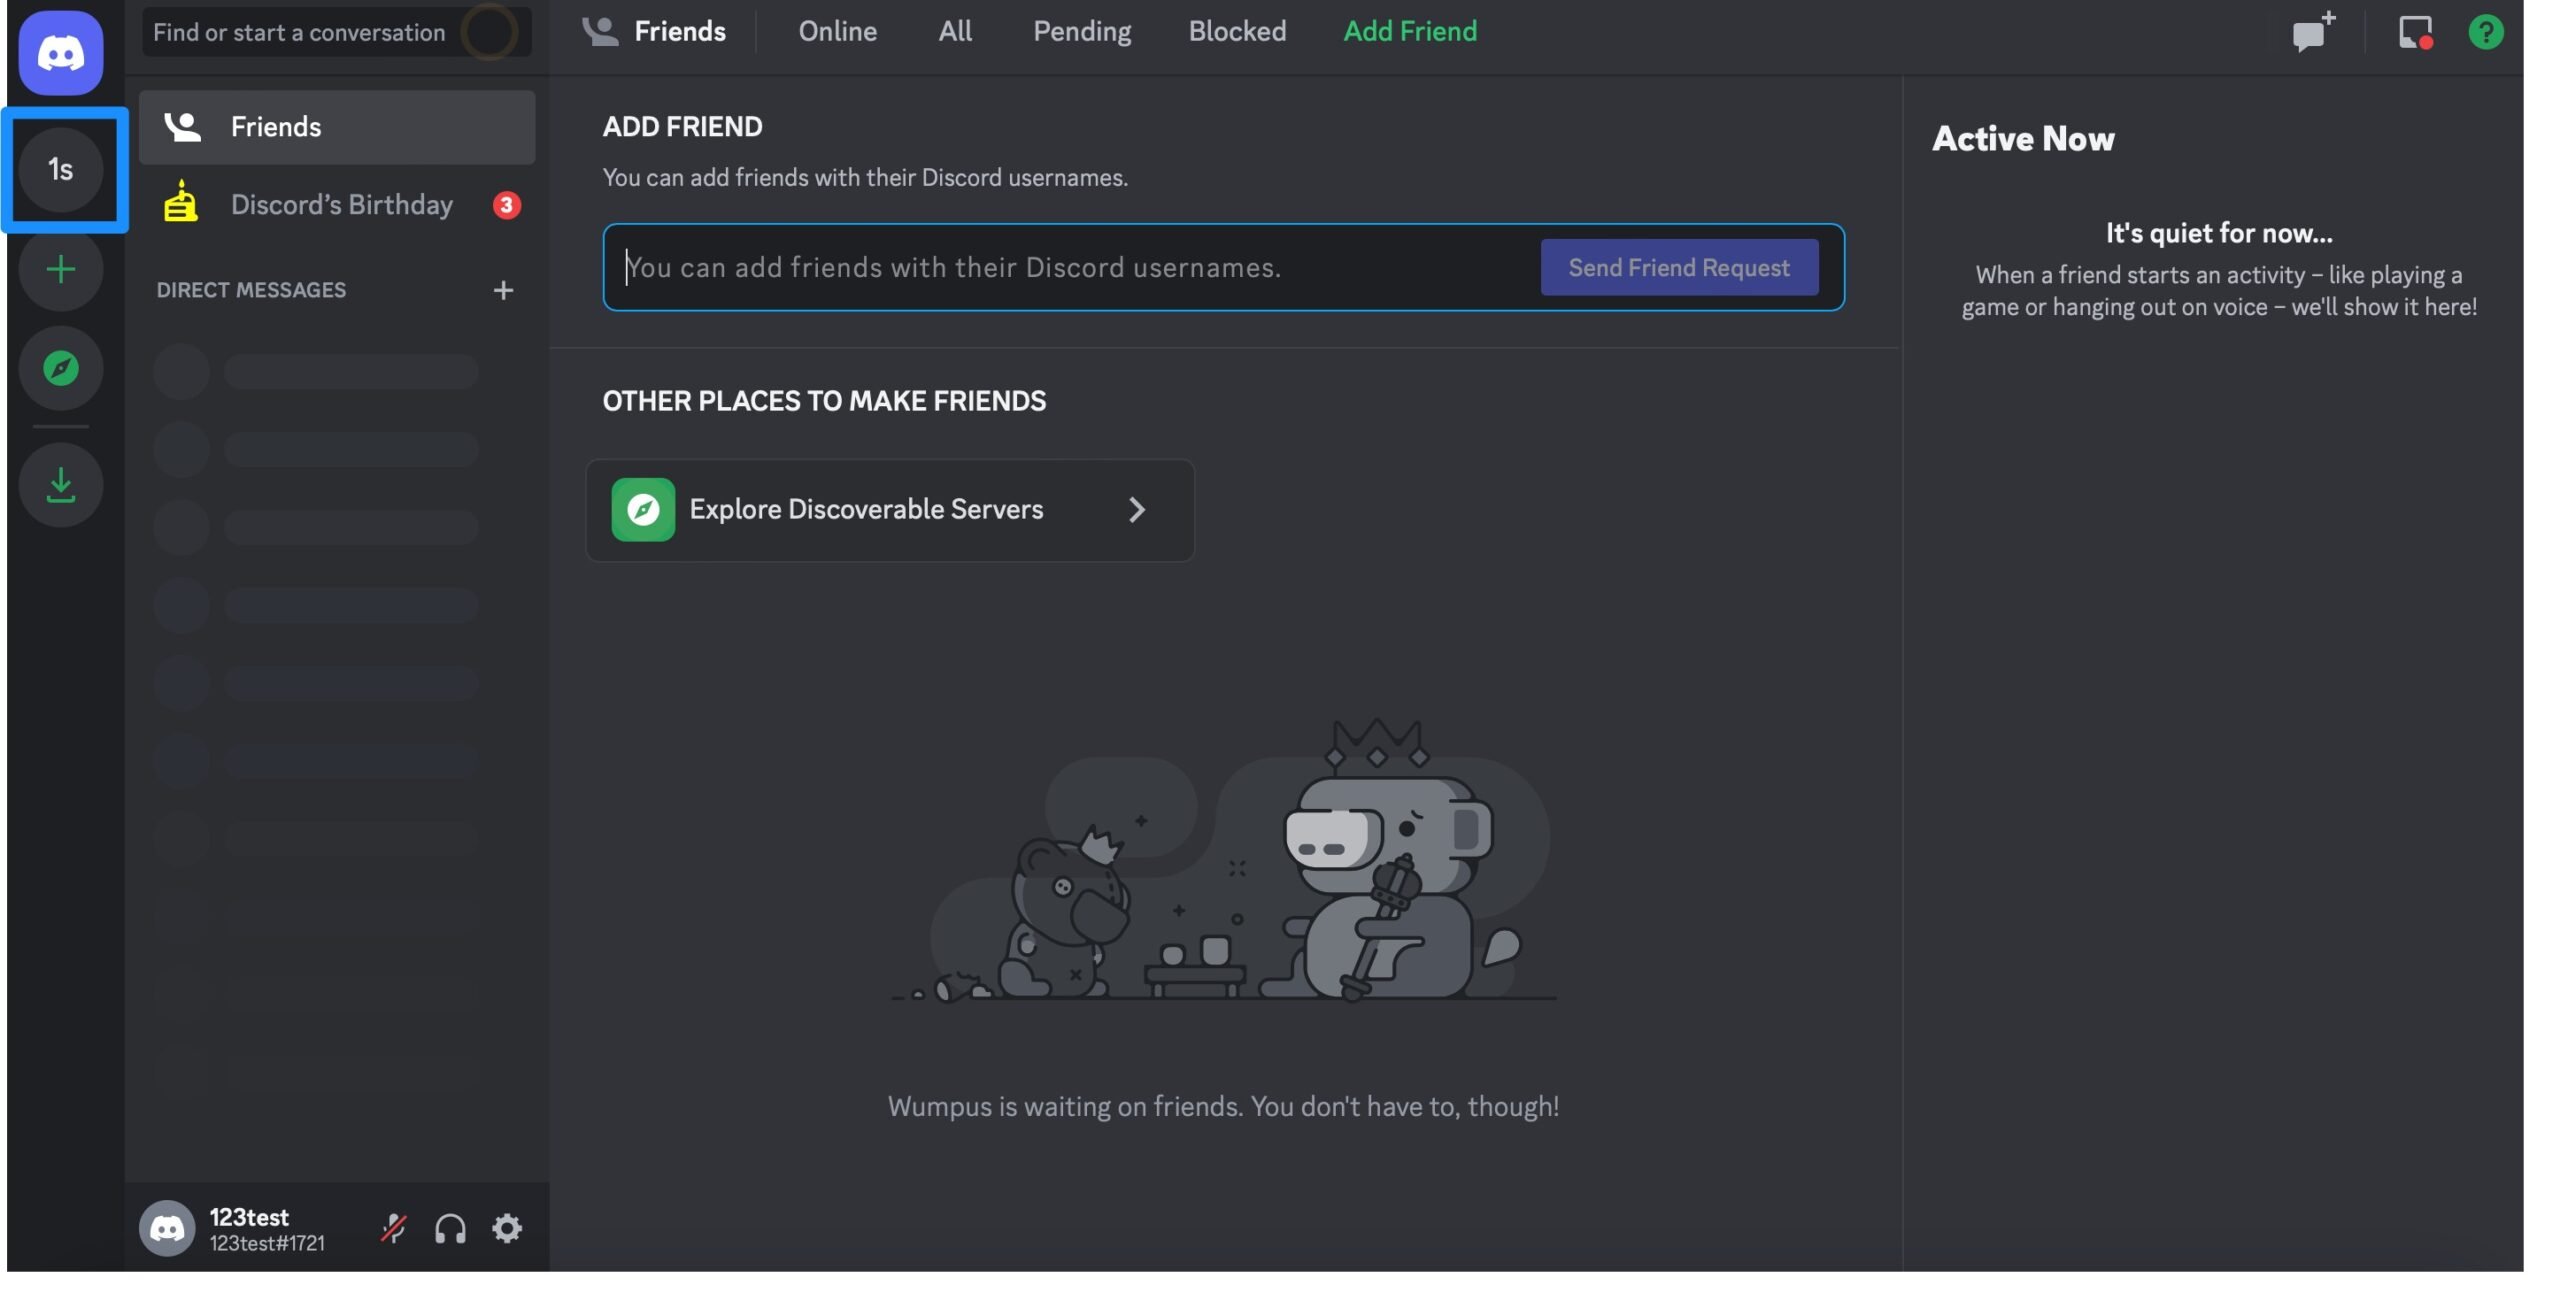
Now that you’ve set up your server and verified your account, you’re ready to embed the Discord widget into WordPress. To do this, navigate to the Text Channels page. You’ll find this by clicking on the server tab below Direct Messages.
On our screen, this tab is labelled 1s:
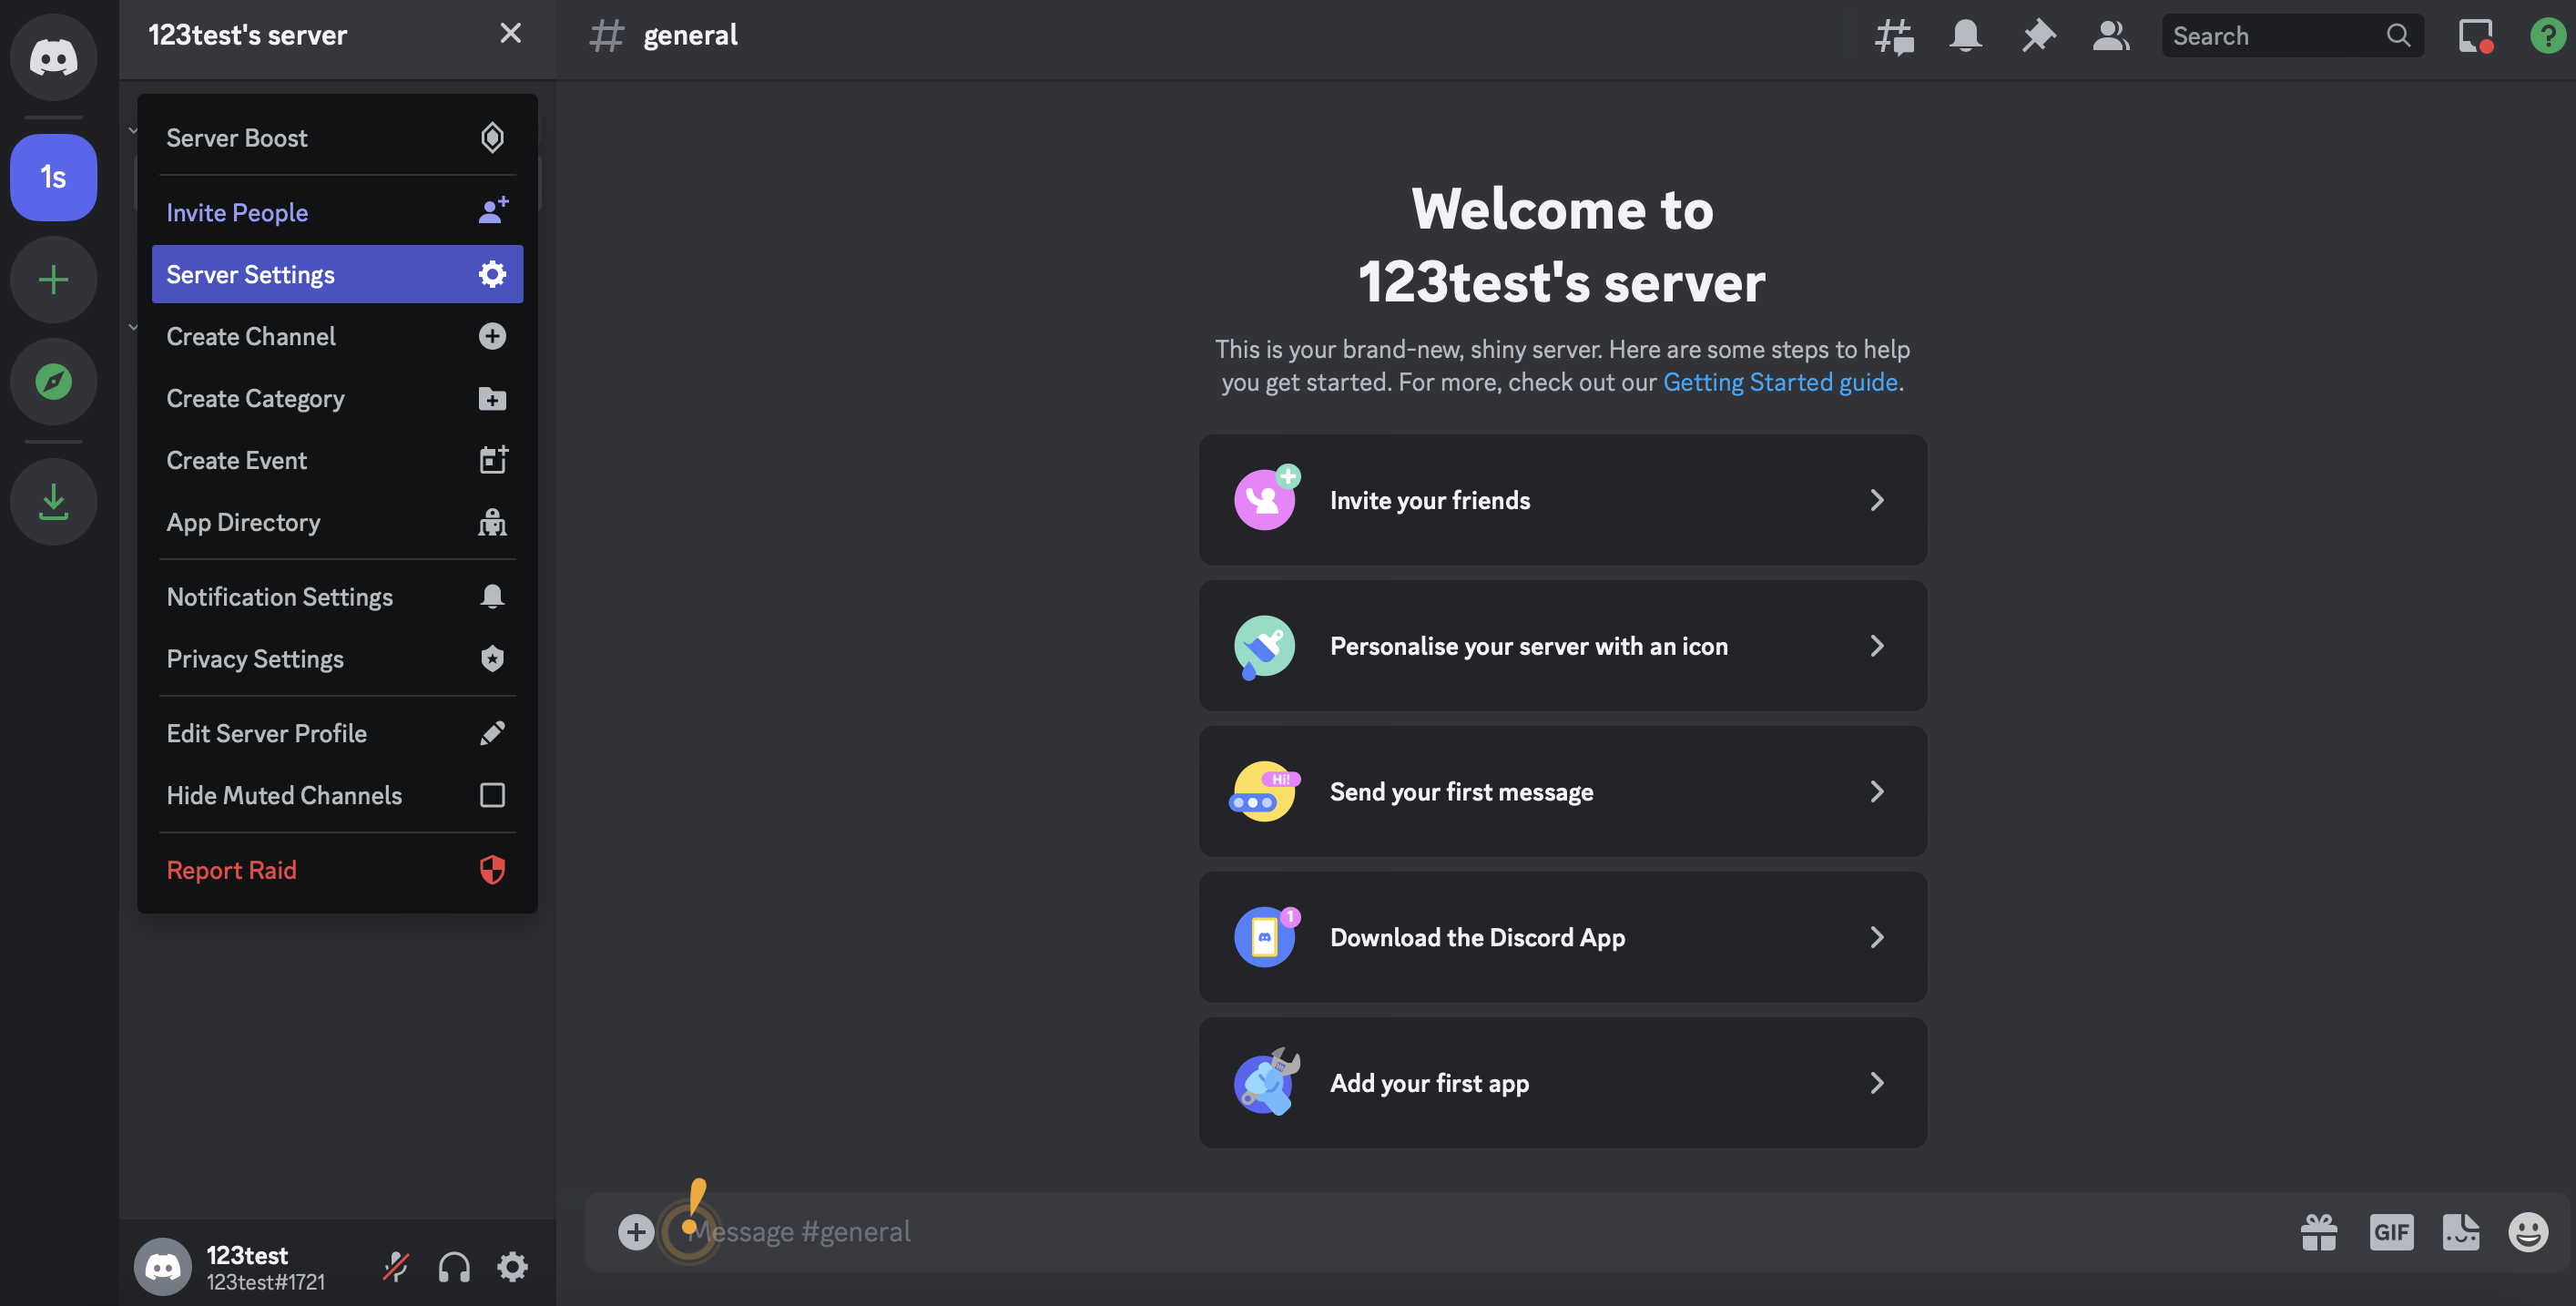
Now, at the top of the page, click on the arrow besides your server name. This will open a dropdown menu where you’ll select the Server Settings option:
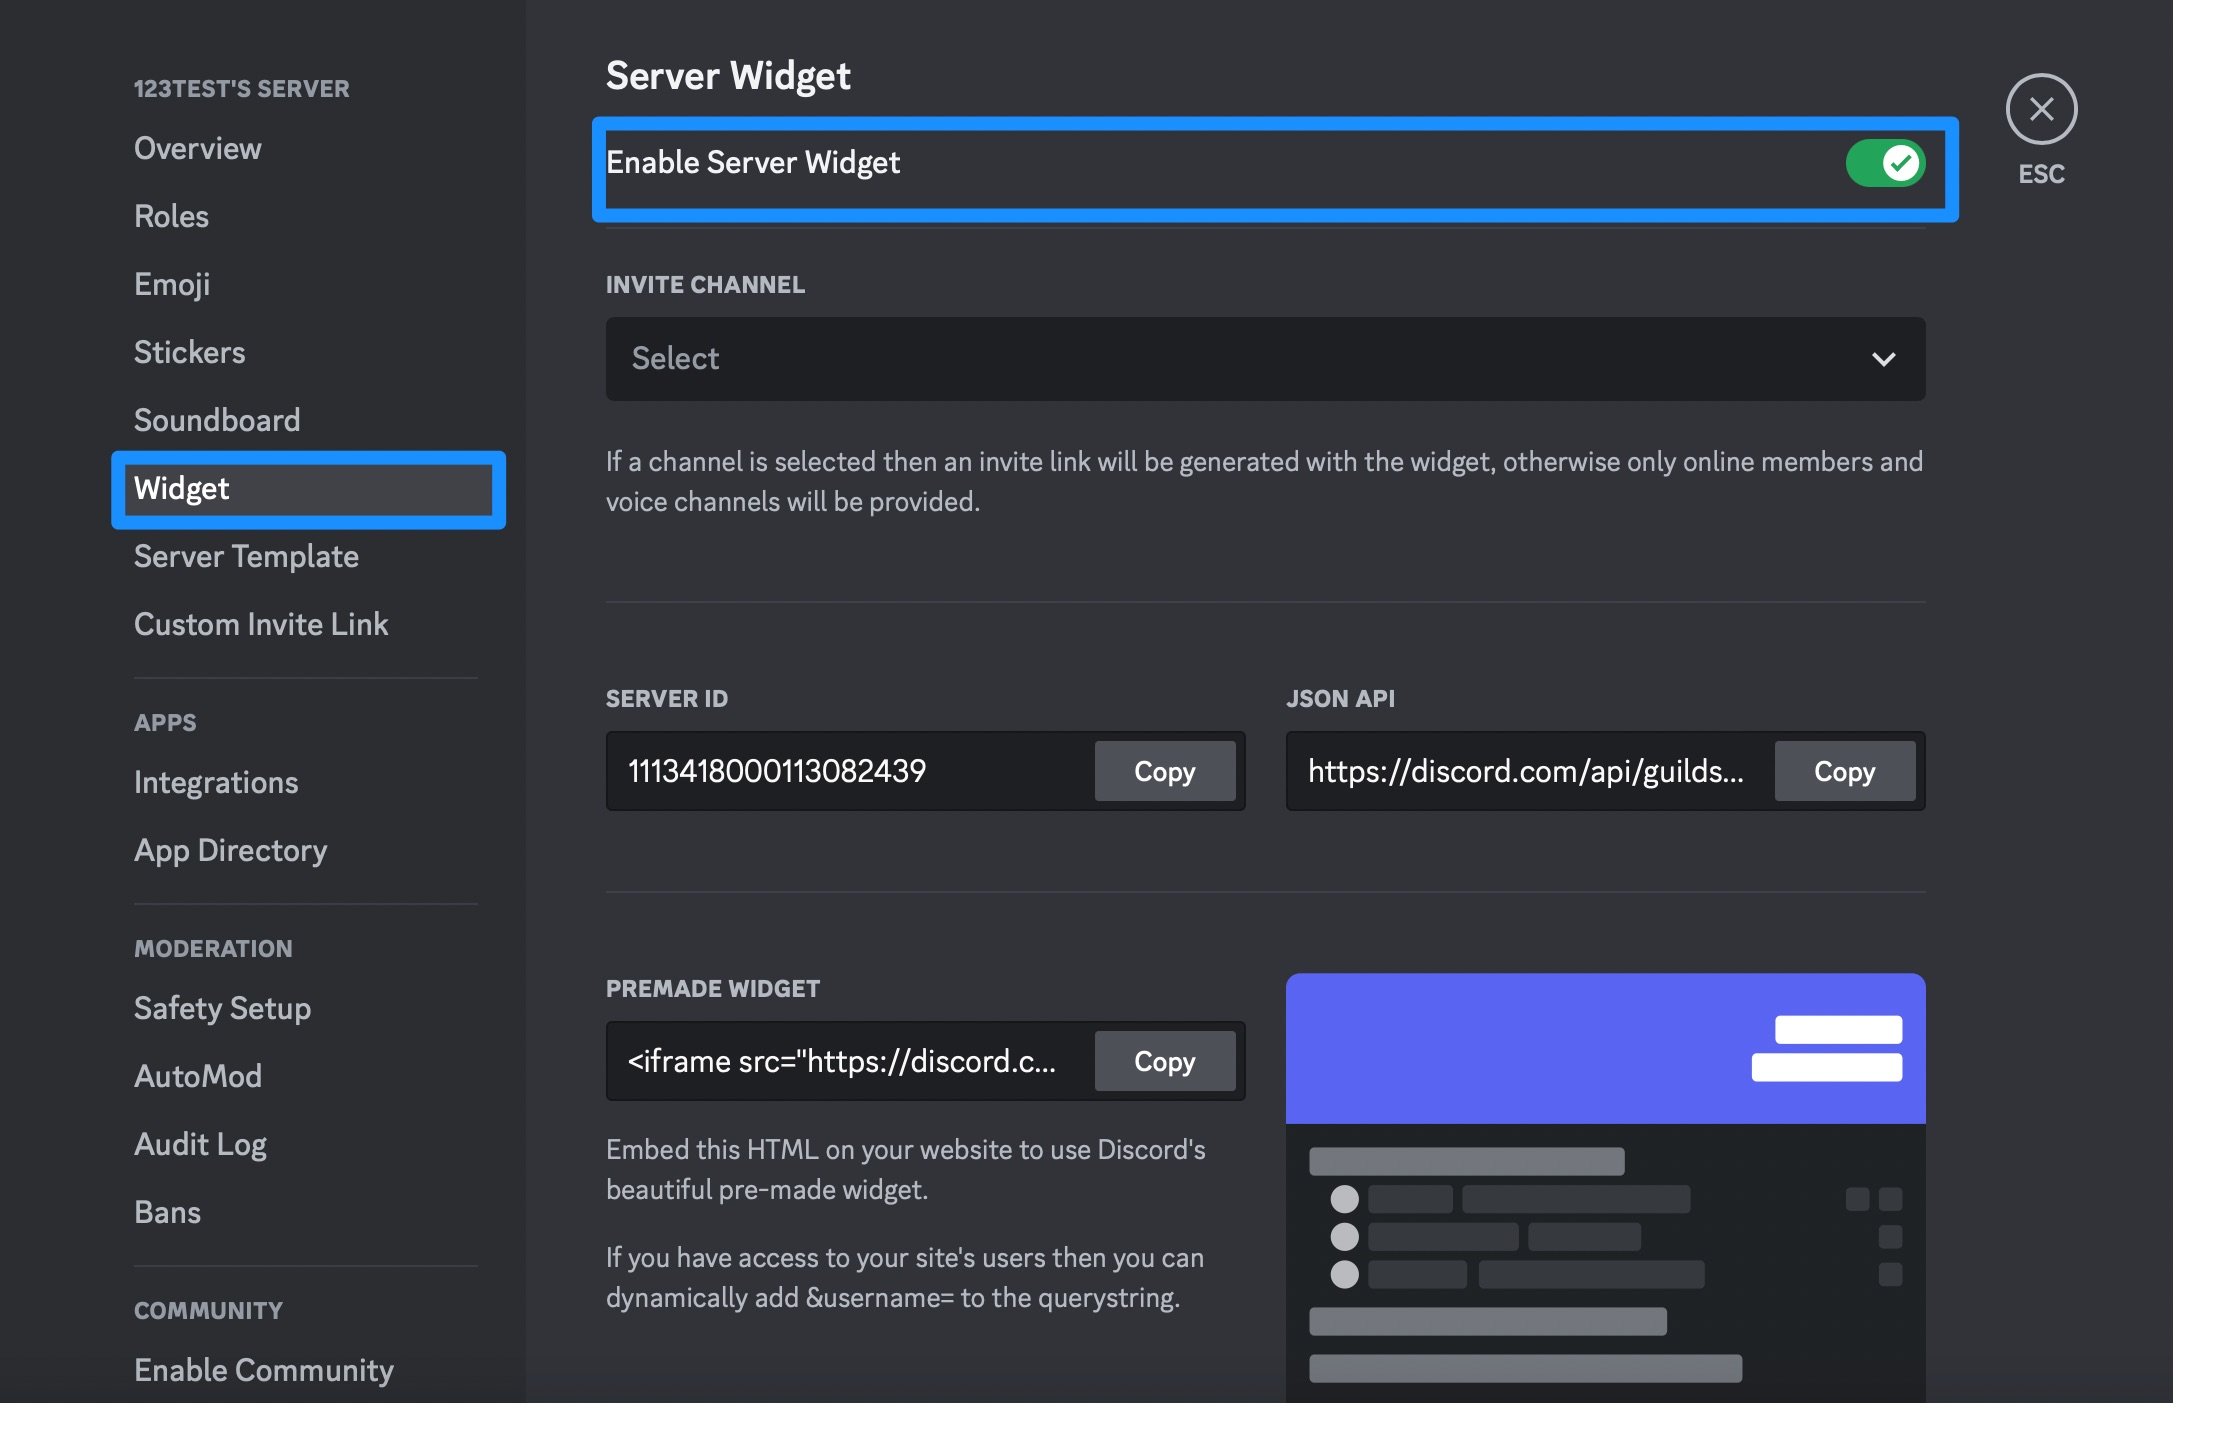
Next, find the Widget tab in the sidebar to the left of your screen. At the top of the Server Widget section, toggle on the Enable Server Widget setting:
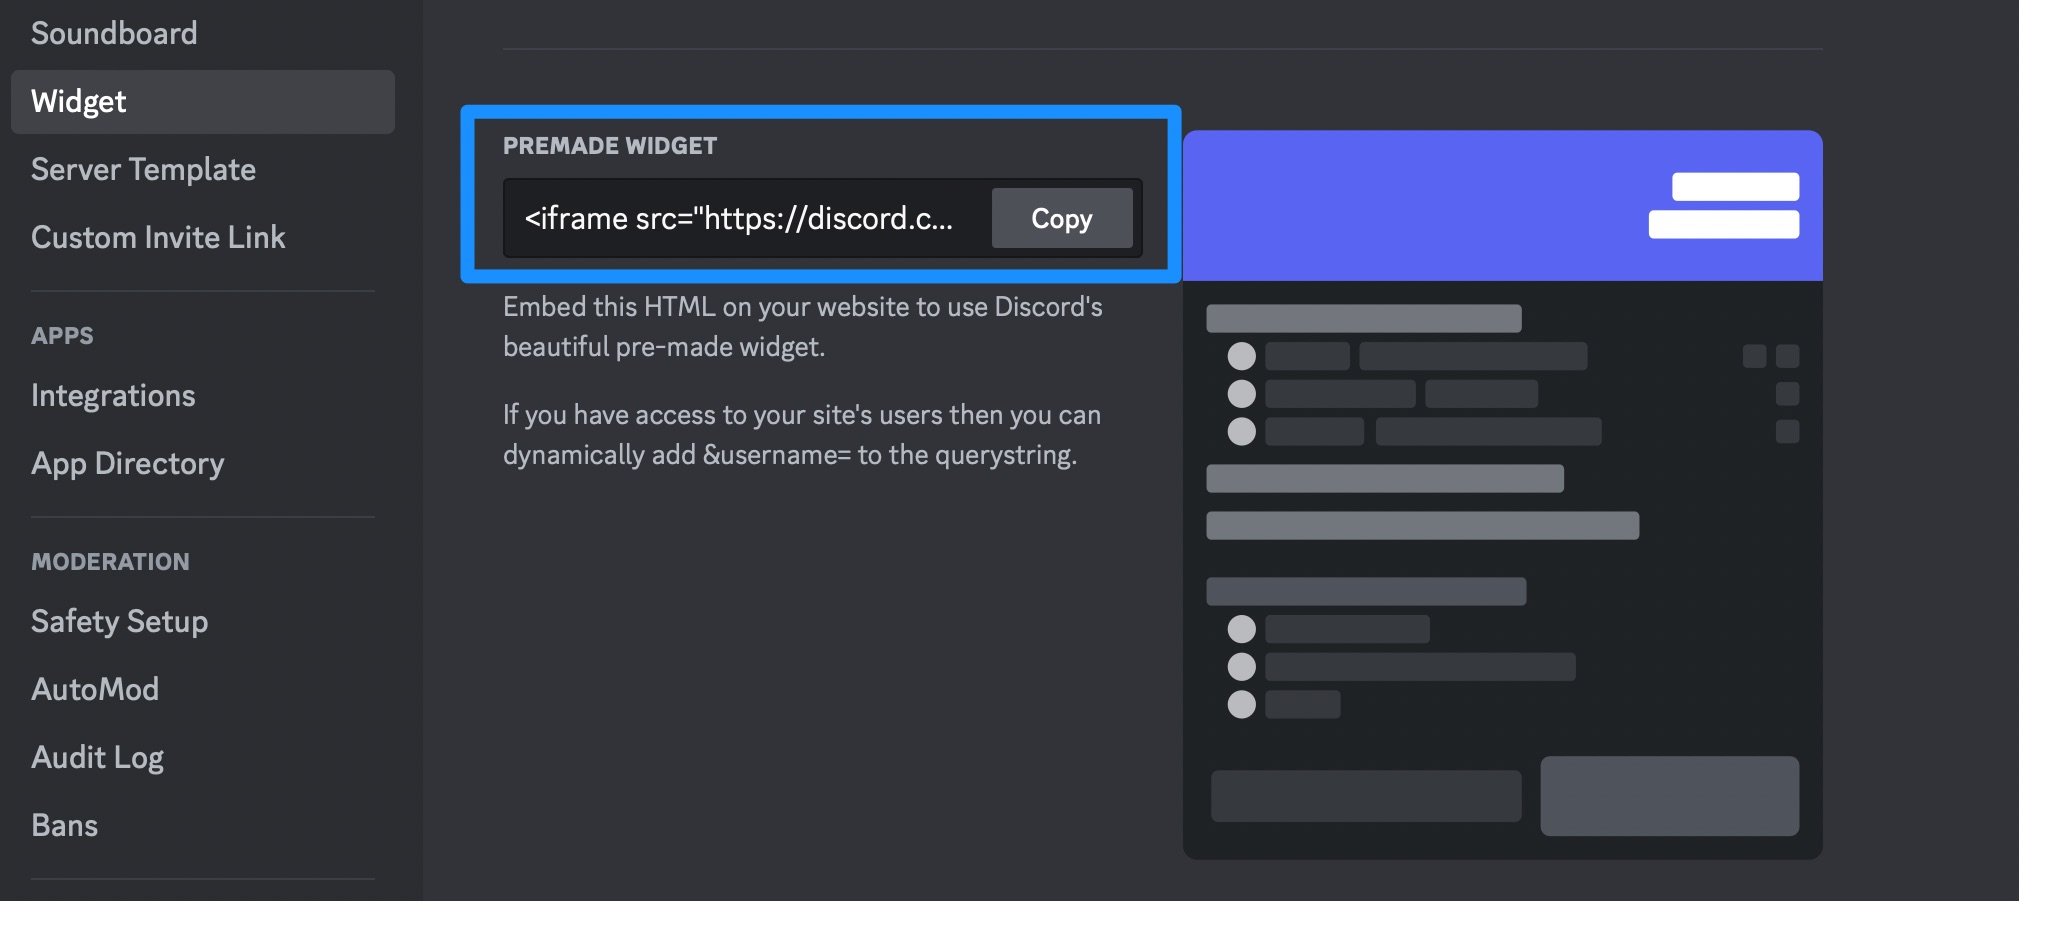
Scroll down to the Premade Widget section at the bottom of the page. In order to embed a Discord widget into WordPress, you’ll need to copy the HTML code:
Now, you’re able to embed the Discord widget on your site using the code.
Step 3: Embed a Discord widget into WordPress 🖱️⚙️
With your Discord HTML code at the ready, you’re all set to embed a Discord widget into WordPress. All you need to do is open the WordPress post or page where you want to include the widget.
Then, click on the + icon to add a new WordPress block. Find the Custom HTML block and add it to your page:
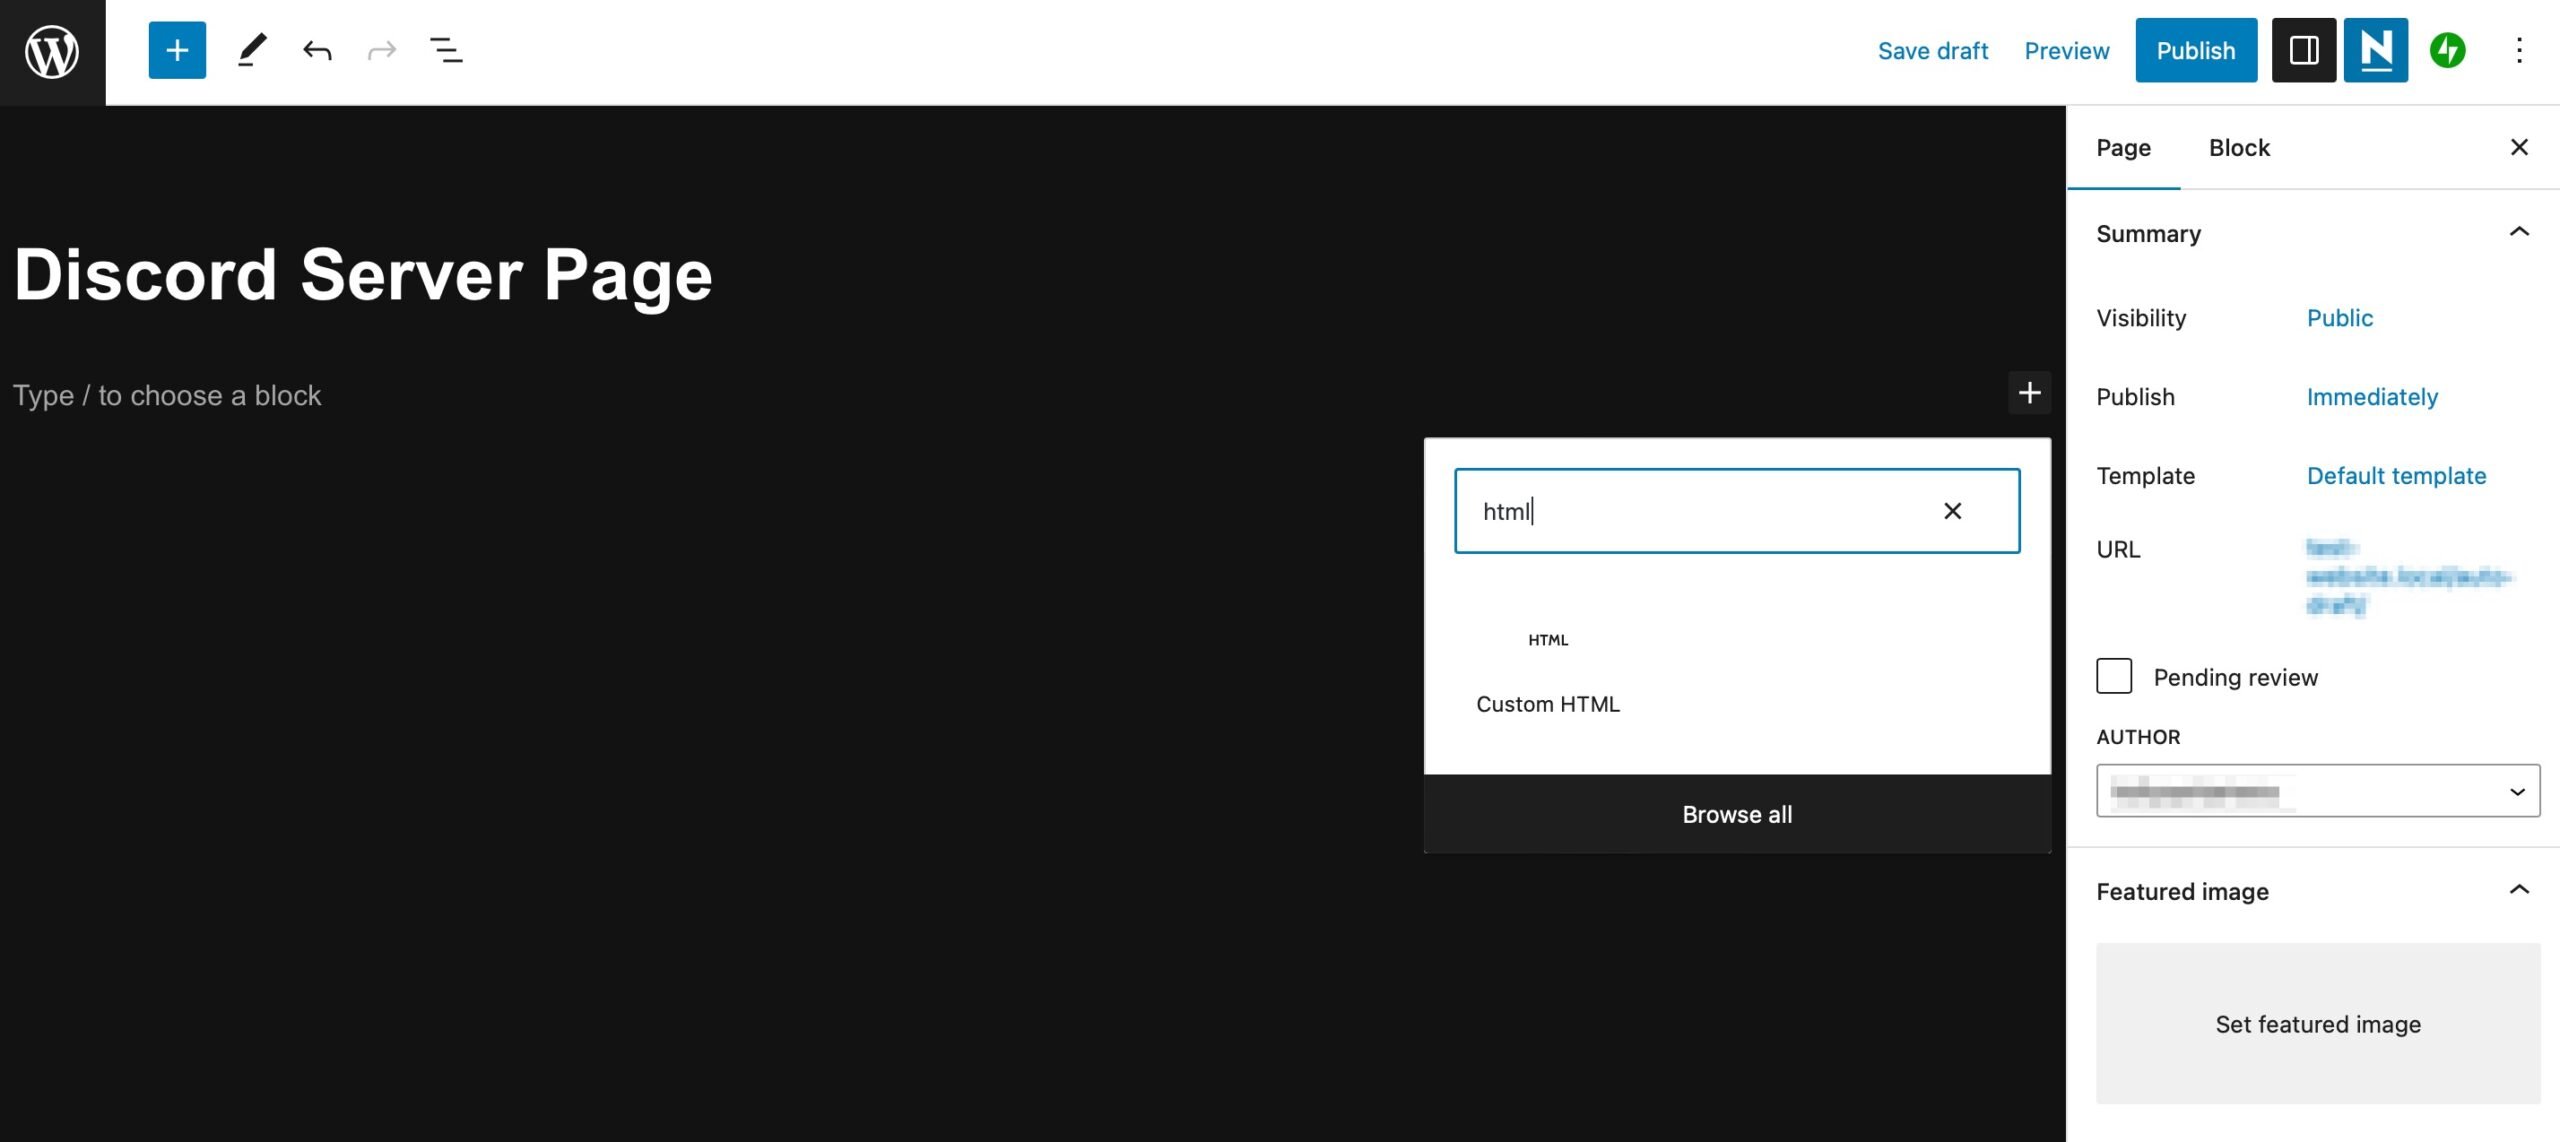
Now, paste in your Discord HTML embed code that you copied in the previous section:
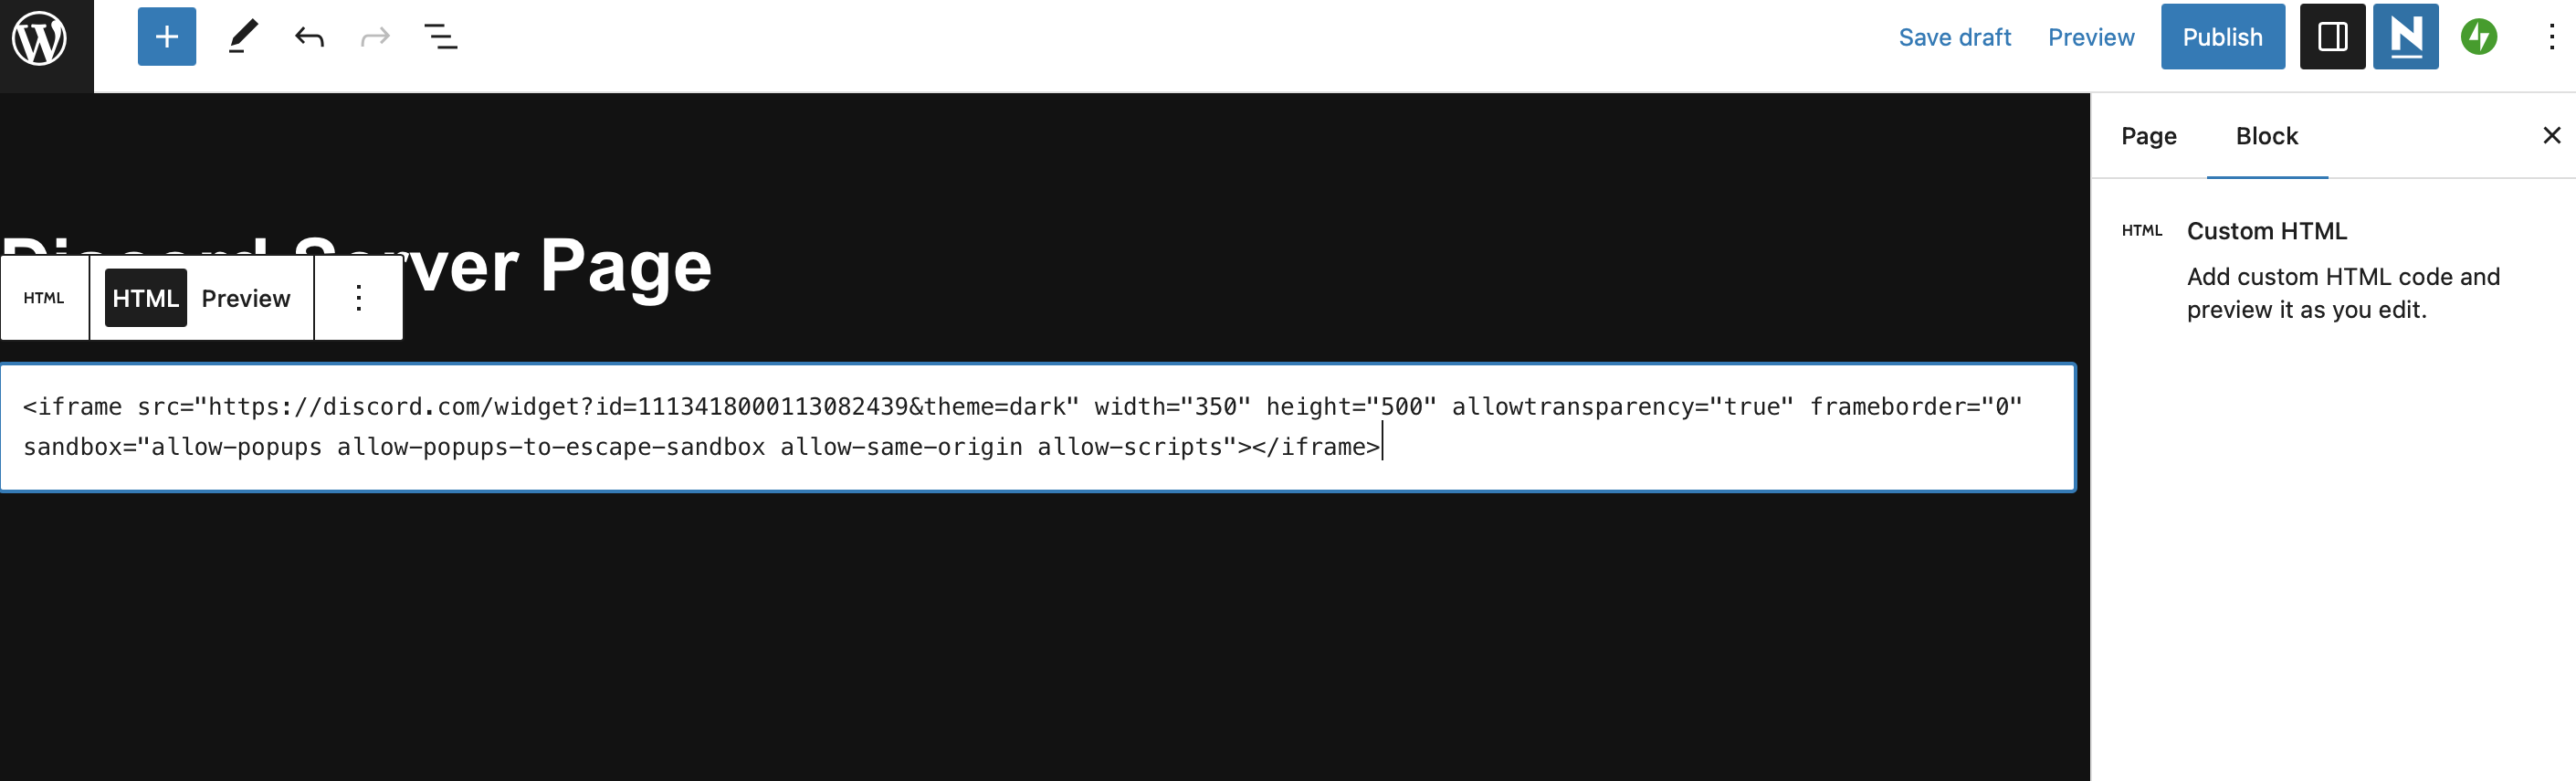
Click on Save or Publish at the top of your page. Then, select Preview to see how your Discord widget will display to your visitors:

You can also embed your Discord widget into any area of your site that uses WordPress blocks. For instance, if you use the Full Site Editor (FSE), you can add the widget to your template parts like your header, sidebar, or footer.
Conclusion 🧐
Due to the growing popularity of the Discord app, adding a Discord widget to your site is a great idea. This way, users can share videos, texts, and voice messages with one another. It’s a super easy way to foster a community on your site and facilitate conversations between your members.
⌛ To recap, here are the steps to embed a Discord widget into WordPress:
- Set up a Discord account and create a server. 🖥️🧍
- Enable the server widget and copy the embed link. 🖥️🔗
- Embed a Discord widget into WordPress. 🖱️⚙️
Do you have any questions about embedding a Discord widget into WordPress? Let us know in the comments section below!