Whether you’re a graphic designer, photographer, or creative artist, you may be thinking of setting up an online store to reach new customers. But if you’ve never created a website before, you may have no clue how to sell digital art online. And, frankly, the whole project may seem a bit intimidating.
Well, you’ve come to the right place! To help you get started, we’ve created a step-by-step guide for selling digital art on WordPress. While you may have looked at other options, like Etsy or Shopify, WordPress gives you more control over your digital products and finances.
Things to consider before you sell digital art online
Learning how to sell digital art online can have several benefits. For starters, it can help you make your work accessible to a wider audience and establish yourself as a creative professional.
However, there are a few things to consider before you get started. First, you’ll want to make sure that you choose the right platform.
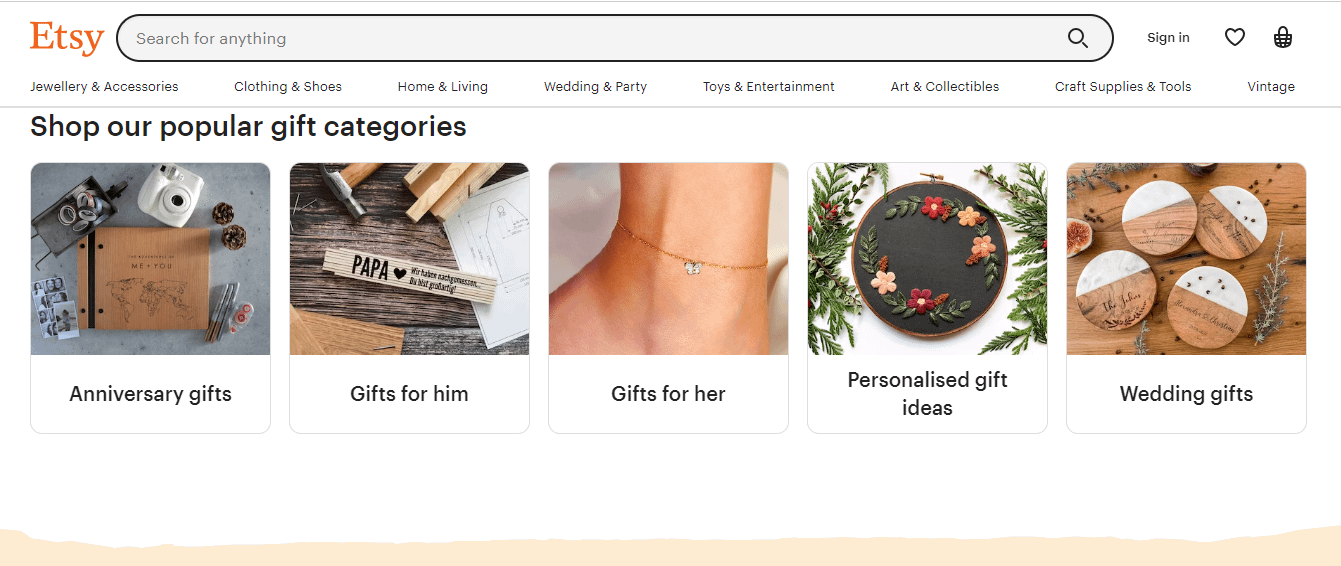
For example, you might be thinking of selling your digital artwork on marketplaces like Etsy or Shopify:
While this can make the process a little easier, it doesn’t give you a lot of control over how you present your products. Plus, most of these marketplaces charge a commission fee on each sale. Therefore, you might want to consider creating your own website and selling your products on it.
There are several platforms you can use to set up an online shop. You might have already looked at a few all-in-one solutions, like Wix and Squarespace:

These website builders are very user-friendly. Plus, they come with all the tools you need to sell your products, including payment gateways and order tracking.
The majority of these platforms charge annual subscription fees that also cover your hosting and domain name. While they may seem affordable at first, the price tends to spike upon renewal.
So, if you’re wondering how to sell digital art in a cost-effective way, you’ll want to look at WordPress. This is a free, open-source Content Management System (CMS) that enables you to create any type of website, including an online store:

With WordPress, you’ll just need to pay for hosting, a domain name, and any premium tools you decide to use. There are many service providers that offer affordable plans, so you can shop around and choose a solution that fits your needs and budget.
How to sell digital art with WordPress
Now that you know why WordPress is possibly the best choice, let’s look at 🔎 how to sell digital art on this platform in five steps:
- Set up a WordPress site
- Select a WordPress theme
- Install an ecommerce plugin
- Upload your art files
- Set up your payment methods
1. Set up a WordPress site ⚙️
First, you’ll need to set up a WordPress installation. There are two ways to do that. You can either download the software from the official website at WordPress.org and then have it installed manually on your web host of choice. Or, alternatively, you can sign up with a host that will install WordPress for you.
There are several hosting providers that offer this sort of thing. For example, Bluehost provides one-click WordPress installations so you can start working on your site straight away:

With a Bluehost hosting plan, you’ll also get a free domain name for the first year. You can start with a basic package for just $2.75 per month, or opt for the Online Store plan (for $9.95 per month) to get access to additional ecommerce features like secure online payments:

Once you purchase a hosting plan, you can set up WordPress through your Bluehost account. You’ll need to create a username and password, set a domain name for your site, and enter an email address.
Then, you can log into WordPress and start building your online store.
2. Select a WordPress theme 🎨
Once you log into your WordPress site, you’ll see your admin dashboard. Here, you can configure your site settings and get your store set up:

The first thing you’ll want to do is select a theme. This will determine the look and feel of your digital art store.
There are several options to choose from, both free and paid. For example, Neve is a flexible theme that can be used for online stores:

To install it, navigate to Appearance > Themes in your WordPress dashboard and select Add New. Then, search for “Neve” and click on Install, followed by Activate:

Now, you can choose a starter site for your store. Head to Appearance > Neve Options and select Starter Sites. Then, click on the button to install and activate the Cloud Templates and Patterns Collection plugin:

This will give you access to a library of templates, including options for portfolios and ecommerce sites:

If you see a starter site you like, hover on it and click on Import:

Next, you can start editing the theme. To do this, go to Appearance > Customize. This will launch the WordPress Customizer:

Here, you can change the colors and typography, customize the buttons, and more. Plus, you’ll be able to see your changes in real time. Remember to hit Publish when you’re ready.
3. Install an ecommerce plugin 🔌
Now that you’ve designed your site, it’s time to set up your shop. To do this, you’ll need to install an ecommerce plugin. We recommend using Easy Digital Downloads.
As the name suggests, this tool enables you to sell your digital products as downloads. To add it to your site, go to Plugins > Add new and use the search bar to find it. Then, click on Install Now and Activate:

This will take you to the setup wizard. Select Get Started, and enter some information about your business:

You can skip the rest of the steps for now. We’ll show you how to set up payments and configure other settings in the next steps.
4. Upload your art files 📤
Now we get to the fun bit: adding your digital art to your store! To get started, navigate to Downloads > Add new.
This will launch the Block Editor, where you can create your first download. Start by entering a name, description, and price:

Then, in the Download Files section, click on the link icon under File URL to upload your file:

This will open a pop-up window, where you can drop your files or click on Select Files:

Once you select your file, click on Insert into download. You can add as many image files as you want. All you have to do is select Add New File:

You might also want to add some download instructions for customers. In the panel on the right, you’ll see an option to specify a download limit and refund status:

You can also add an image thumbnail for your download, select a category, and more. Once you’ve configured your download settings, hit Publish.
Then, you can go back to the main Downloads page to add more products.
You’ll also want to add your digital products to the main Shop page. Go to Pages > Add New (or select an existing page). Click on the plus icon to add a new block and select EDD Products:

Then, publish your page and click on Preview:

Feel free to add more blocks and customize the shop page to suit your needs.
5. Set up your payment methods 💳
Once you’ve uploaded your products, you’ll want to configure the payment methods so that visitors can purchase them. Go to Downloads > Settings and click on Payments:

Then, select the payment gateways you want to enable on your site. While you’re at it, you might also want to tick the box for Test Mode. This allows you to do a test purchase (more about this in a minute).
You can also select a default gateway and payment method icons. When you’re ready, click on Save Changes:

Then, you can go to the respective payment gateway sections to connect your accounts:

To make sure everything is working properly, you’ll want to do a test purchase. Return to the main Payments tab and tick the box for Store Gateway. Select this as the default gateway as well:

Then, save your changes and visit your site on the frontend (as a customer). Select a download and click on the Purchase button:

This should take you to the checkout page:

Enter your details and make sure Store Gateway is selected as the payment method. Then, click on Purchase.
You should now see a confirmation page, with download links for your products:

Now that the test is complete, you can go back to the payment settings, disable test mode, and deselect the Store Gateway options.
That’s it – you can now start selling your digital products online! 🤩
Conclusion 🧐
When it comes to selling digital products online, WordPress is possibly the best solution. It gives you complete control over your online store, and you can shop around for the most affordable hosting plan.
📌 To recap, here’s how to sell digital art in WordPress, in five easy steps:
- Set up WordPress with a hosting provider like Bluehost.
- Select a powerful WordPress theme like Neve.
- Install Easy Digital Downloads to set up your online store.
- Upload your art files to the site.
- Set up your payment methods and do a test purchase.
Do you have any questions about how to sell digital art in WordPress? Let us know in the comments section below!
👉 Dog photo credits: Dominika Roseclay, Los Muertos Crew, and Cup of Couple.