Online transactions have become the norm for businesses these days. To ensure seamless and secure payment processing on WordPress, it’s essential to learn how to set up WooCommerce Payments.
In this comprehensive guide, we will explore the intricacies of WooCommerce Payments. We’ll also talk about its benefits and provide you with a step-by-step tutorial on how to configure payment methods. 💵
Whether you’re a small business owner or an aspiring entrepreneur, 📚 this guide will equip you with the knowledge to optimize your online payment processes.
What is WooCommerce Payments?
WooCommerce Payments (rebranded as WooPayments) is a payment solution specifically designed for WooCommerce, a popular ecommerce platform built on WordPress. It allows businesses to accept payments directly on their website, streamlining the checkout process for customers.
With WooCommerce Payments, you can offer a variety of payment options, enhance customer trust, and increase conversion rates.
👉 Its features and offerings are rather impressive when compared to other WooCommerce payment plugins:
- No setup fees or monthly fees: the only expenses you have to worry about are in the future, like credit card processing charges and other premium extensions that add onto WooPayments.
- Manage every aspect of your payment processor in one place: Configure payment gateways, see transactions, and link your bank account, all from the WordPress dashboard. There is limited configuration on other websites, depending on your payment gateway.
- Expand your payment options: WooPayments allows you to offer a wide range of payment methods, including card payments, Apple Pay, Sofort, iDeal, Affirm, Afterpay, and even in-person payments through the Woo mobile app.
- Reach global customers: With WooPayments, you can sell to international markets and accept payments in over 135 currencies. Local payment methods are also supported, ensuring a seamless checkout experience for customers worldwide.
- Boost your revenue: WooPayments enables you to earn recurring revenue by setting up subscription-based services or products. Additionally, you can enjoy the convenience of having deposits directly transferred to your bank account, simplifying your financial management processes.
Under the hood, WooPayments is powered by Stripe, one of the most well-known payments processors. However, WooPayments offers a simpler setup and management process versus using Stripe directly.
Choosing the right payment gateway is crucial – considering factors such as transaction fees, supported countries, and integration capabilities – so let’s get started with learning how to set up WooCommerce Payments for your online store.
What you need to use WooCommerce payments
Before diving into how to set up WooCommerce Payments, there are a few prerequisites to consider.
👉 You’ll need:
- A WordPress website: This is a content management system often used for blogging, business websites, and online stores. You can download WordPress here. The self-hosted version requires that you install WordPress on a web host. Here are the best web hosts compared; you might also consider dedicated or managed WordPress hosting for a faster, lower-maintenance hosting experience.
- The WooCommerce plugin: This is the plugin that turns a regular WordPress installation into an online store. It allows you to post products while also offering shopping carts and payment options for customers. Install WooCommerce and set it up for the most optimal experience. You can install it by going to Plugins → Add New in the WordPress dashboard.
Once you have these in place, follow our step-by-step instructions on how to set up WooCommerce Payments:
How to set up WooCommerce Payments (a step-by-step guide)
Learn how to set up WooCommerce Payments just as you would add any other plugin to WordPress. Once you activate WooCommerce Payments, you unlock all sorts of functionality, from connecting payment gateways to accepting different currencies and performing test transactions. Continue reading, and we’ll guide you through every step.
Step 1: Install and activate the WooCommerce Payments plugin 🔌
Access your WordPress dashboard and navigate to Plugins → Add New.
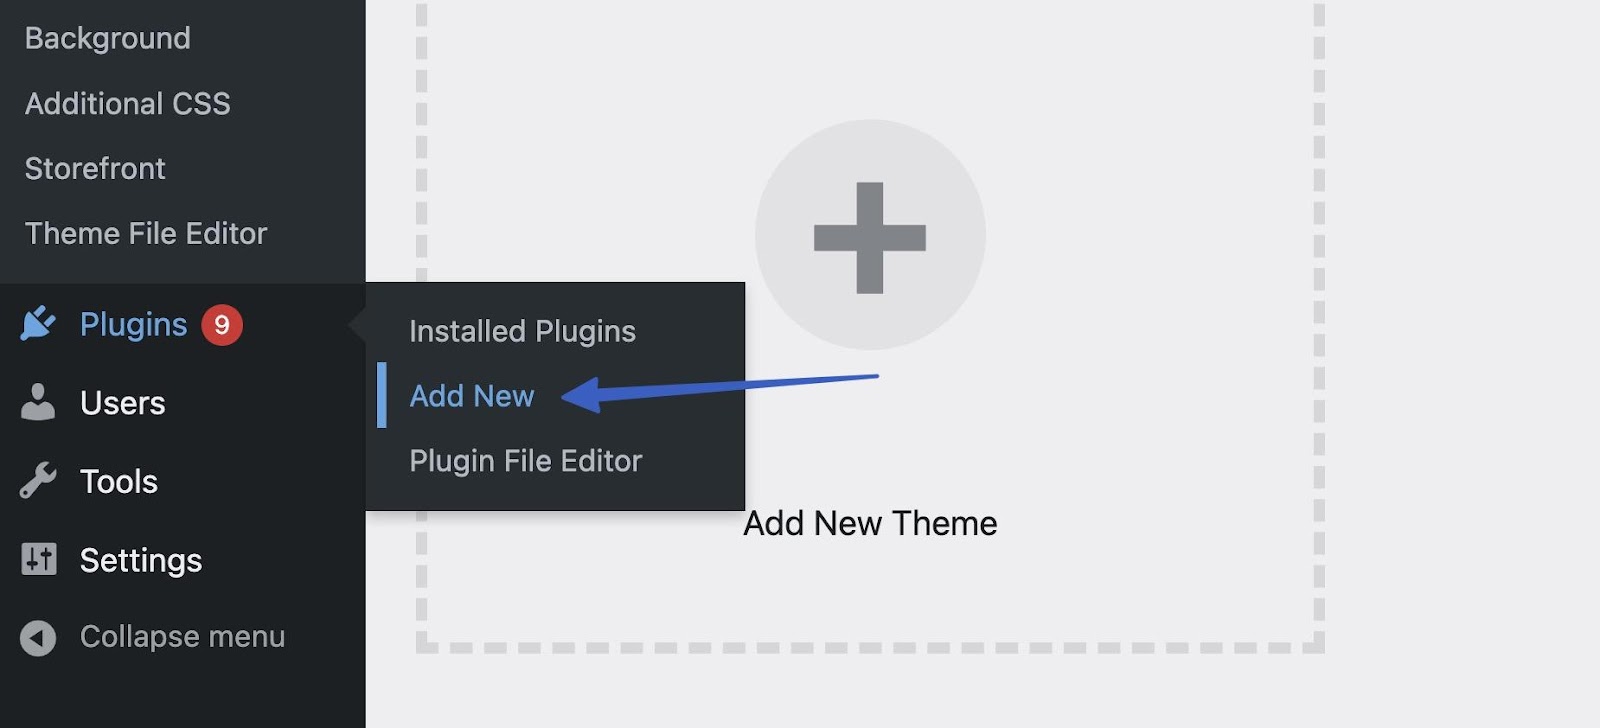
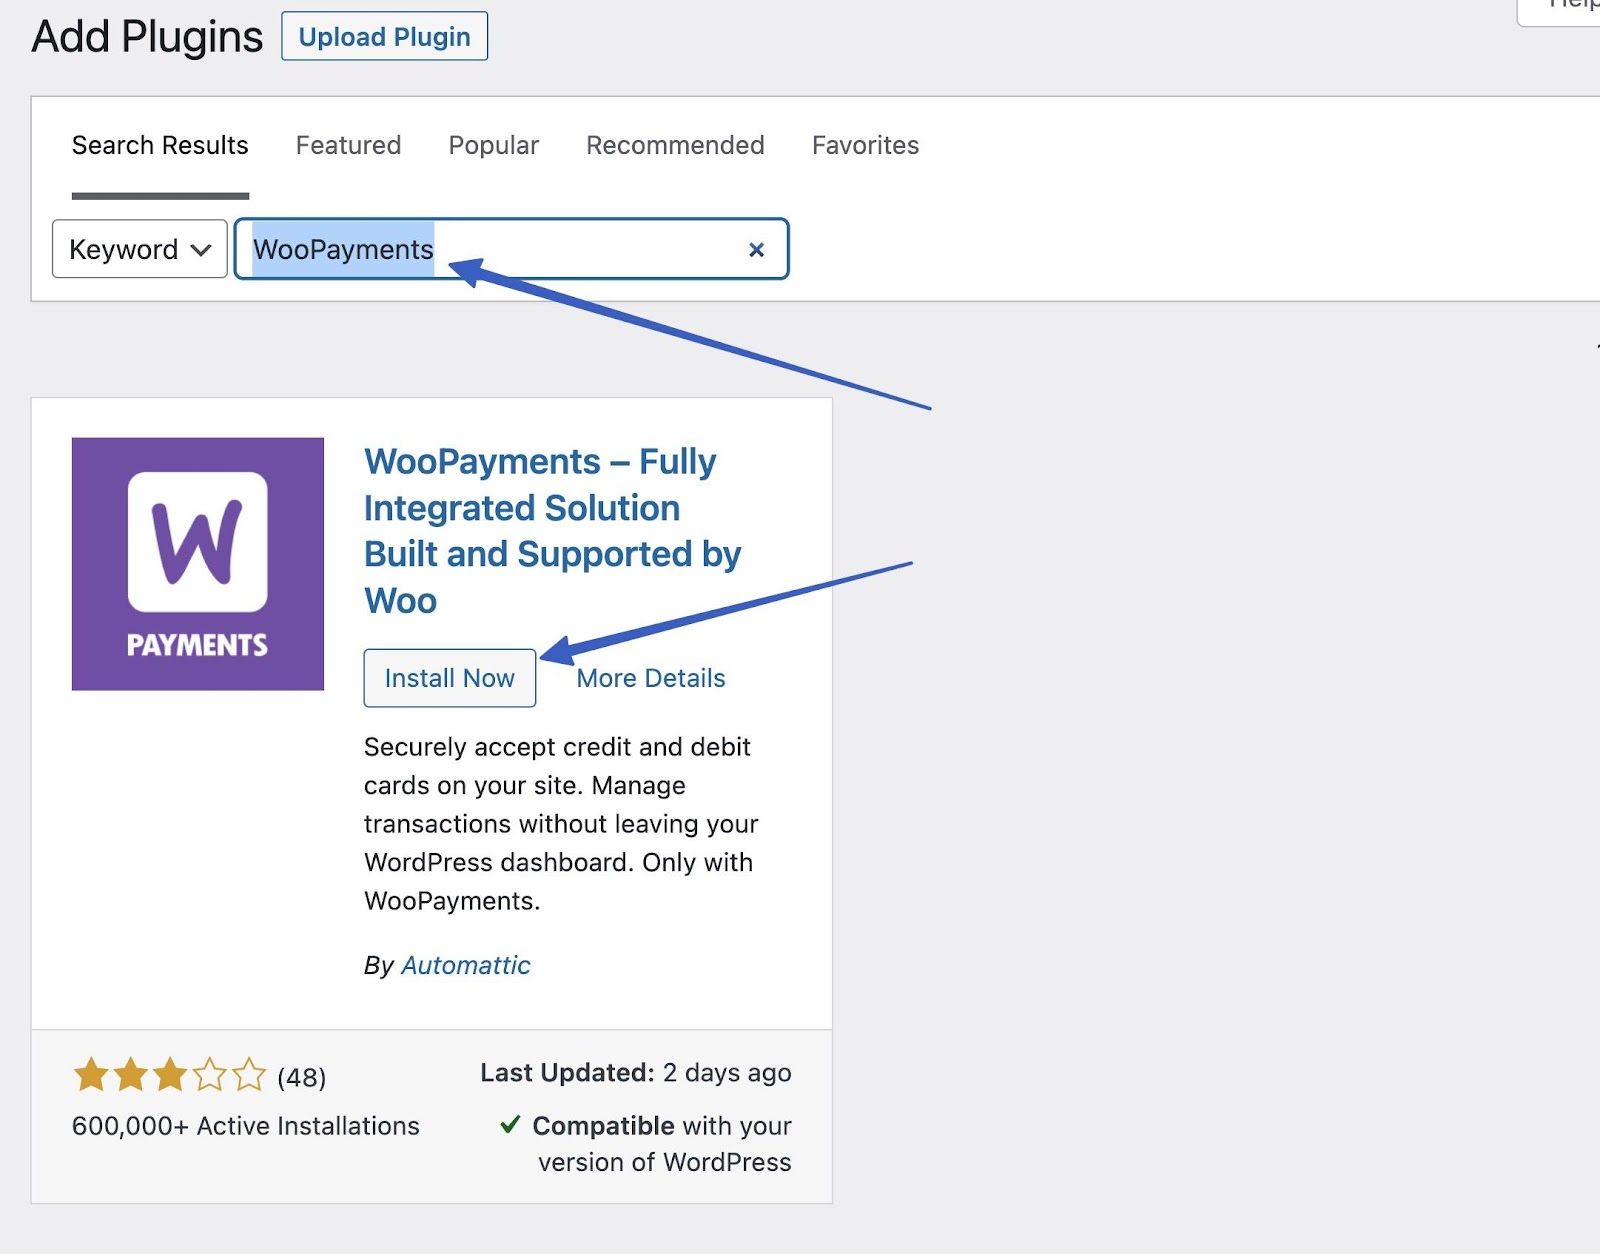
Search for WooPayments and click on Install Now. The plugin has been rebranded to WooPayments, but it’s still very commonly referred to as WooCommerce Payments. It’s even shown as WooCommerce Payments after installing it on WordPress.
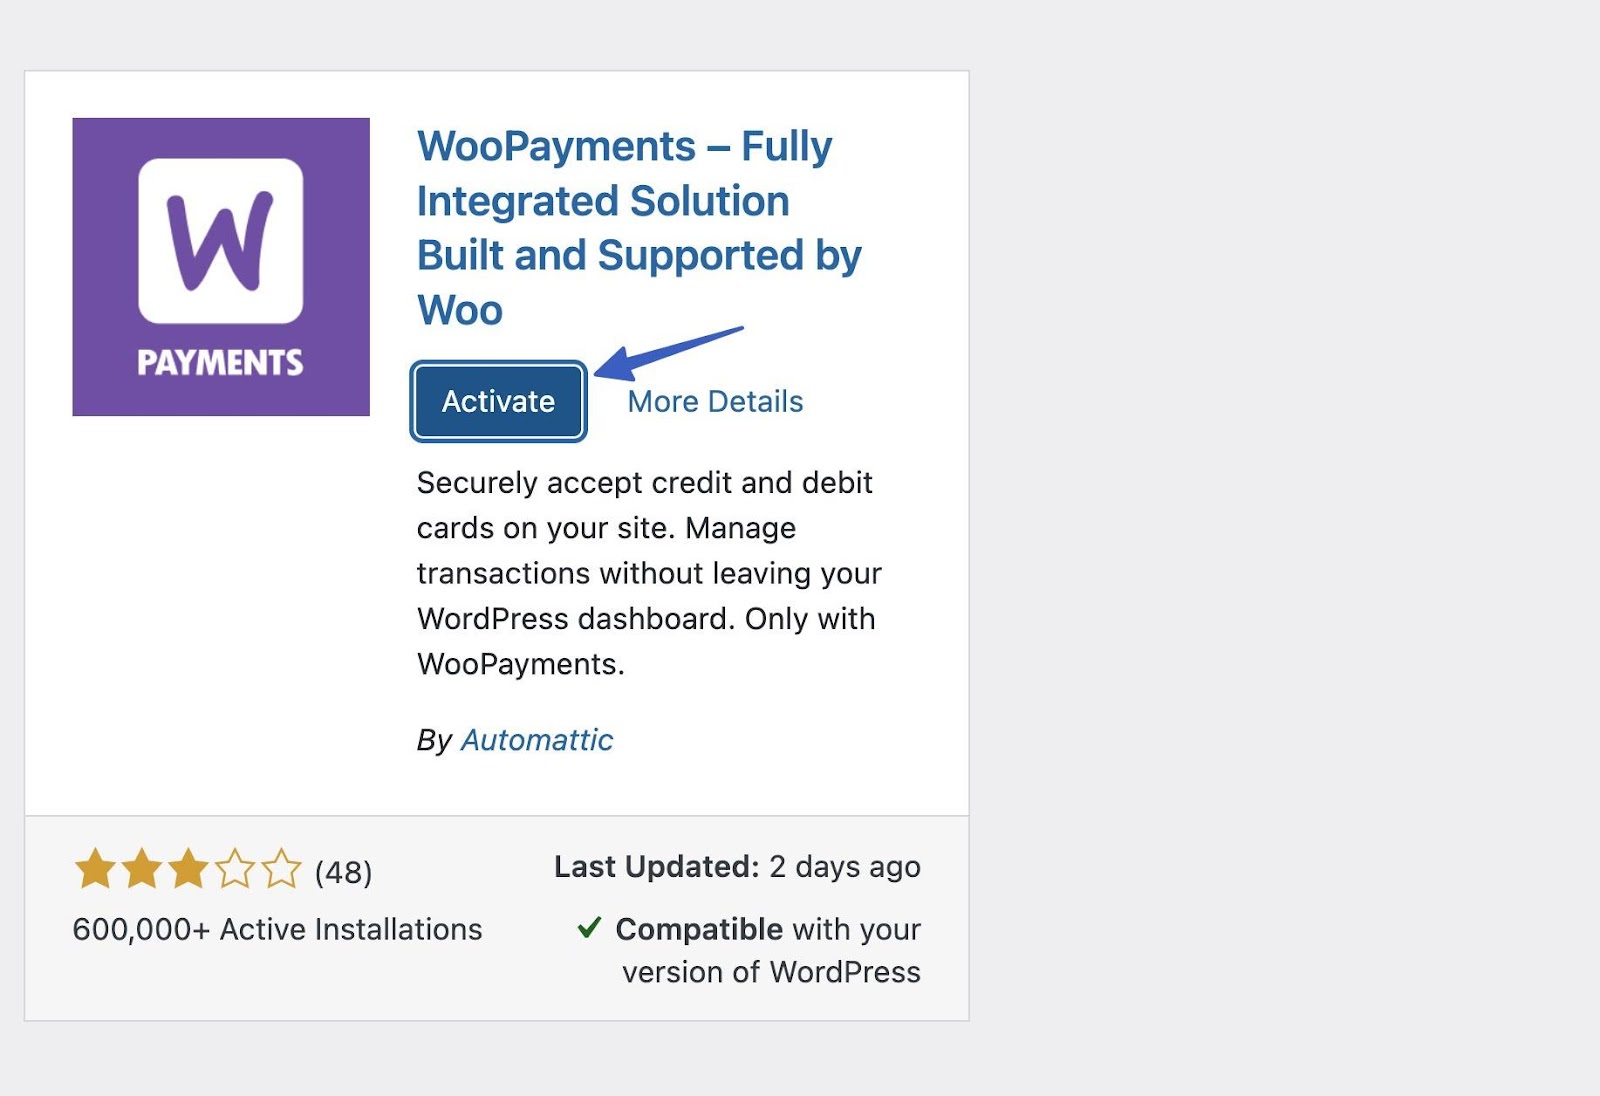
Click Activate to begin the setup process, then jump to the next step on how to set up WooCommerce Payments.
Step 2: Configure your payment settings 🖱️
You should now see a screen welcoming you to WooCommerce Payments. It explains some features and has a Finish Setup button. Click on that to proceed.
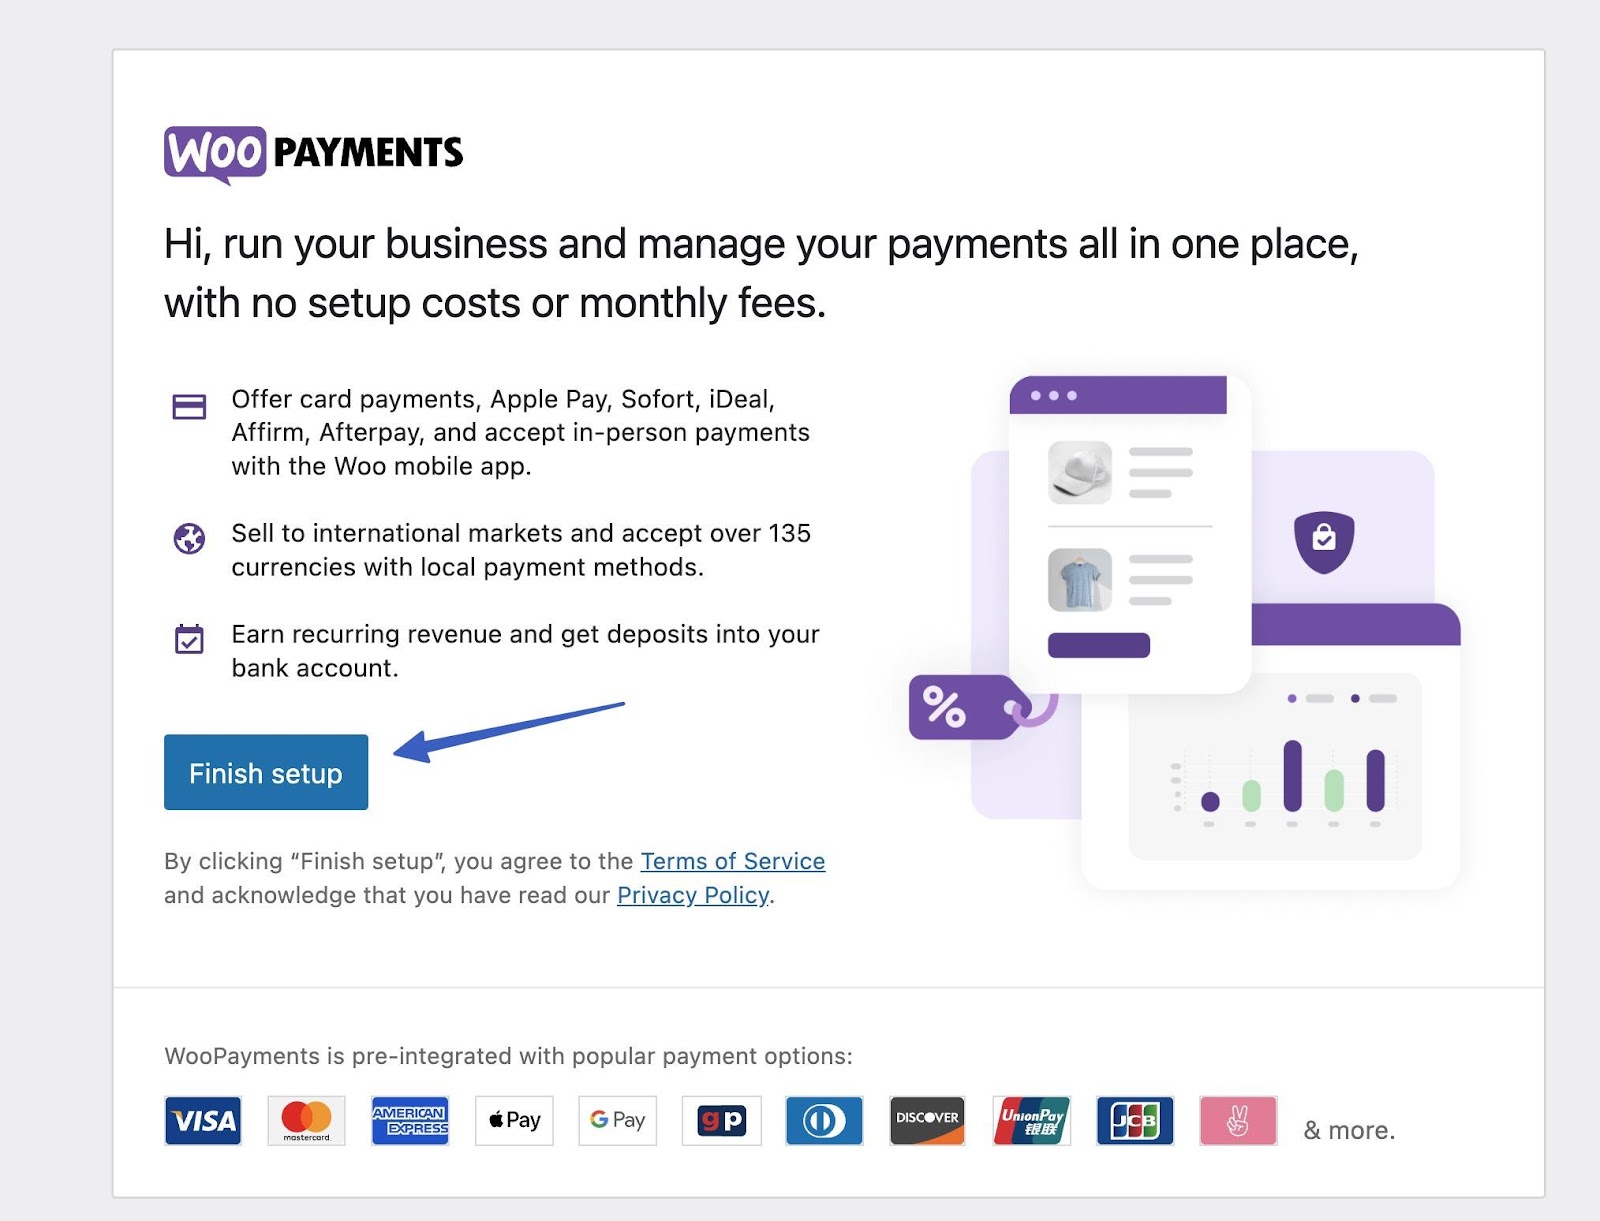
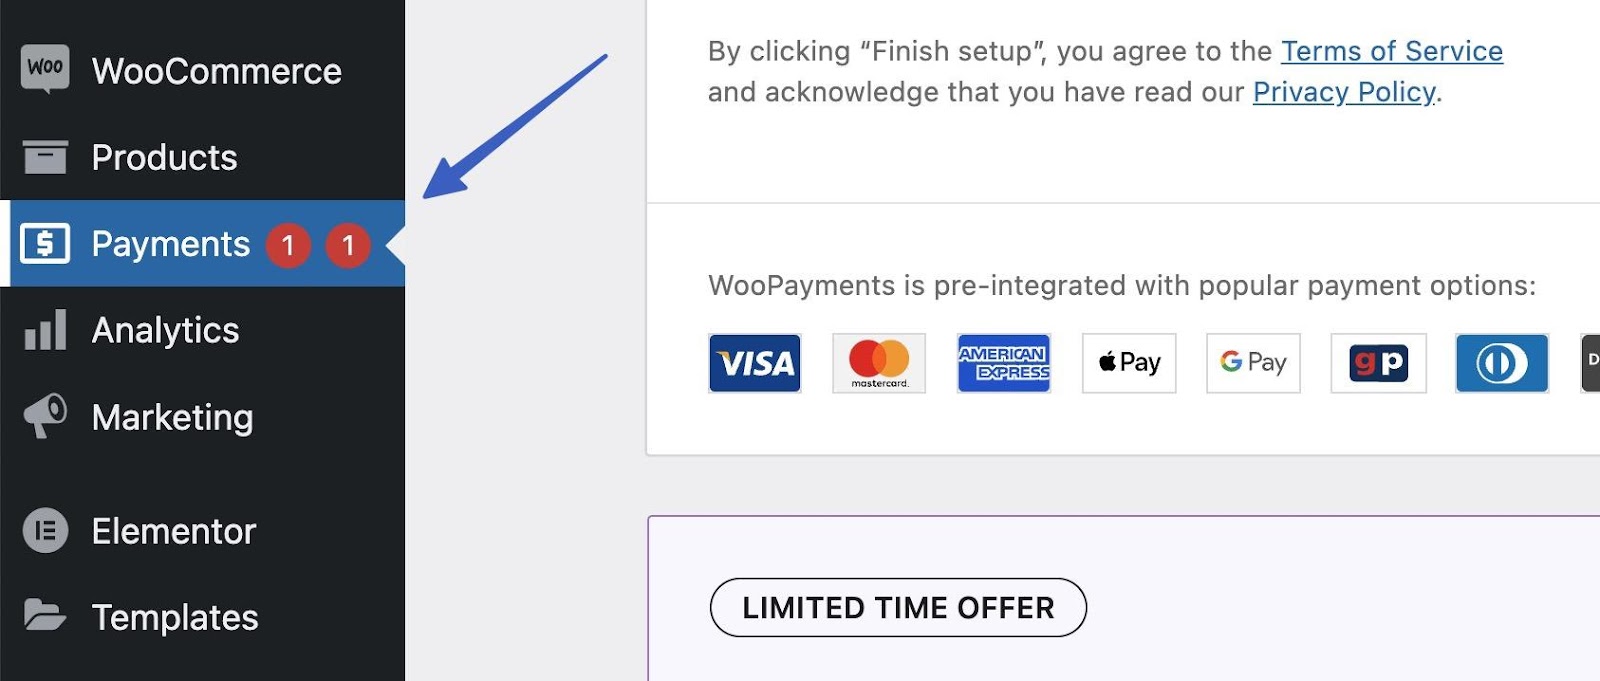
As an alternative, you can always access WooCommerce Payments by going to the new Payments tab on WordPress.
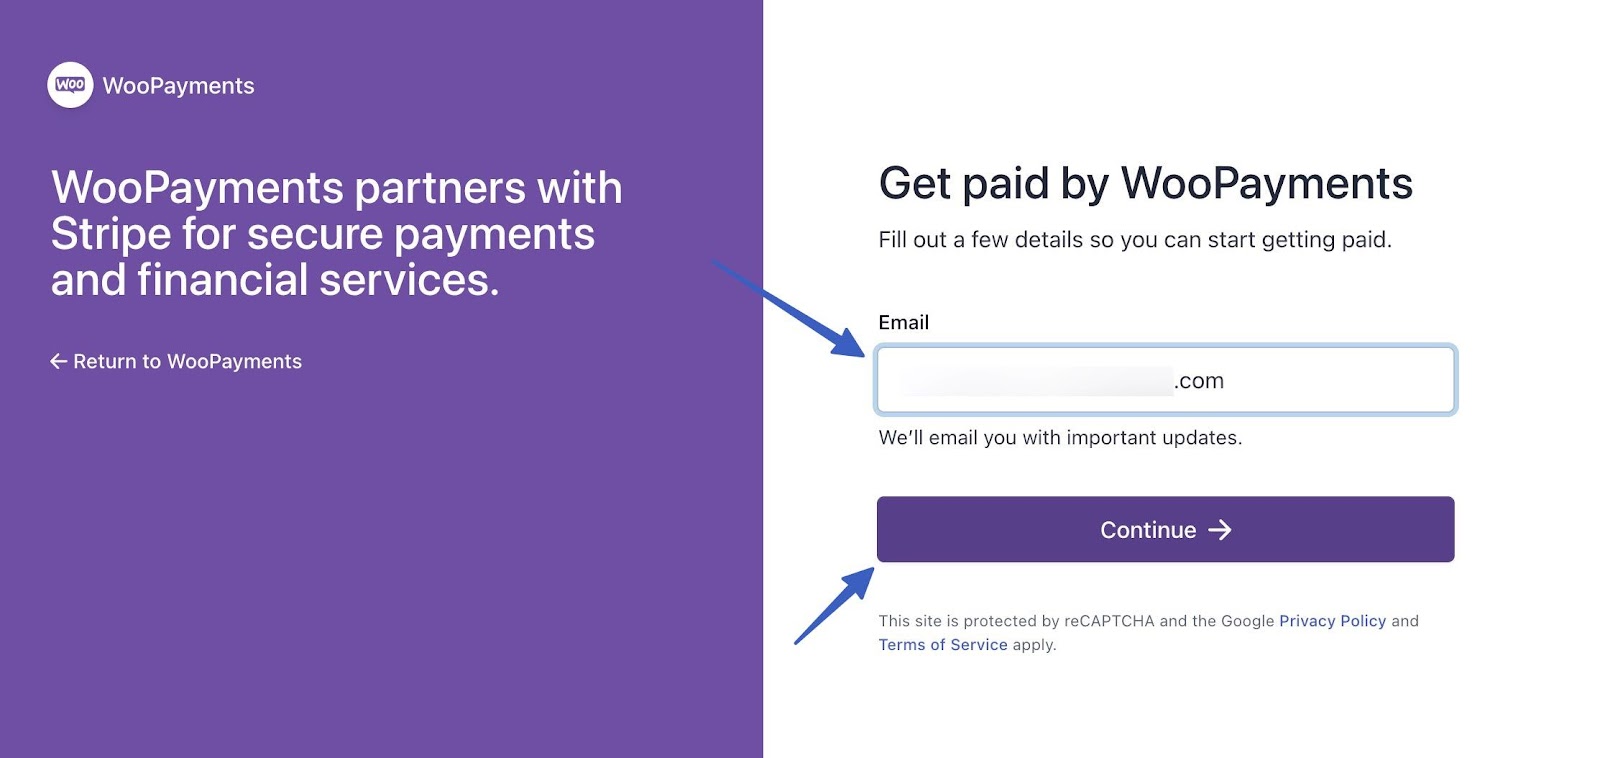
After selecting the Finish Setup button, WooPayments brings you to its welcome wizard. Here, you’ll create a WooCommerce Payments account, which is essentially a white-labeled version of Stripe.
Type in an email you’d like to use for the configuration. Click Continue.
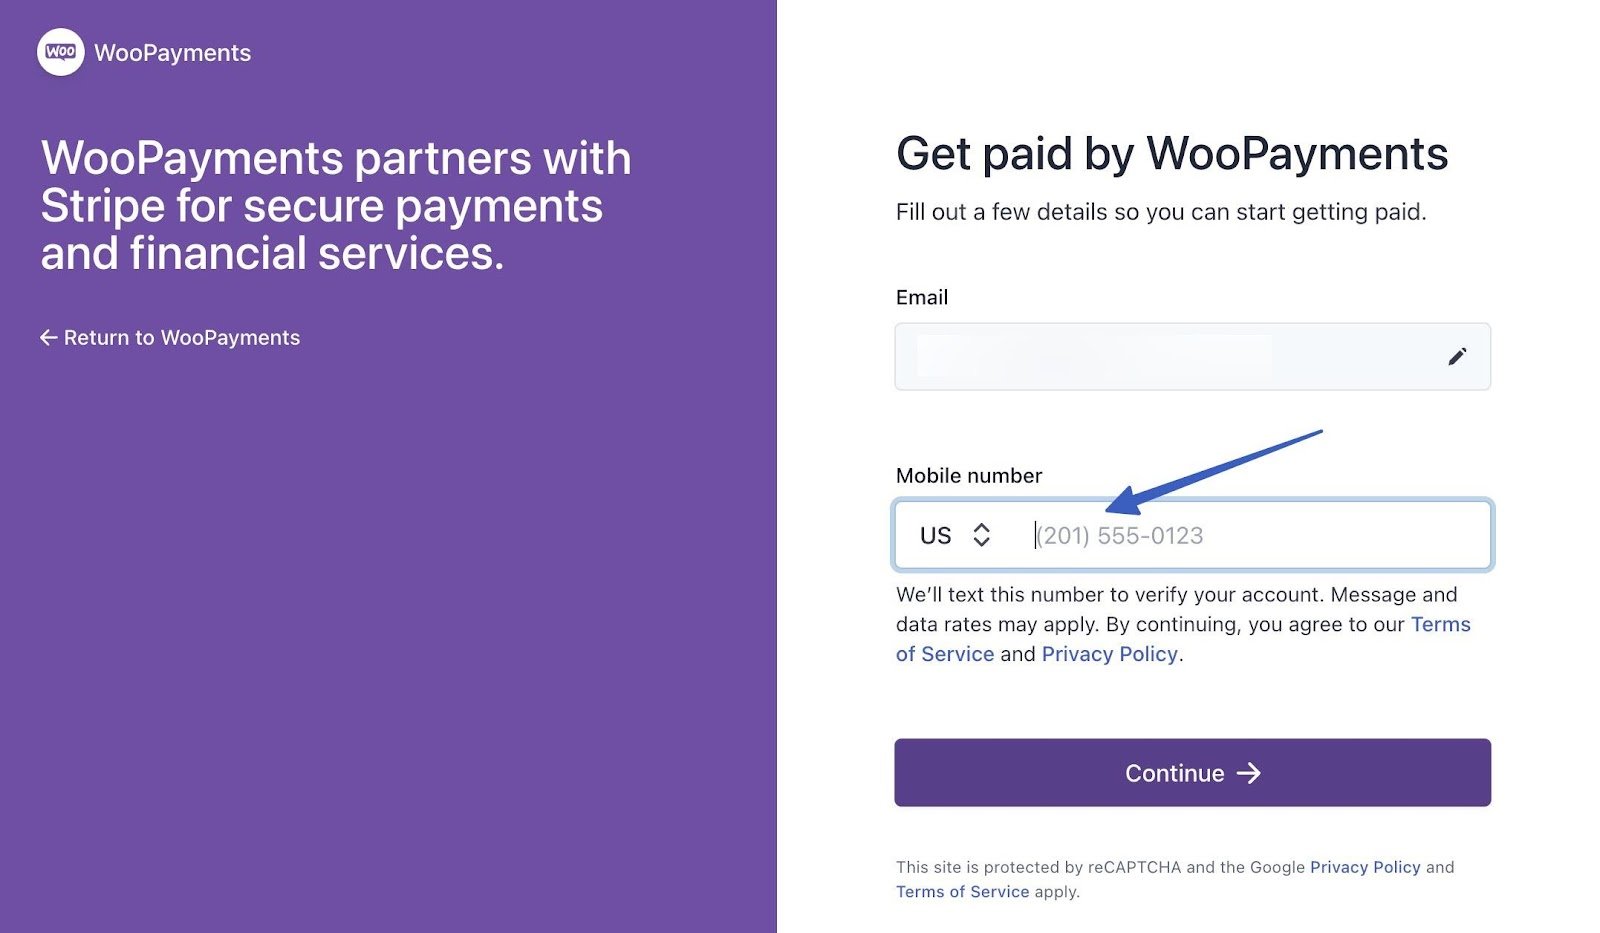
Type in your Mobile Number. This is how WooPayments verifies your account. Click the Continue button to proceed.
Then, check your phone for a text and type in that code (on the following screen) to complete the verification.
Walk through the remaining configuration steps to finish activating your account and to ensure you have the basic payment settings.
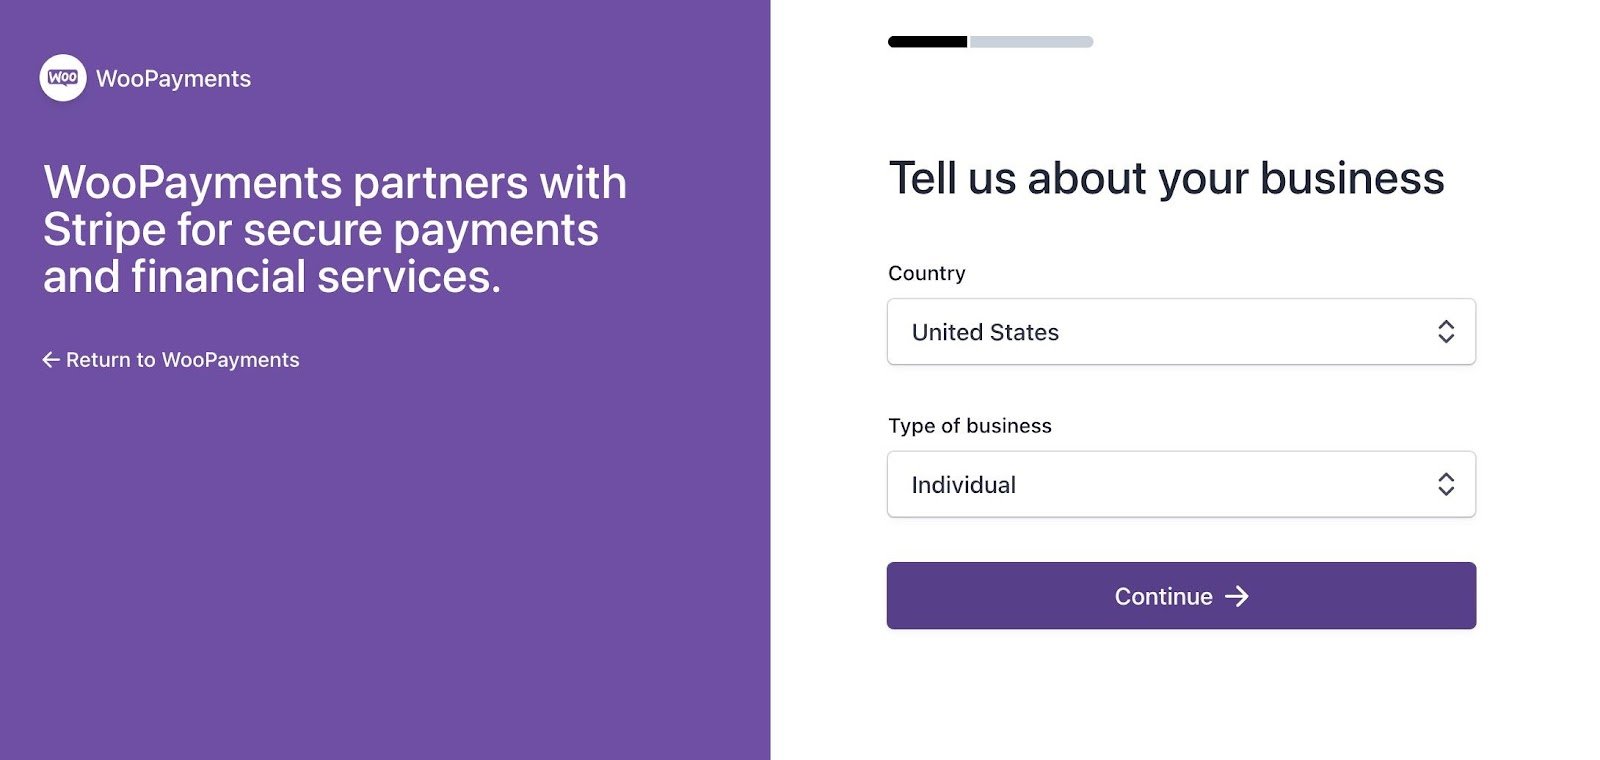
👉 You’ll be asked about:
- Your country and type of business
- Your legal name
- Email address
- Date of birth
- Home address
- Phone number
- Last 4 digits of your social security number (potentially your full social security, depending on if they require further verification)
- Your industry
- Your website
After all that, we start getting into the more interesting steps, like linking a bank account to receive your payouts.
Step 3: Set a bank account to receive payouts 🏦
A crucial step in learning how to set up WooCommerce Payments is to connect a bank account or debit card to the plugin. This way, you receive direct payments whenever a customer checks out on your ecommerce shop.
👉 Your options:
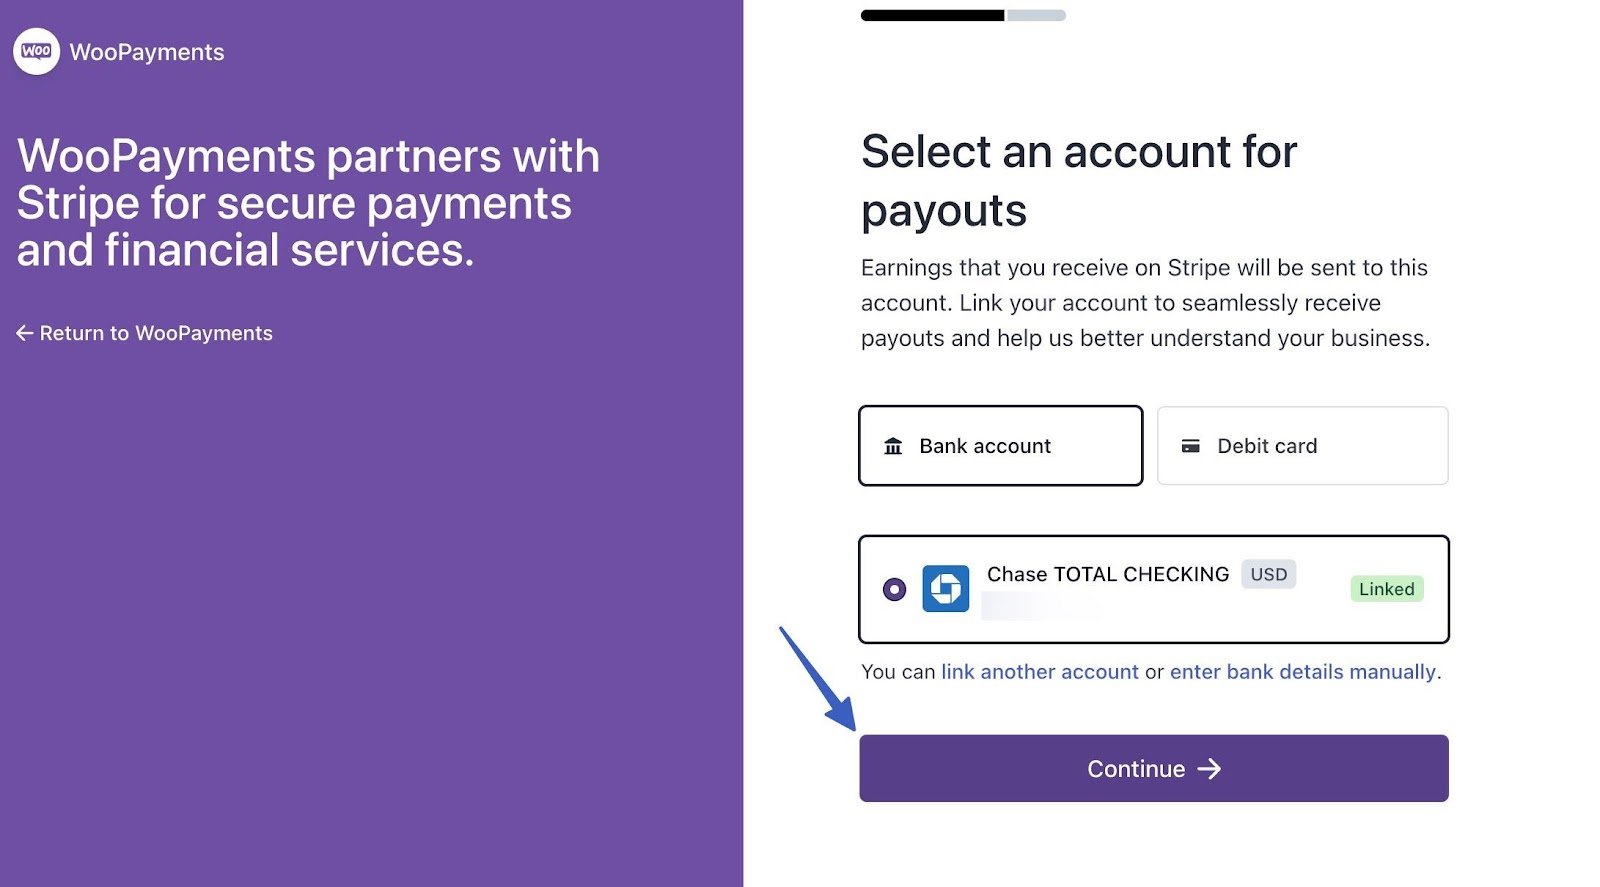
When you choose a bank account, various popular banks become available to you. If you don’t see your bank, you can search for it. Click on your preferred bank and log into your checking account online. This action connects the account to WooCommerce Payments directly. If you prefer, select the Debit Card tab and enter the card number and expiration date. Doing so ensures all payments go directly to your debit card.
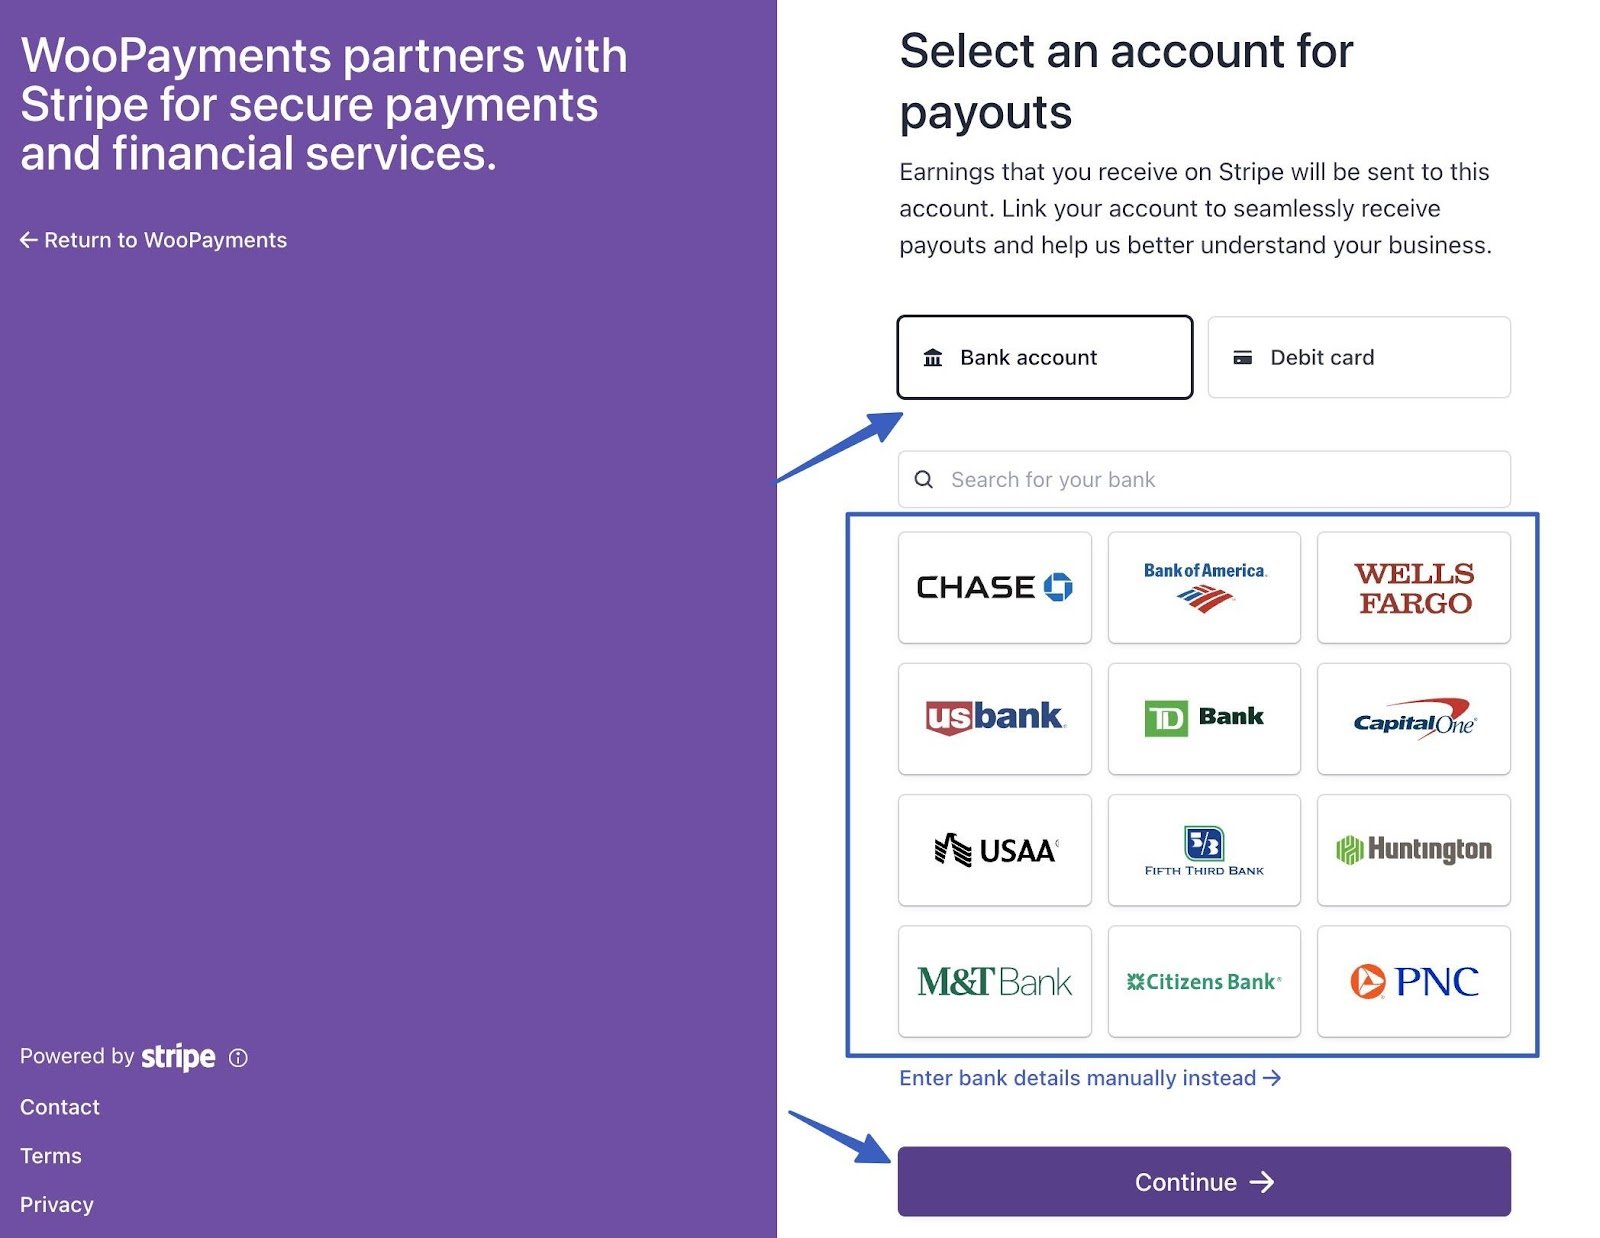
If you don’t want to connect automatically, you can also manually enter your bank account details.
Once you’re linked to a bank or debit card, click the Continue button.
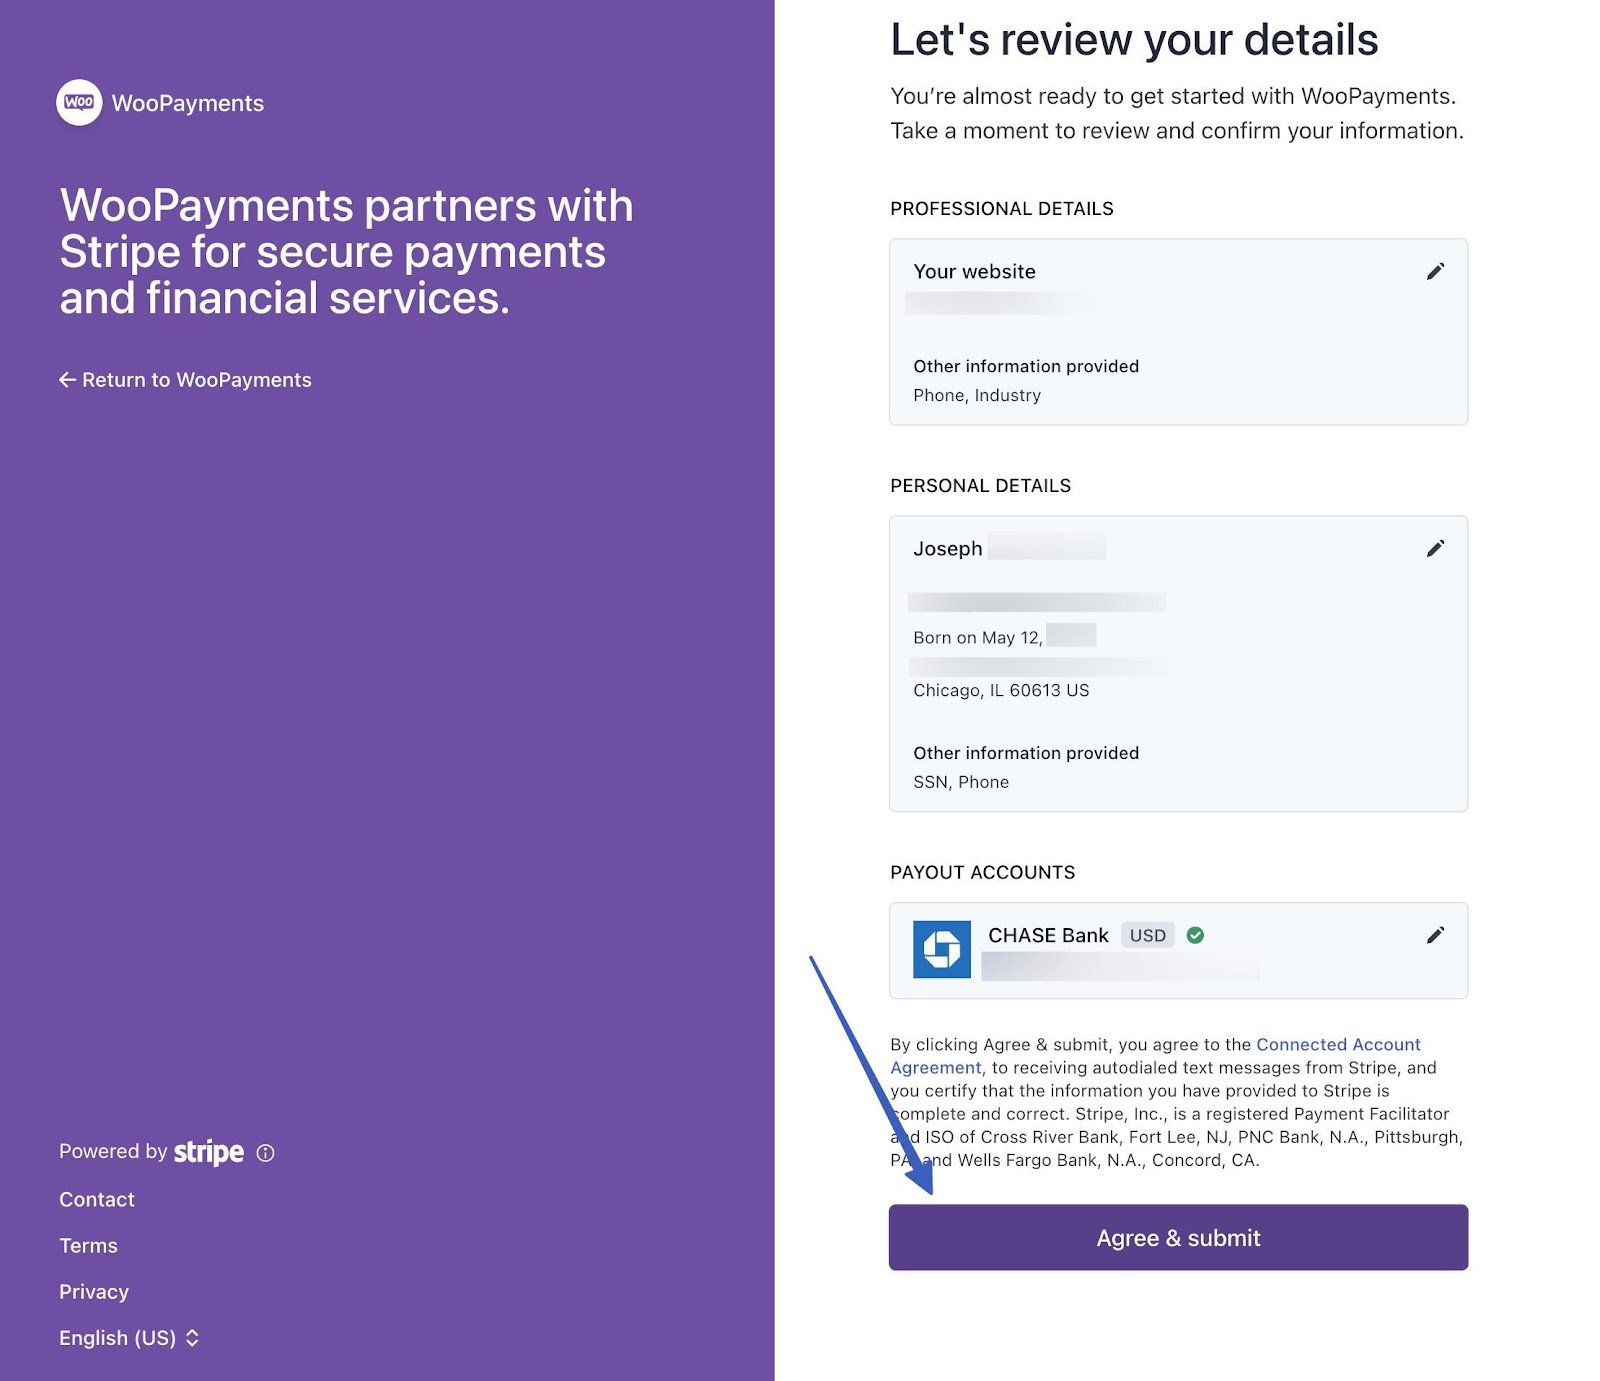
Read through the page that asks you to review all personal, professional, and payout details. Click the Agree and Submit button when you’re done.
Navigate back to the main Payments page on WordPress. You should now see a welcome page with a summary of your payments—like available funds and pending funds, along with information on which elements are enabled—like Payments and Automatic Deposits.
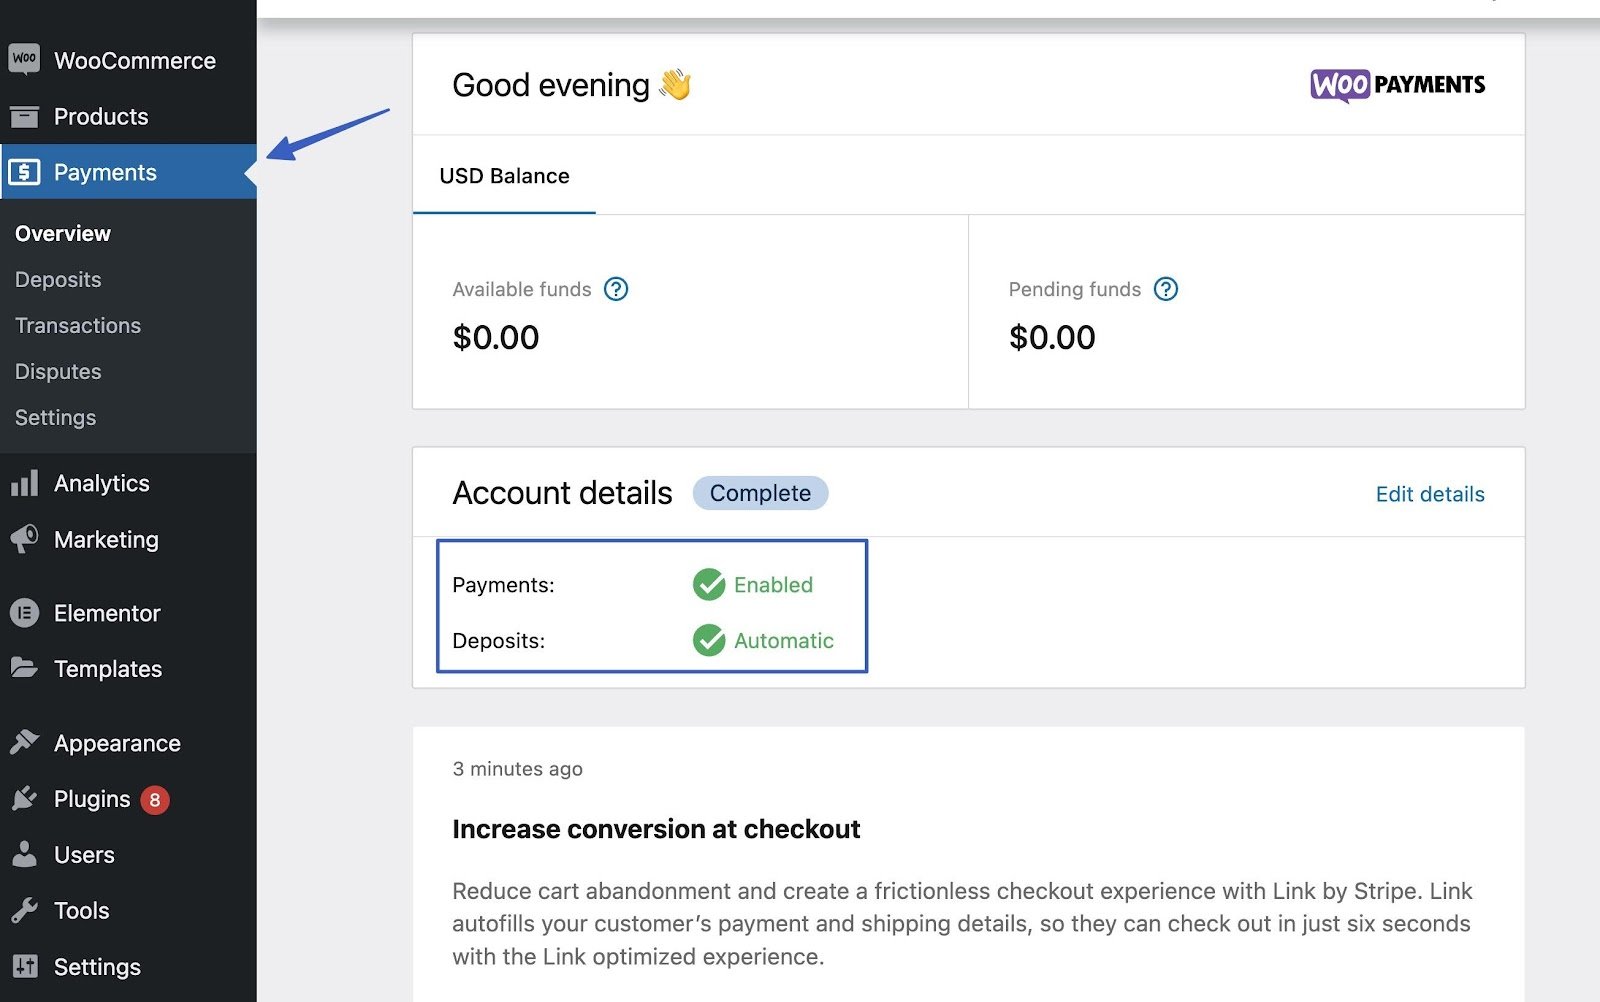
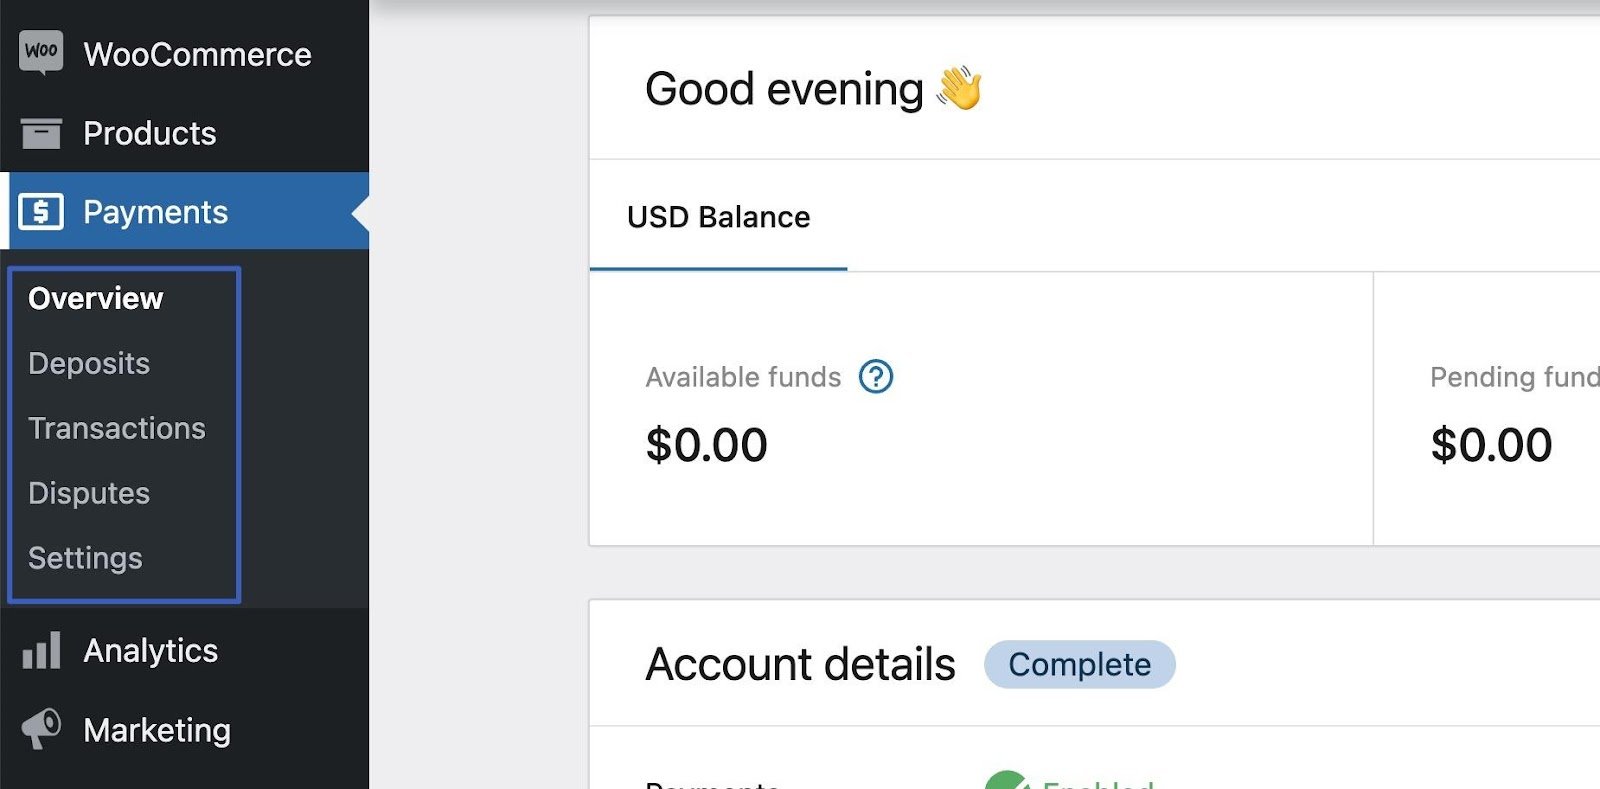
👉 You’ll also find additional tabs underneath the Payments tab, all of which provide unique features:
- Overview
- Deposits
- Transactions
- Disputes
- Settings
Step 4: Set payment methods in WooCommerce Payments ⚙️
The next step is to specify which types of payment methods you’d like to accept in your ecommerce shop. For instance, it’s common to turn on processing for credit cards, but you also might want something like Apple Pay or a more regionally focused solution like EPS (a common payment method in Austria).
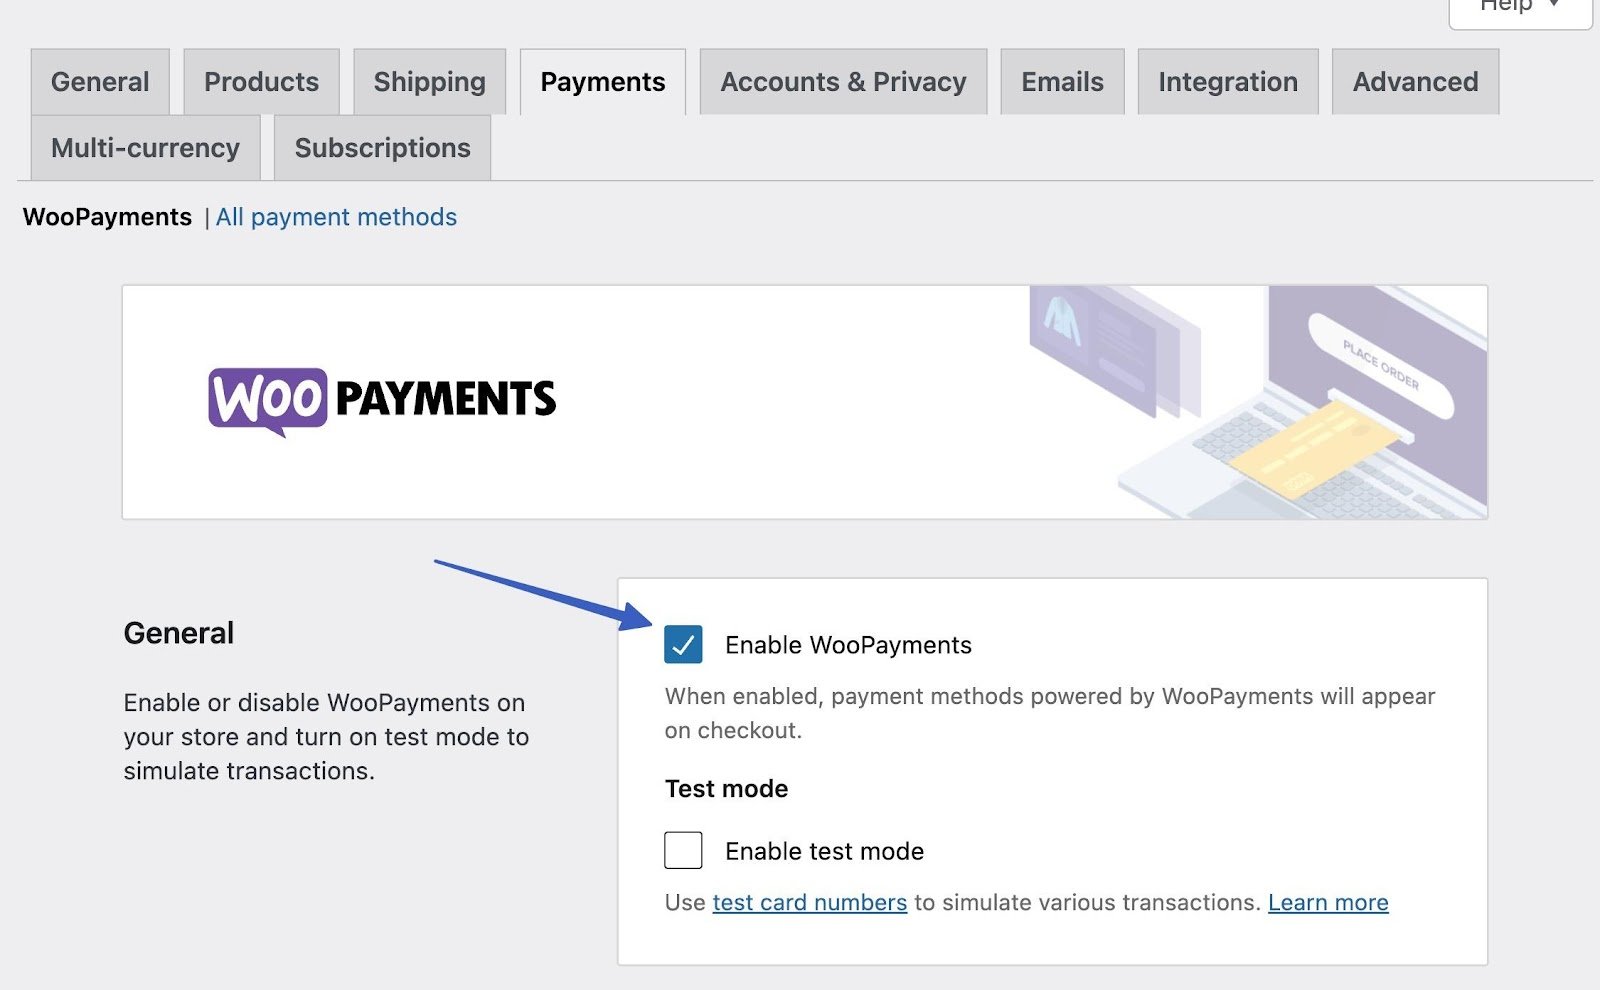
Go to Payments → Settings (or WooCommerce → Settings → Payments). This brings you to the Payments tab under the WooCommerce module.
You’ll notice a checkbox to Enable WooPayments. As long as you walked through the previous setup wizard, it should be checked. Otherwise, do that now.
Scroll to the section called Payments Accepted on Checkout. Choose whichever payment methods you’d like to use and show them in your checkout area.
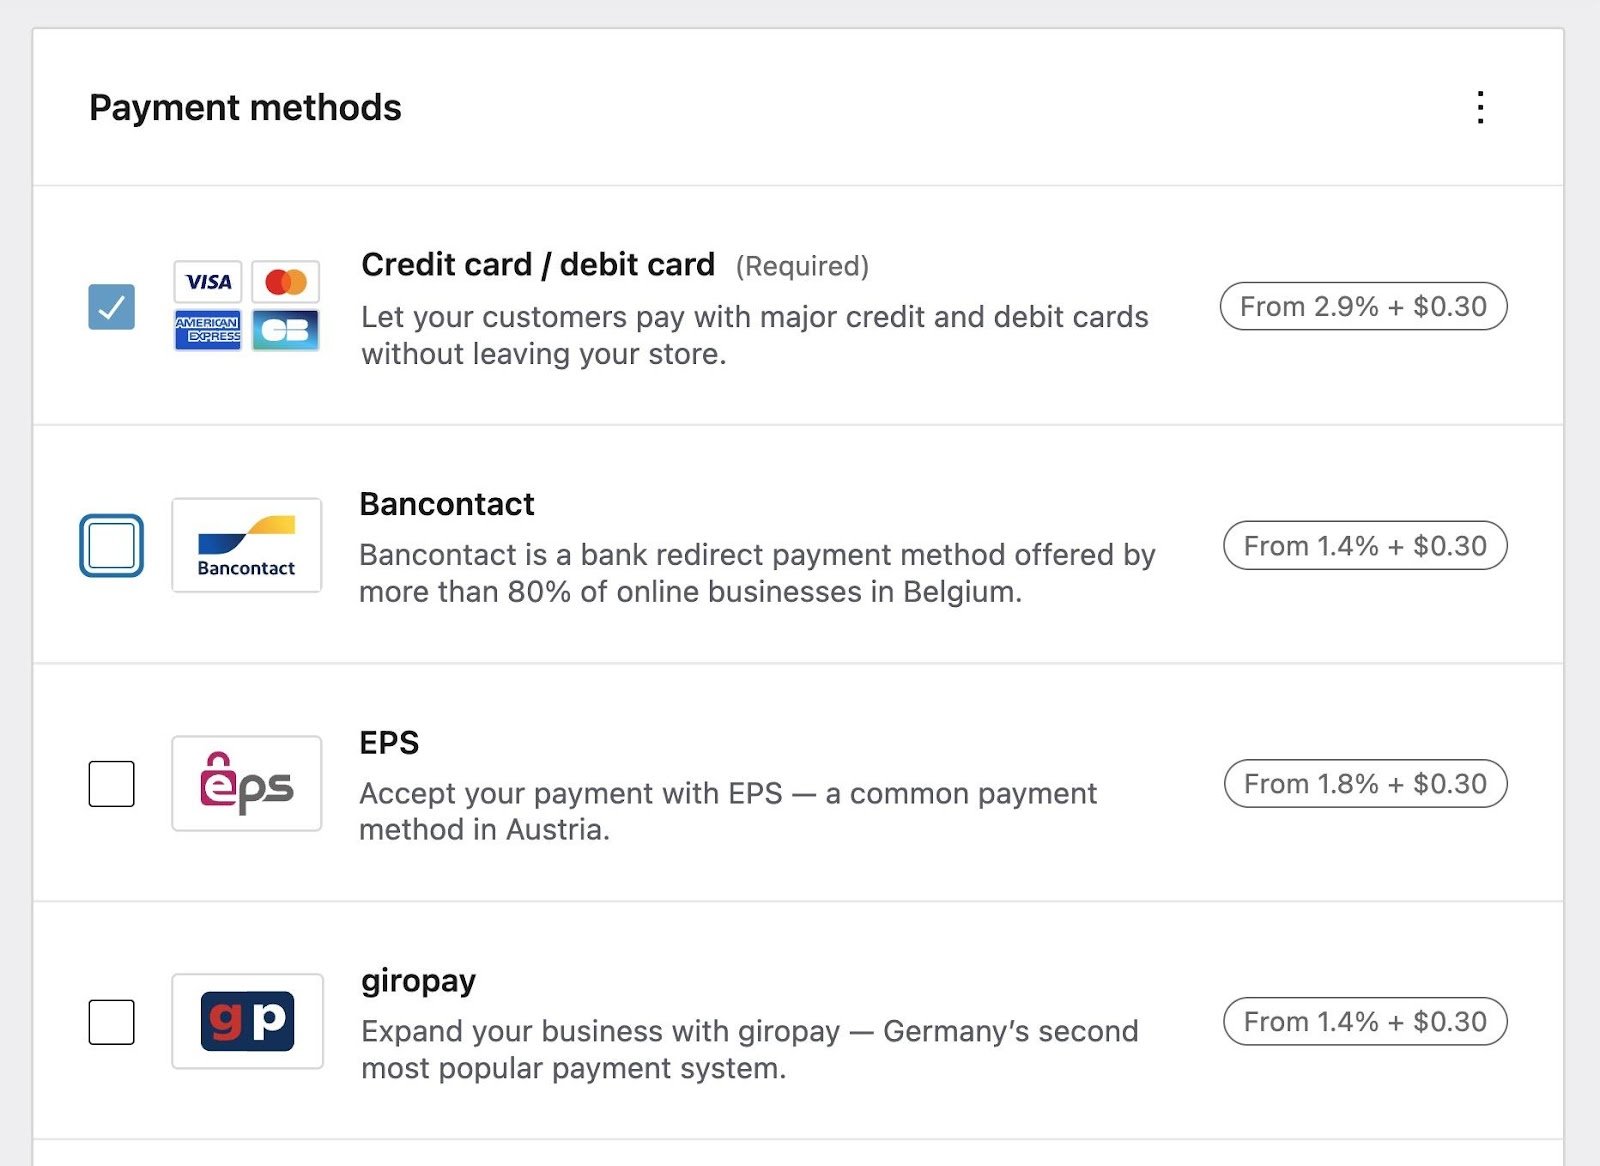
👉 Options include:
- Credit card/debit card: The default processing option from WooPayments, powered by Stripe. It’s standard in the US.
- Bancontact: A bank redirect payment system in Belgium.
- EPS: A common payment gateway in Austria.
- Sofort: A payment transfer solution for Spain, Austria, Belgium, Germany, Italy, and the Netherlands.
You can choose from several other country-specific payment gateways. If you run a global operation, you can select multiple payment gateways.
We encourage you to review the fees for each payment method listed on the same page to ensure you secure the best rate.
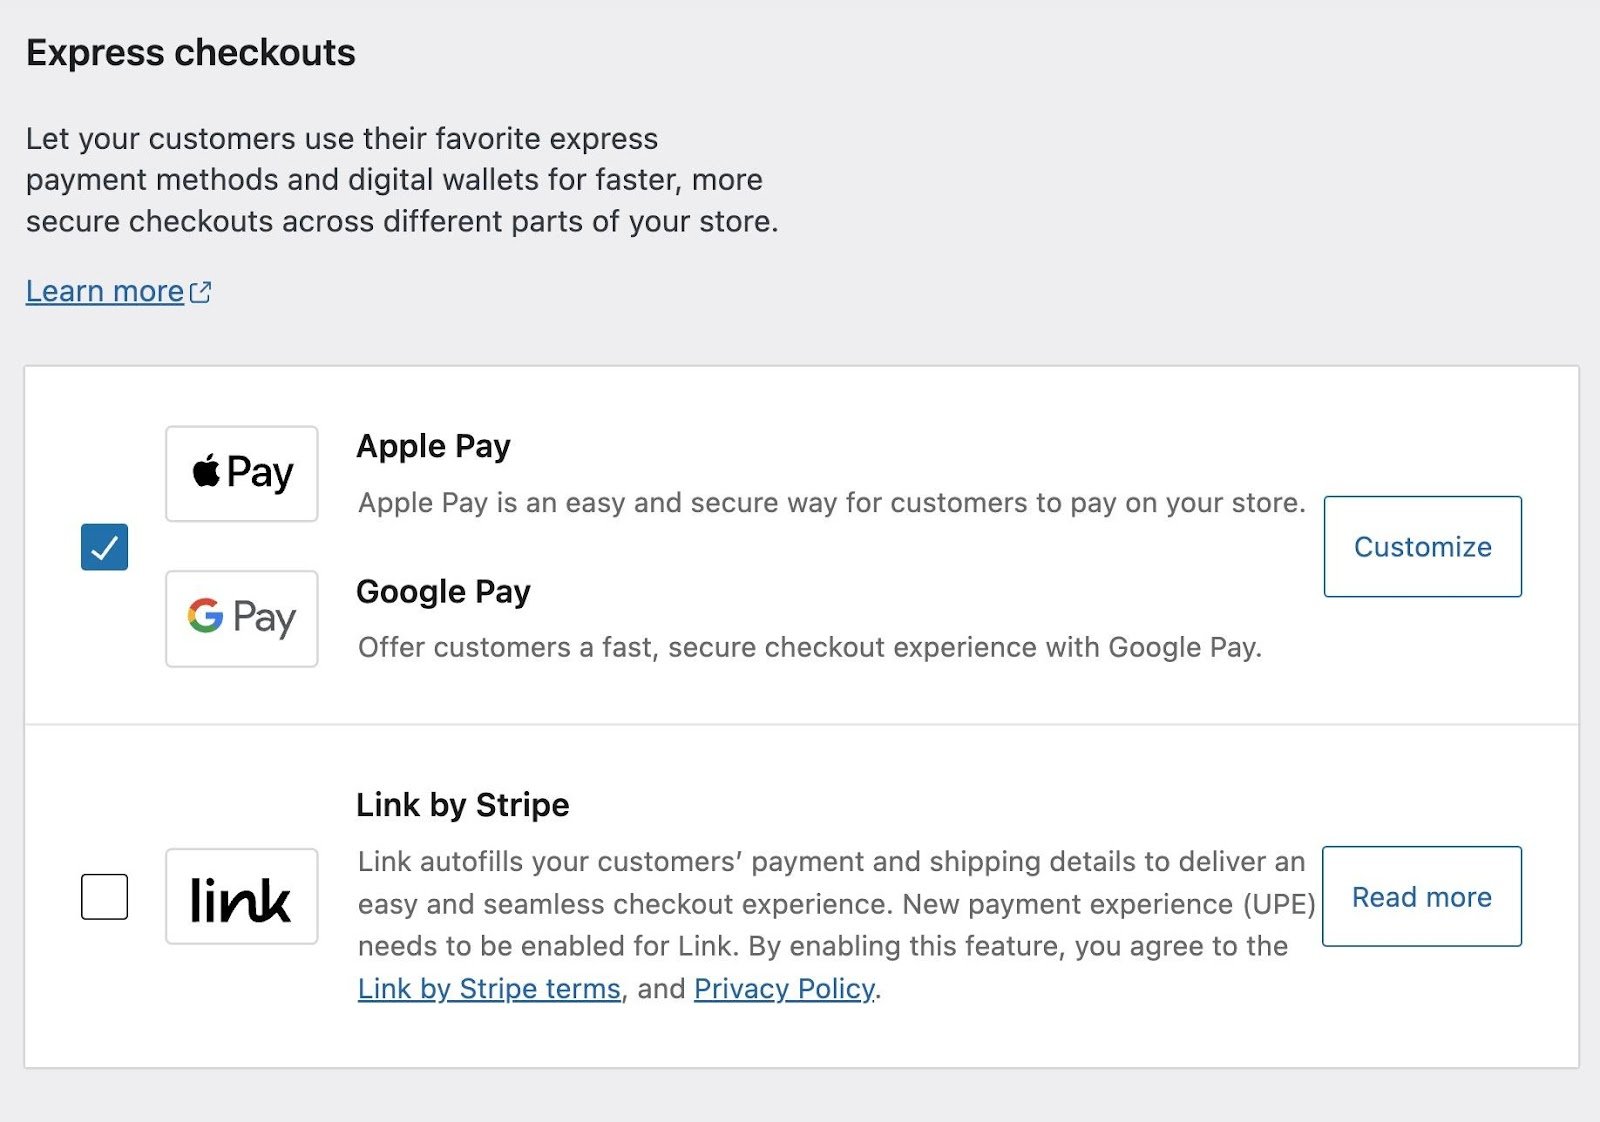
Next, navigate to the Express Checkouts section further down the page. These solutions enable fast and secure checkouts on devices because they automatically fill in all customer data. They appear on your store (dynamically) only if the customer activates the service on their device.
👉 Options:
- Apple Pay
- Google Pay
- Link by Stripe
👉 Other settings on this page include:
- Transaction preferences: Enable payments via saved cards, and choose when to issue authorization for cards. You can also set what appears on billing statements when someone makes a purchase from your store.
- Deposits: Manage your deposit account information and learn about how long it will take to get that money. WooCommerce Payments generally holds initial deposits for seven days, but that eventually improves to two business days.
- Fraud Protection: Avoid chargebacks by configuring fraud protection risk levels and security settings. Choose from the Basic or Advanced payment risk levels.
- Advanced Settings: Enable multi-currency support, public key encryption, and subscriptions. There’s an area to log error messages, too.
Be sure to click the Save Changes button whenever you’re done.
Step 5: Verify and test how WooCommerce Payments works 🧑💻
After you learn how to set up WooCommerce Payments, it’s essential to test the user interface, and its ability to successfully process payments.
That’s where Test Mode from WooCommerce Payments comes into play. Go to Payments → Settings on WordPress, then, under General, check off Enable Test Mode. Click Save Changes at the bottom of the page.
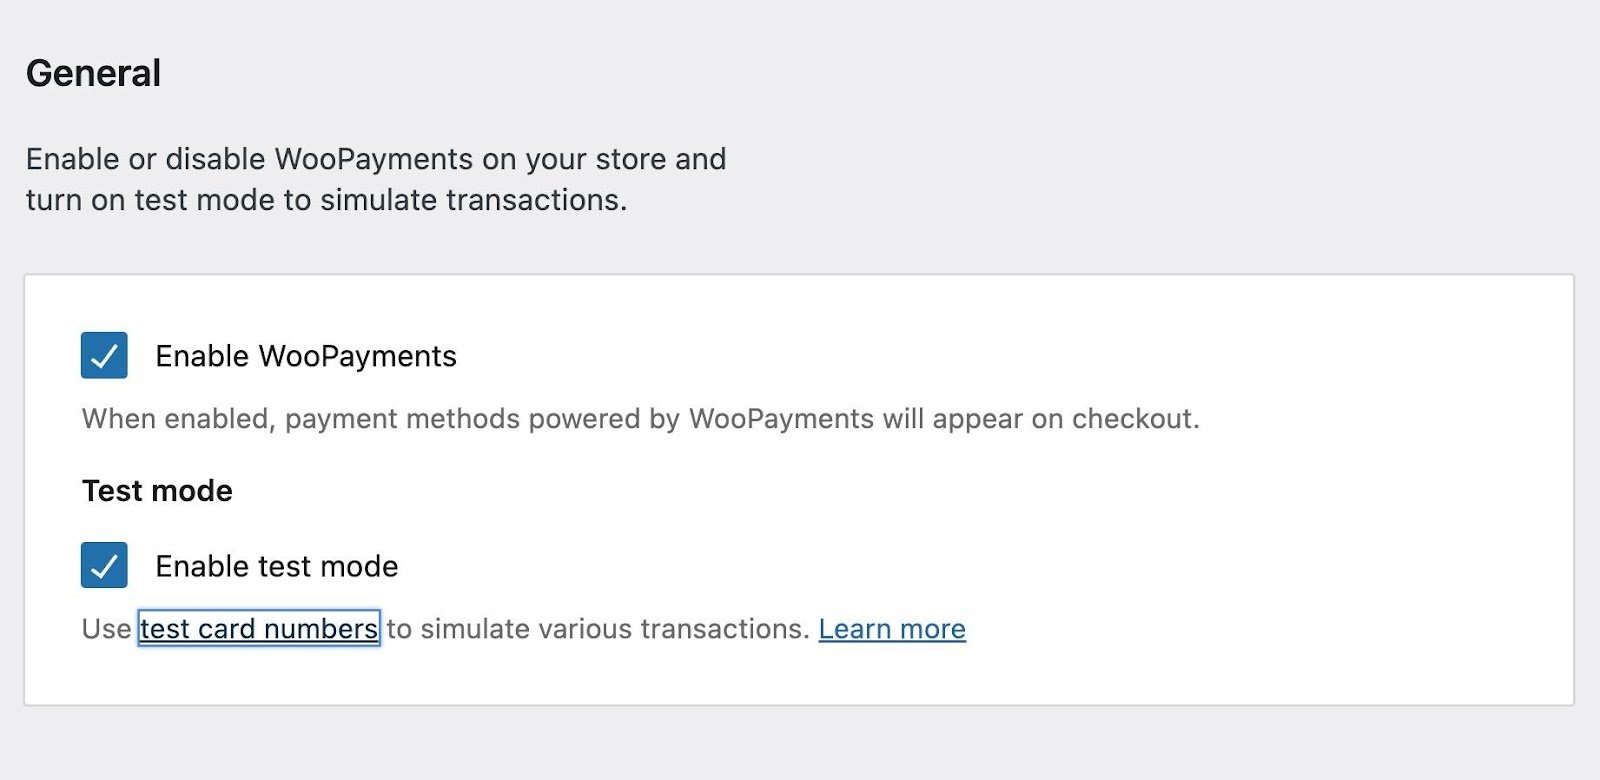
Test Mode activates a simulated shopping environment where you can still process a payment and see elements like email receipts and thank-you pages, but no money gets transferred.
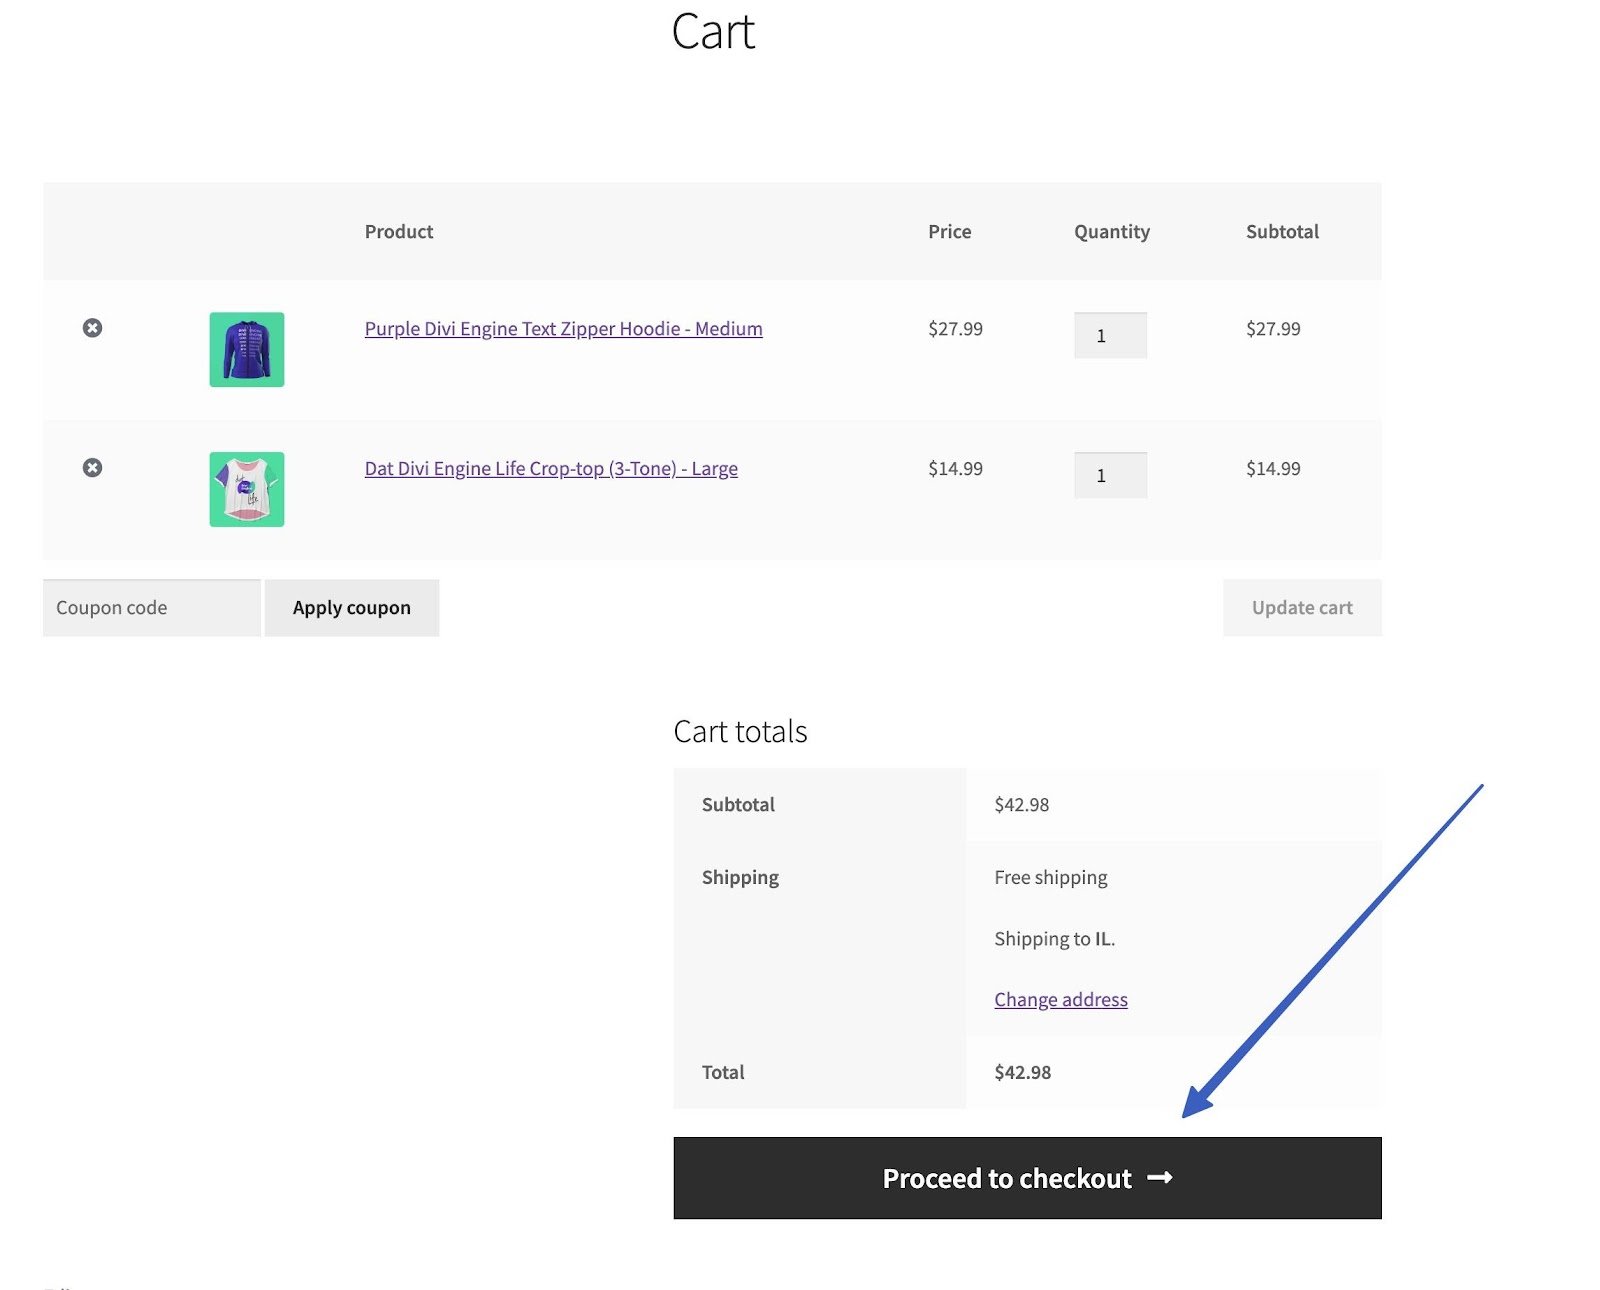
With Test Mode active, go to the frontend of your store and add items to your cart. Go to the Checkout area.
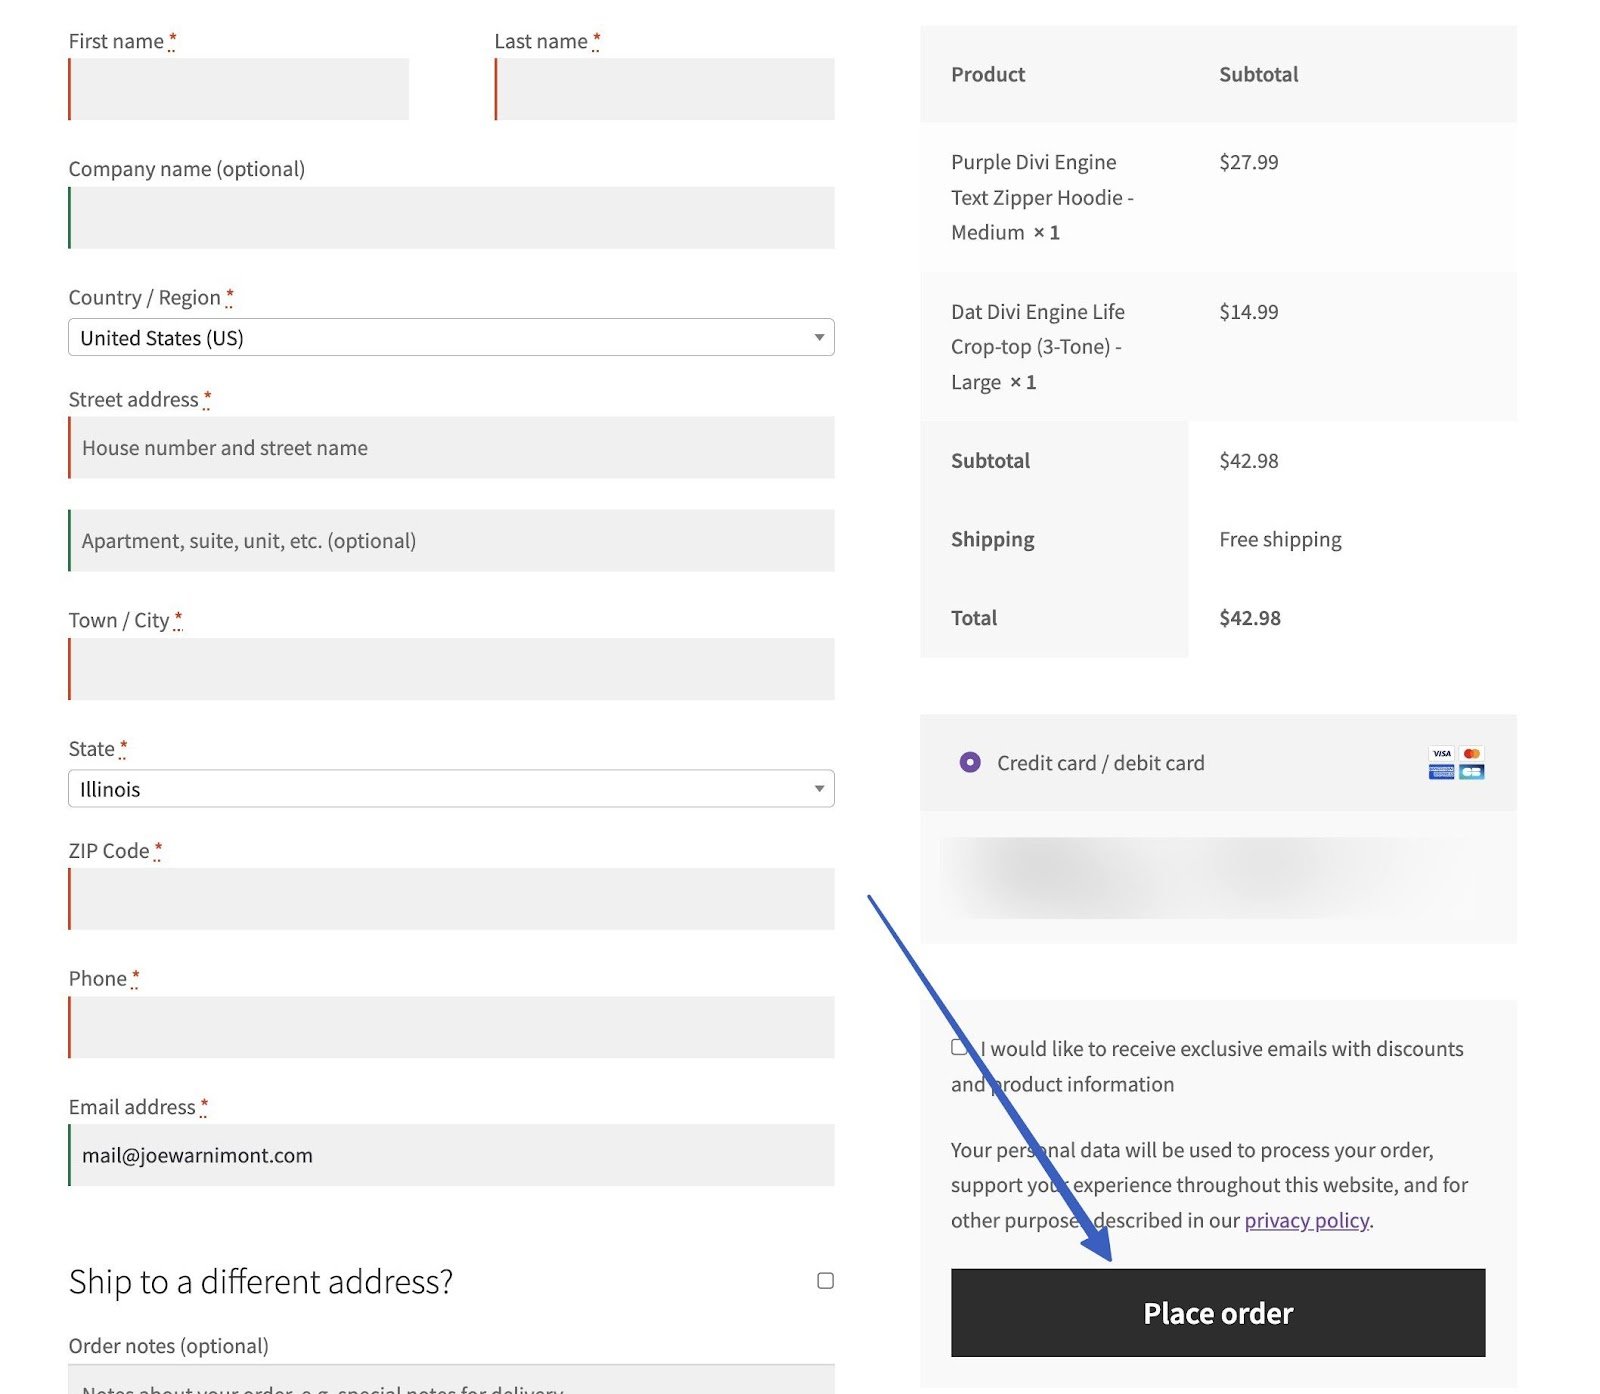
Fill out the payment details, pick a payment method, and click the Place Order button. For the credit card information, use one of the many test card numbers provided by WooCommerce Payments.
We encourage you to process dozens of unique orders before launching your store.
👉 After each order, be sure to check and understand:
- The fulfillment process
- Order statuses
- Payouts
- Automated order emails
- Redirect pages after the order
- Customer registration
- Follow-up communications like abandoned cart messages and email marketing
Finally, it’s important to run some real transactions to ensure that the funds are actually being deposited into your account.
Managing WooCommerce Payments
Once your WooCommerce Payments are set up, it’s crucial to effectively manage them as your business accepts orders. Here are some key aspects to consider:
Monitoring and tracking payments 📺
Utilize the reporting features provided by WooCommerce Payments to track sales and revenue.
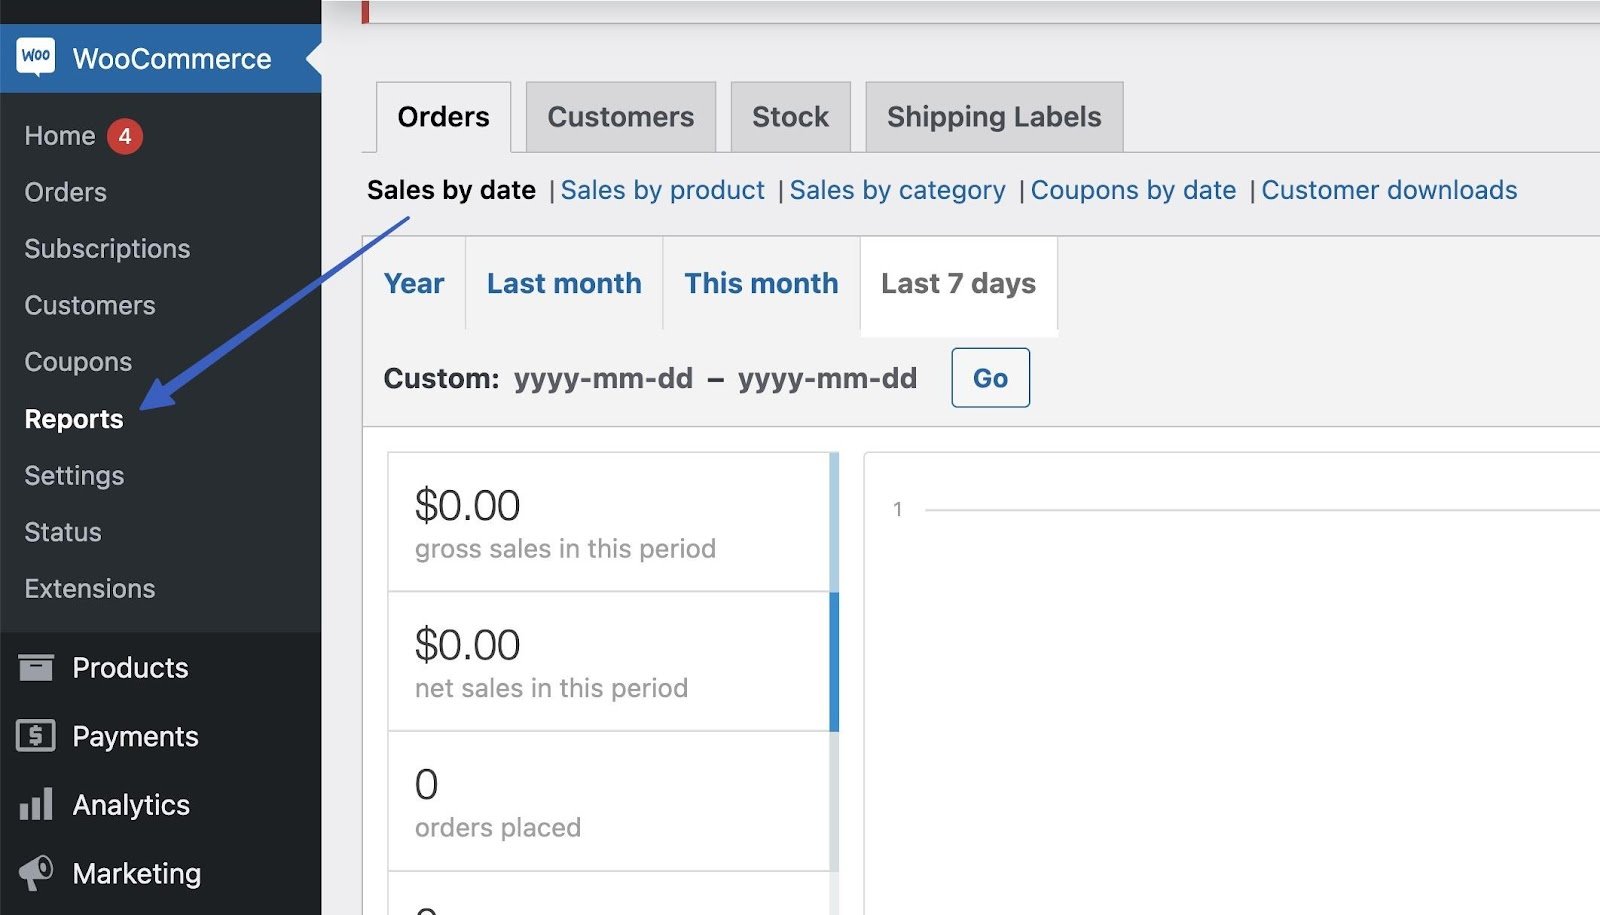
It’s wise to monitor transaction statuses and identify any potential issues.
Handling refunds and disputes ⌛
Familiarize yourself with the refund and dispute resolution process. You can find these by going to Payments → Disputes in WordPress. There, you’ll see a list of all disputes, categorized by amount, status, source, order number, customer, and reason.
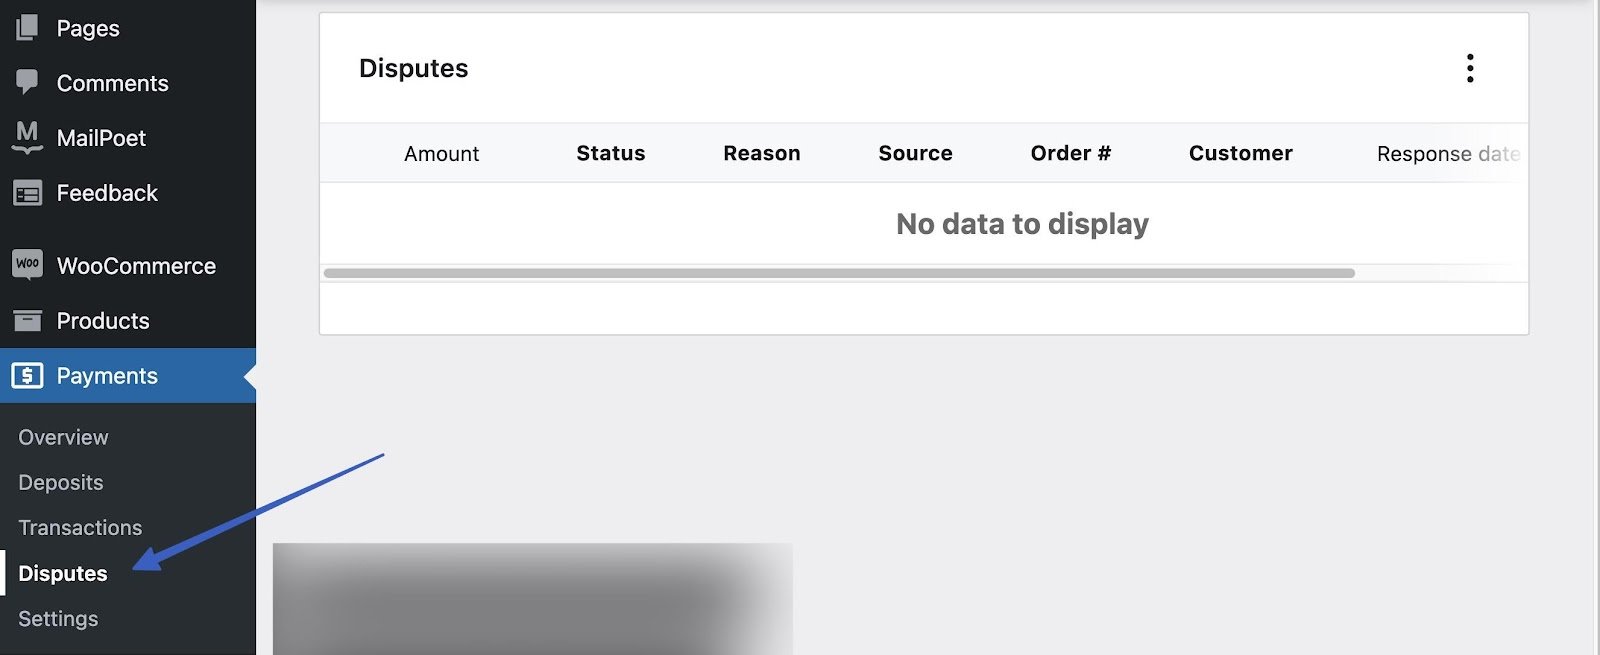
We encourage you to communicate promptly with customers to resolve any payment-related issues.
Optimize guest checkouts for a better customer experience 👨💻
Streamline the checkout process by offering guest checkout.
To offer guest checkouts, go to WooCommerce → Settings → Accounts & Privacy. Check the box to Allow customers to place orders without an account.
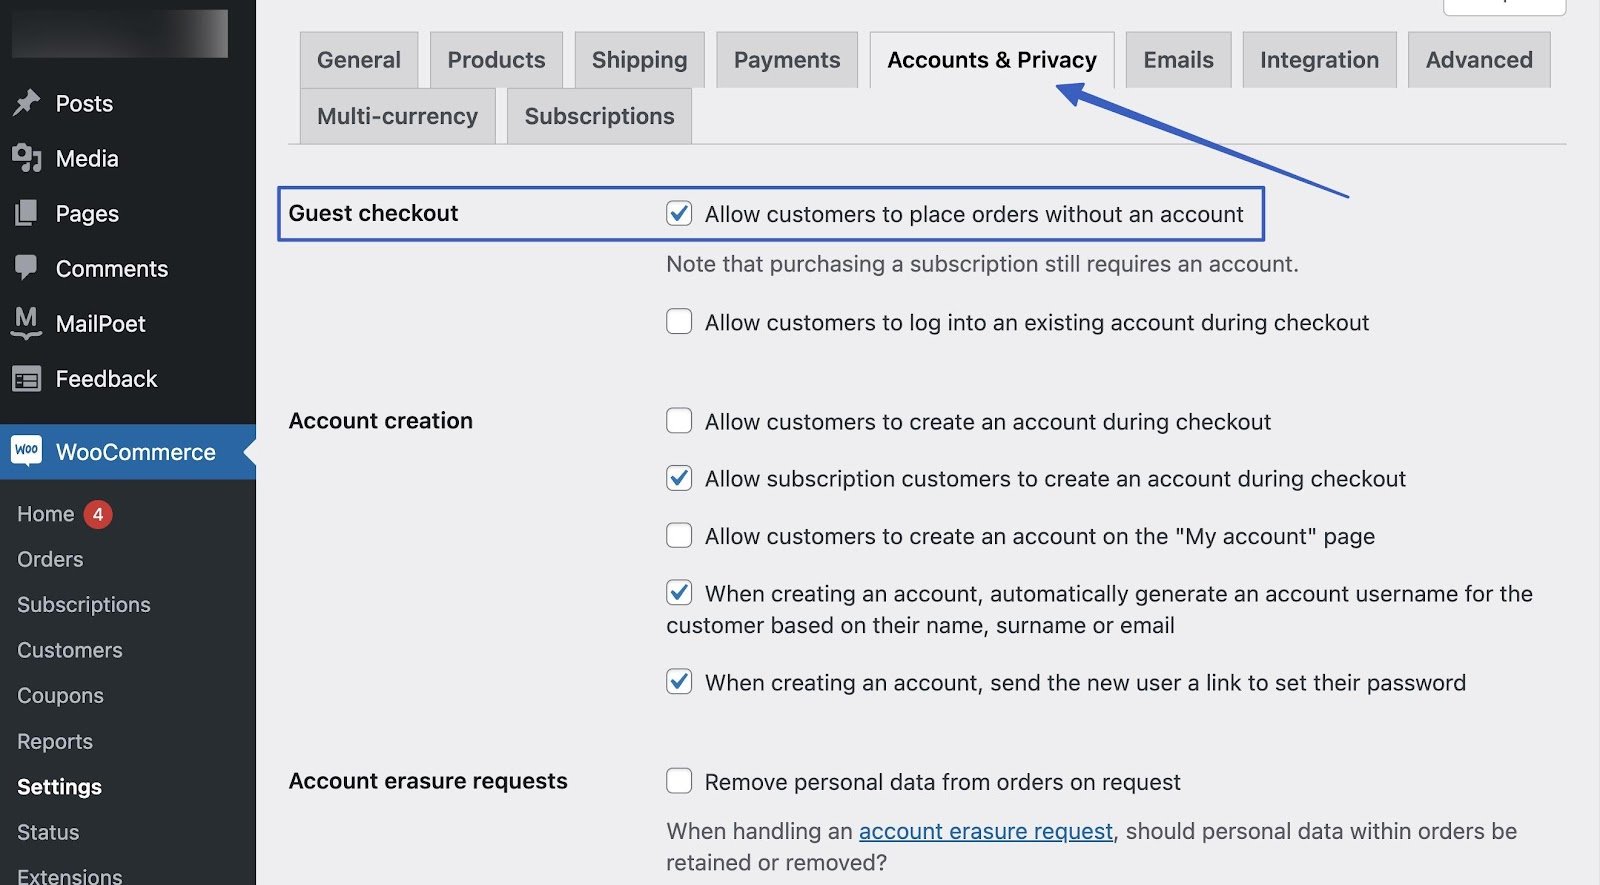
👉 On this page, there are additional relevant options:
- Allow customers to log into an existing account.
- Let customers create an account at certain times on your site.
- Remove personal data from orders upon request.
How to ensure security and compliance
👉 Ensuring secure payment processing is paramount to protecting your business and customers. Consider the following security measures for WooCommerce Payments:
Our conclusion on how to set up WooCommerce Payments 🧐💳
Setting up WooCommerce Payments is a crucial step for any online business running on WordPress.
By following this step-by-step guide, you can seamlessly integrate WooCommerce Payments into your website, offering a secure and convenient payment experience for your customers.
You can monitor payments, manage refunds, and optimize the checkout process to maximize your online transactions.
Do you still have any questions about how to set up WooCommerce Payments on your store? Let us know in the comments!