File Transfer Protocol (FTP) is an easy way to view and transfer your site files when you can’t access your website. FileZilla is one of the most popular FTP clients. However, if you lack technical skills, you might not know how to use FileZilla to upload files to your website.
Fortunately, the process is relatively straightforward. Once you download and open FileZilla, you can establish a FTP connection using the credentials provided by your web host. Then, you can upload files to your site, and download them to your local computer. 💻️💻️💻️
An introduction to FileZilla
FileZilla is a File Transport Protocol (FTP) client that lets you quickly move files from your computer to your website hosting account. There are tons of FTP clients to choose from, but FileZilla is a particularly good option since it’s fast, free, and beginner-friendly:
Of course, without FTP, you can upload media files, and install plugins and themes. However, one of the main reasons why an FTP client is useful is because you can use it even when there’s an issue with your website.
For example, if you encounter an error like the White Screen of Death (WSoD), you won’t be able to access your website. But, with FileZilla, you can continue to upload theme or plugin files even while you troubleshoot the problem.
Additionally, FileZilla not only supports FTP, but it also supports SFTP which provides a more secure connection. Plus, since FileZilla is so popular, you’ll find tons of support in forums.
How to use FileZilla to upload files to your website
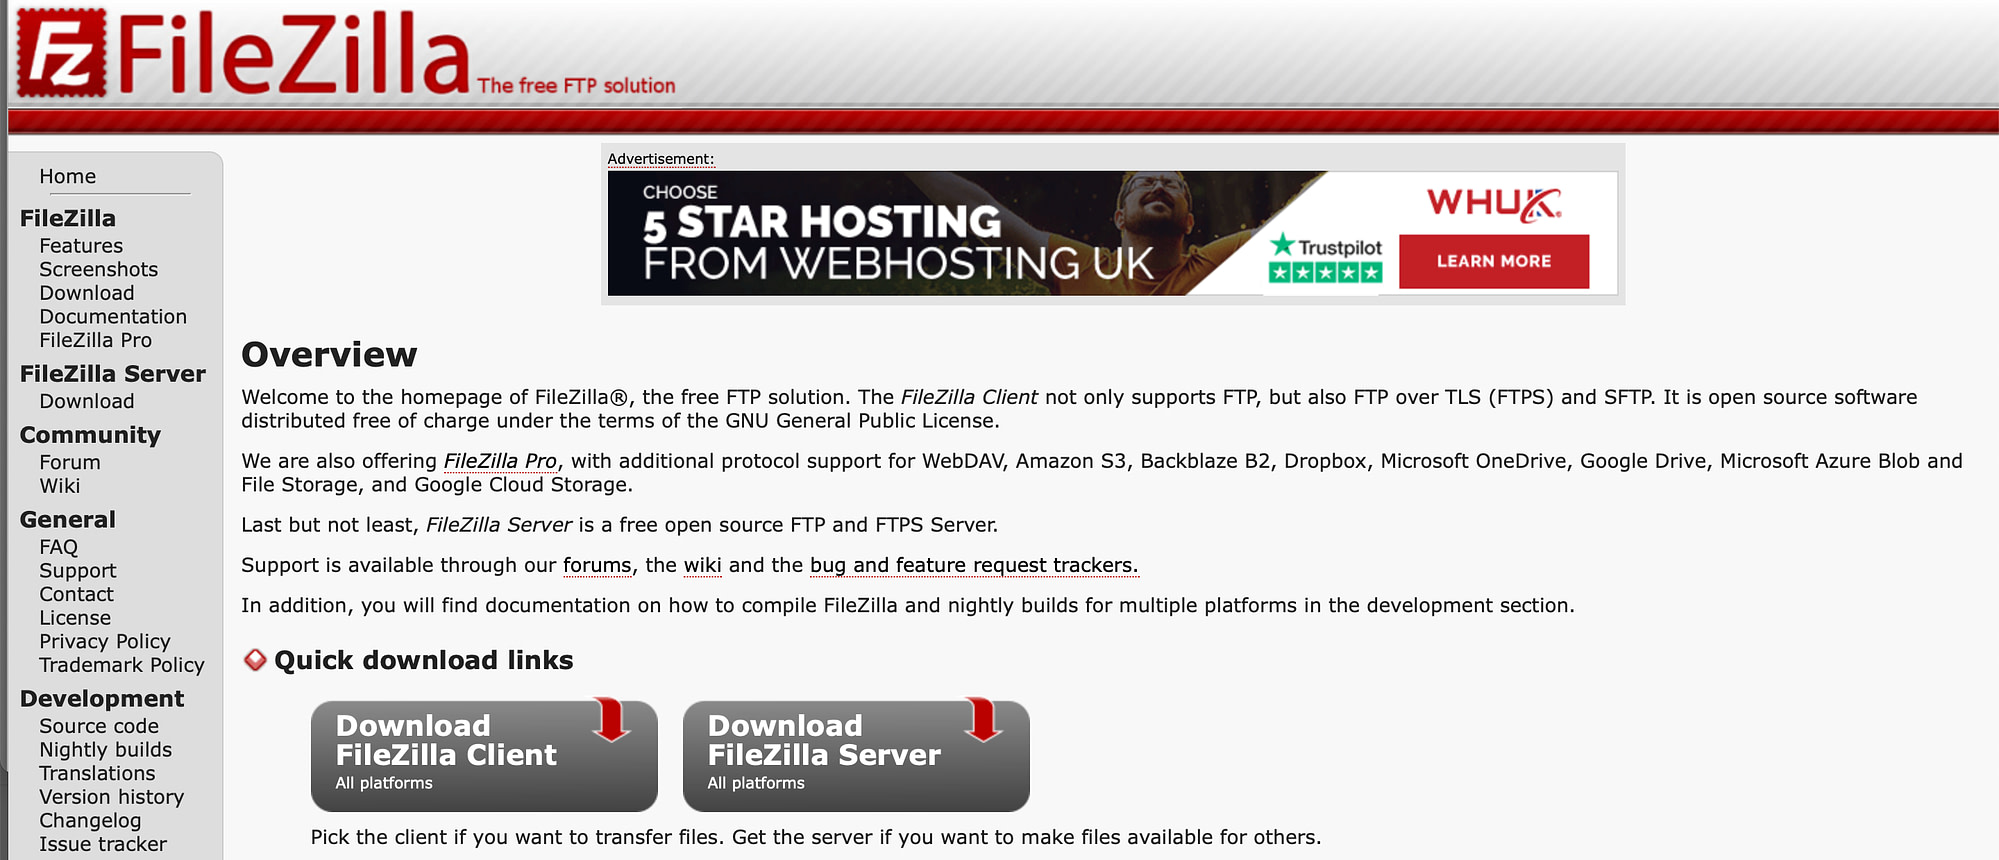
Now that you know why to use FileZilla as your FTP client, we’re going to show you how to use FileZilla to upload files to your website in four steps. First though, you’ll need to download it from the official website.
If you’re just using FileZilla to transfer files, click on Download FileZilla Client. Then, select the appropriate file for your platform. Your download should start right away.
Step 1: Open FileZilla and enter your FTP login credentials 🧑💻
Once you’ve successfully downloaded FileZilla to your computer, find and select the file within your Downloads folder. You’ll be asked to confirm whether you want to open the app:

Click on Open.
You should now be able to access the FileZilla interface. It will look something like this:

At the top of the screen, you’ll notice that FileZilla requires you to enter your host, username, password, and port in order to establish a connection to your website.
Usually, you can find these details in your web hosting account. Sometimes, your web host will email the FTP credentials to you when setting up your account.
Or, you can often find this information within your cPanel dashboard, listed under FTP Accounts. Otherwise, there will be a need to contact your web host.
Now, head back to FileZilla. Click on the Site Manager icon from the menu:

Here, you can add some information about your website. Then, click on New Site:

Now, give your site a title and enter the FTP credentials that you found within your hosting account:

If your hosting provider supports SFTP, change the Protocol to SFTP. Otherwise, leave it as it is.
Once you’ve entered your details, click on Connect. At this point, FileZilla will save your details for future logins, and establish a connection to your website.
Step 2: Form the FTP connection ⚙️
The FTP connection should be made shortly after you click on the Connect button. However, if it’s your first time connecting to your website from your computer, you might see a warning message:

In this instance, select OK.
You can also check the box that says Always trust this host. This way, you can stop this popup from appearing the next time you connect.
Once the connection is established, you should see two columns of files:

To the left of the screen, you can view all the files on your computer. To the right, you’ll see the remote files on your website.
Step 3: Upload a file from your computer ⏳
Now that you’ve established a successful FTP connection, you might be wondering how to use FileZilla to upload files to your website. First, find the file from your computer (in the left column) that you want to transfer to your website.
It’s important to make sure that you can see the website folder (in the right column) where you want to move your file. Now, right-click on the local file and select Upload:

If you’re transferring a small file, the process shouldn’t take too long. Then, you should see the file appear in your website files to the right:

If this isn’t in the exact place that you want, you can drag-and-drop the file into the relevant folder. For instance, in WordPress, media files are stored in uploads, whereas plugins are stored in plugins.
Step 4: (Optional) Download a file from your website 📥
Although you can now upload files to your website from your remote computer, you might also be wondering how to use FileZilla to download a file from your site. For instance, you might want to transfer a file from WordPress to edit, share, or move to a different website.
All you need to do is right-click on the file in the right column (your website files) and select Download:

The file will be transferred to the local folder that you’re viewing in the left column. This is also a great way to backup your website manually. To do this, simply select all site folders and files and download them to your computer.
Conclusion 🧐
FTP provides a quick and easy way to transfer website files, or view and edit files when you can’t access your website. But, to establish a FTP connection, you’ll need to download an FTP client. Fortunately, FileZilla is a fast, free, and beginner-friendly option.
To recap, here’s how to use FileZilla to upload files to your website:
- 🧑💻 Open FileZilla and enter your FTP login credentials.
- ⚙️ Form the FTP connection.
- ⏳ Upload a file from your computer.
- 📥 Download a file from your website.
Do you have any questions about how to use FileZilla to transfer files from your computer to your website? Let us know in the comments below!