A well-timed popup notification can be a powerful tool. It can help you market a new product, grow your email list, and much more. However, if you’re not familiar with WordPress web design, you might not be sure how to create one.
Although WordPress doesn’t offer an easy way to make a popup notification out-of-the-box, you can use a free tool like Otter Blocks to get the job done. Then, all you have to do is customize your popup block using an intuitive, code-free editor.
Before we show you how to create a popup notification in WordPress, let’s discuss some of the benefits of using one. Simply put, popup notifications can be an excellent way to get people’s attention, keep them on your site, or encourage them to convert.
You can use popup notifications to help you collect leads, advertise surveys, gather newsletter signups, promote social media accounts, discounts, announce new products or features, and engage users with interactive content:
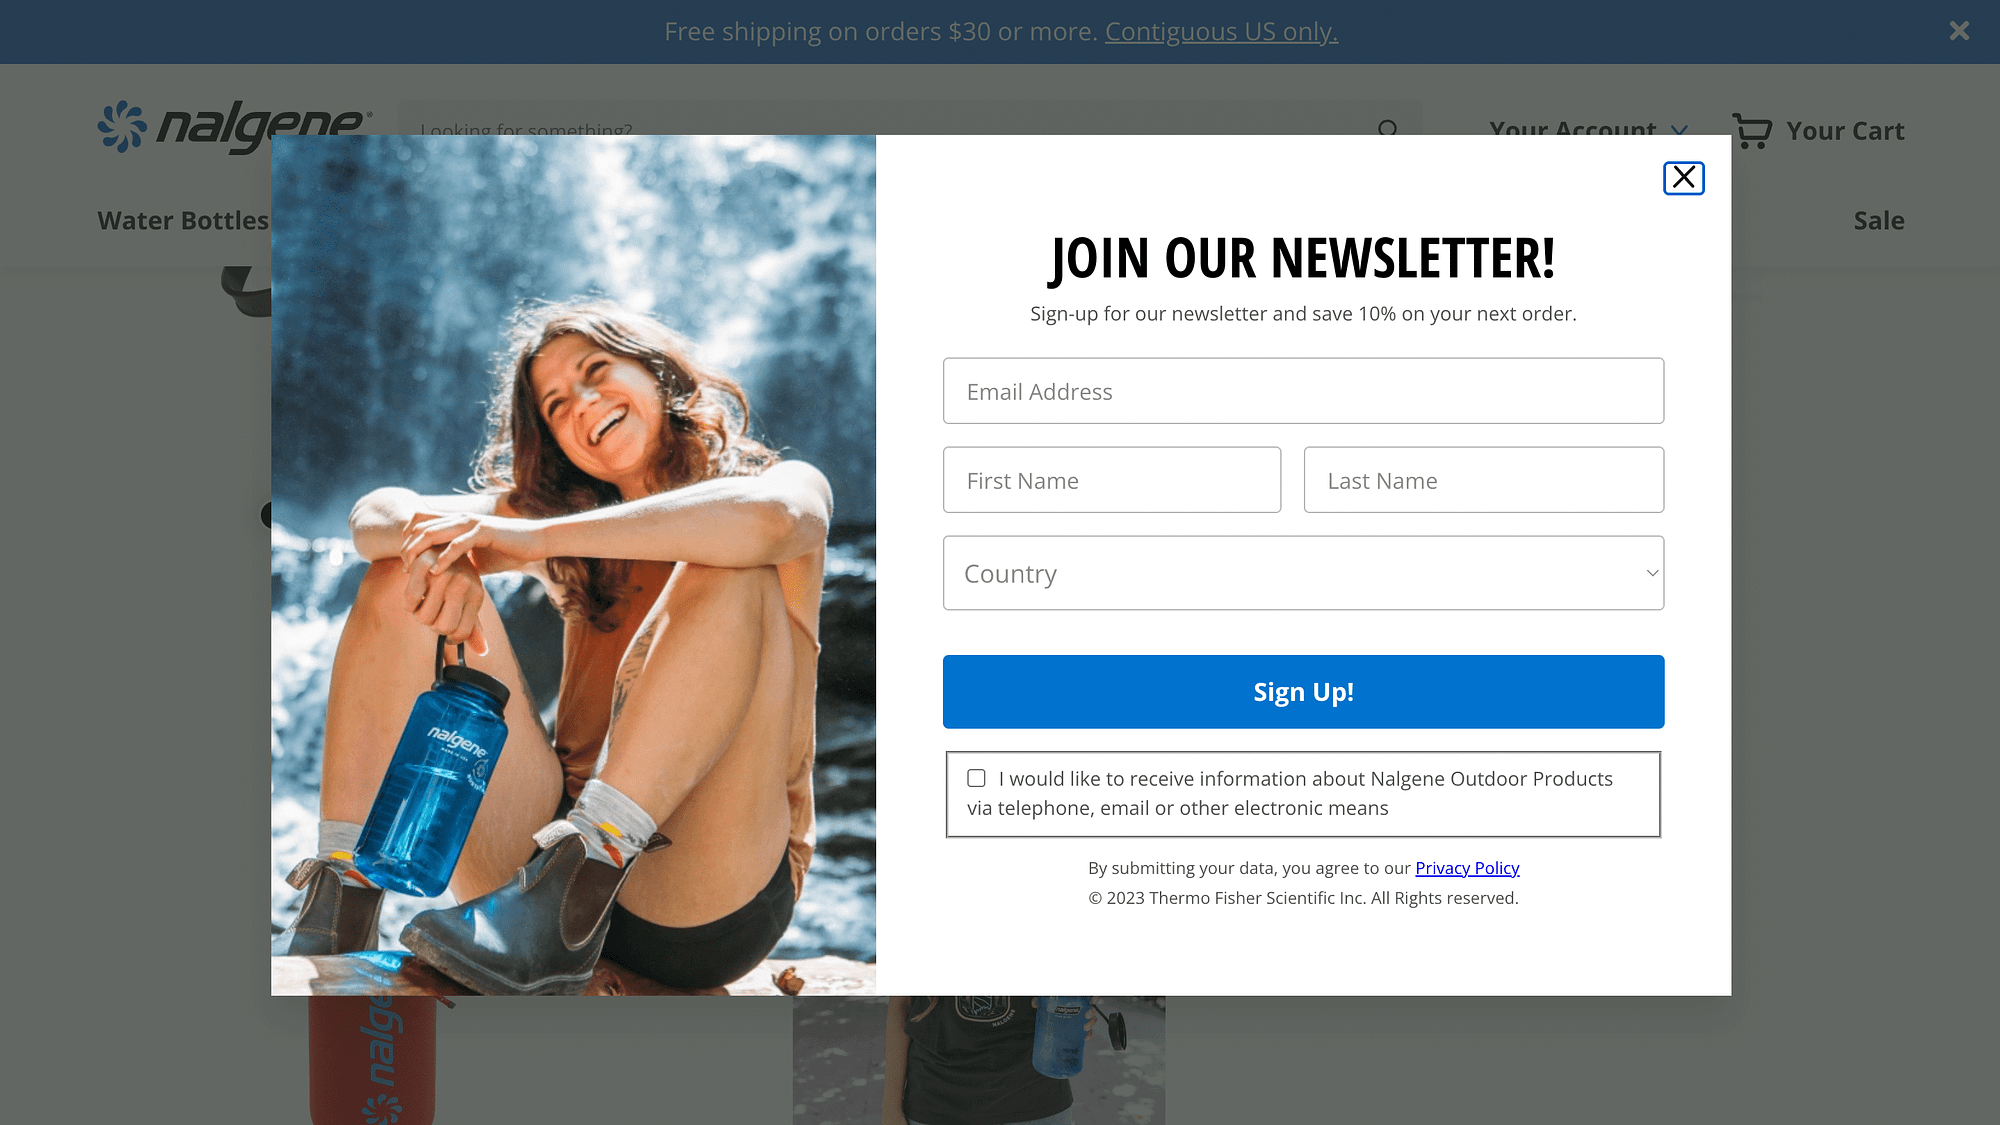
A good popup notification can be an integral part of your email marketing strategy. Furthermore, if you run an ecommerce store, you can even use popups to market new products, time-sensitive-deals, and much more.
Overall, popup notifications have a lot of potential to improve the user experience (UX) and help you reach your goals.
Now that we’ve covered the main benefits of using a popup notification in WordPress, we’re going to show you how to create one in four simple steps!
Step 1: Install and activate the Otter Blocks plugin 🔌
As we mentioned, by default, WordPress doesn’t include a straightforward way to create popups. Although its list of blocks is vast, it’s missing this option.
Fortunately, you can use a free tool like Otter Blocks to get this feature:
As the name suggests, the plugin allows you to expand the functionality of your site using advanced, customizable blocks.
It’s an excellent alternative to single-solution popup plugins, because it’ll give you 23+ blocks. In addition to a popup builder block it comes with options for animations, sticky elements, product reviews, and much more.
To get started with the plugin, navigate to your WordPress dashboard. Go to Plugins → Add New and search for the tool:
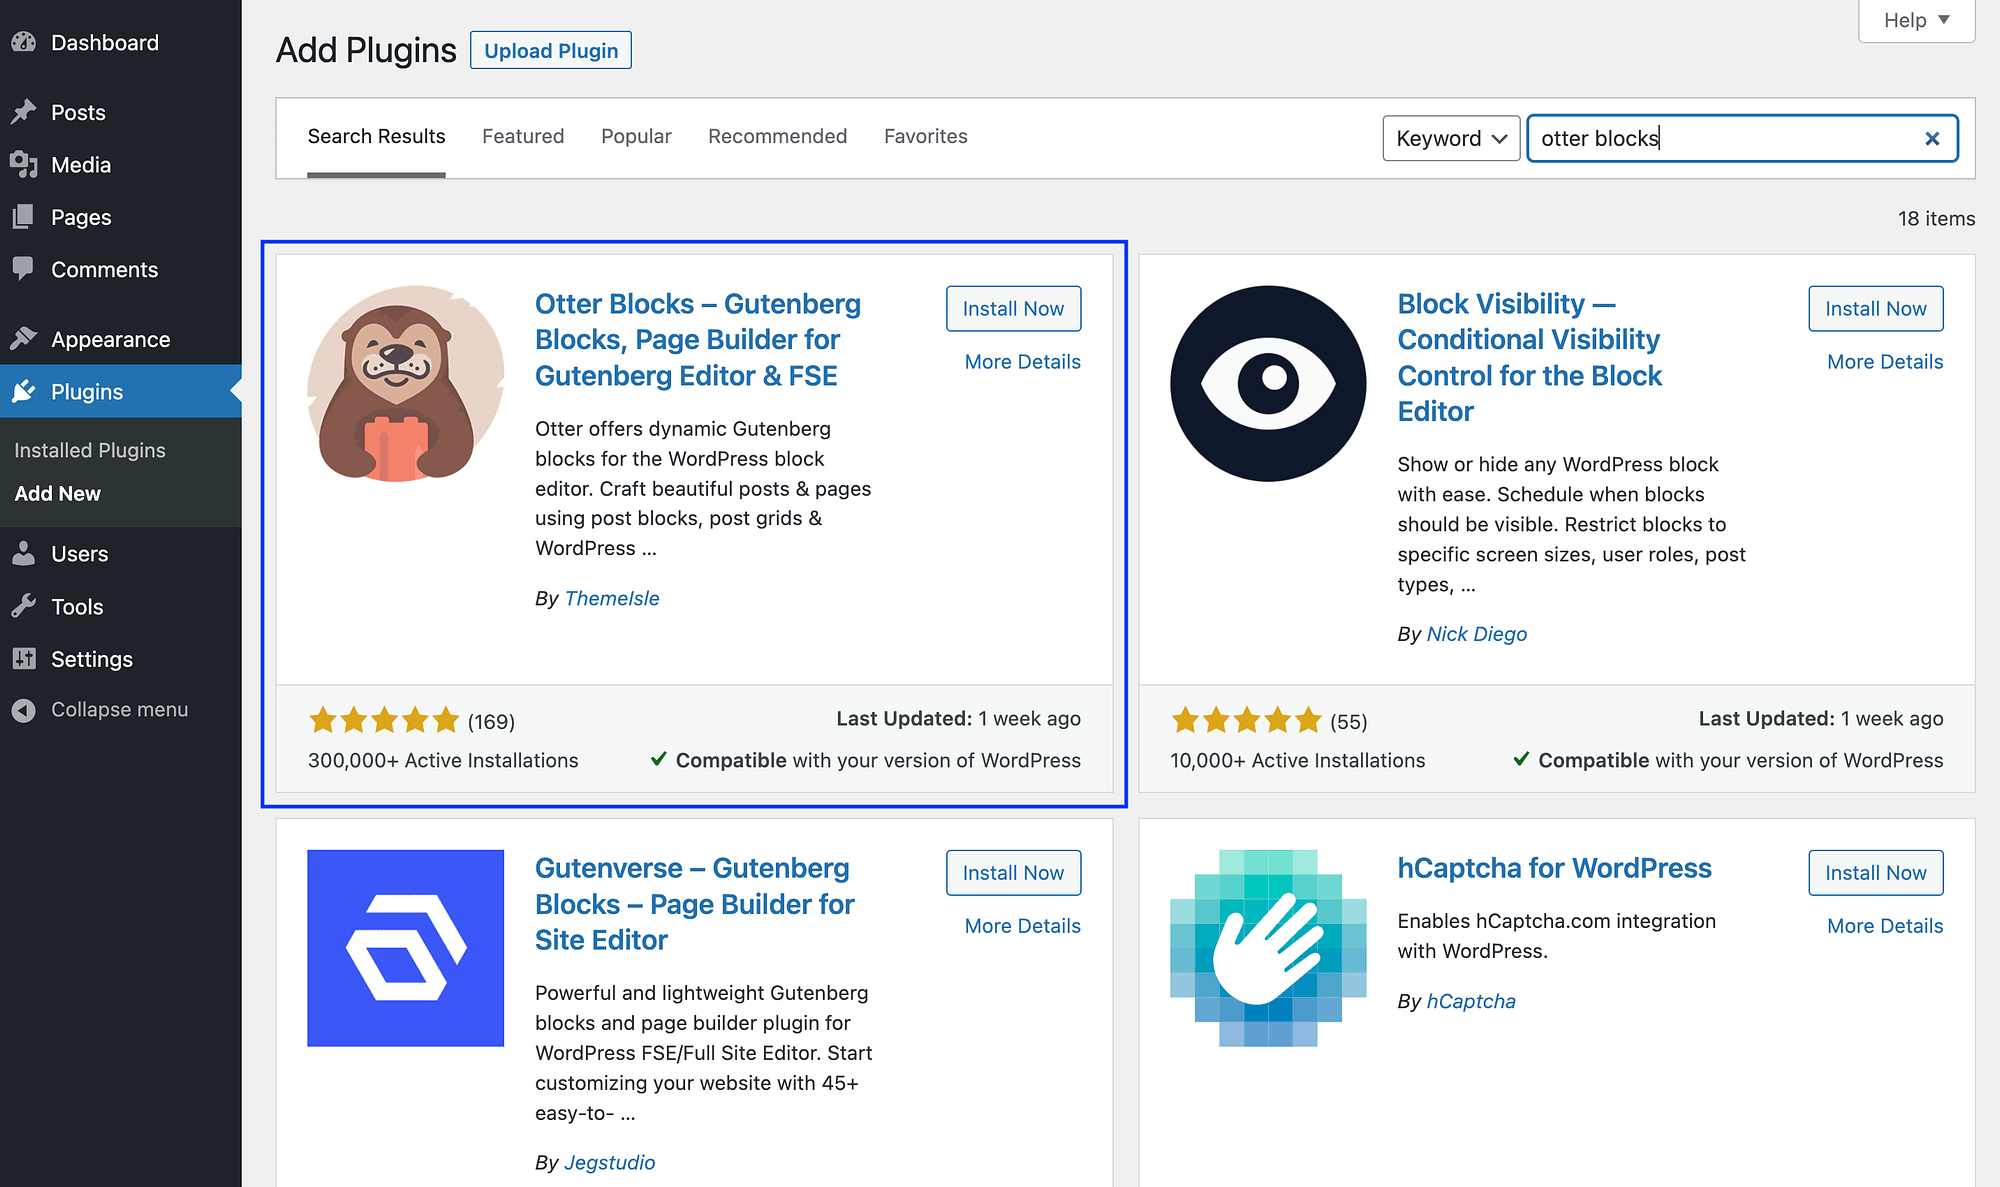
Once you locate it, simply click on Install Now followed by Activate.
Step 2: Add a popup block to your post or page 🗨️
After you’ve installed and activated the Otter Blocks plugin, the next step is to add a popup block to your desired page or post.
If you’re using a WordPress block theme, you can use the Site Editor to add it to a page. Alternatively, you’ll need to add your popup block to a widget area. You can add it to any post regardless of your theme type.
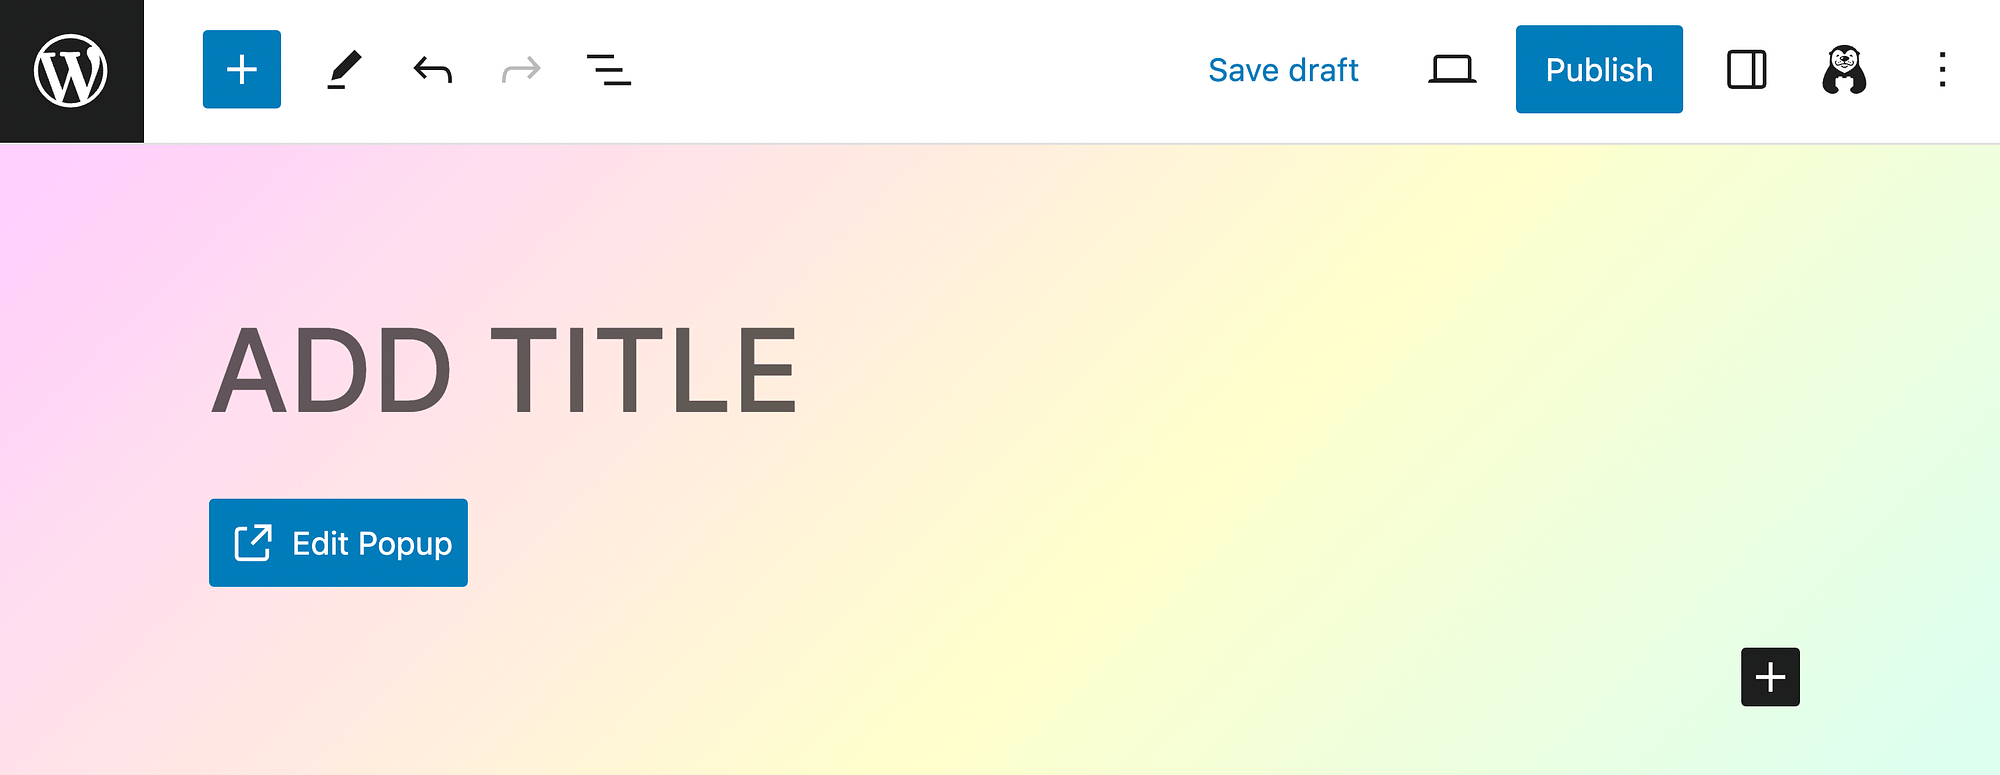
For this tutorial, we’ll use a post. When you first open the Block Editor after installing Otter Blocks, the following welcome message will appear:
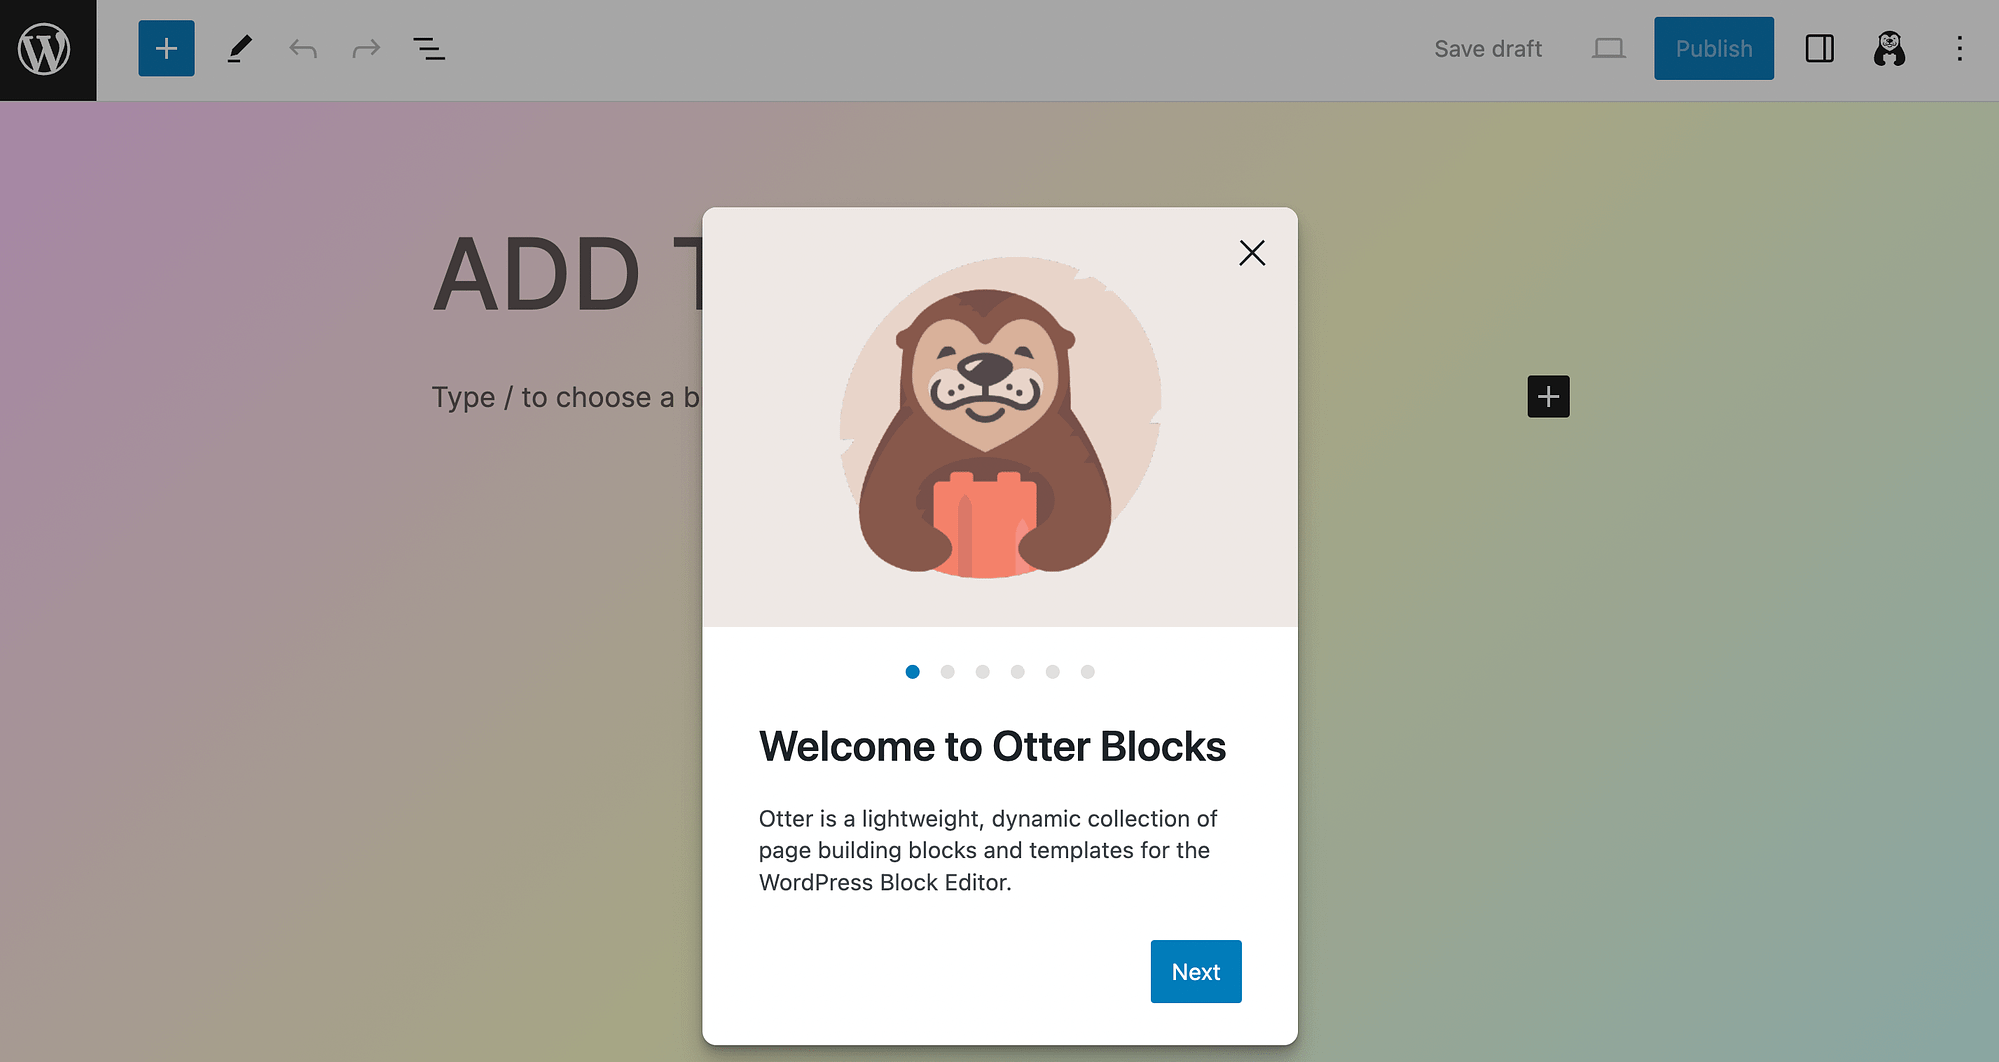
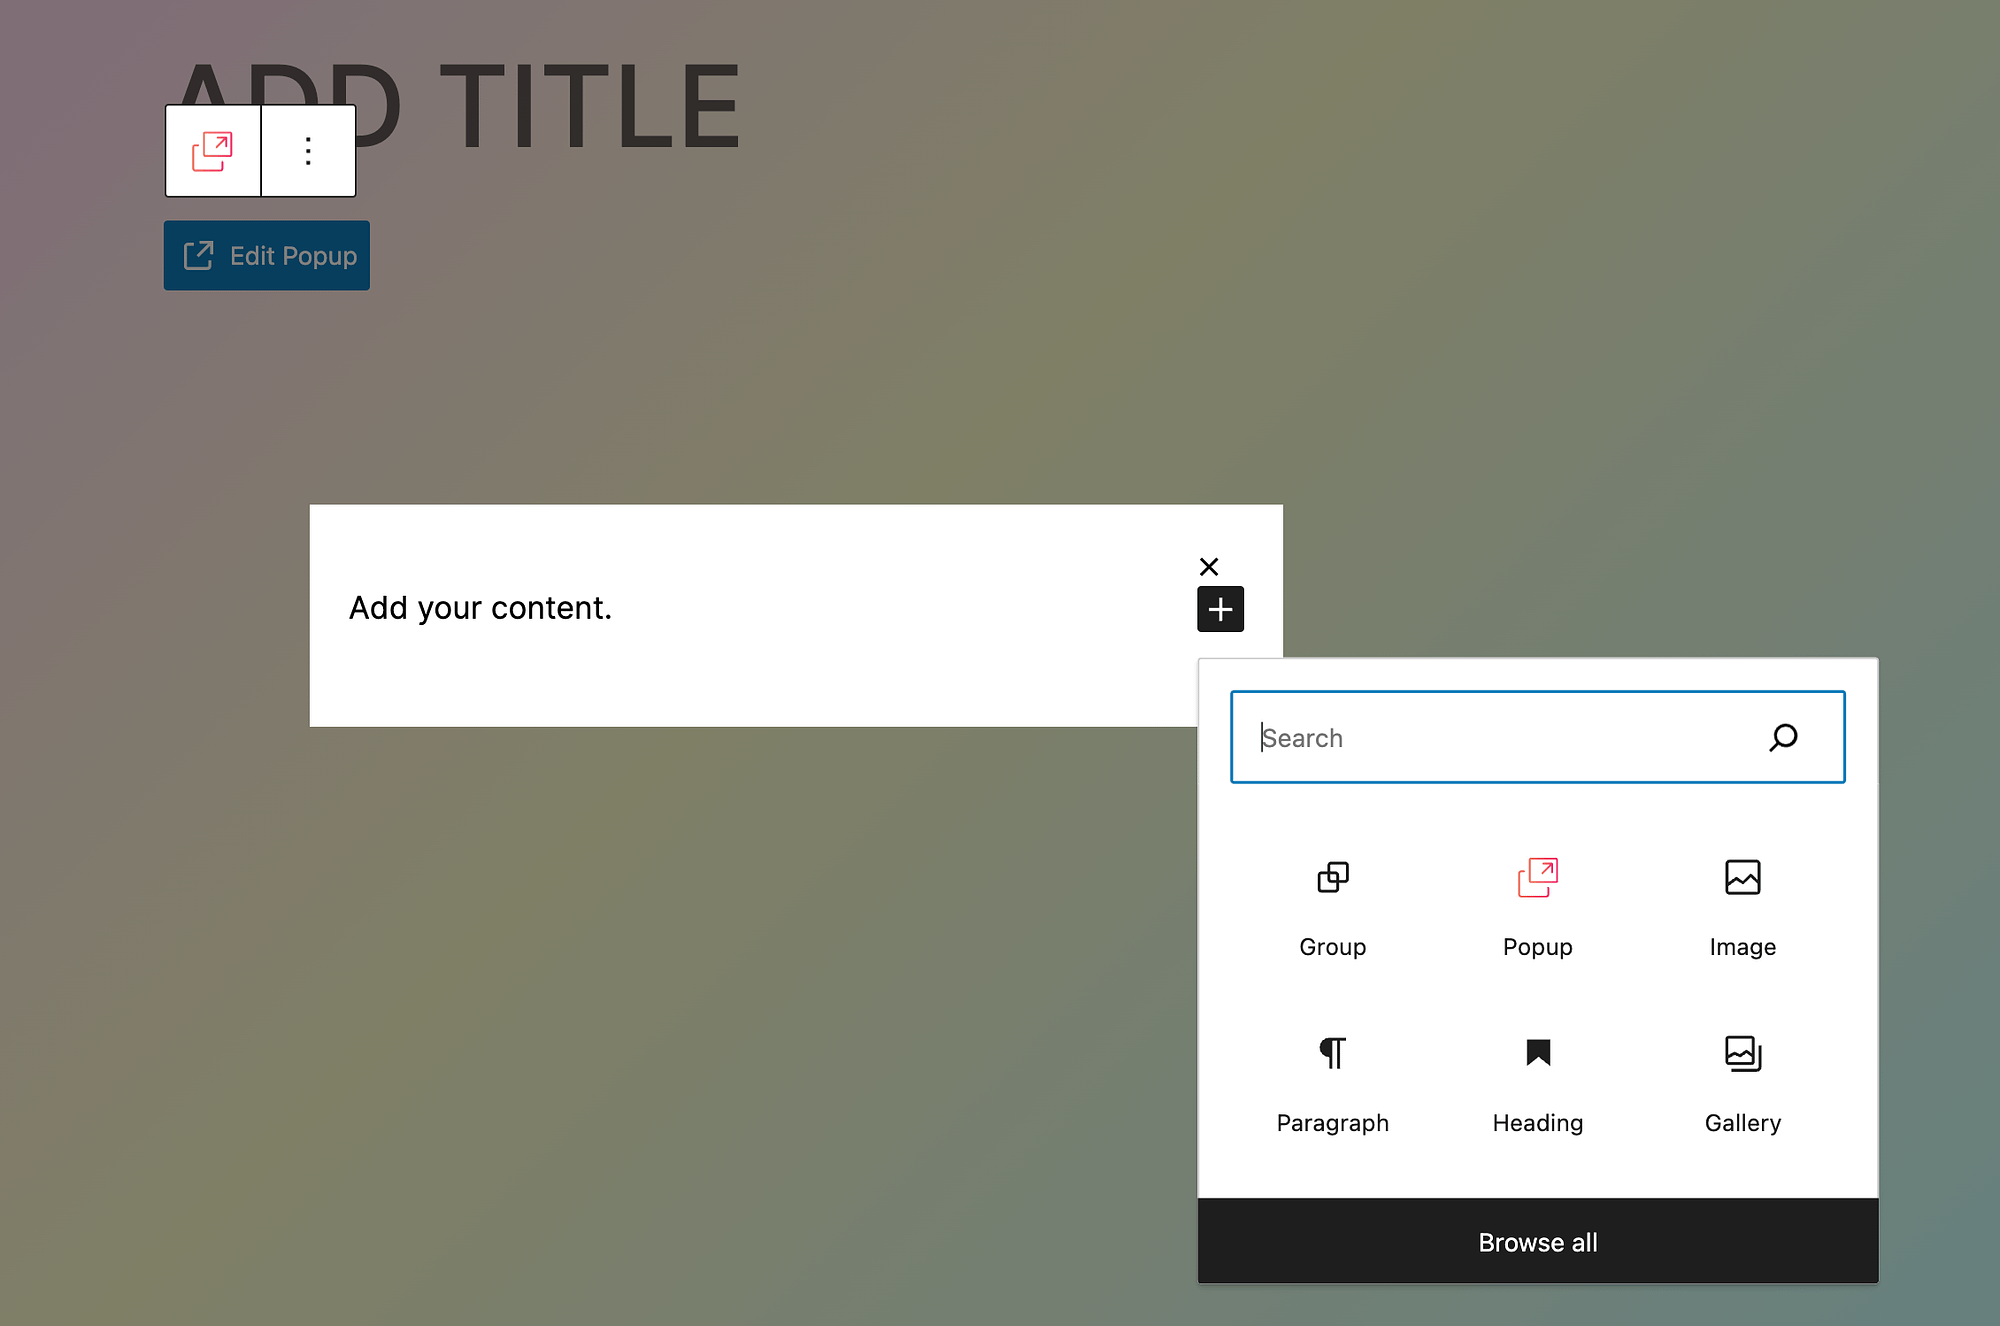
You may want to click through the prompts for a brief introduction. Otherwise, hit the plus icon to view your new Otter Blocks:

Then, click on the Popup block to add it to your post.
Step 3: Choose a popup block variation ⌛
When you add the popup block to your page or post, you’ll need to pick a popup block variation. This essentially determines the layout of your popup notification. There are three options:
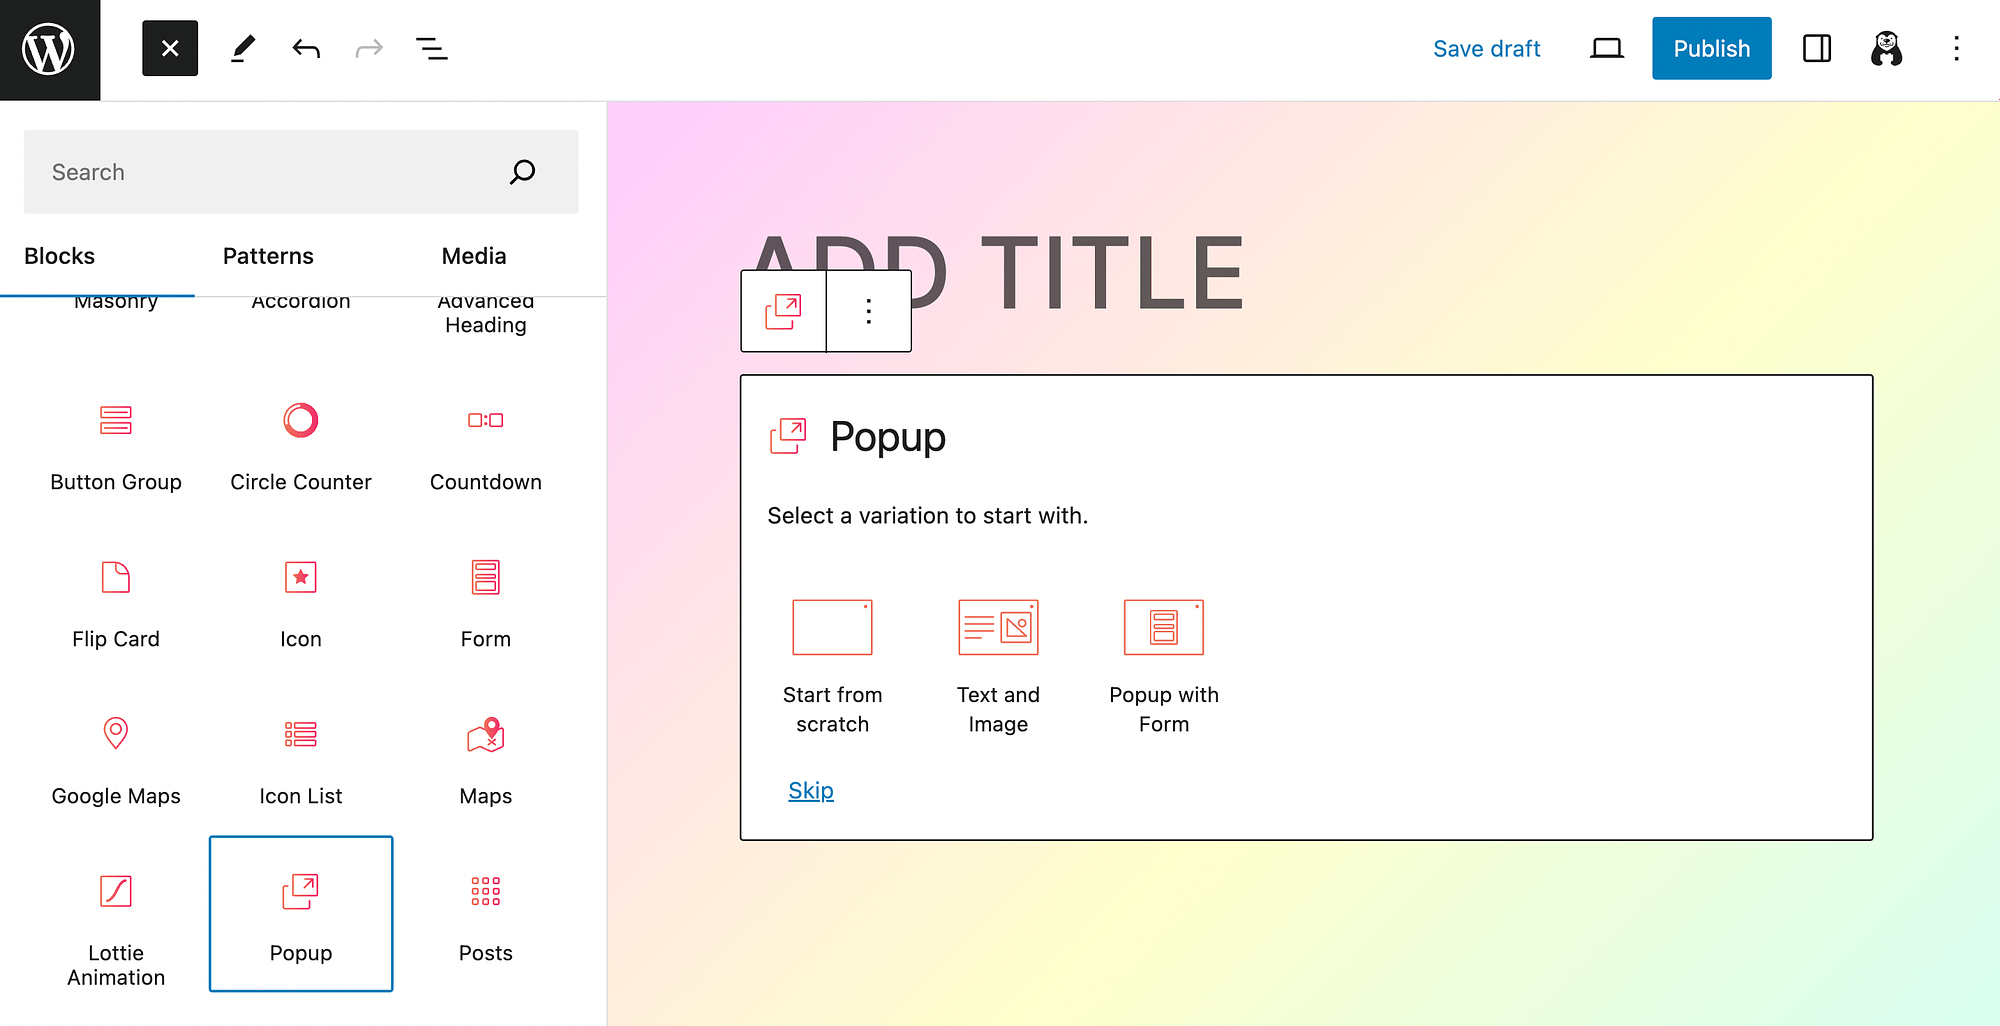
As you can see, you can opt to Start from scratch, use Text and Image, or create a Popup with Form.
Let’s see what each of those options looks like. Here’s what you’ll get when you Start from scratch:
Just click on Edit Popup to get started:
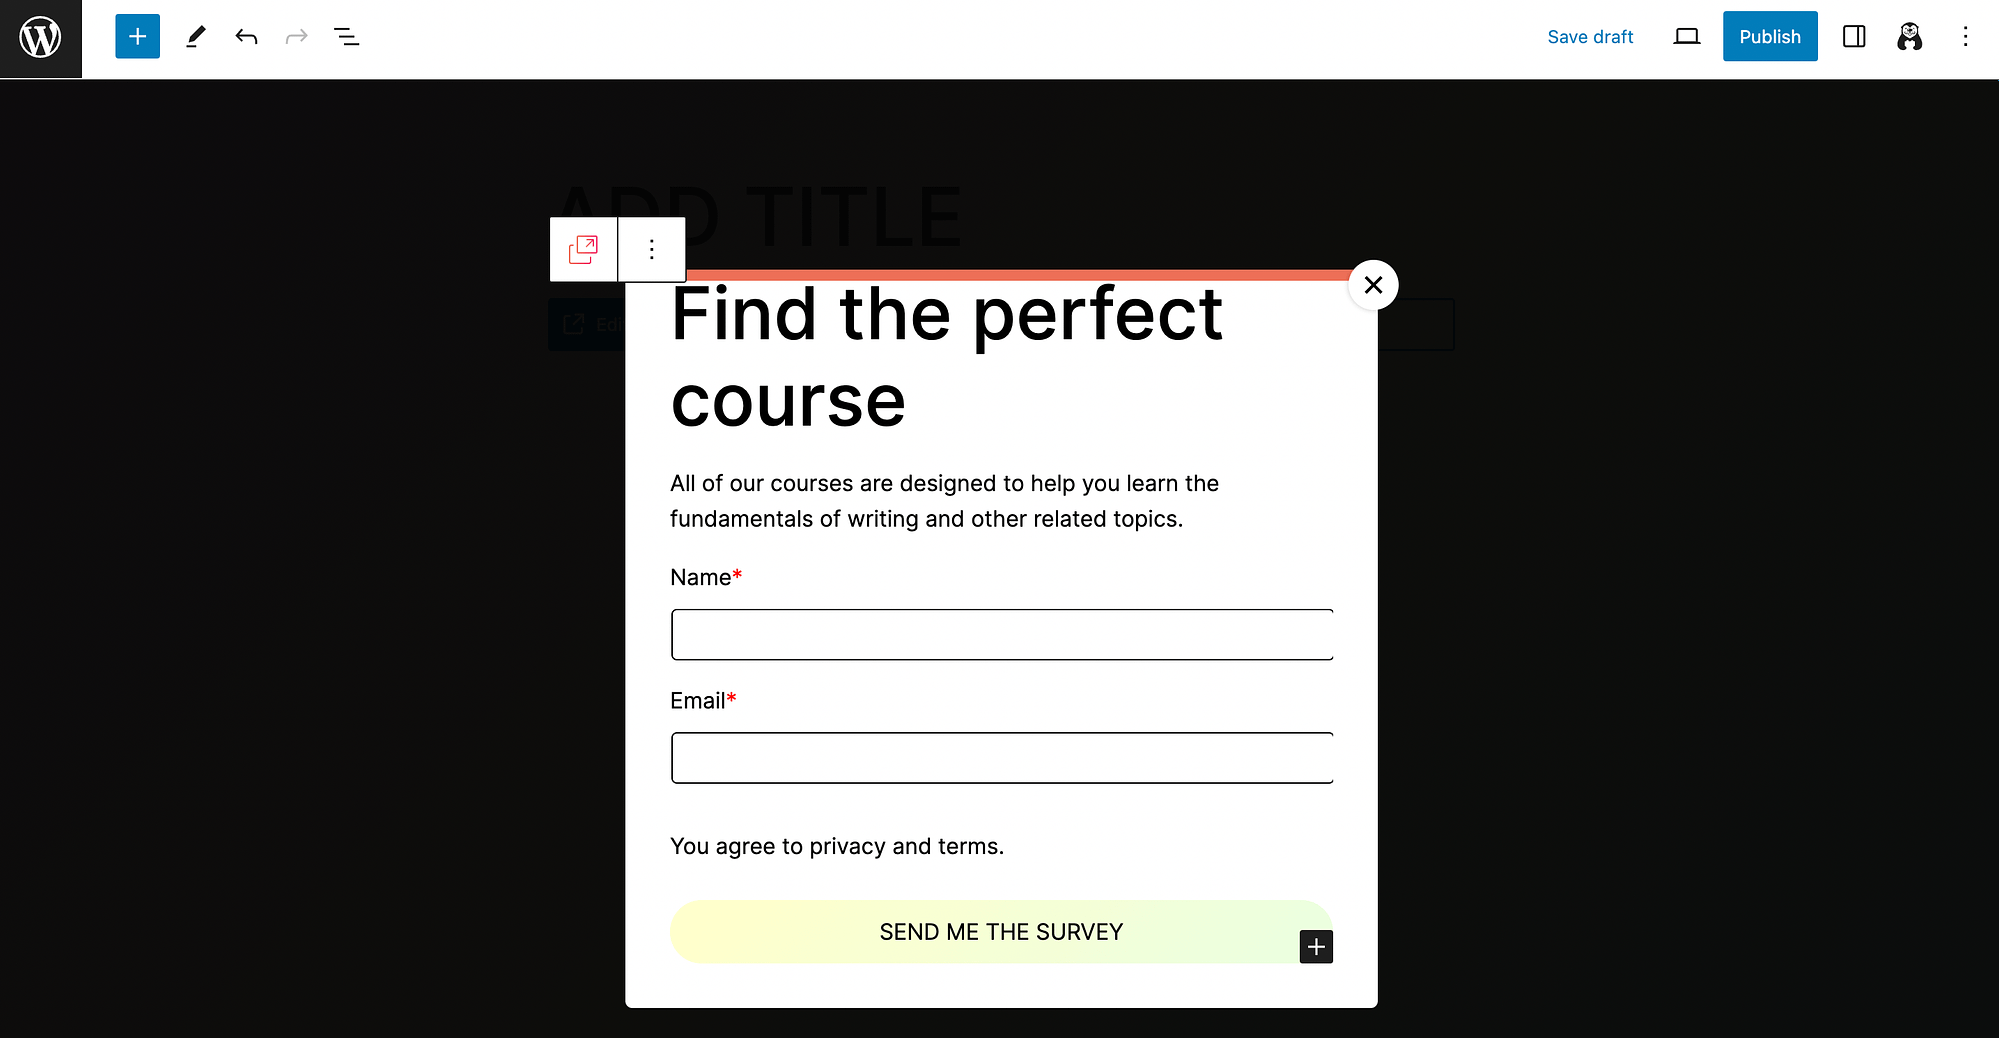
Otter Block’s popup builder allows you to add any block you like to your popup. Now, here’s what you’ll get by choosing Text and Image:
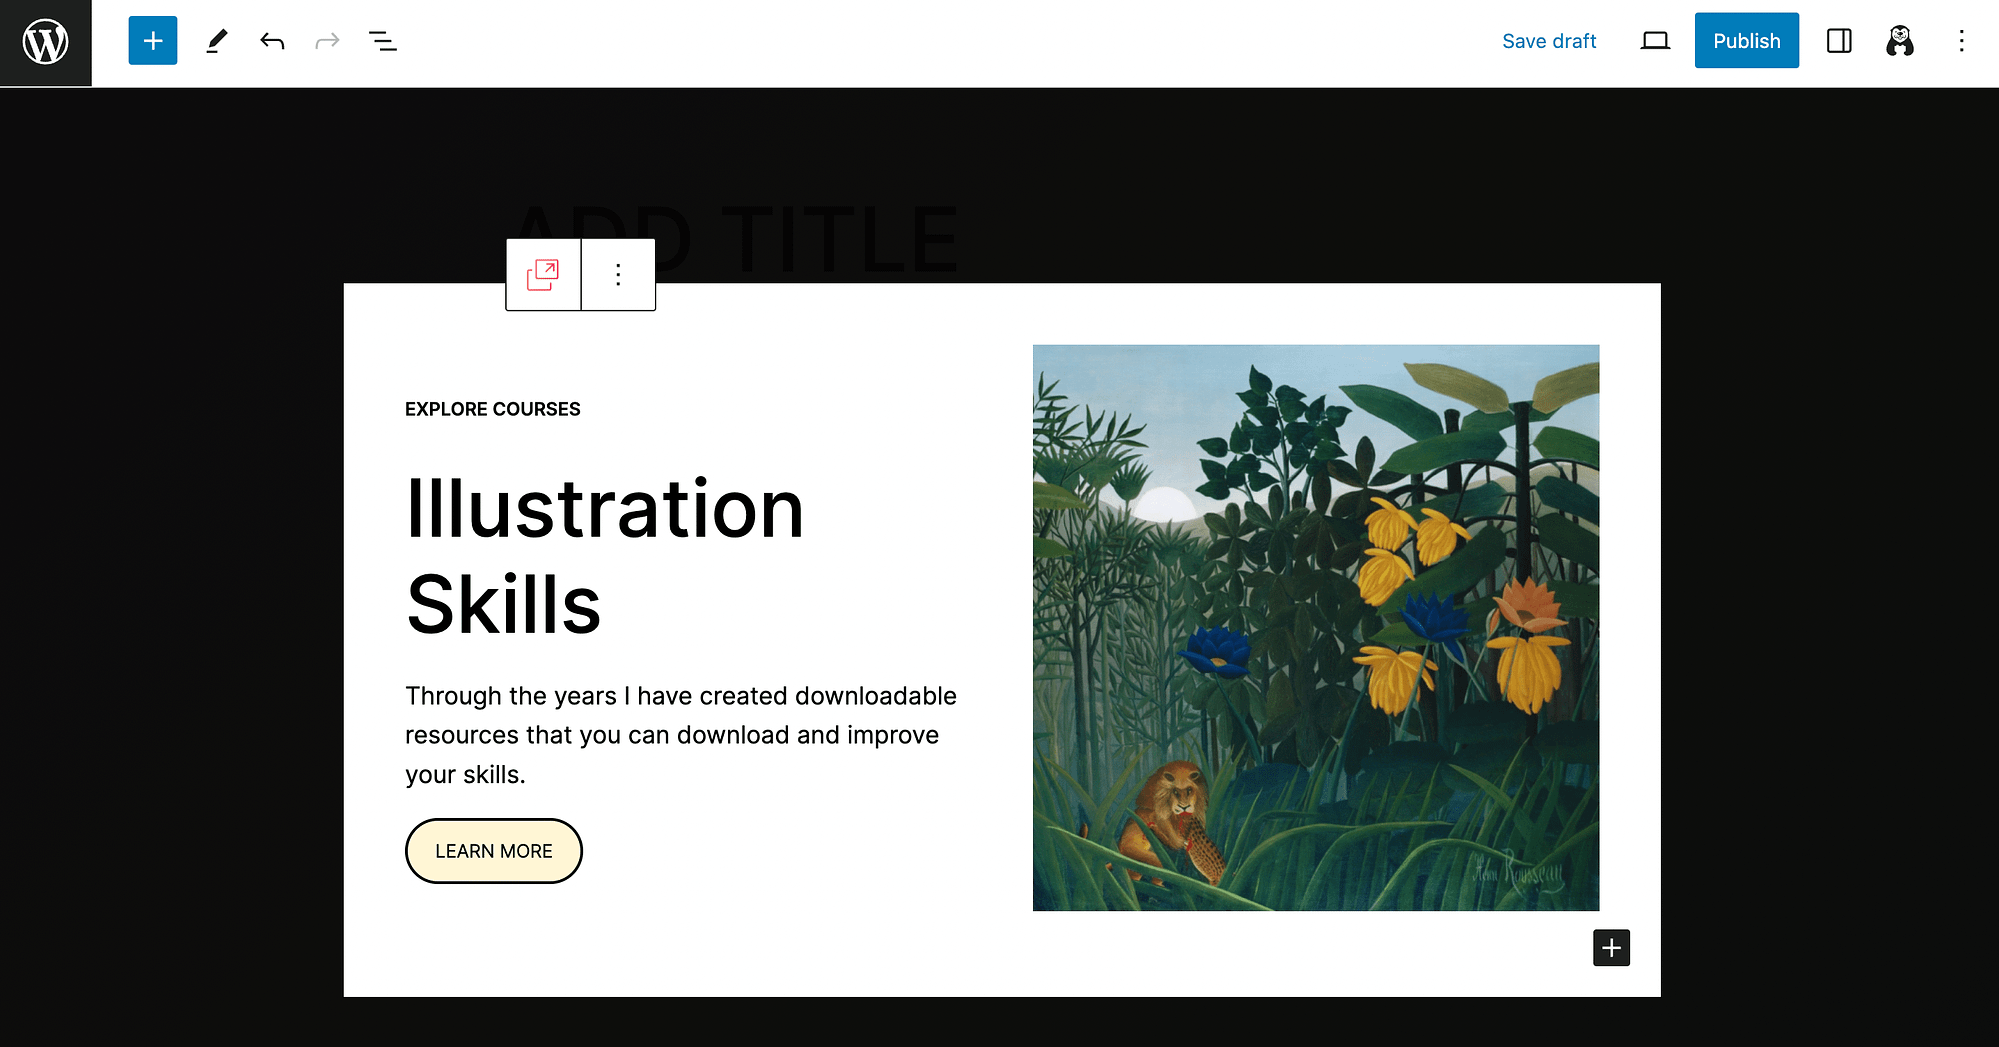
The popup variation has some placeholder content, so you can get a sense of the possibilities. Simply click on any element to modify it:
As you can see, this is an excellent template if you want to promote an online course. But it can also be useful if you want to advertise a freebie such as an ebook.
Now, let’s look at our final option, the Popup with Form:
This option also provides some good placeholder details to help you get started. And, as it can be seen, the form will match your site’s theme (colors, fonts, etc.) by default.
Step 4: Customize your popup notification 🖱️
Finally, let’s go over how to customize your popup notification. We’ll move forward with the popup form example, since this is one of the most common use cases.
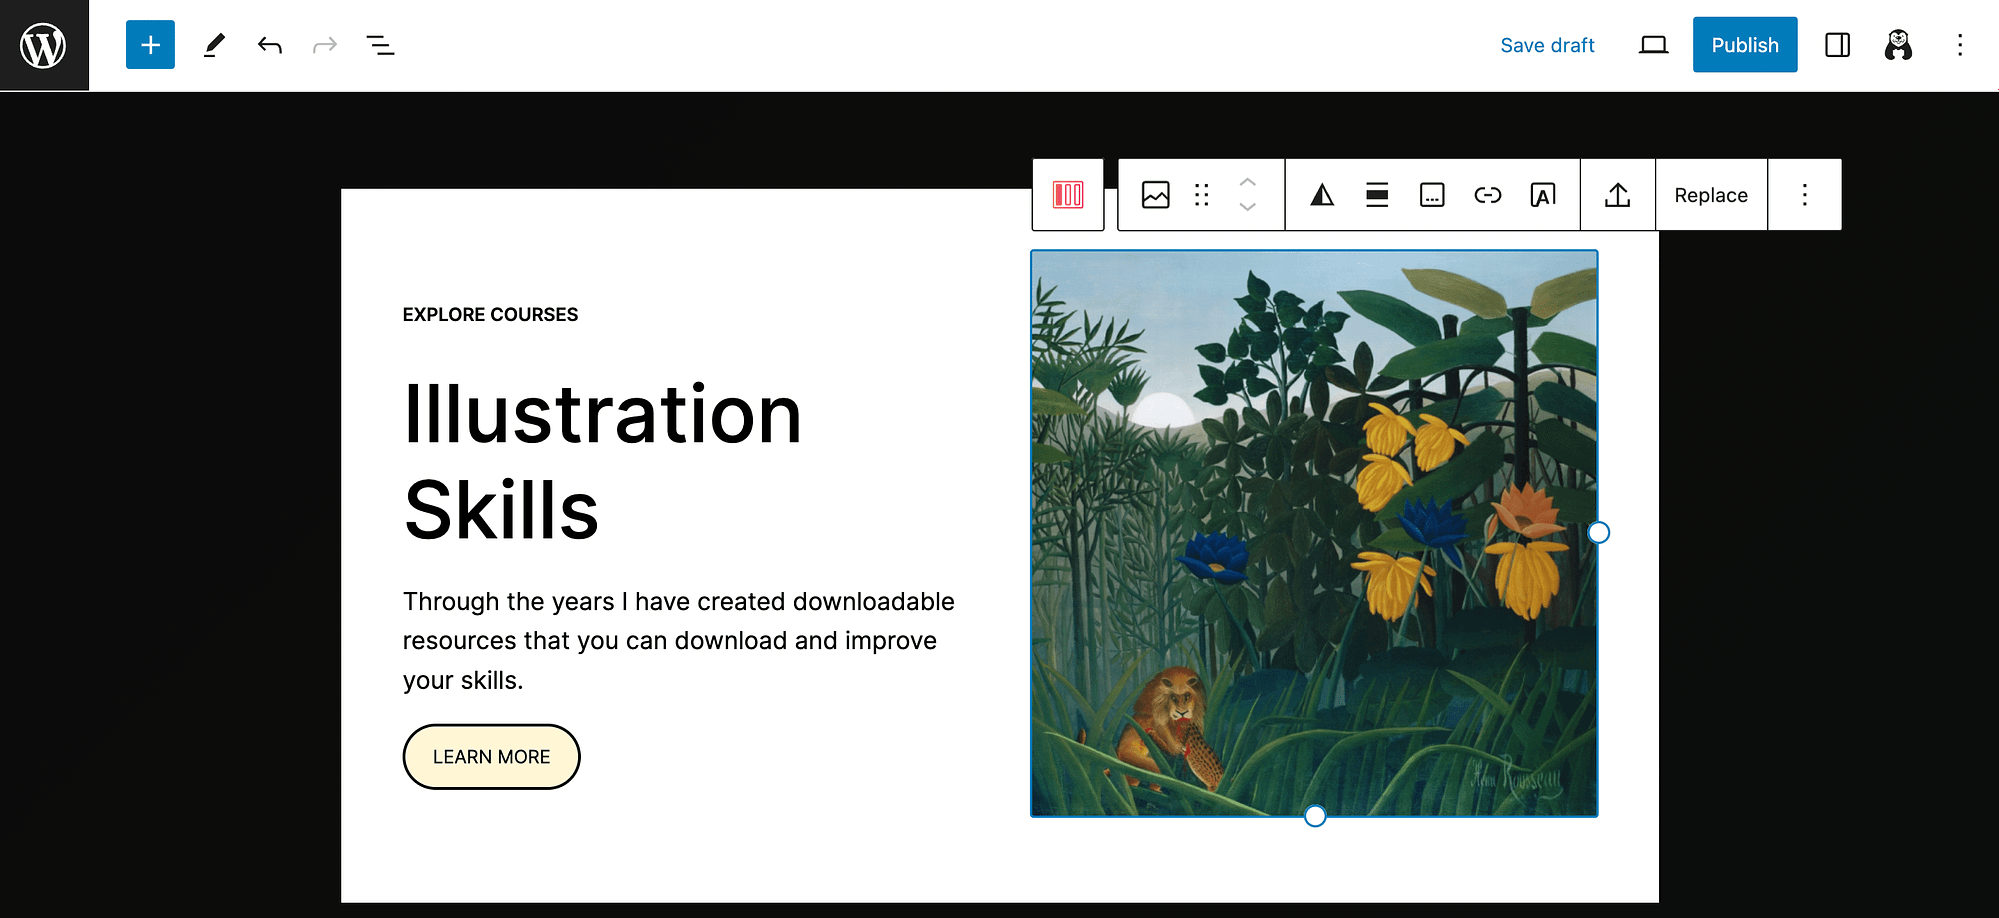
Let’s say we want to create a newsletter sign up form. For starters, we’ll click on our headline to open up our customization options:
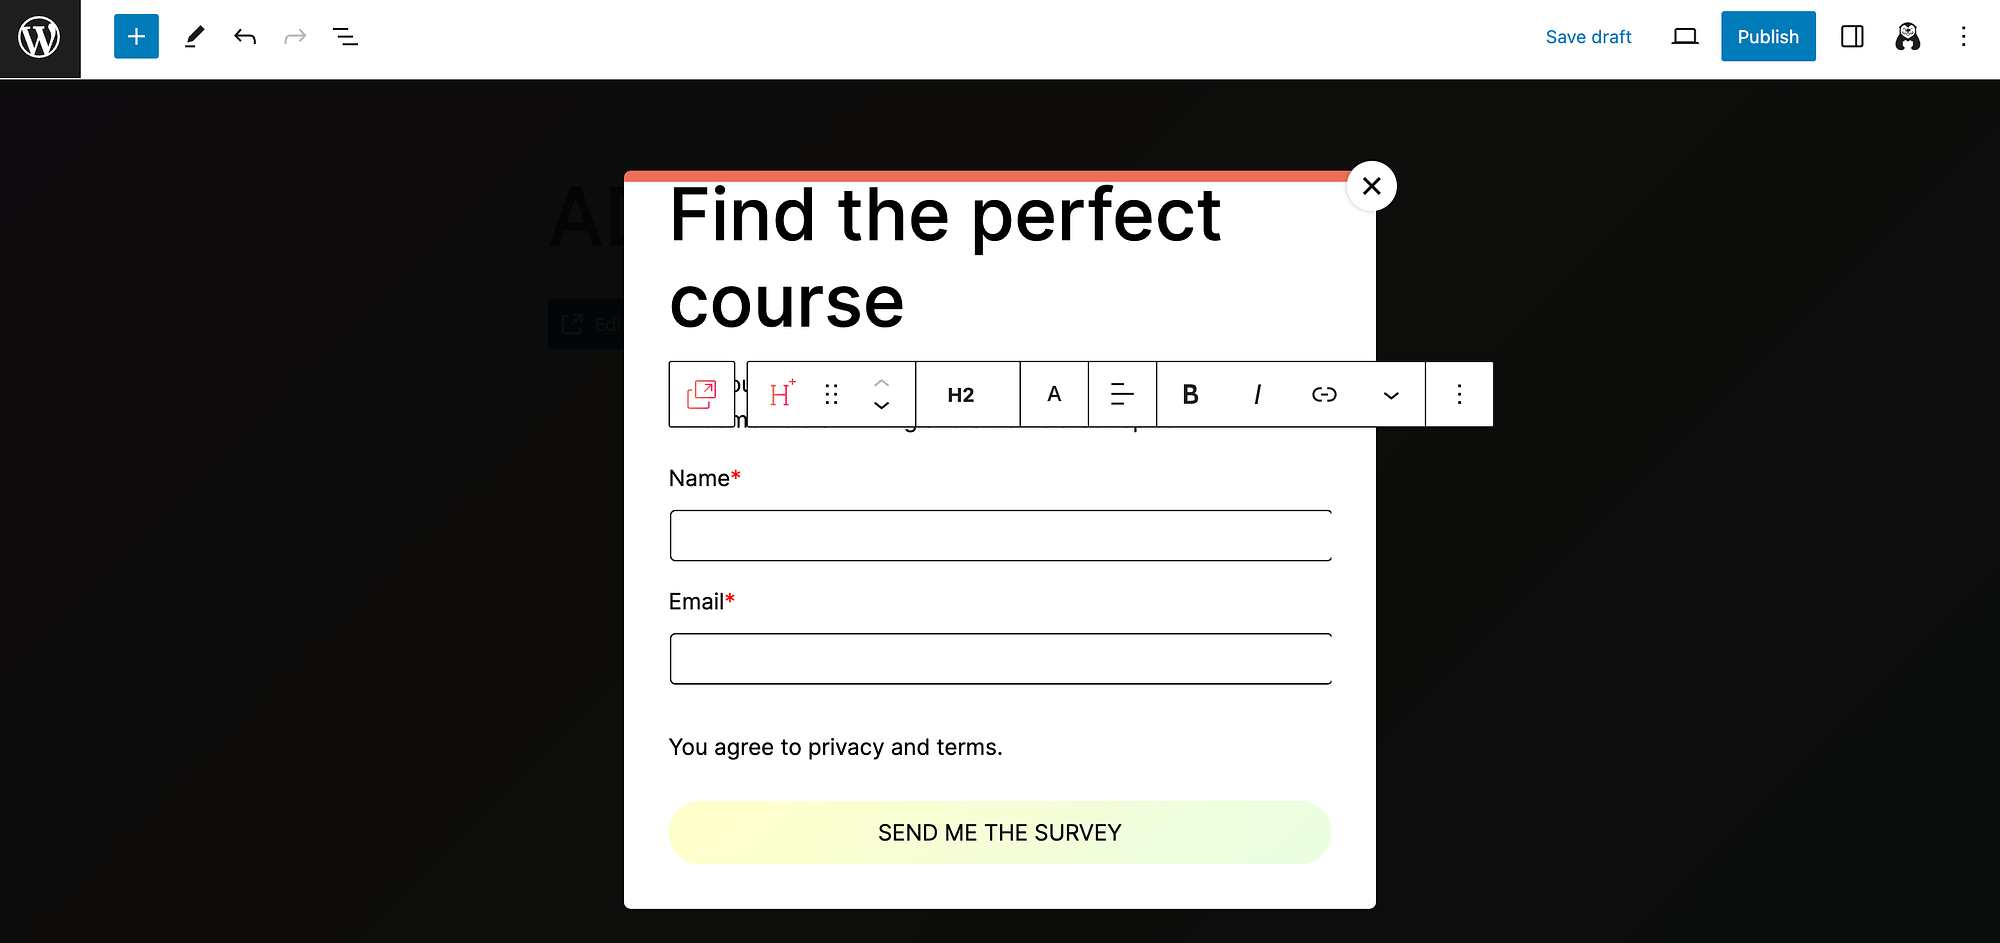
We’ll change the text and font:
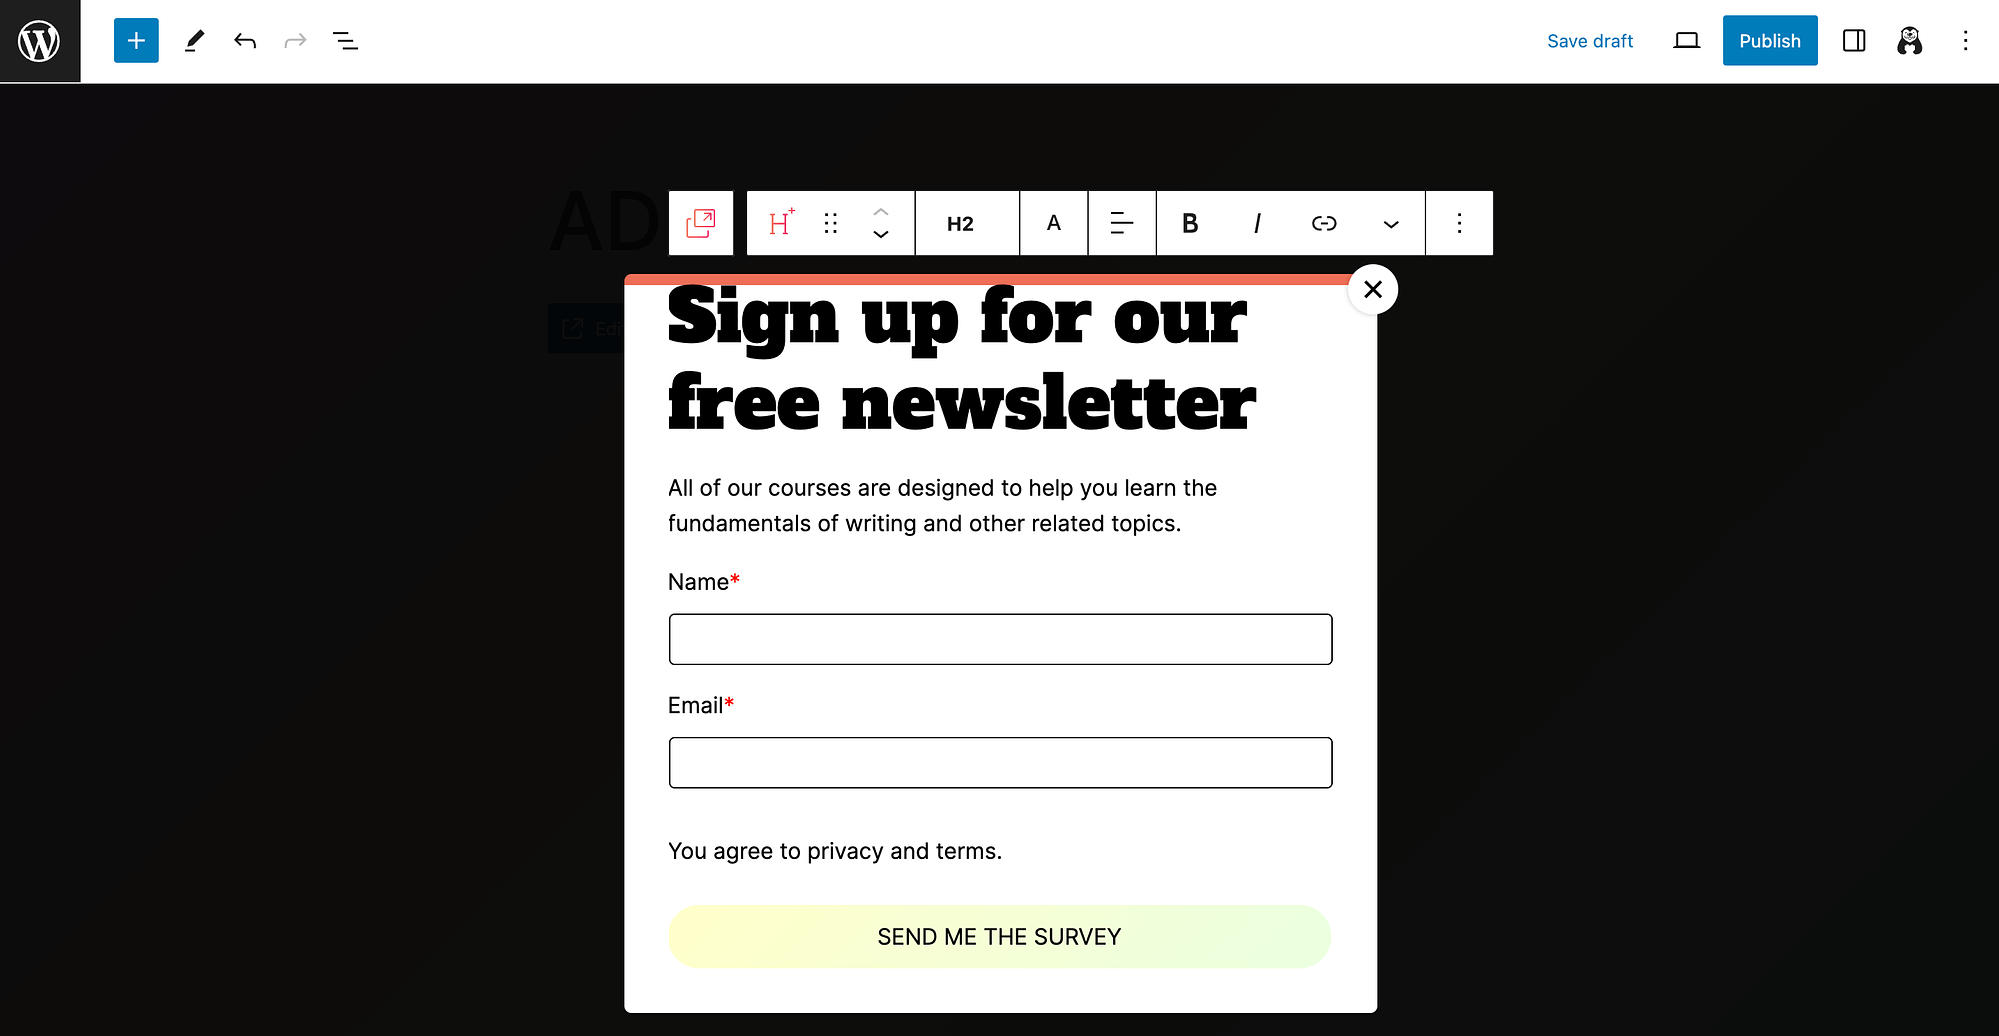
After that, we’ll modify the rest of the text and the call to action (CTA) button:
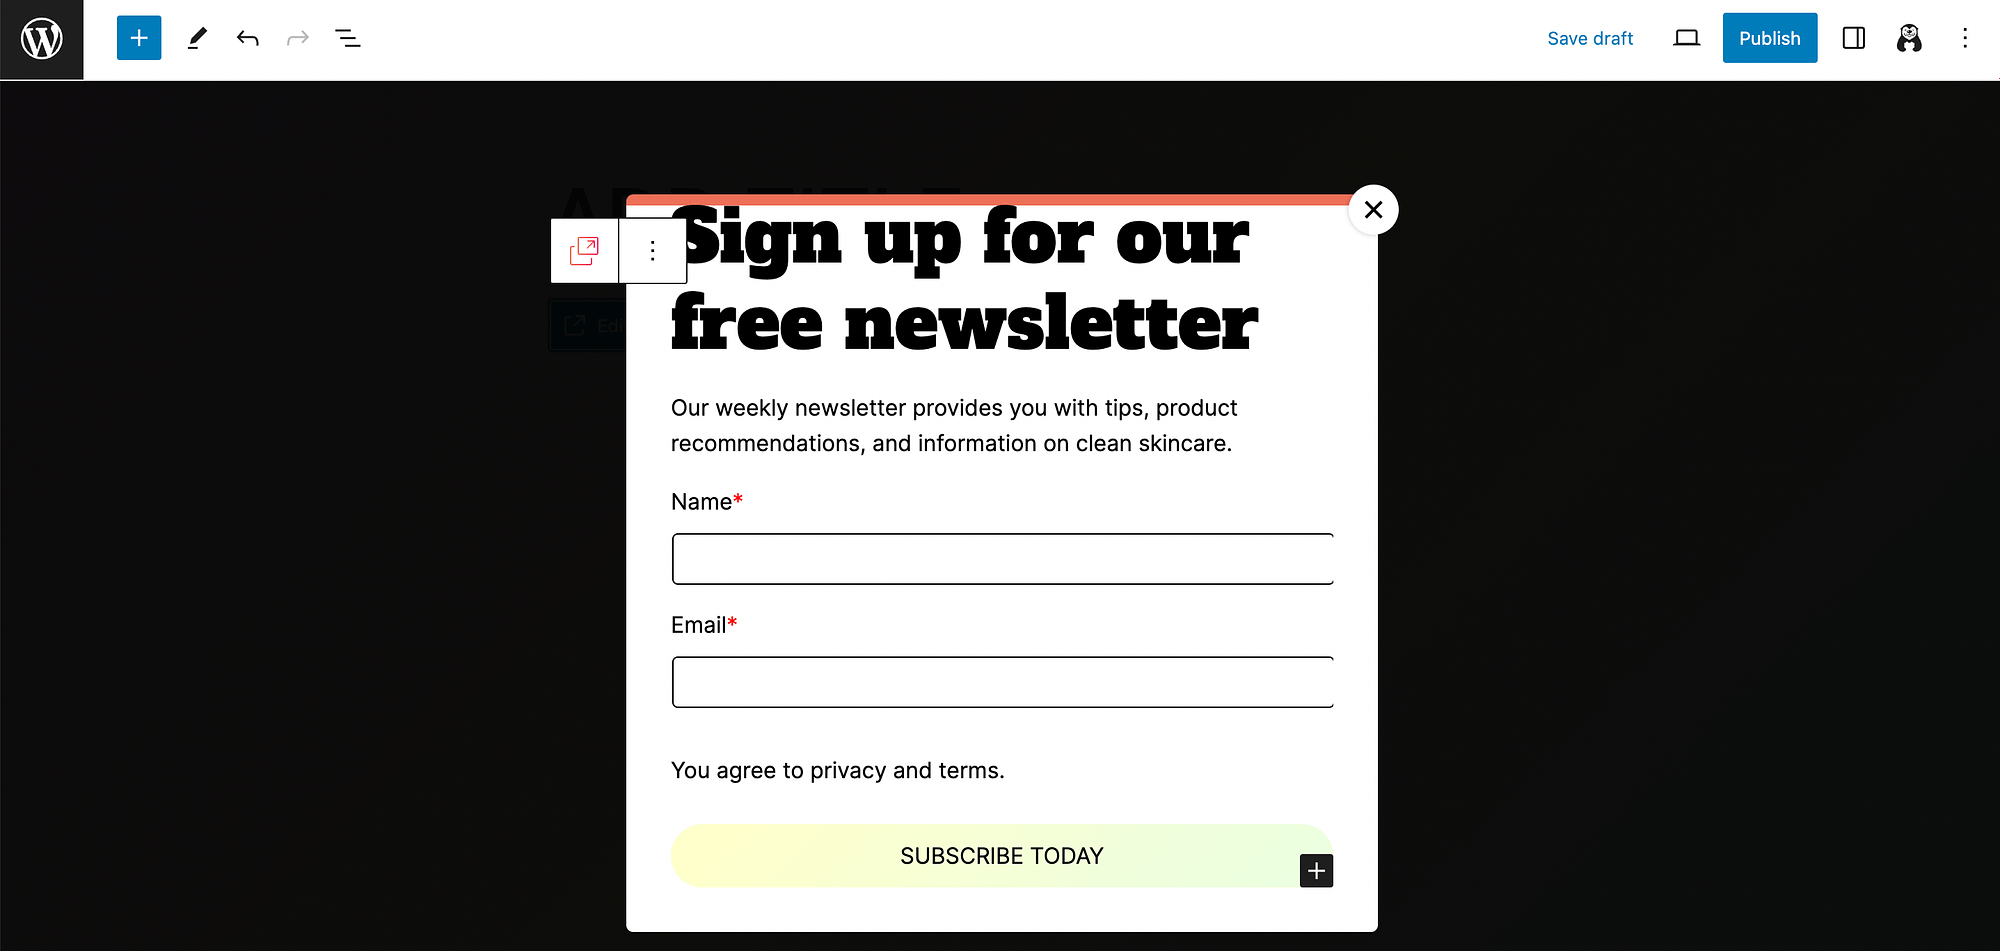
If you haven’t already, it’s a good time to expand your settings on the right. You’ll see the same customization options as in your horizontal menu, in a slightly more user-friendly way.
Now, we’ll want to access our popup-specific settings. To do this, first make sure you’ve selected the entire popup block (and not one of the elements within it). Then, go to Popup settings:
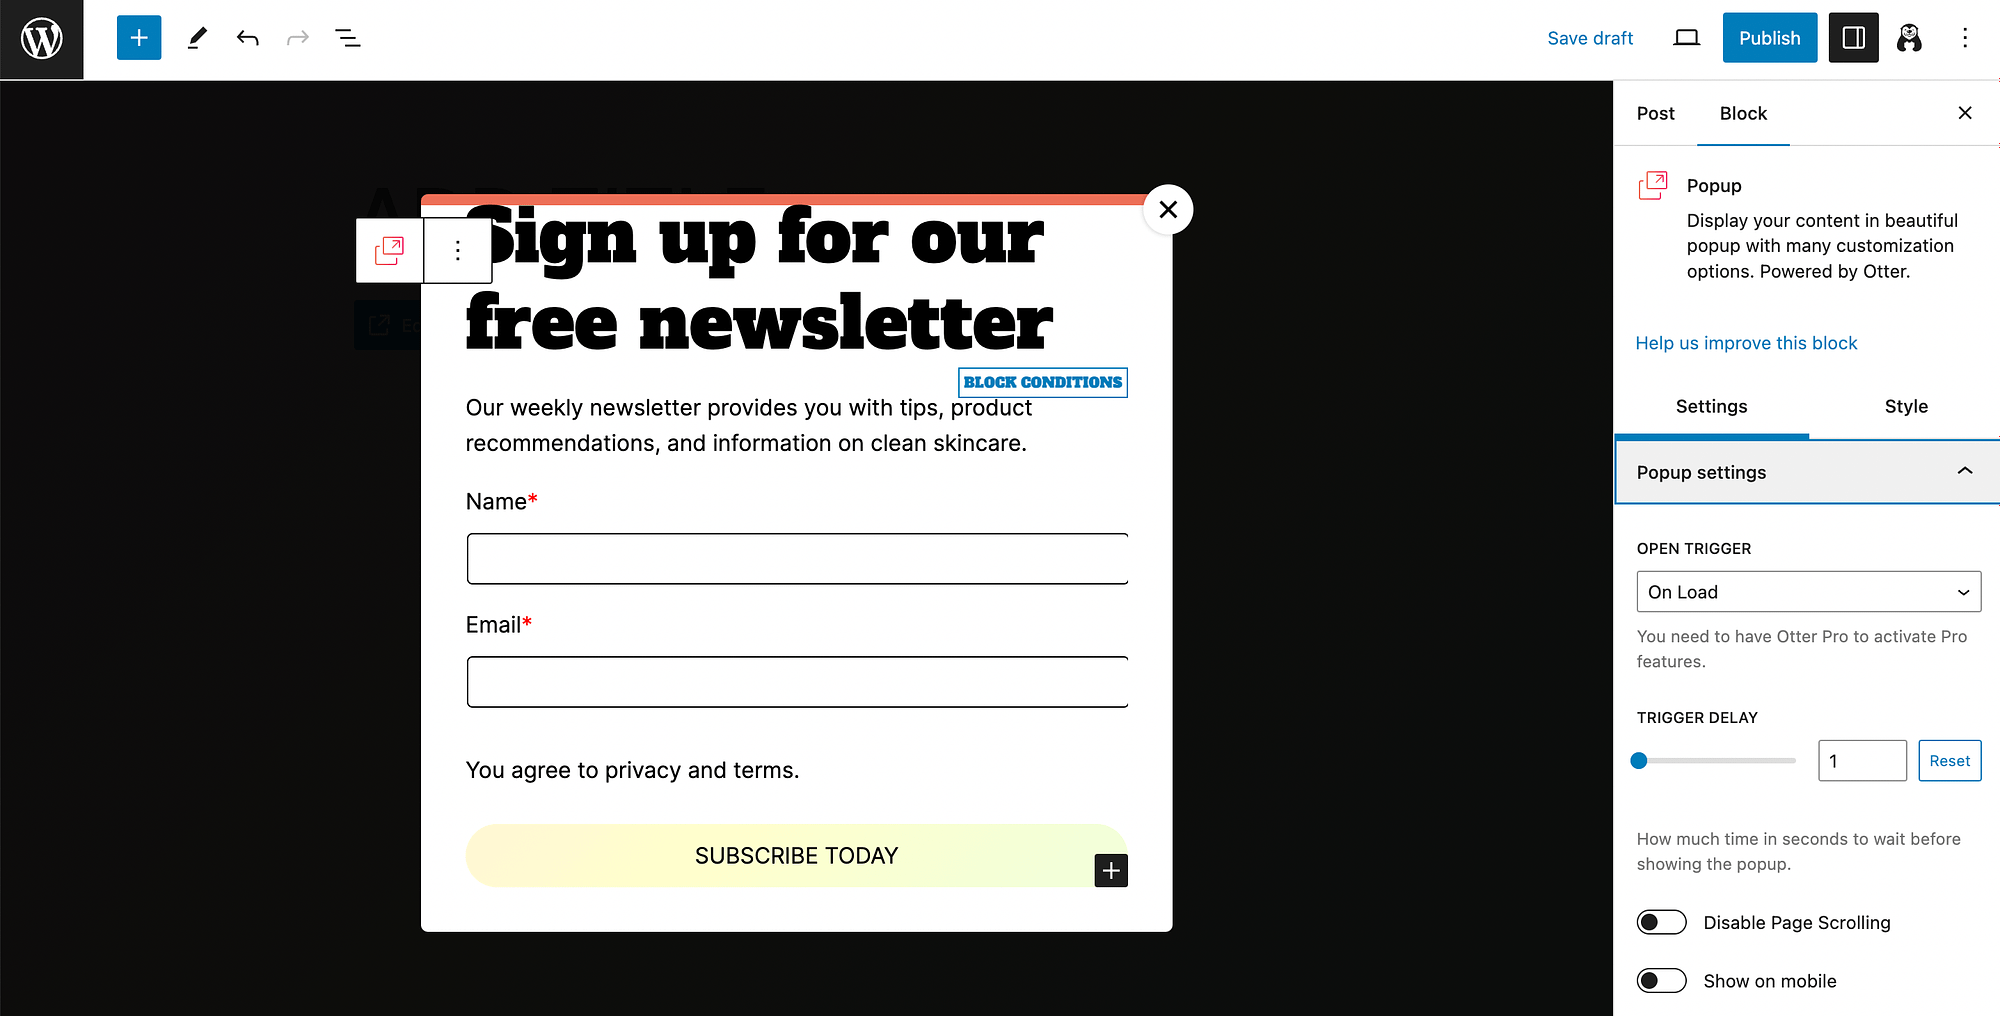
Here you can customize your Open Trigger. You’ll be able to choose the Trigger Delay in seconds, Disable Page Scrolling, and decide whether to show your popup on mobile devices.
Then, keep scrolling to access settings for Popup Position:
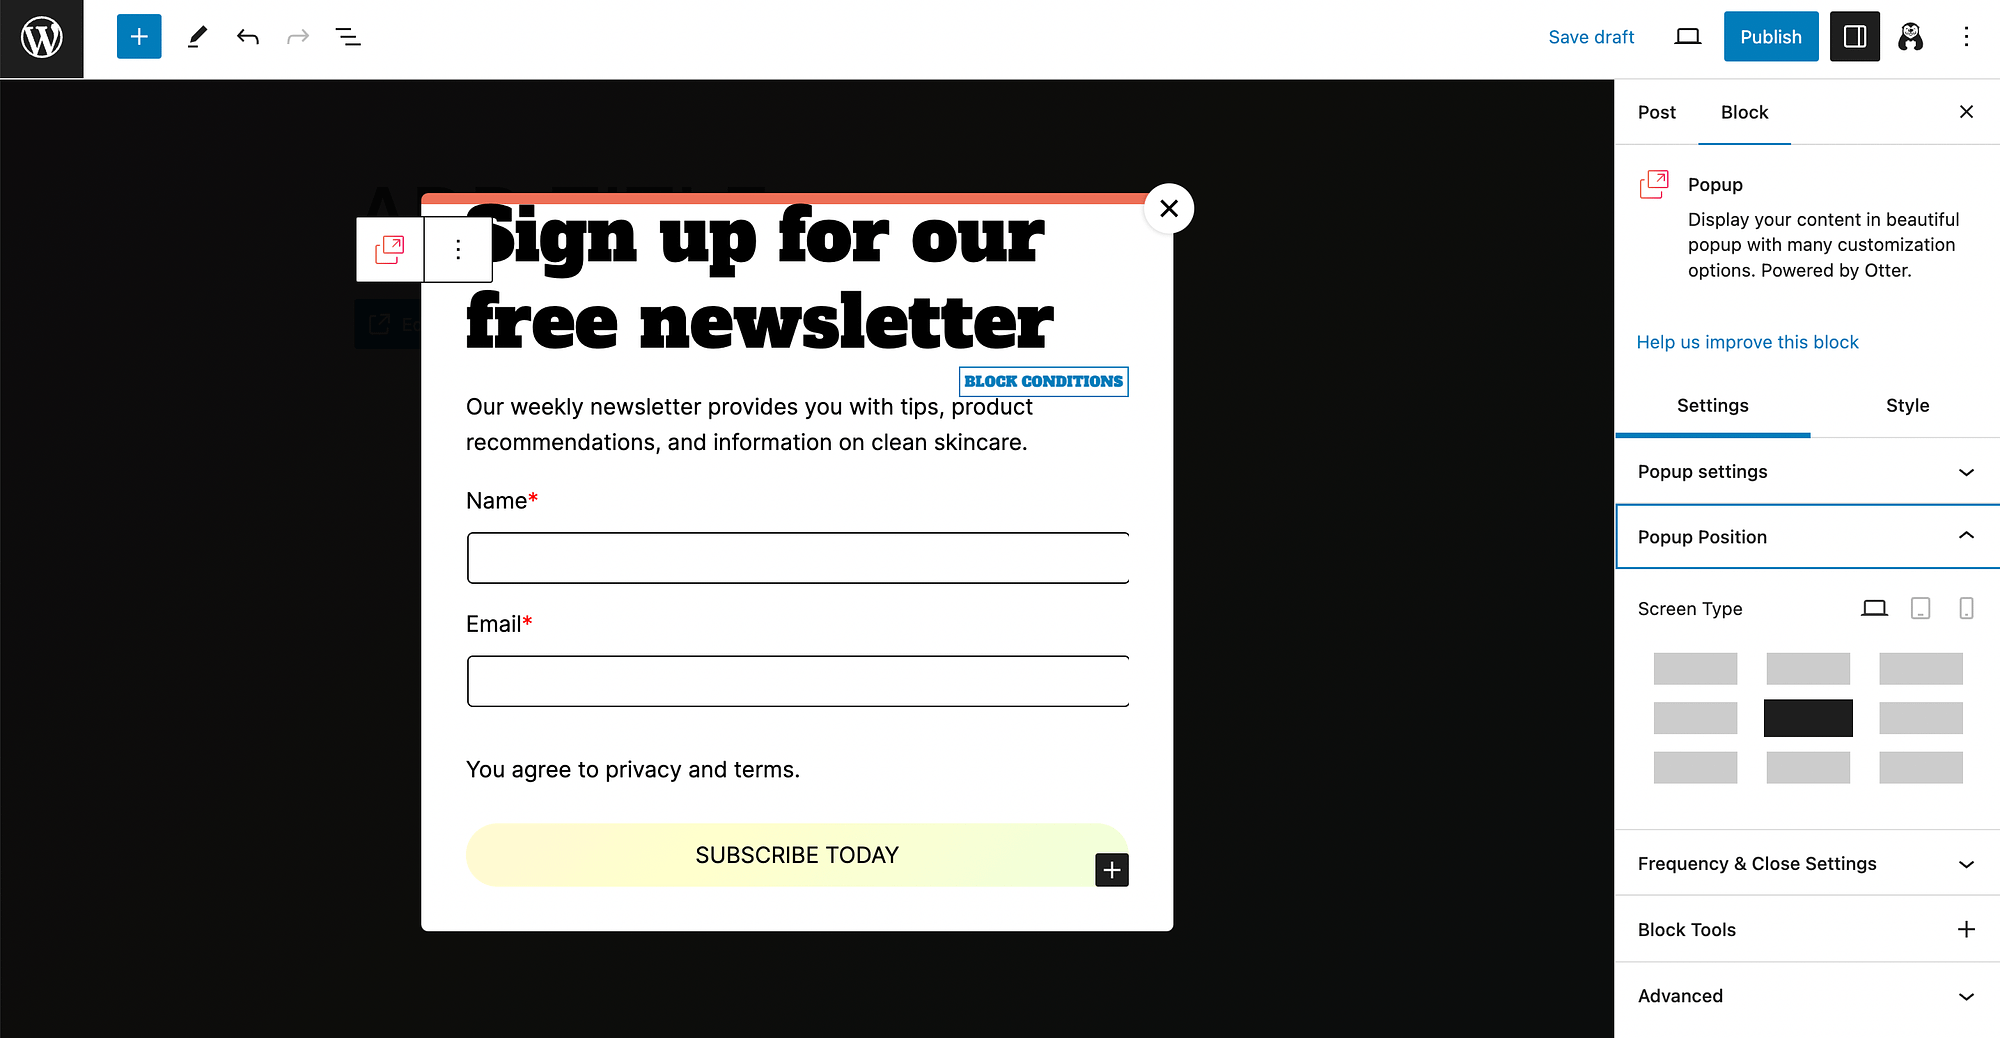
As you can see, you’re able to configure your popup to appear anywhere on the screen, and customize it by screen type. After that, expand your options for Frequency & Close Settings:
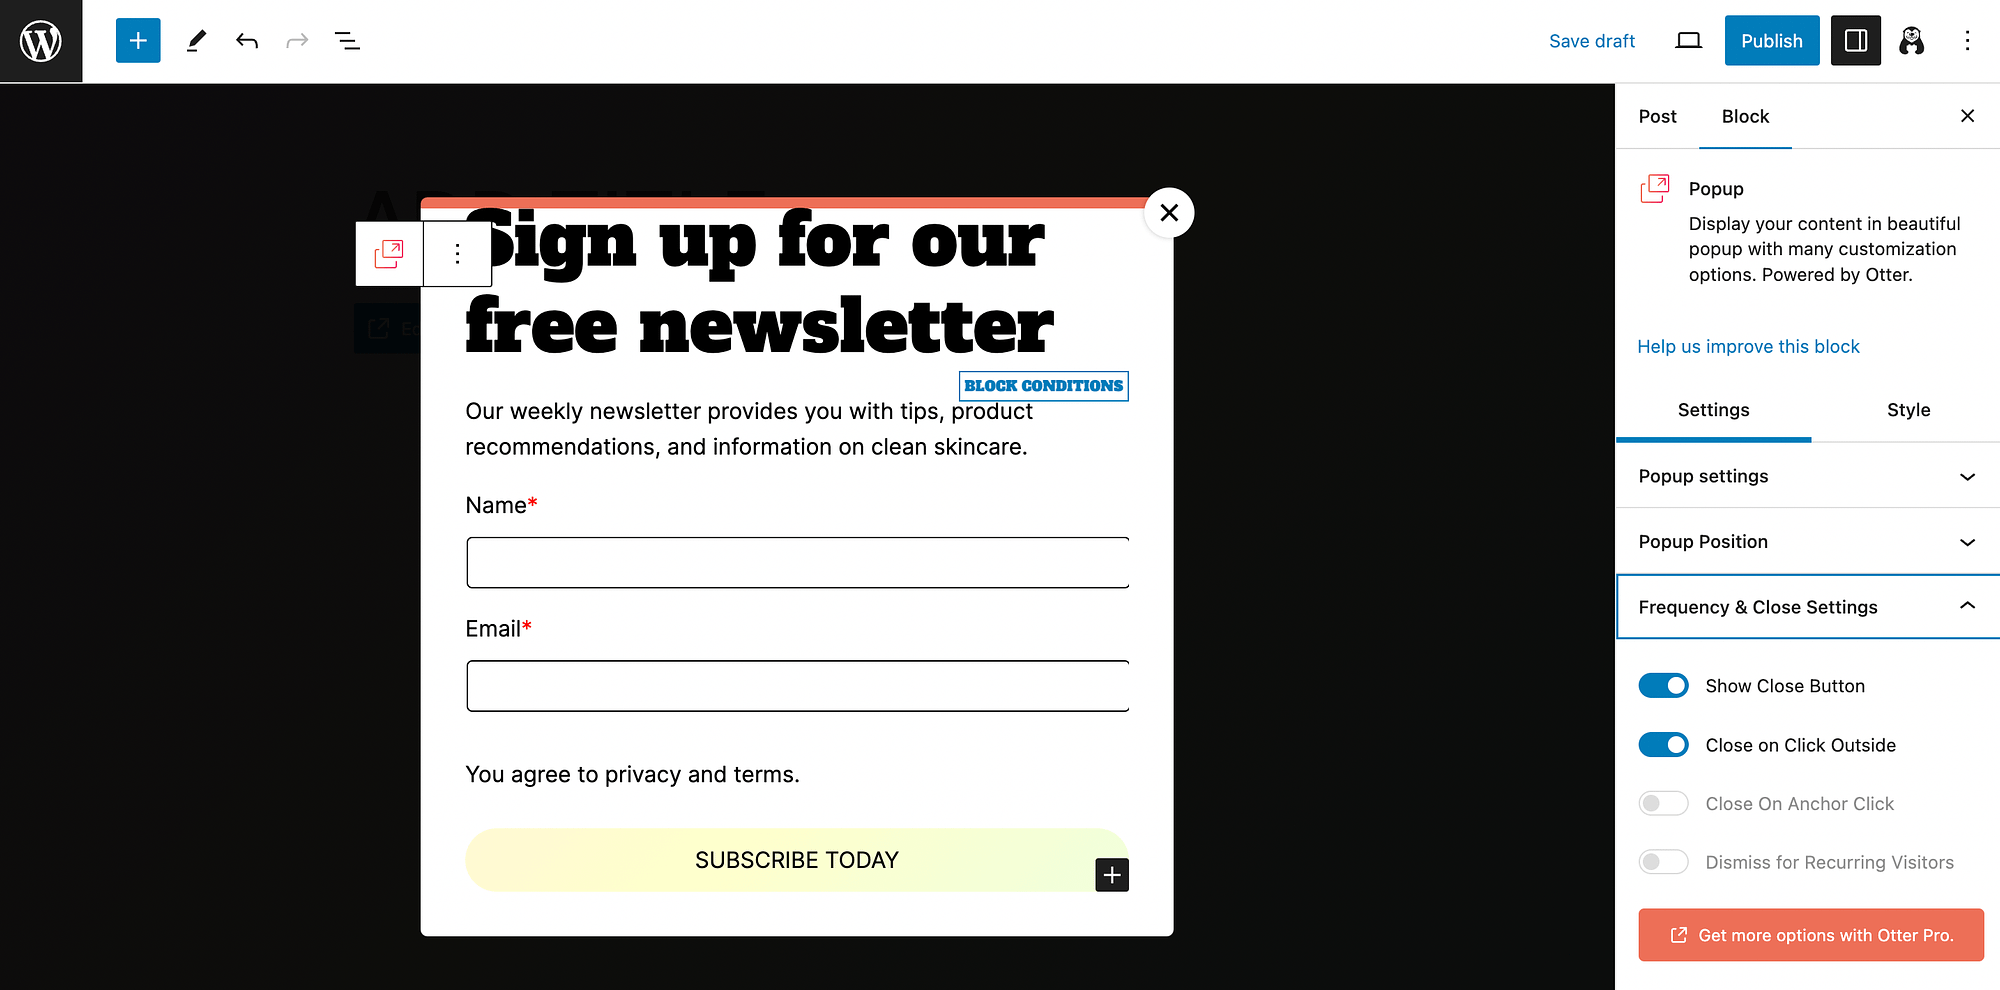
Keep in mind that you’ll get more options when you upgrade to Otter Blocks Pro. You can also customize other elements such as background color, image placement, and animation effects.
When you’re finished making your changes, simply hit Save Changes or Publish.
Best practices when using a popup notification in WordPress
Now that you know how to create a popup notification in WordPress, let’s go over some best practices for using them.
As we mentioned at the beginning of this article, popups have the potential to improve UX and drive conversions. However, they can be a double-edged sword. Why? Because they can easily become bothersome to users.
🎯 To avoid this, consider the following tips:
- Keep it simple: Popups should be concise, and have a clear CTA (ideally in the form of a button).
- Give users choice: To avoid frustrating users, always give them the option to close a popup.
- Use visuals: A popup can get people’s attention, but a relevant and eye-catching image can help keep it long enough to convert.
- Avoid mobile: Due to screen size, popups can be super annoying on mobile, so you might want to disable this option (or customize it carefully).
- Don’t overdue it: While it may be tempting to include popups on every page, this can overwhelm users, so place your popups sparingly.
- Relevant to the content of the page on which they appear. This will help to ensure that users do not find them to be intrusive or irrelevant.
🤩 When you take these best practices into account, you’ll be on your way to a successful popup campaign!
Conclusion 🧐
Whether you run a community-based website or an online store, getting your visitors’ attention can be challenging. Popup notifications can help you create a CTA or message that supports conversions. But, WordPress core doesn’t include popup functionality by default.
The good news is that you can use a free and beginner-friendly tool like Otter Blocks to create eye-catching popups. Then, you can customize their appearance, including layout, fonts, colors, and more. Finally, you’ll want to carefully customize popup settings for placement, timing, and more. ⚙️⚙️⚙️
Do you have any questions about how to make a popup notification in WordPress? Let us know in the comments section below!