If you want to launch a website, WordPress is an excellent platform for the job. It’s beginner-friendly and highly customizable. Plus, it can build everything from simple blogs to ecommerce stores. Before you can set up your site, you’ll need to choose between self-hosted WordPress and hosted WordPress, and you might not be sure what the difference is.
To put it simply, WordPress itself is free and open-source software. But it needs a web host to provide the server and resources to go online. With self-hosted WordPress, you choose your own hosting provider and enjoy more control over your site.
What is a self-hosted WordPress site?
If you’re not familiar with website building, and you’re new to the Content Management System (CMS), one of the most confusing things about WordPress might be that there seem to be two different types: “self-hosted” and “hosted.”
However, in reality, there is only one WordPress, which is free and open-source:
Still, a WordPress site requires a domain name, server space, and other resources in order to go online.
Web hosting providers can typically provide all of these things (unless you opt to purchase a domain separately from a domain registrar).
That brings us to the key difference between self-hosted WordPress and hosted WordPress.
Essentially, when you opt for self-hosted WordPress, you choose your own web host and install the software from WordPress.org.
On the other hand, you can choose hosted WordPress. That means you’ll sign up for a premium account on WordPress.com, which includes hosting.
Why is self-hosted WordPress important?
So, you might be wondering what the big deal is when it comes to self-hosted WordPress and the WordPress.com versus WordPress.org debate. If you’re not familiar with WordPress development, the difference may seem subtle. But it can actually have a big impact on your site.
Most importantly, self-hosted WordPress gives you more choice. Right off the bat, you’ll have more options when choosing your own web host. For example, you can pick shared hosting, dedicated hosting, managed hosting, or anything in between.
Meanwhile, with WordPress.com your options will be more limited. Furthermore, when you opt for self-hosted WordPress, you’ll be able to customize almost every aspect of your site.
You’ll be able to create and use custom themes and extend your site using any plugin you like. On the other hand, WordPress.com somewhat limits your customization options, and you’ll need one of its higher-tier plans to access plugins.
Therefore, as you can see, the choice between self-hosted and hosted WordPress essentially determines how you’re able to build and manage your site.
Basically, self-hosted WordPress allows more control over the site and customization options, while hosted WordPress has limitations on customization and requires higher-tier plans to access certain features.
How to set up a self-hosted WordPress site (in 4 steps)
Now that you know what self-hosted WordPress is, here’s how to set one up in a few simple steps.
- Choose a web host and install WordPress
- Pick a WordPress theme
- Design your main WordPress pages
- Install essential plugins
1. Choose a web host and install WordPress 🖥️
As we mentioned, if you want to create a self-hosted WordPress site, the first step is to choose a web host. You’ll want to consider the type of site you’re building when you make this choice.
For instance, you may want to build a modest personal blog or an elaborate ecommerce store. Alternatively, you may be interested in building a community website.
You might also consider the anticipated size of your site and how many resources it will need. It’s a good idea to learn about the different types of WordPress hosting and consider the cost of what you require.
When you have an idea of your needs and budget, you can start your search. If you’re not sure where to begin, you could check out our article on the best WordPress hosting for beginners.
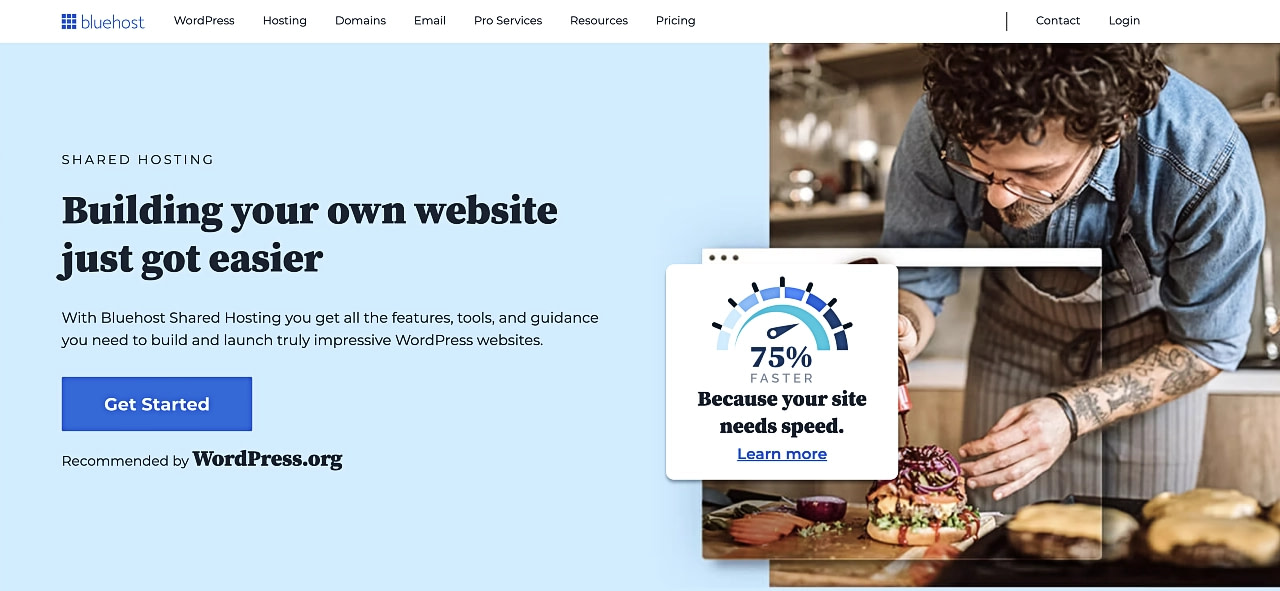
On this list, you’ll find popular and dependable choices like SiteGround and Bluehost:
Once you’ve found a host that fits your needs, you should also carefully select your hosting plan. For instance, if you’re launching an online store, you might want to select a scalable plan. This way, your site can grow with your business.
After you’ve signed up for your hosting plan and acquired a domain name, you’ll be ready to install WordPress. This process will be different for every hosting provider.
But if you opt for managed WordPress hosting, you’ll likely have access to a simple, one-click installation. If not, you can check out our beginner’s guide on how to install WordPress.
2. Pick a WordPress theme 🎨
After you install WordPress, you’ll need to choose a WordPress theme. This is like a template that determines the overall appearance of your site.
For example, it will dictate what your navigation menu, header, and footer look like. Of course, all themes can be customized to some extent.
What’s more, you can choose from more than 11,000 free themes in the WordPress theme directory:
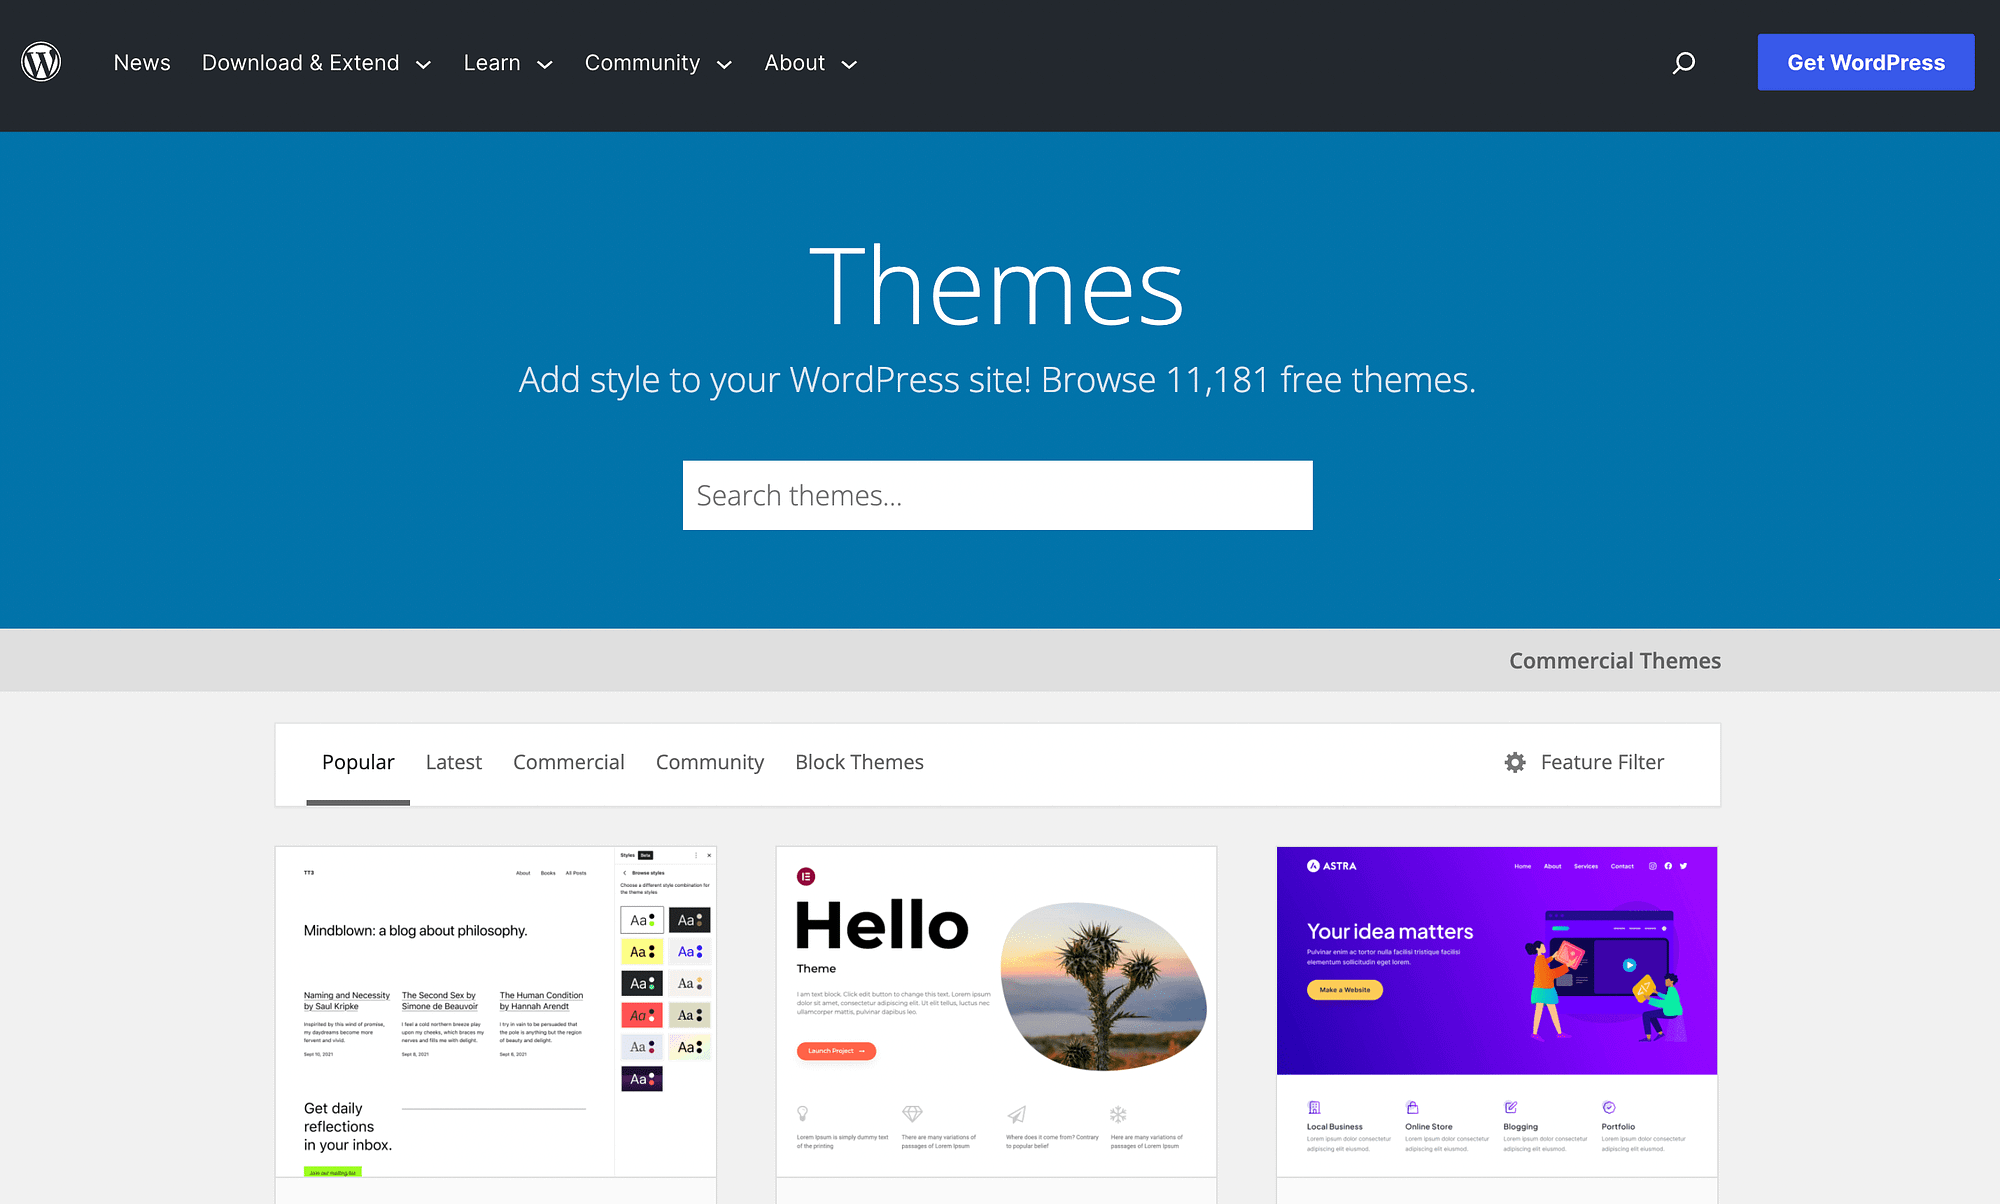
You’re able to search by different categories or even use the Feature Filter. Once you find a theme you like, simply download it. Then, navigate to your WordPress dashboard. Go to Appearance → Themes → Add New → Upload → Upload Theme.
Then, select the file you downloaded before and upload it to your site. Alternatively, you can browse themes directly in your dashboard by going to Themes → Add New and using the search function.
The great thing about themes is that they essentially provide you with everything you need for a fully functioning site. And you can even choose them based on your needs. There are themes for online stores, blogs, news sites, and more.
Keep in mind that if you use a block theme, you can more easily customize your entire site without ever needing to touch a line of code:
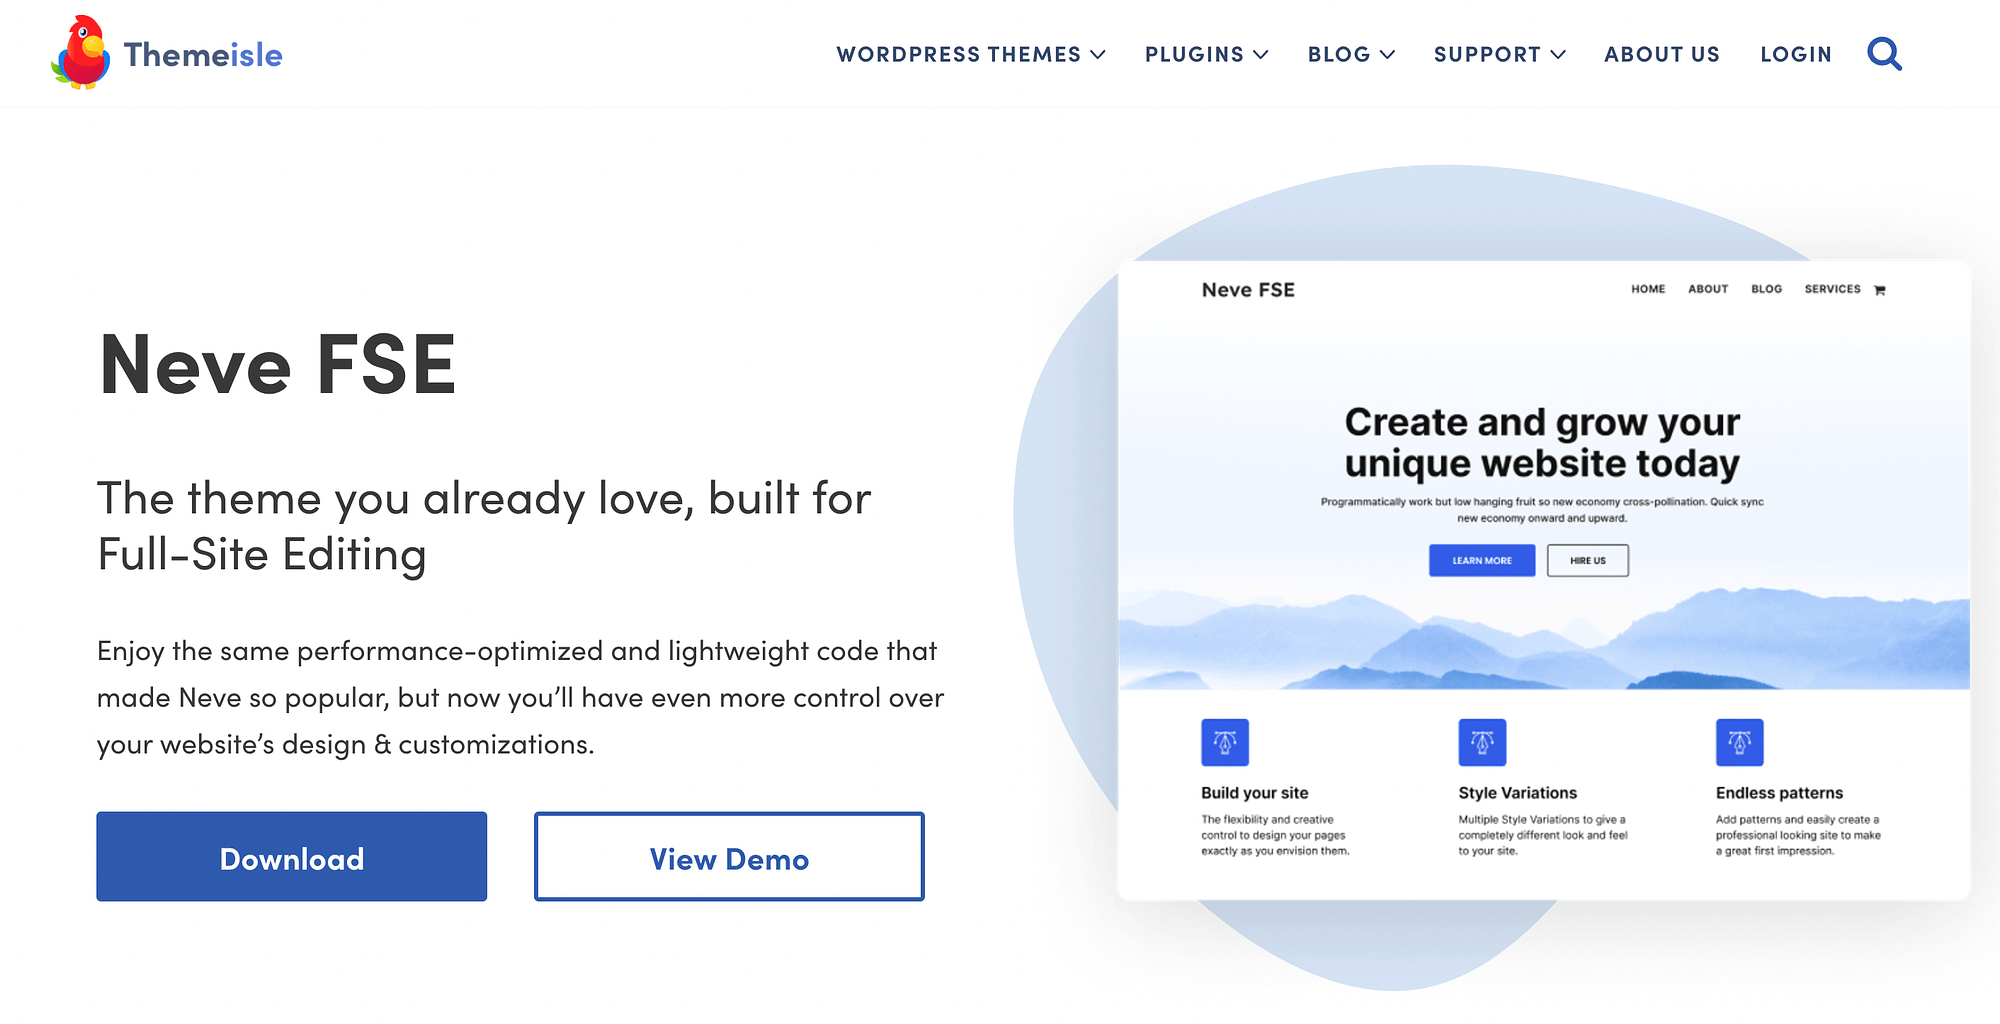
And if you opt for a high-quality block theme like Neve FSE, you’ll get even more customization options courtesy of the theme’s aesthetic block patterns.
3. Design your main WordPress pages 👨🎨
Once you’ve picked a theme for your WordPress site, you can start designing your main WordPress pages. Many themes will come with the basics, such as ‘About’, ‘Portfolio’, and ‘Shop’ pages.
To customize a page, simply navigate to your dashboard and hit Pages in the left-hand menu:
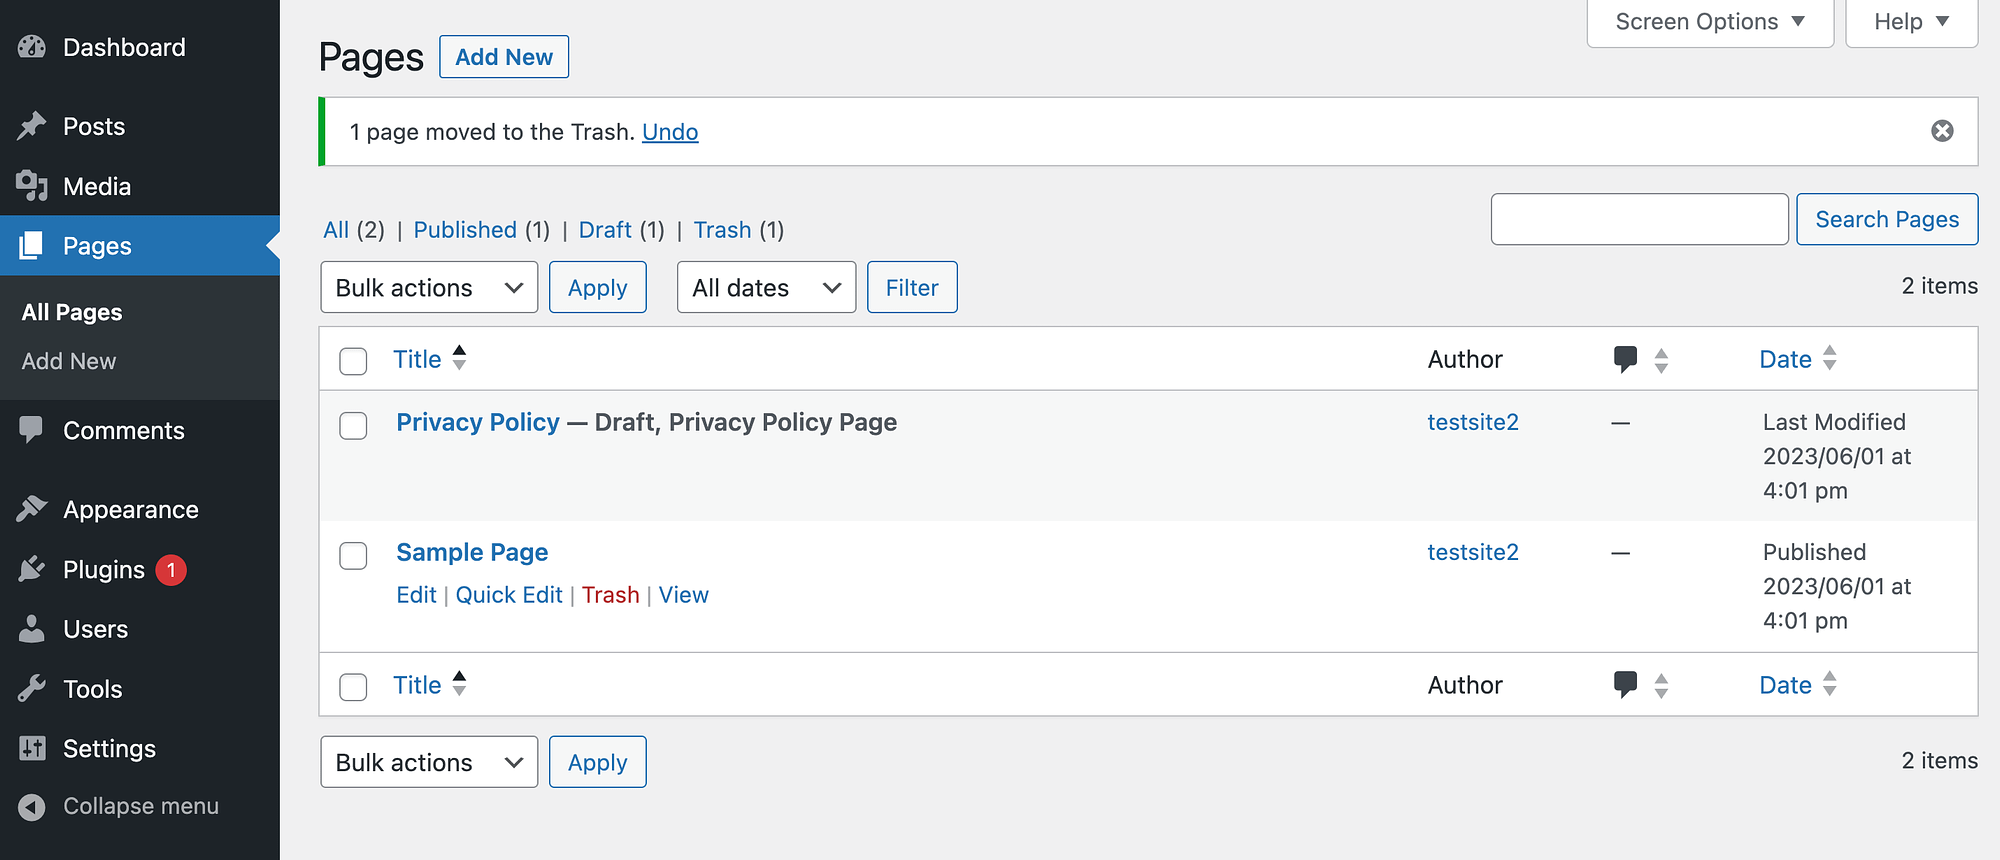
Here, you’ll find any pre-existing pages your theme includes. You can hover over any page and click on Edit beneath it. This will launch the Block Editor.
Alternatively, you can select the Add New button at the top of the page to create totally new pages. Just make sure to save your changes as you go and hit Publish when you’re done.
4. Install essential plugins (optional) 🔌
After your site is mostly set up, you might also want to consider installing some essential WordPress plugins. For example, it’s a good idea to install security plugins that create backups and block spam.
Alternatively, if you want to launch an online store, you’ll likely need to install WooCommerce:
This plugin gives you everything you need to transform your site into an ecommerce hub.
To locate any free plugin, just go to your dashboard and select Plugins → Add New:
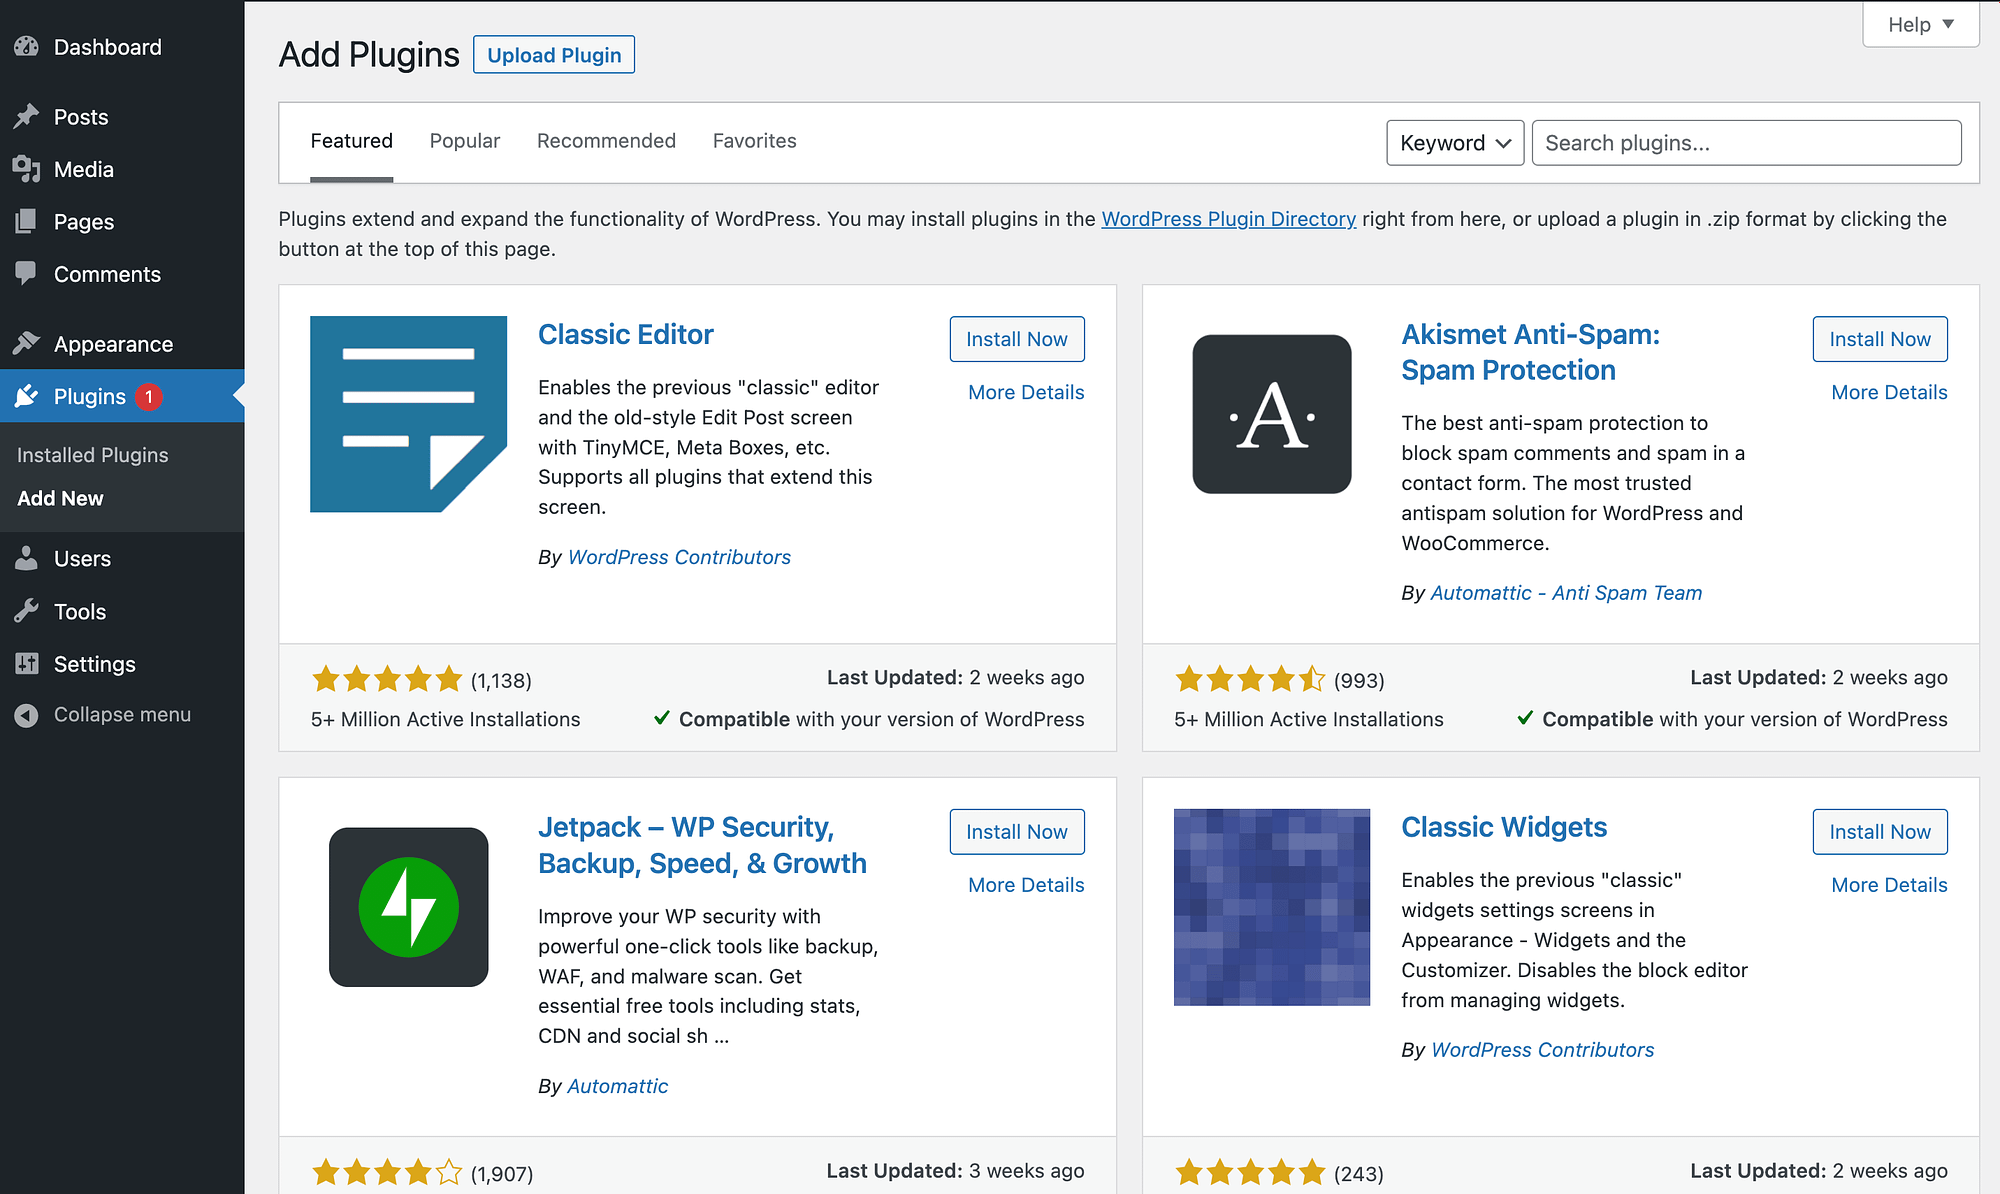
You can use the search bar to look for plugins by keyword. When you find the one you’re looking for, simply click on Install Now followed by Activate.
It’s important to note that when you’re using self-hosted WordPress, you’ll be able to access nearly 60,000 free plugins in the WordPress plugin directory. However, it’s essential to properly vet them before installing them on your site (though premium themes should also be selected with similar caution).
You’ll want to consider some crucial factors, like ratings, reviews, and updates. Also, it’s best practice to only install the plugins you need. That’s because installing too many plugins can leave your site exposed to certain security vulnerabilities.
Conclusion 🧐
WordPress is powerful open-source software that you can use to create almost any type of website you can think of. But, if you want to build a self-hosted WordPress site, you’ll need to know a bit about what that means.
A self-hosted WordPress site is built using the software from wordpress.org. Meanwhile, wordpress.com is the hosted version. If you opt for self-hosting, you’ll need to start by choosing a web host and installing WordPress. After that, you’ll be able to select a WordPress theme, design your core pages, and install any essential plugins.
Do you have any questions about self-hosted WordPress? Let us know in the comments section below!