Most of the magic in WordPress happens within the “dashboard.” If you’re wondering what is the WordPress dashboard, it’s the admin area that enables you to change your site’s settings, as well as create, and manage pages and other types of content.
Learning the ins and outs of the dashboard is relatively straightforward. There are a lot of settings, but most of them are self-explanatory, so it’s just a matter of tinkering with the dashboard. 🧑🎓
In this article, we’ll give you an overview of what is the WordPress dashboard and where to find its most important settings. Let’s get to it! 🚀
How to use the WordPress dashboard effectively
In this section, we’ll show you where to find the most important settings and options you’ll need to know to start using WordPress and link you to further resources where needed.
⚠️ This post was written based on WordPress 6.2. Your experience may vary if you’re on a different version of the platform.
- The main WordPress dashboard: check your site’s status
- Your site settings
- Manage posts and pages
- Manage plugins and themes
- Create and manage users
- Change your site’s appearance
1. The main WordPress dashboard: check your site’s status ✅
Whenever you log in to the WordPress admin area, it’ll take you to the Dashboard → Home tab. This tab includes an overview of everything that’s happening on your website, from new content to health checks, and even WordPress news and events:
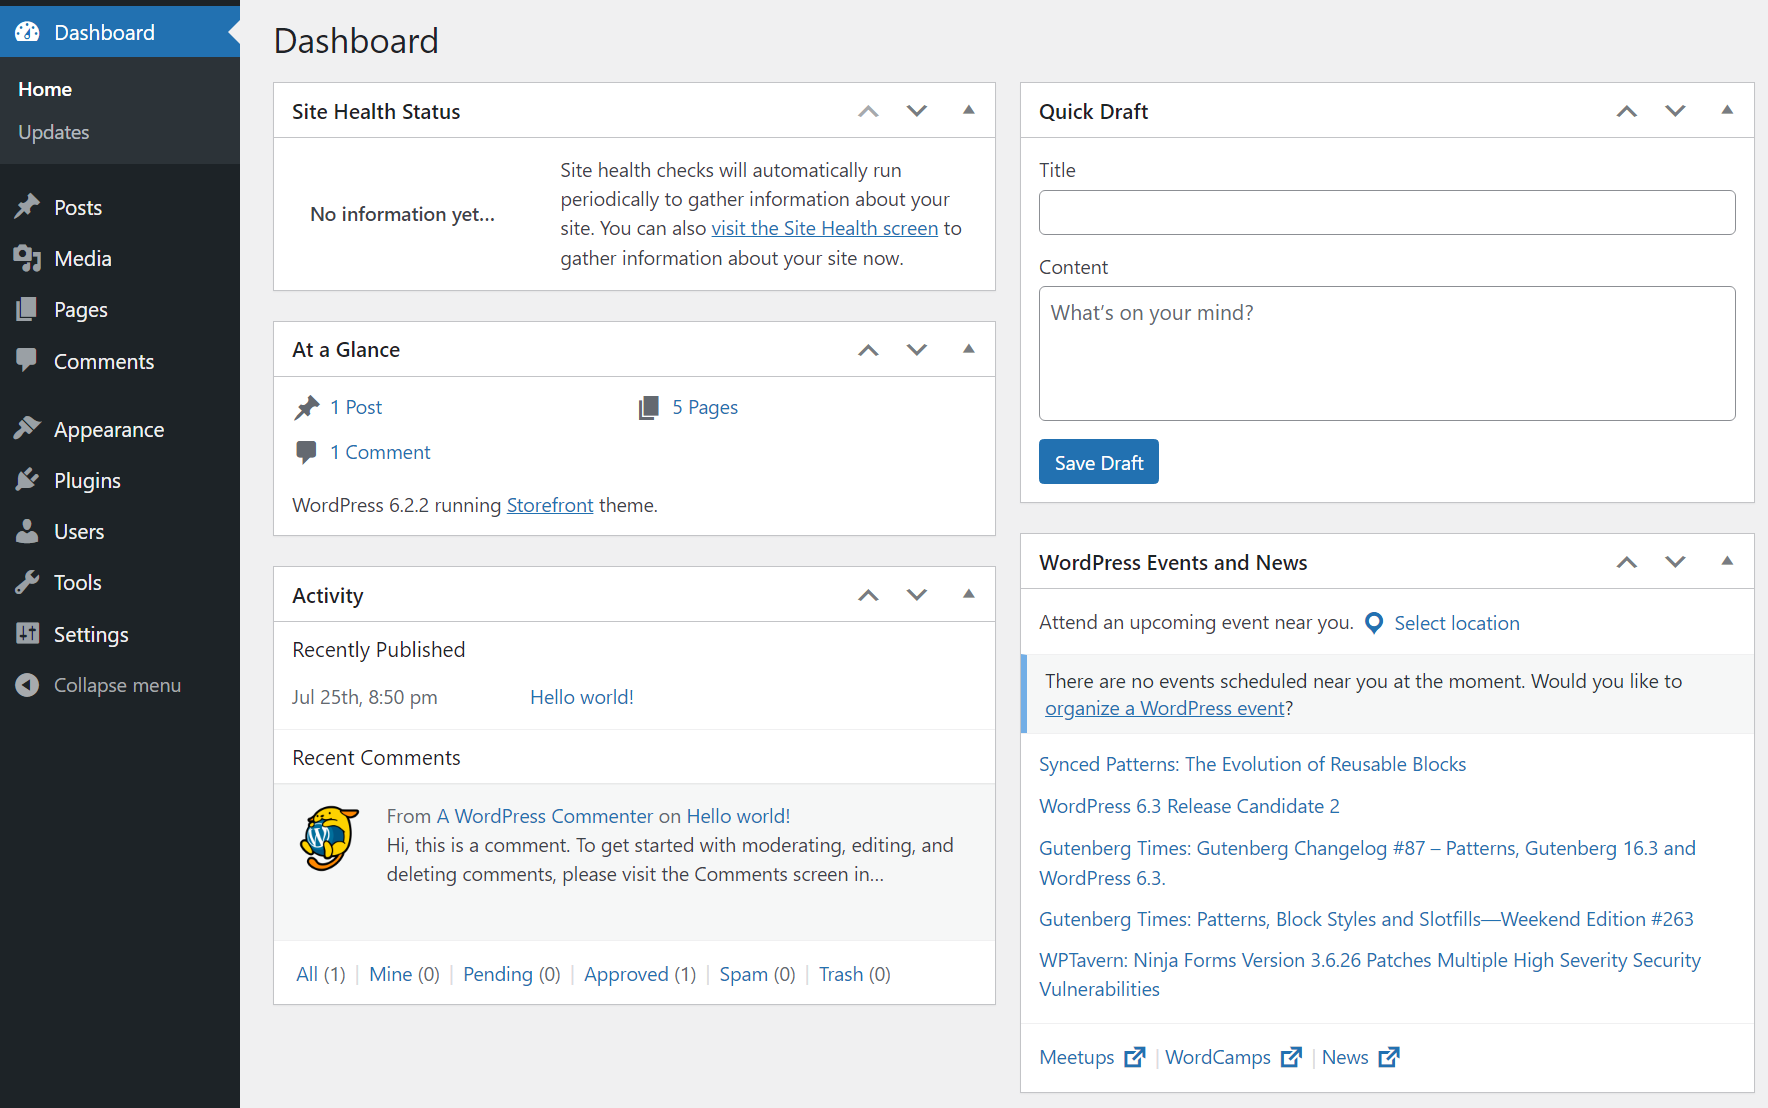
The Dashboard page is particularly useful if you work in a website that has a lot of authors and that gets regular updates. The At a Glance widget will give you a quick overview of what new content is available and enable you to jump to it right away.
2. Your site settings ⚙️
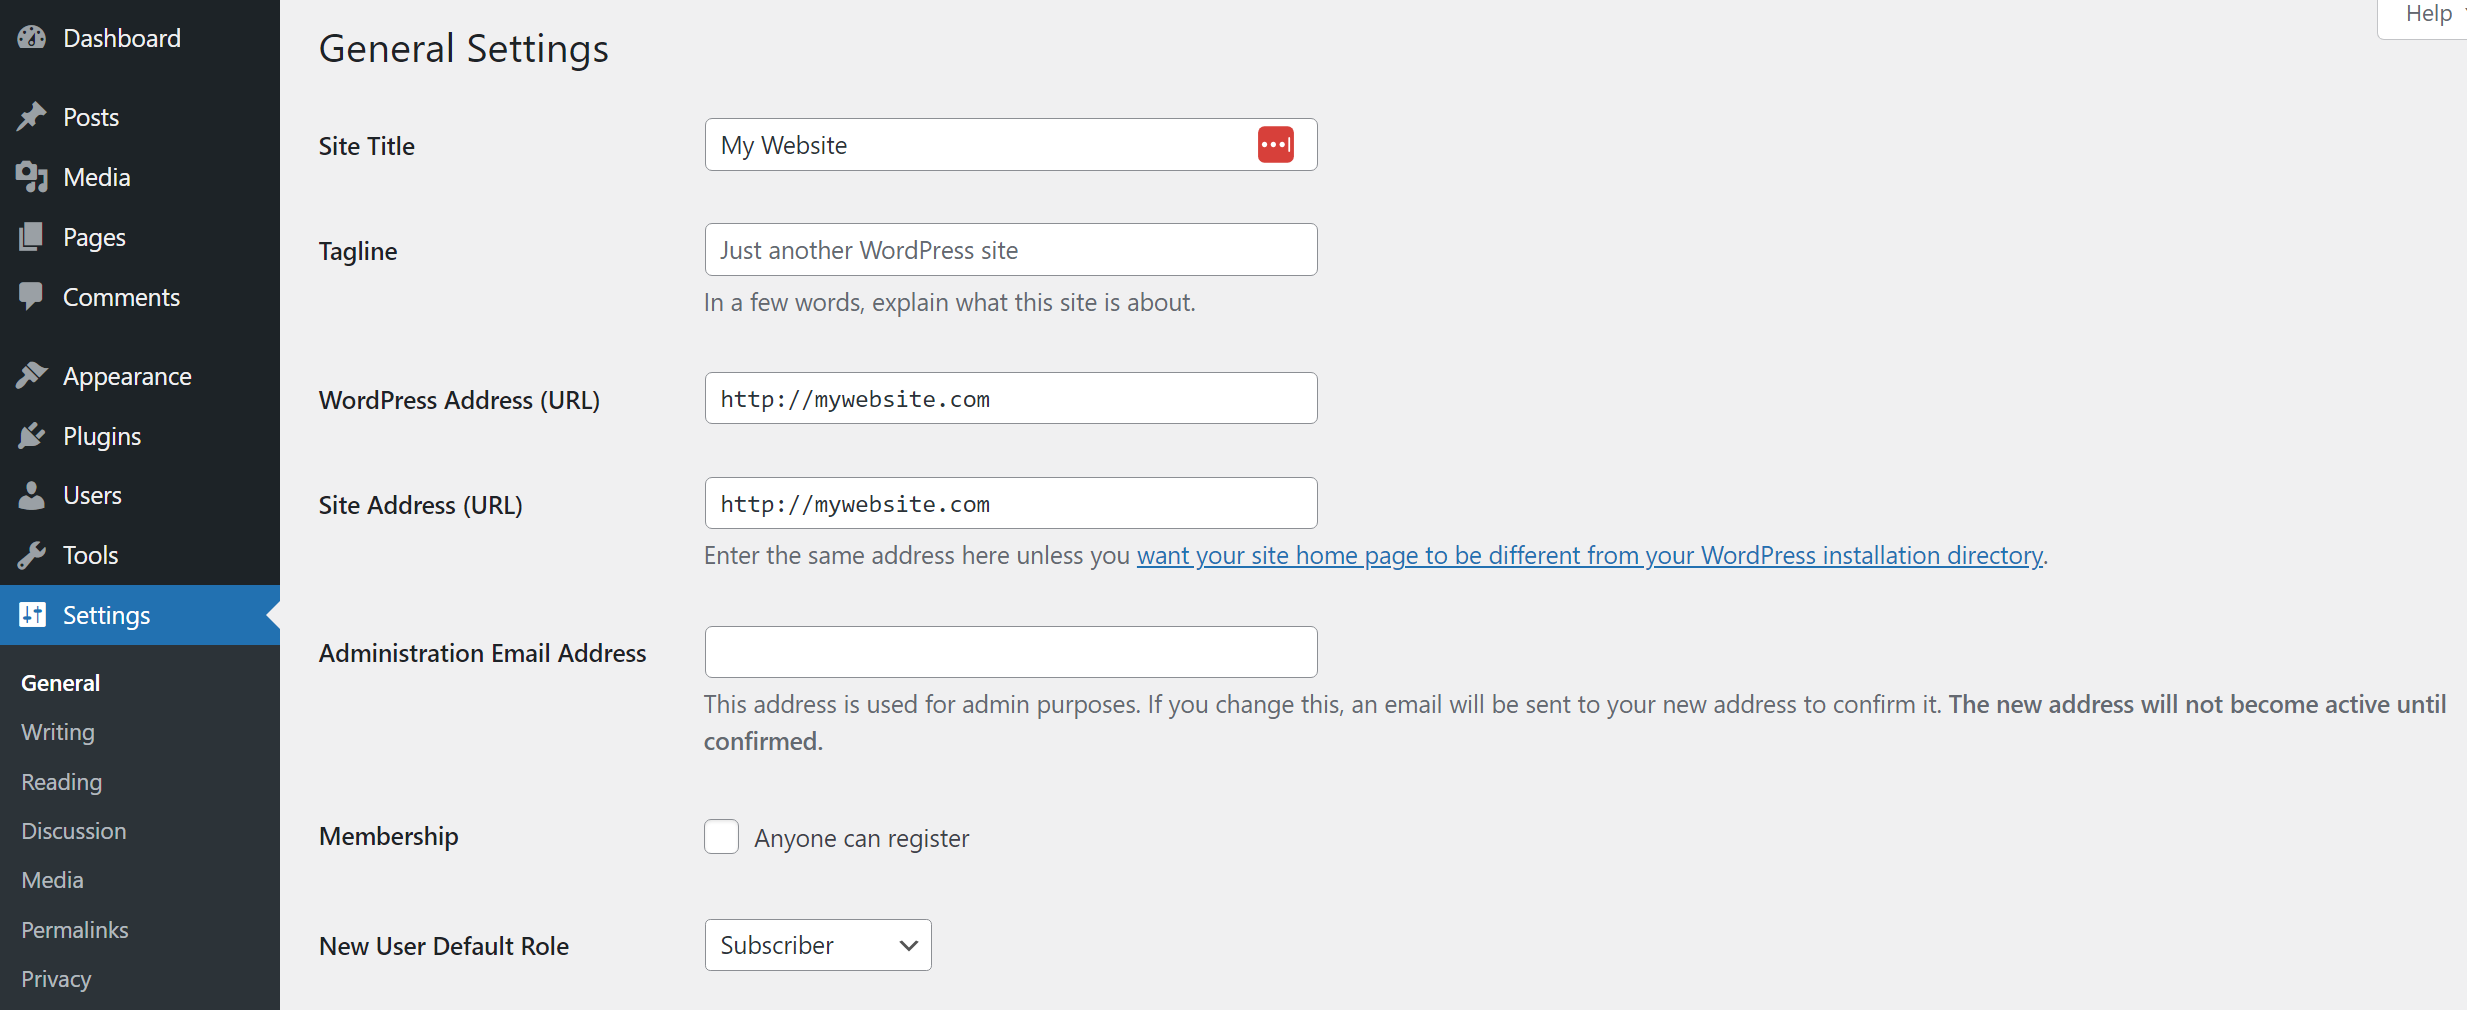
Within the Settings page, you’ll find options for modifying your website’s writing, reading, discussion, media, permalinks, and privacy settings. The main Settings page covers the site’s base options, such as its name, tagline, URLs, timezone, and language:
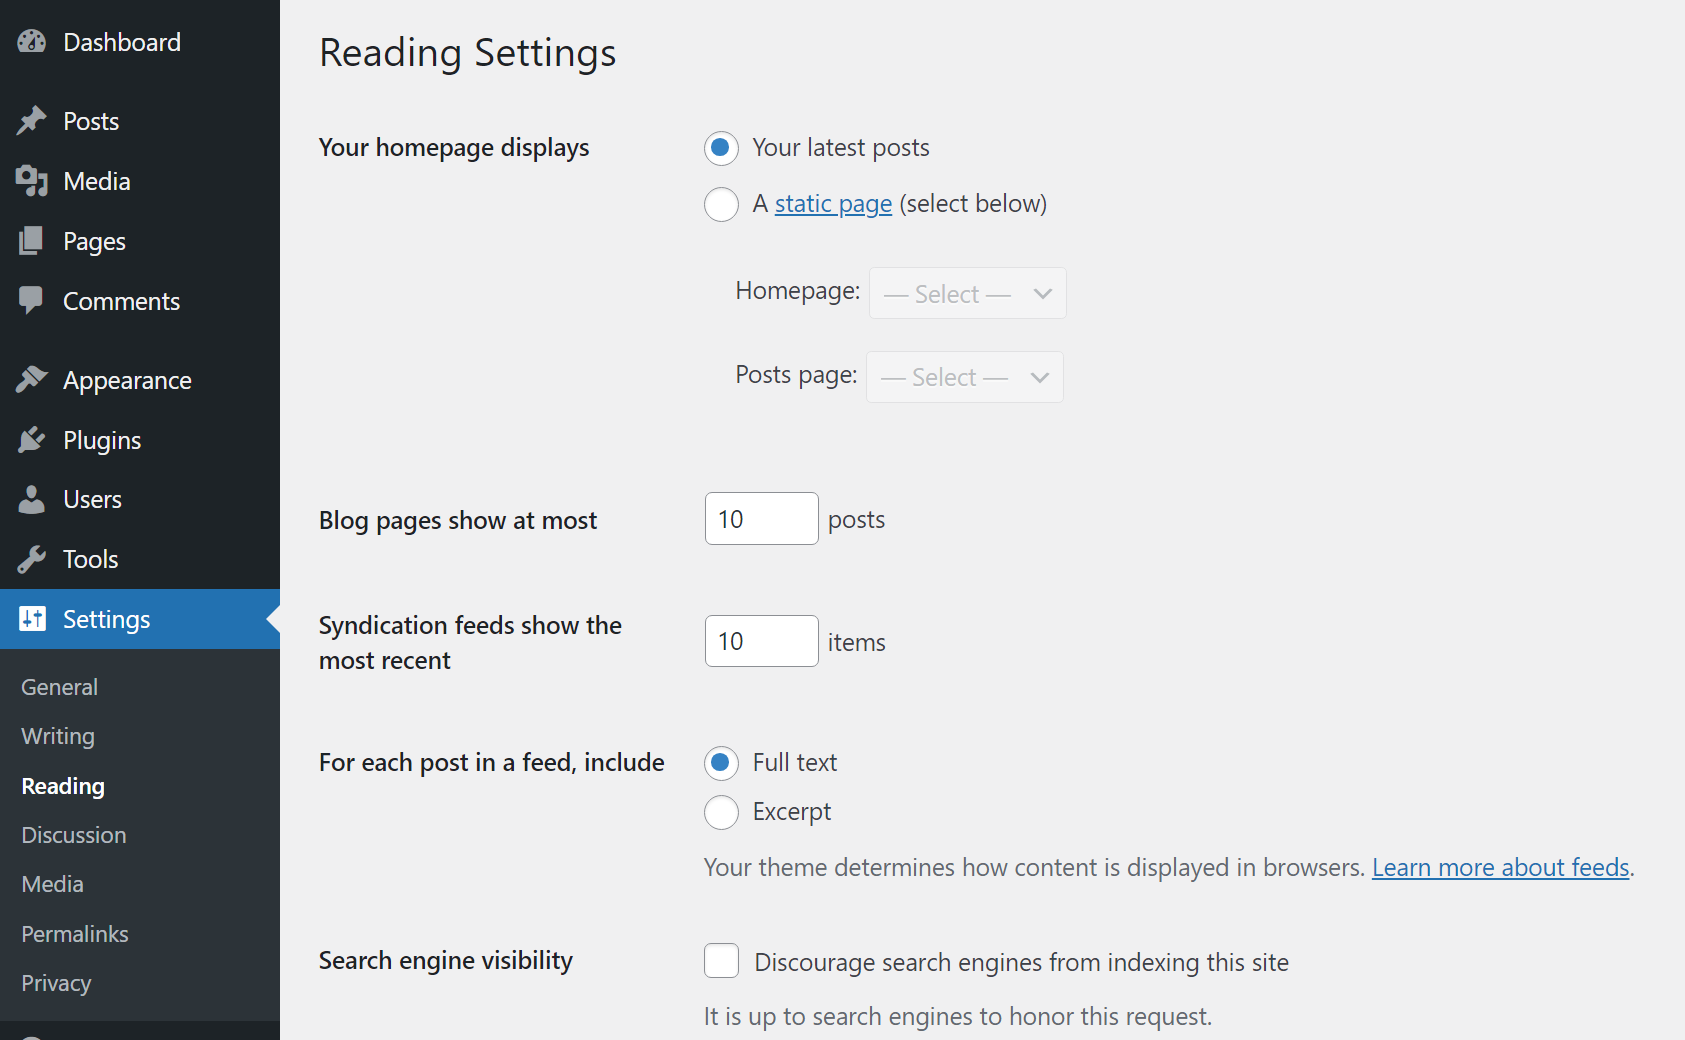
Moving on, if you go to the Settings → Reading page, you’ll be able to set a static homepage for your website. You can change the number of posts appearing on your main blog page and whether you want to display your entire blog posts on that listing page or just the excerpts. There is also the option to “discourage search engines from indexing your website” here, but it’s highly not recommended to do that.
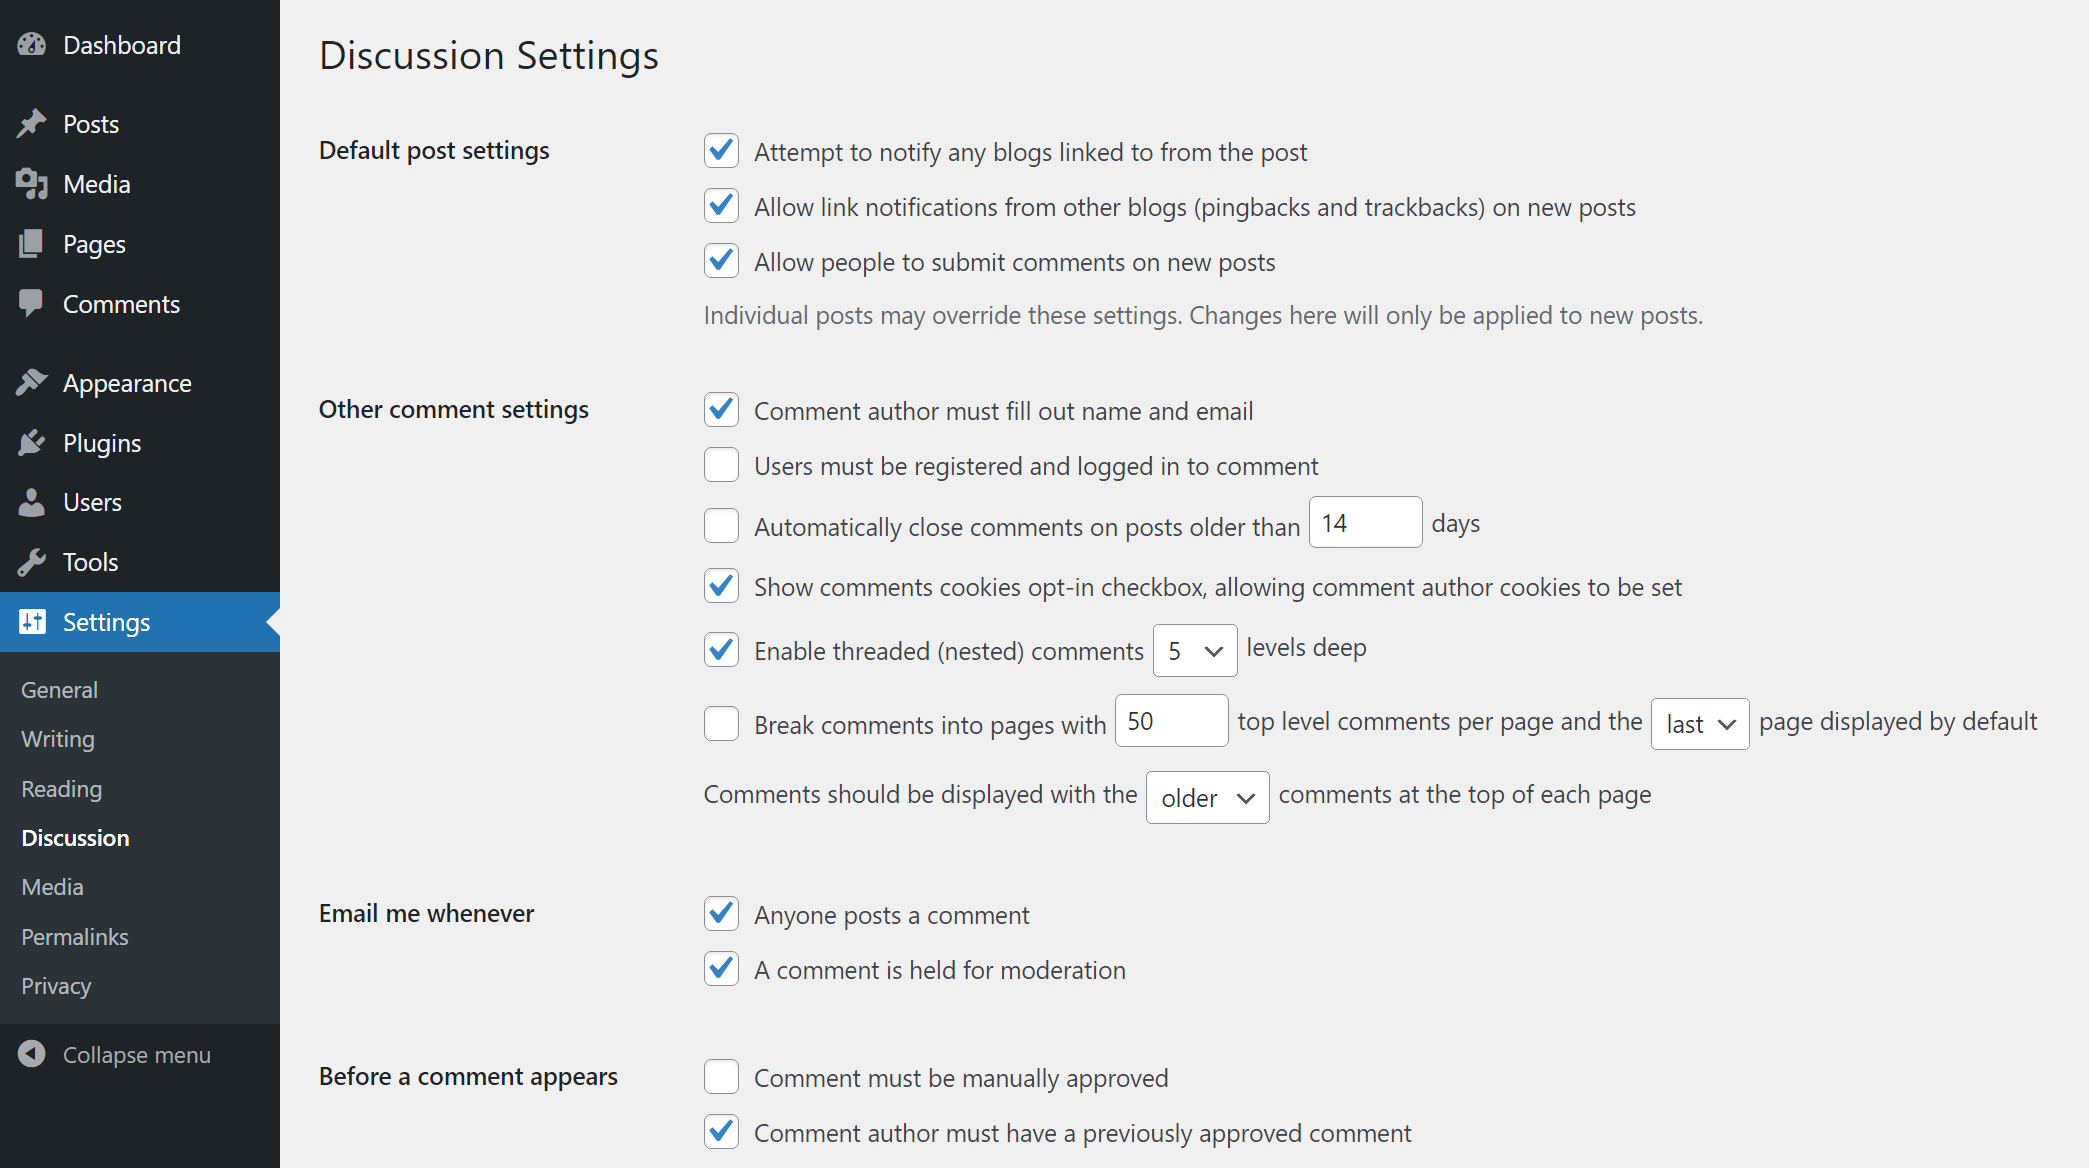
Next up is the Settings → Reading page. Here you can choose whether to enable blog comments and configure if users need to be logged in to submit them. You can also change moderation settings from this page:
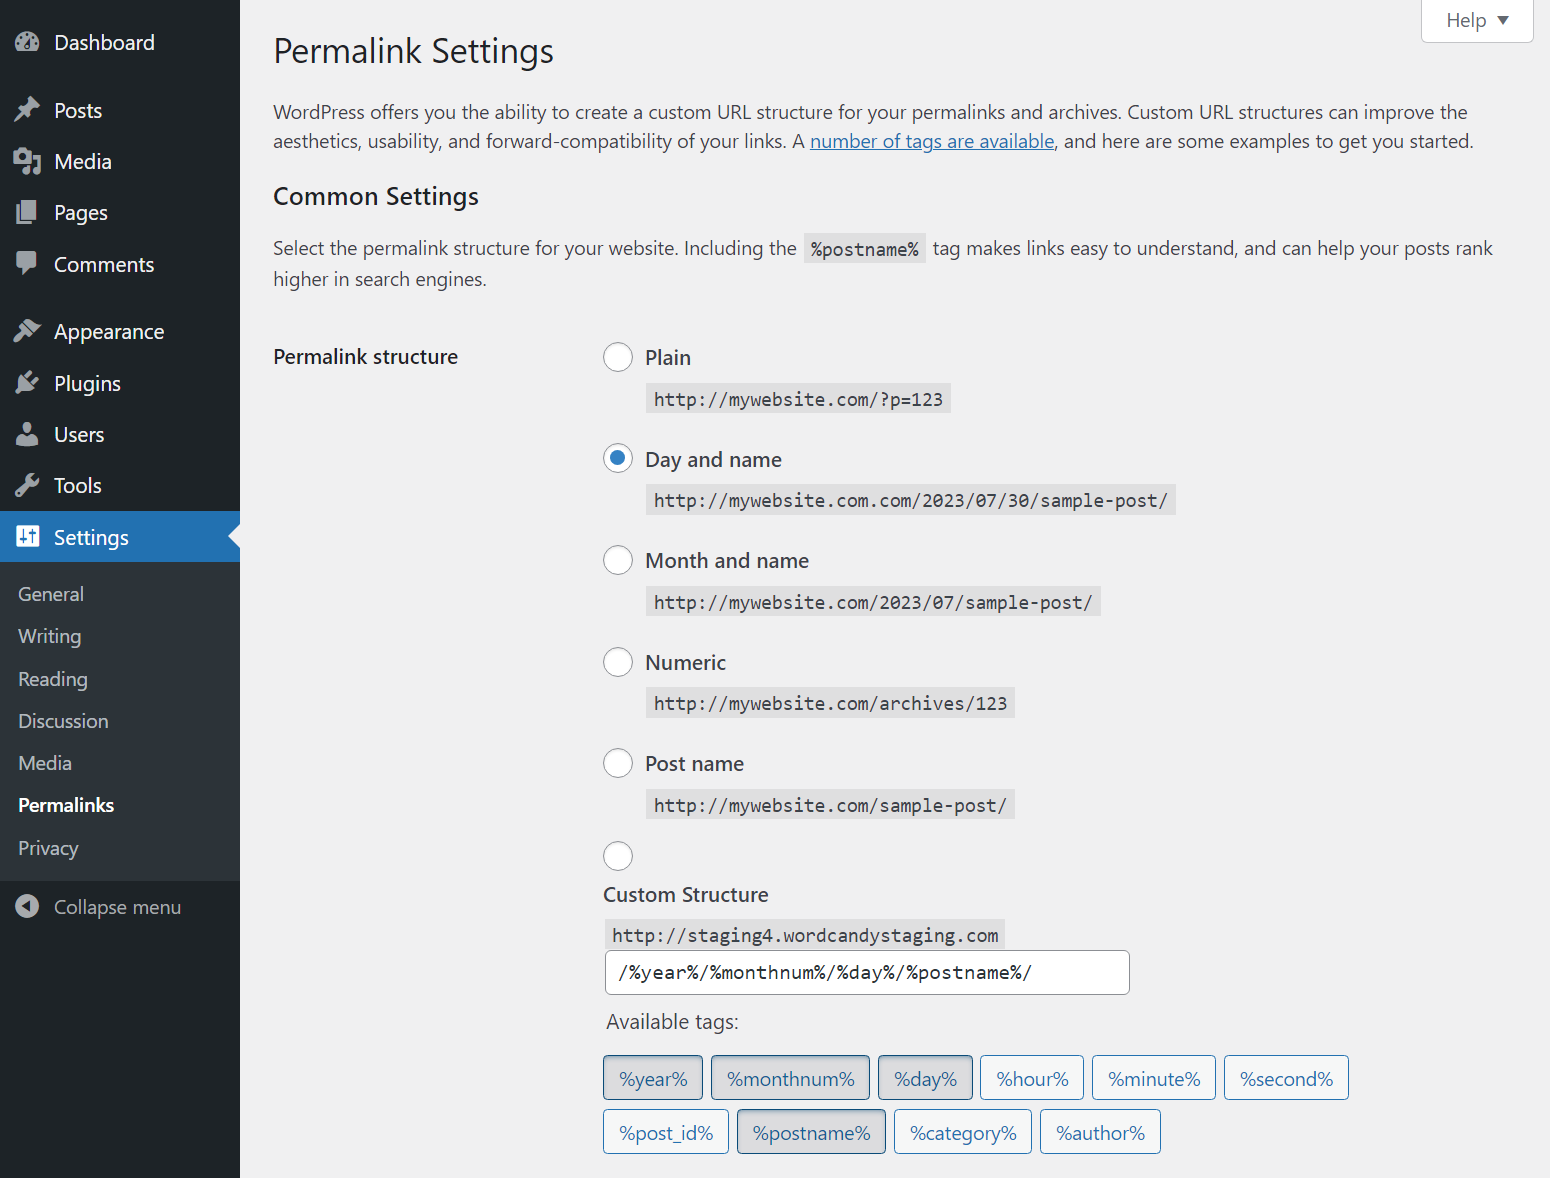
Finally, we have the Settings → Permalinks page. If you’re launching a new website, you’ll want to change the WordPress permalink structure to something that is more search engine-friendly and easier to read for humans as well:
Additionally, the Settings section includes options for modifying your media settings and for creating a privacy policy page. Here are instructions on how to modify these WordPress settings (as well many of the others we’ve covered so far).
3. Manage posts and pages 🖱️
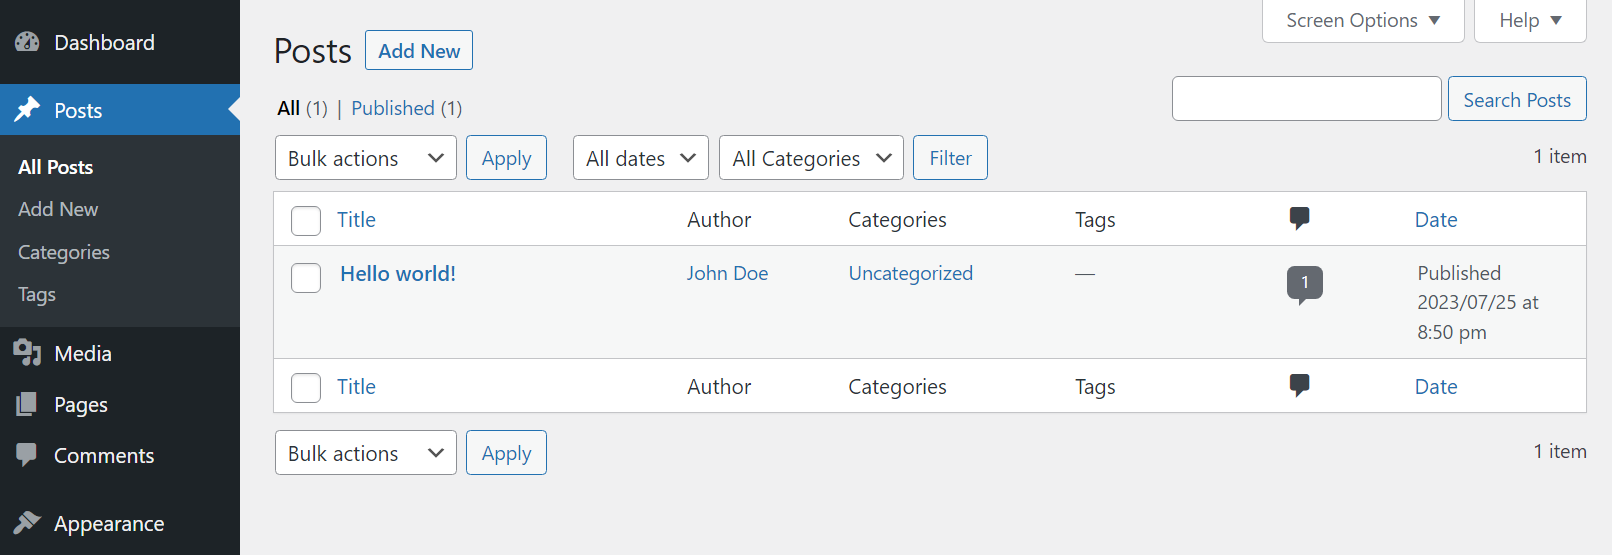
Creating and managing posts and pages using the dashboard is simple and it works much the same for either option. For starters, select either the Posts or Pages option in the dashboard.
Depending on your choice, you’ll see a list of that type of content, including all your drafts and published projects. This screen gives you an overview of each post/page’s name, author, category, tags, date of publication, and the number of comments:
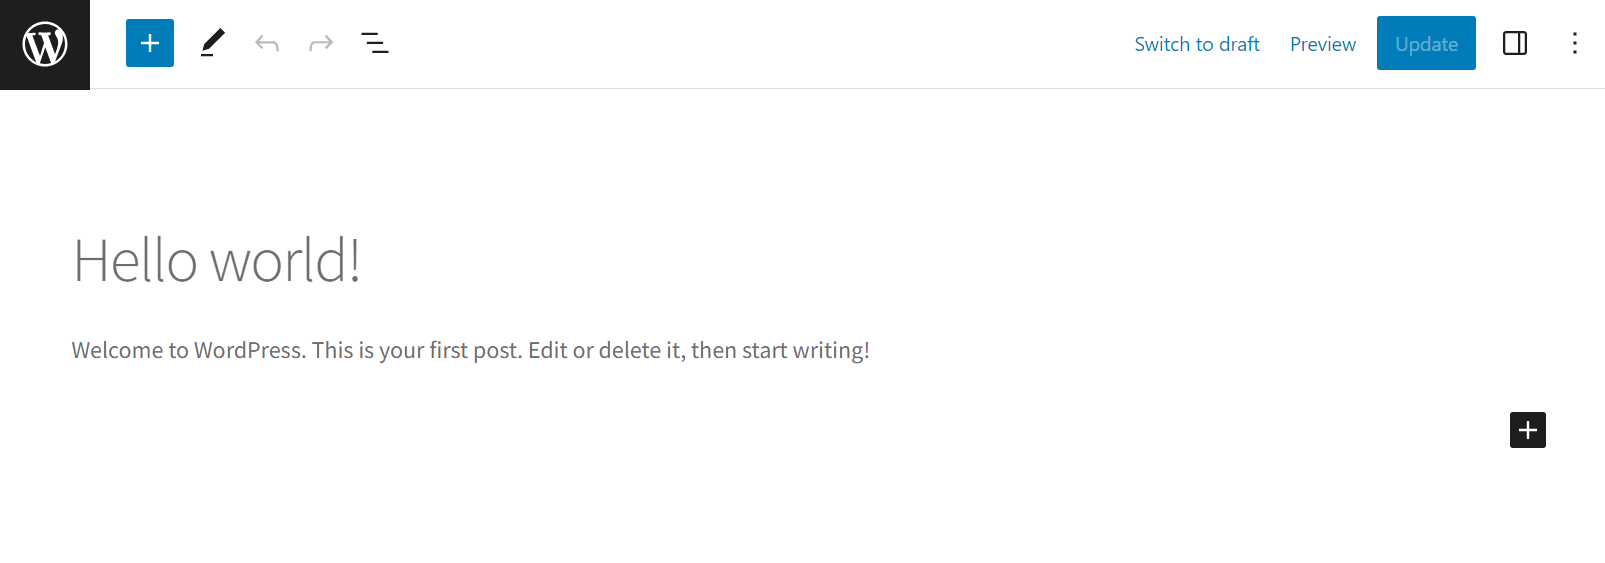
If you select a post, you can use the View option to see that page live or the Edit button to launch the Block Editor and make changes to it:
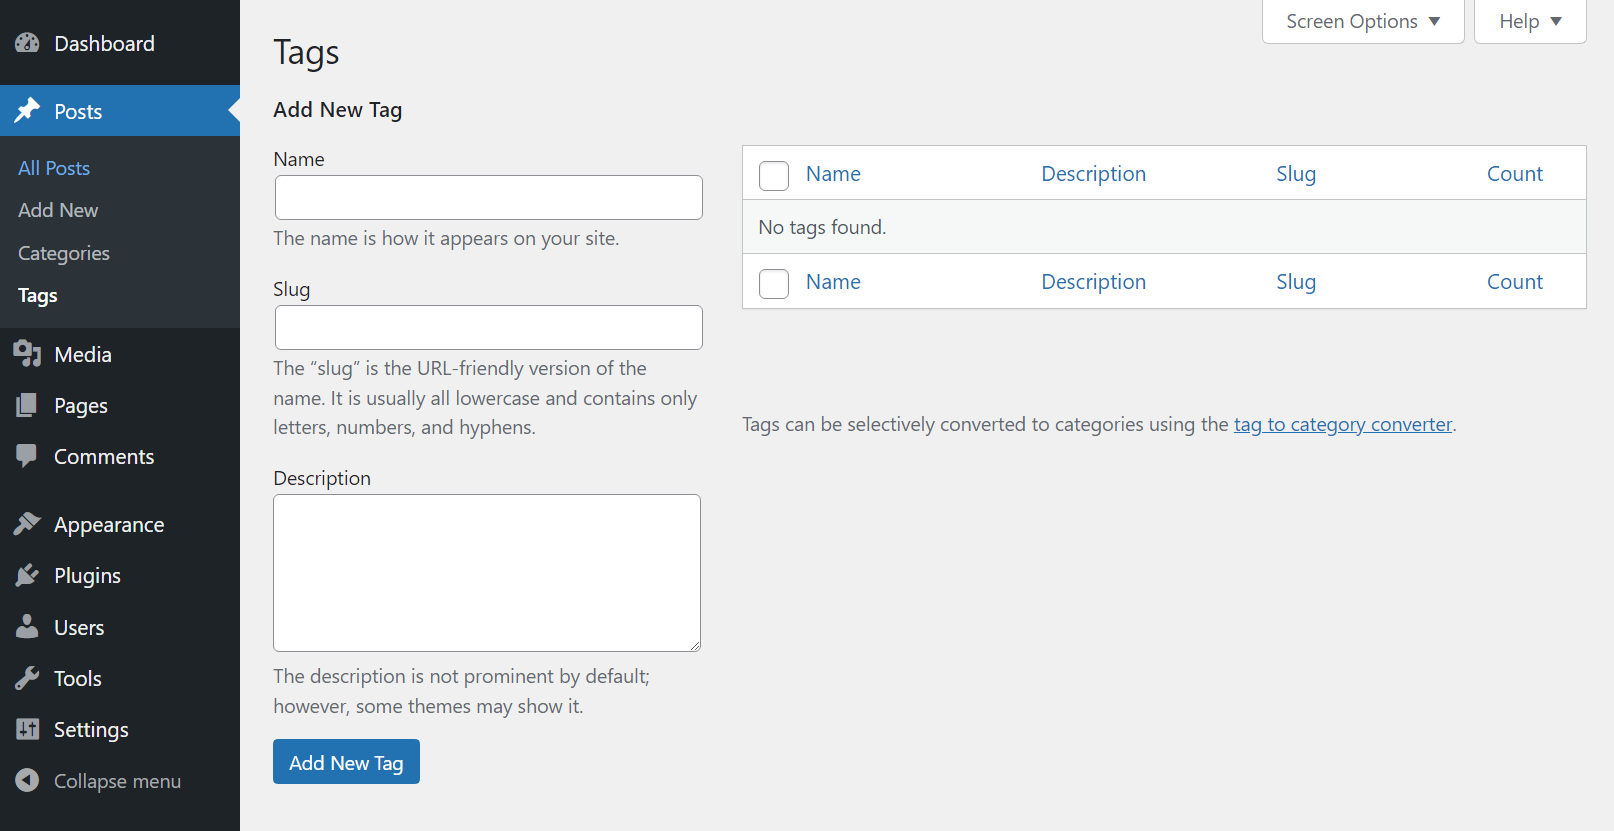
The Posts page in the dashboard also includes options for managing content taxonomies. That means creating, editing, and deleting categories and tags you can assign to posts:
The WordPress taxonomy system is critical for websites that publish a lot of content. It helps keep that content organized and it also aids users in finding the posts they want.
4. Manage plugins and themes 🔌🎨
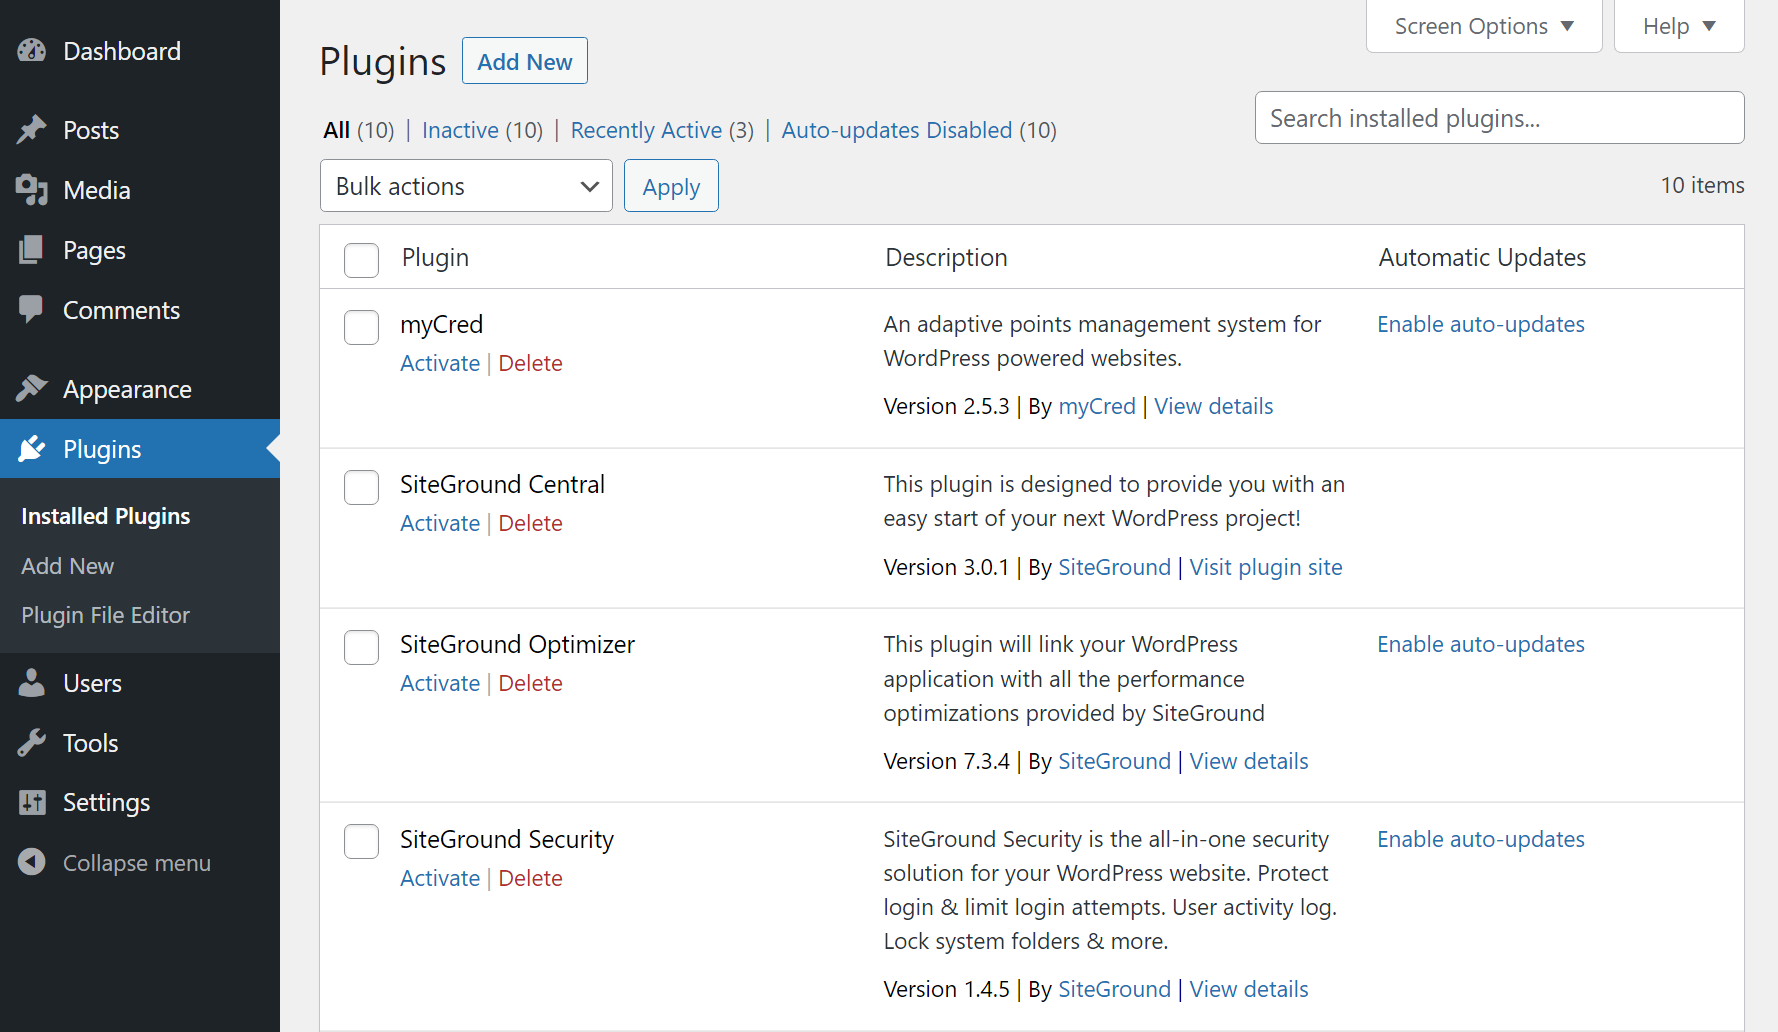
Plugins and themes are at the core of the WordPress experience, so you’ll be spending a lot of time in these sections of the dashboard. To add and manage plugins, go to the Plugins → Installed Plugins page.
Here, you’ll see an overview of all installed plugins. You can activate, deactivate, and delete them from this screen by selecting the corresponding option under each entry:
To add new plugins, click on Add Now at the top of the Installed Plugins page or go directly to Plugins → Add New. If this is your first time dealing with extensions, here’s a full guide on how to install WordPress plugins.
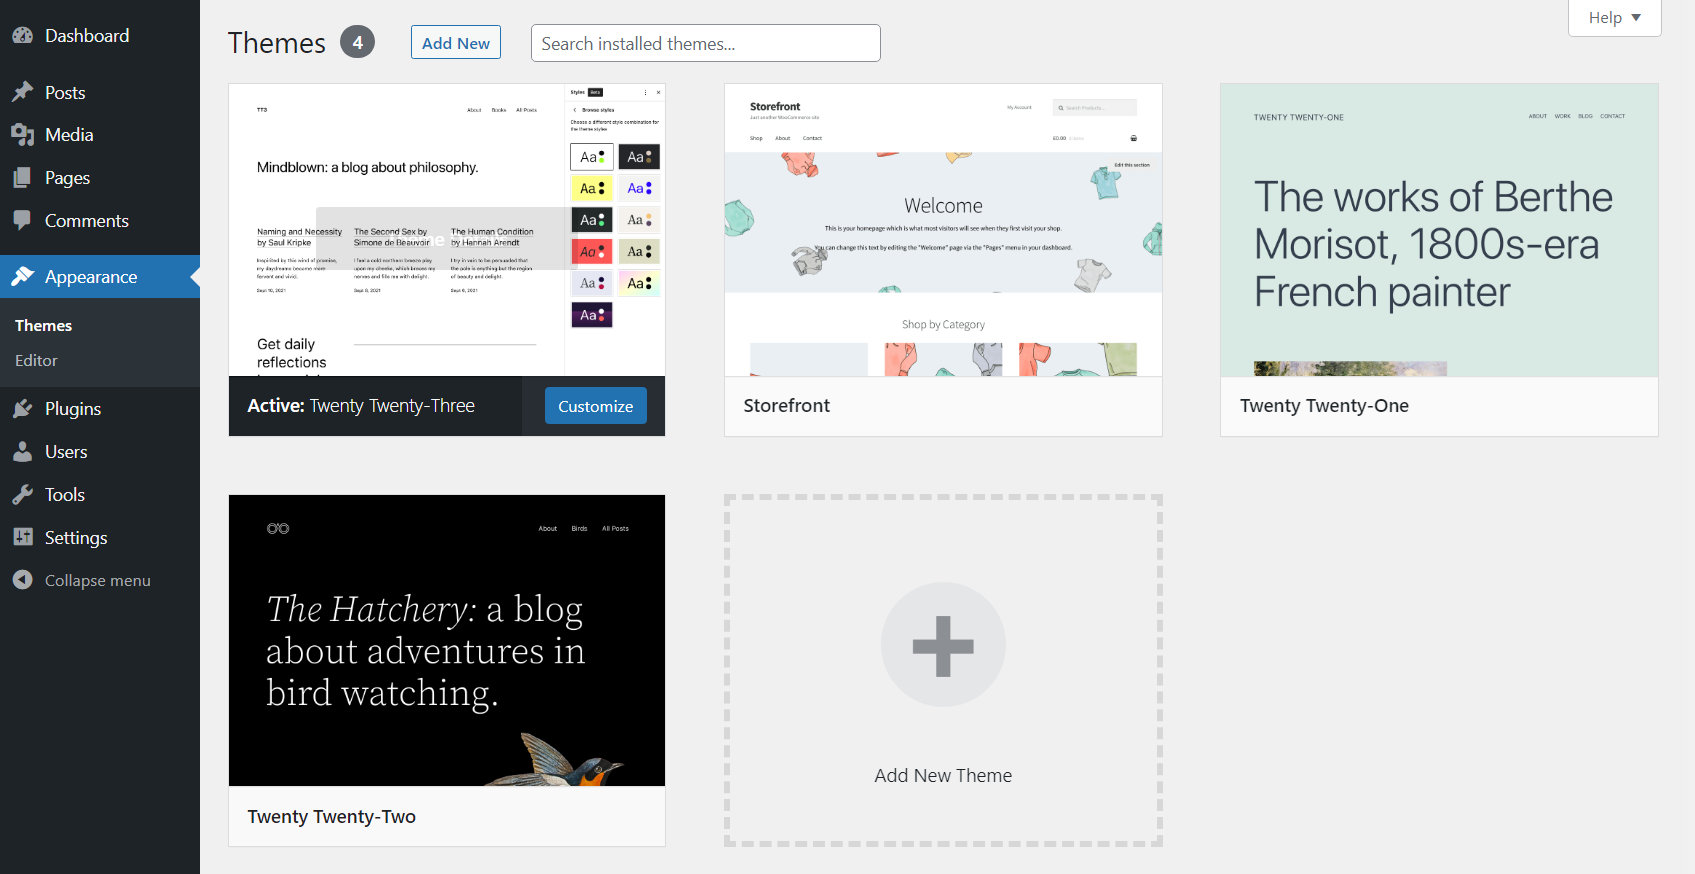
Themes work very similarly. You can check out the themes you have installed by navigating to Appearance → Themes. Only one theme can be active at a time and this screen is where you select it:
To add a new theme, click on Add New at the top of the Themes page. Here’s a complete tutorial on how to install WordPress themes.
⌛ Note that while installing both themes and plugins is easy, finding the right ones can be a challenge. With that in mind, here are some basic guidelines on choosing the right themes and how to pick winning plugins.
5. Create and manage users 🧑💻
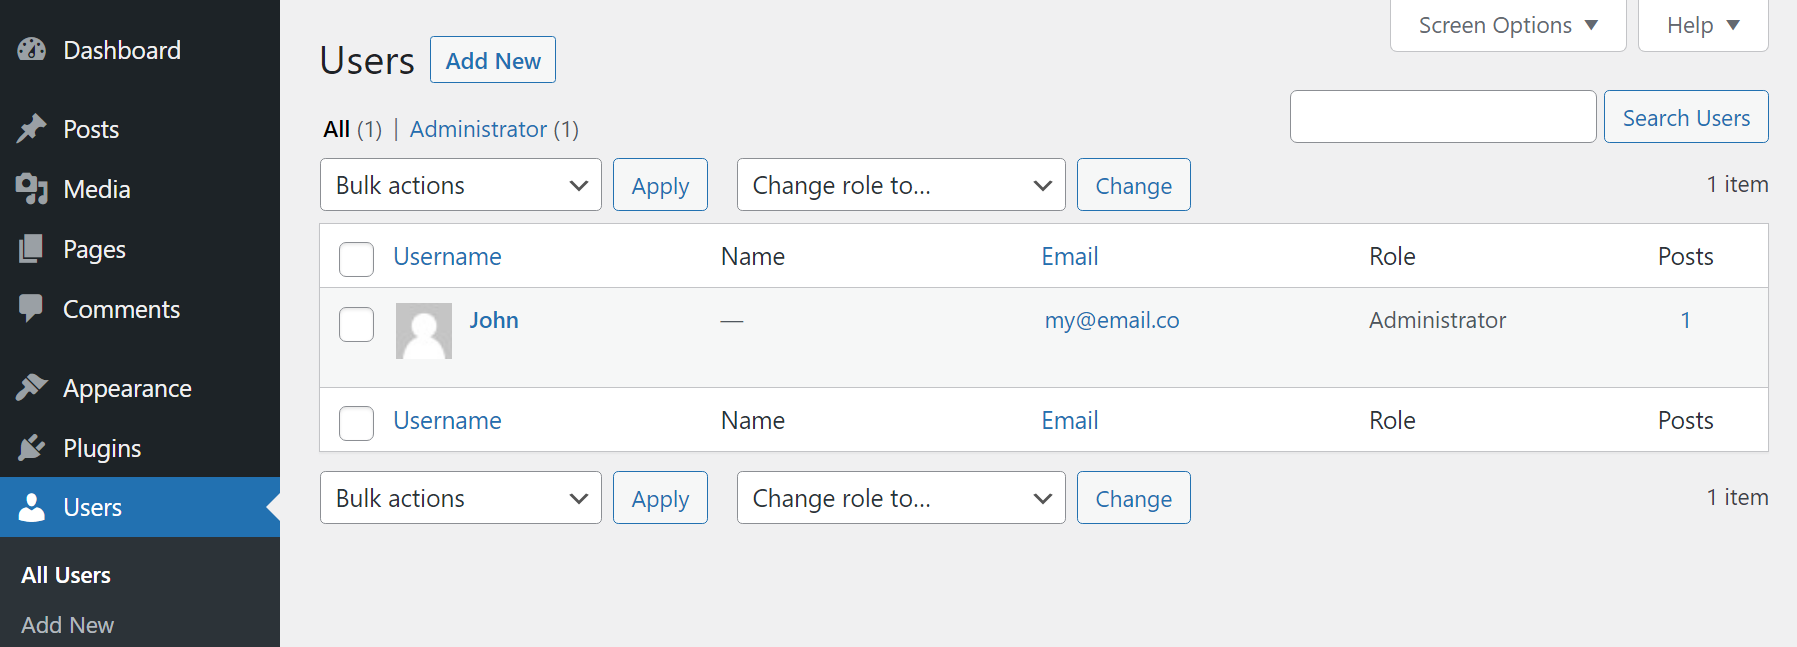
The Users page in the dashboard enables you to add new user accounts and manage existing ones. If you go to Users → All Users, you’ll see a list of all accounts on your site as well as their emails, roles, and how many posts they’ve published:
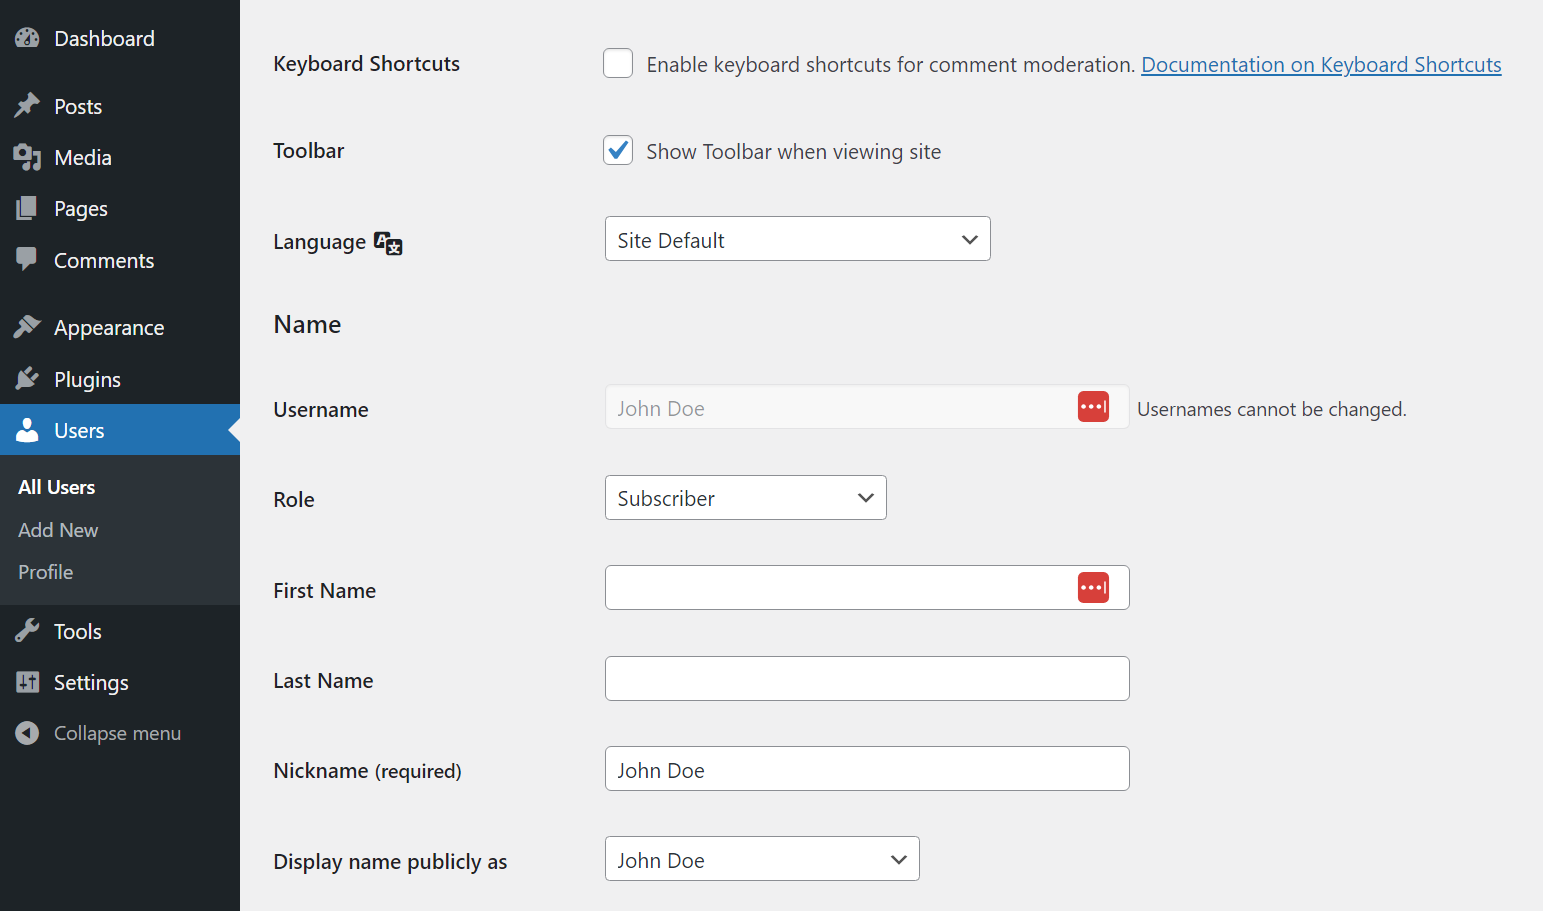
To manage user accounts, select one from the list and click the Edit option. This will bring you to that account’s Profile page. From here you can change all of the account’s information (if you’re an administrator).
That information includes the corresponding name, nickname, email, bio, profile picture, password and user role:
The Users page will come into play if you have several people working on the same website or if you enable user registration. If you’re working on a solo WordPress project, you won’t need to tinker with these settings except under rare circumstances.
6. Change your site’s appearance 👩🎨
The options available in the dashboard to change your site’s appearance will vary depending on what theme you’re using. If you’re using a “block” theme, WordPress will disable the Customizer and give you access to Full Site Editing.
That is a feature that enables you to customize your theme’s templates using the Block Editor. To access it, go to Appearance → Editor and the dashboard will load a screen that looks similar to this:
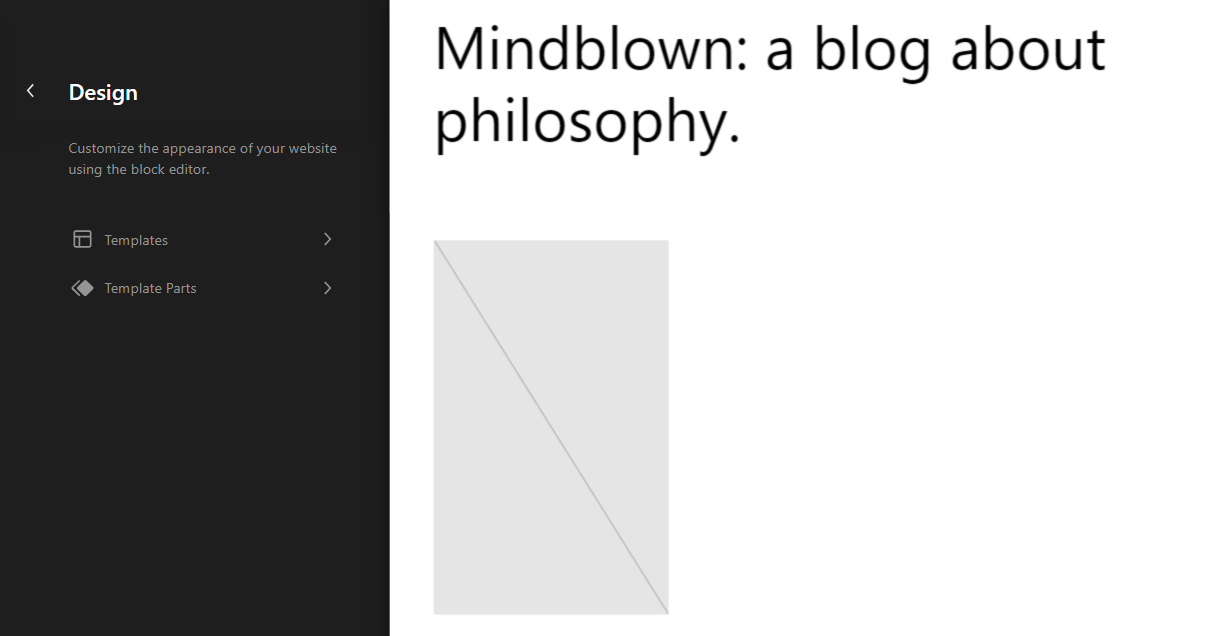
You can read more about how Full Site Editing works here. If you’re not using a block theme, the Appearance menu changes a lot.
Instead of just one option to edit your site’s appearance, you’ll get access to several options, including one for managing widgets, another for menus, and one for the WordPress Customizer.
The Appearance → Widgets screen gives you the option of enabling widget areas and customizing them using blocks:

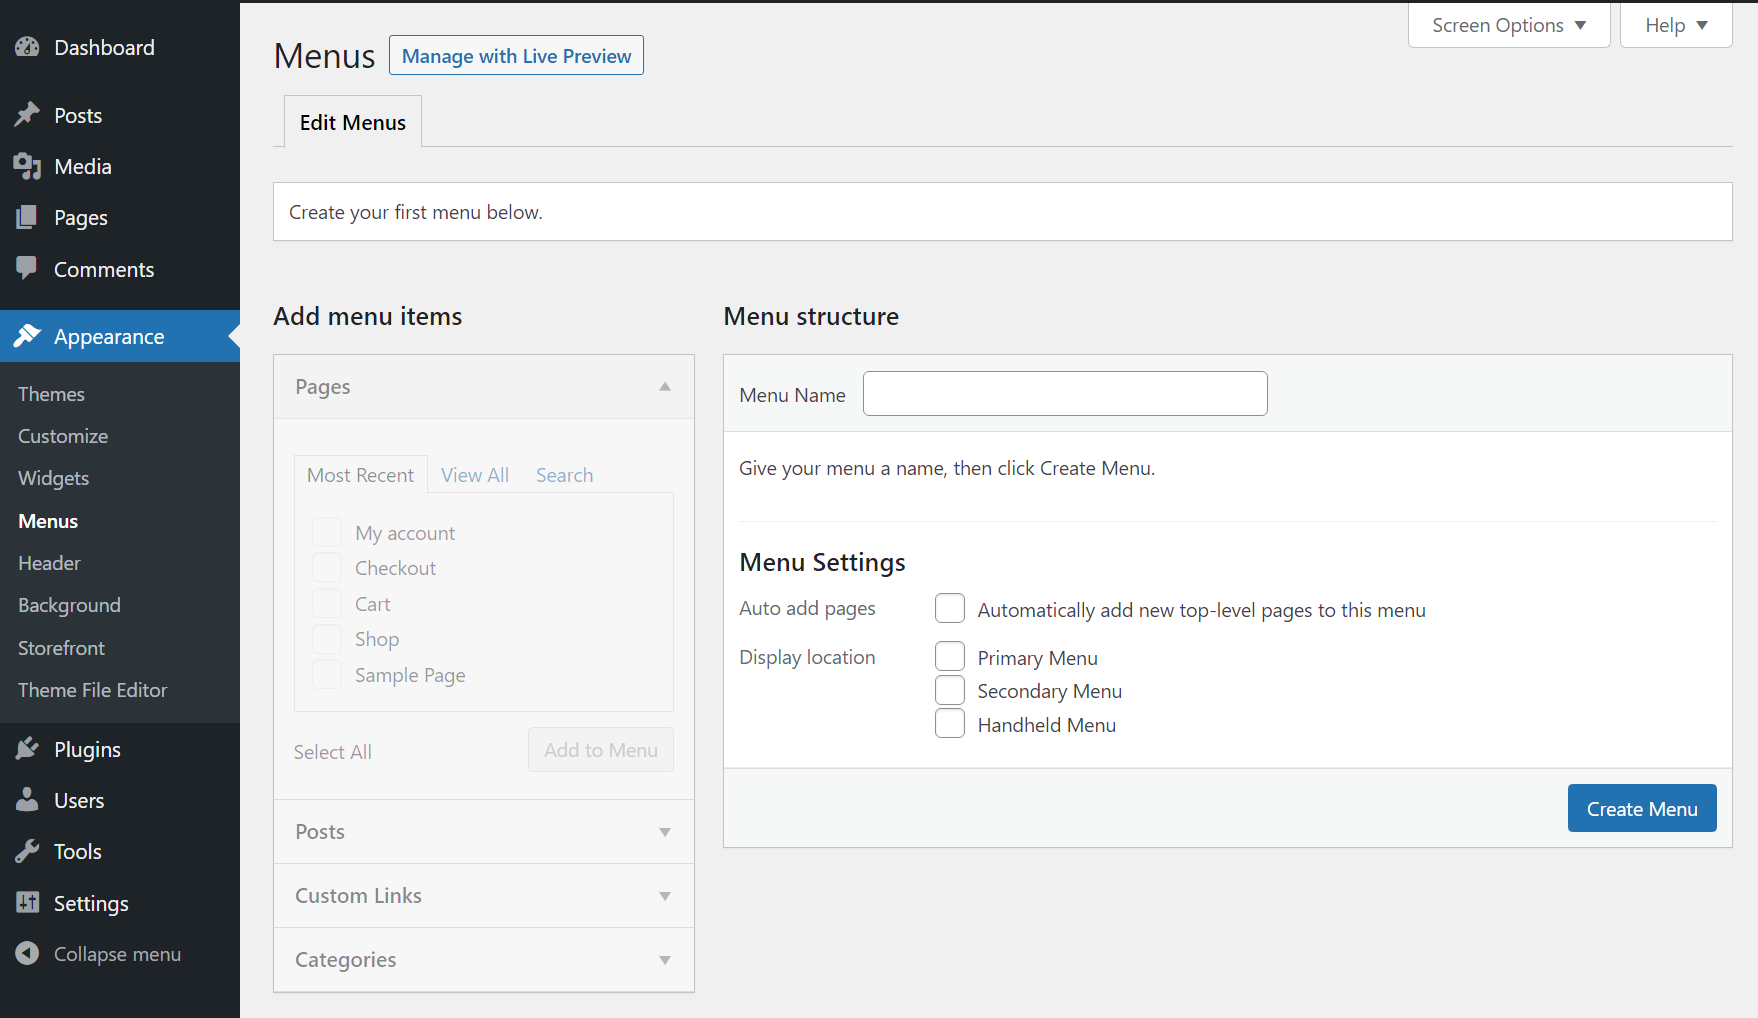
If you go to the Appearance → Menu screen, you’ll be able to create menus and edit existing ones. You can also set a primary menu from this screen:
Finally, the Customizer (which you can access from Appearance → Customize) enables you to modify several of your site’s global appearance settings. These include typography options, colors, page backgrounds, button settings, and more:
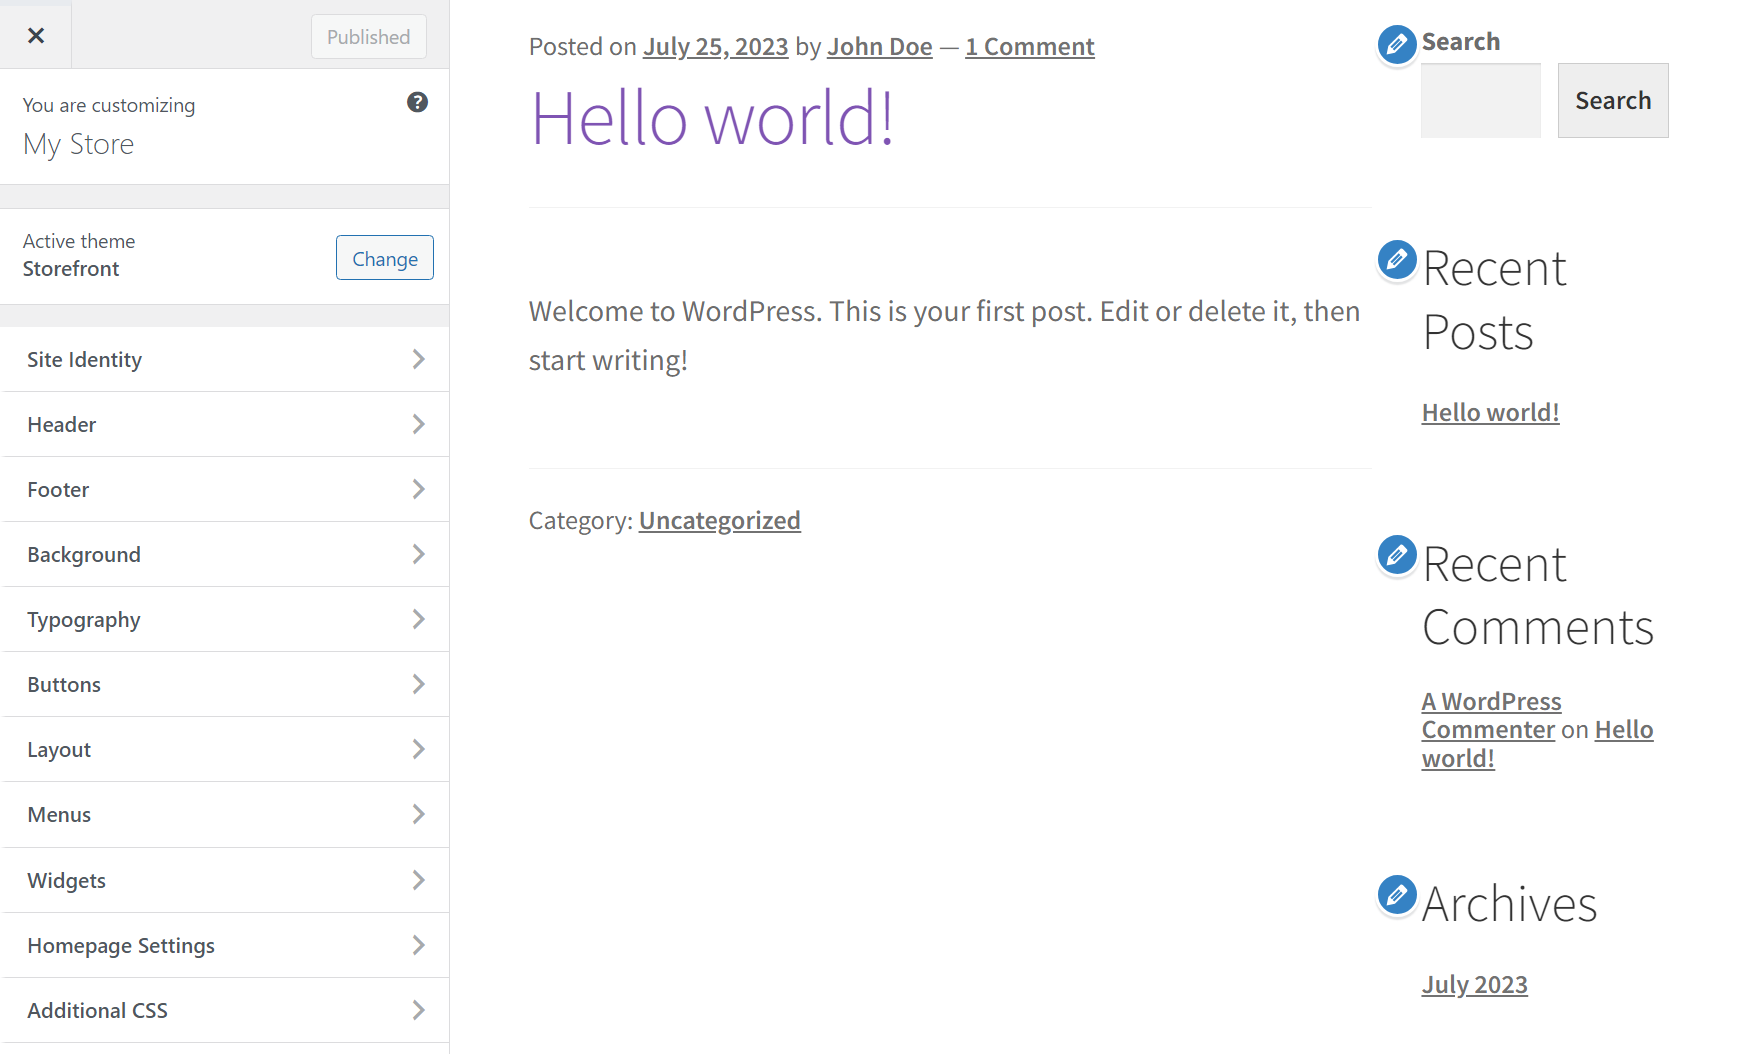
Here’s a full guide on using the WordPress Customizer. Which type of theme to use is up to you, but remember that your decision will change the appearance settings you can access from the dashboard.
How to customize the WordPress dashboard
Now that you know what is the WordPress dashboard, you might be interested in customizing it a bit to suit your needs. The dashboard gives you access to a decent set of customization options to streamline your workflow.
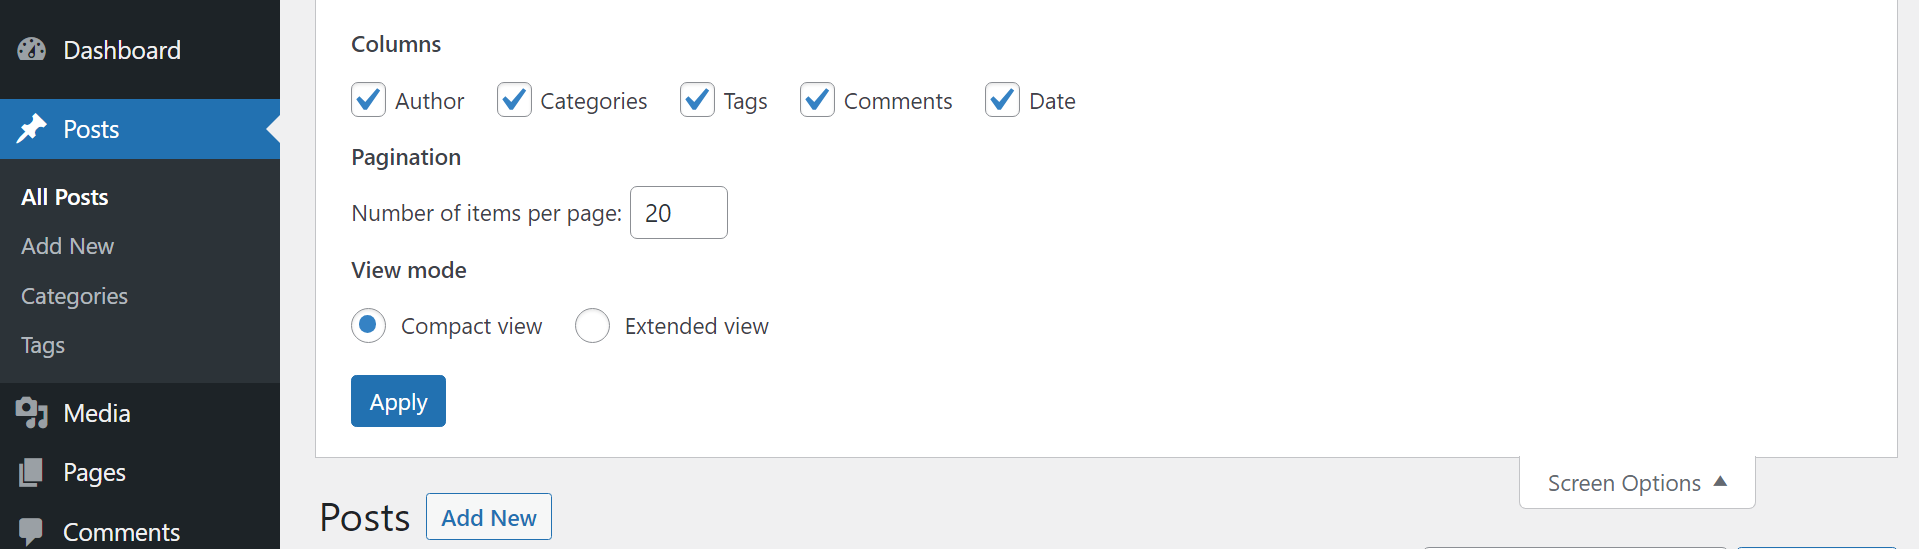
You can use the Screen Options menu at the top of most pages in the dashboard to change some of the options that you see within each individual section. For example, in the Posts page, you can use screen options to choose what columns the list of posts should display:
These options change from page to page, so we encourage you to see what settings you prefer. You can also go to your user profile and look for the Admin Color Scheme settings to adjust the dashboard’s color palette:
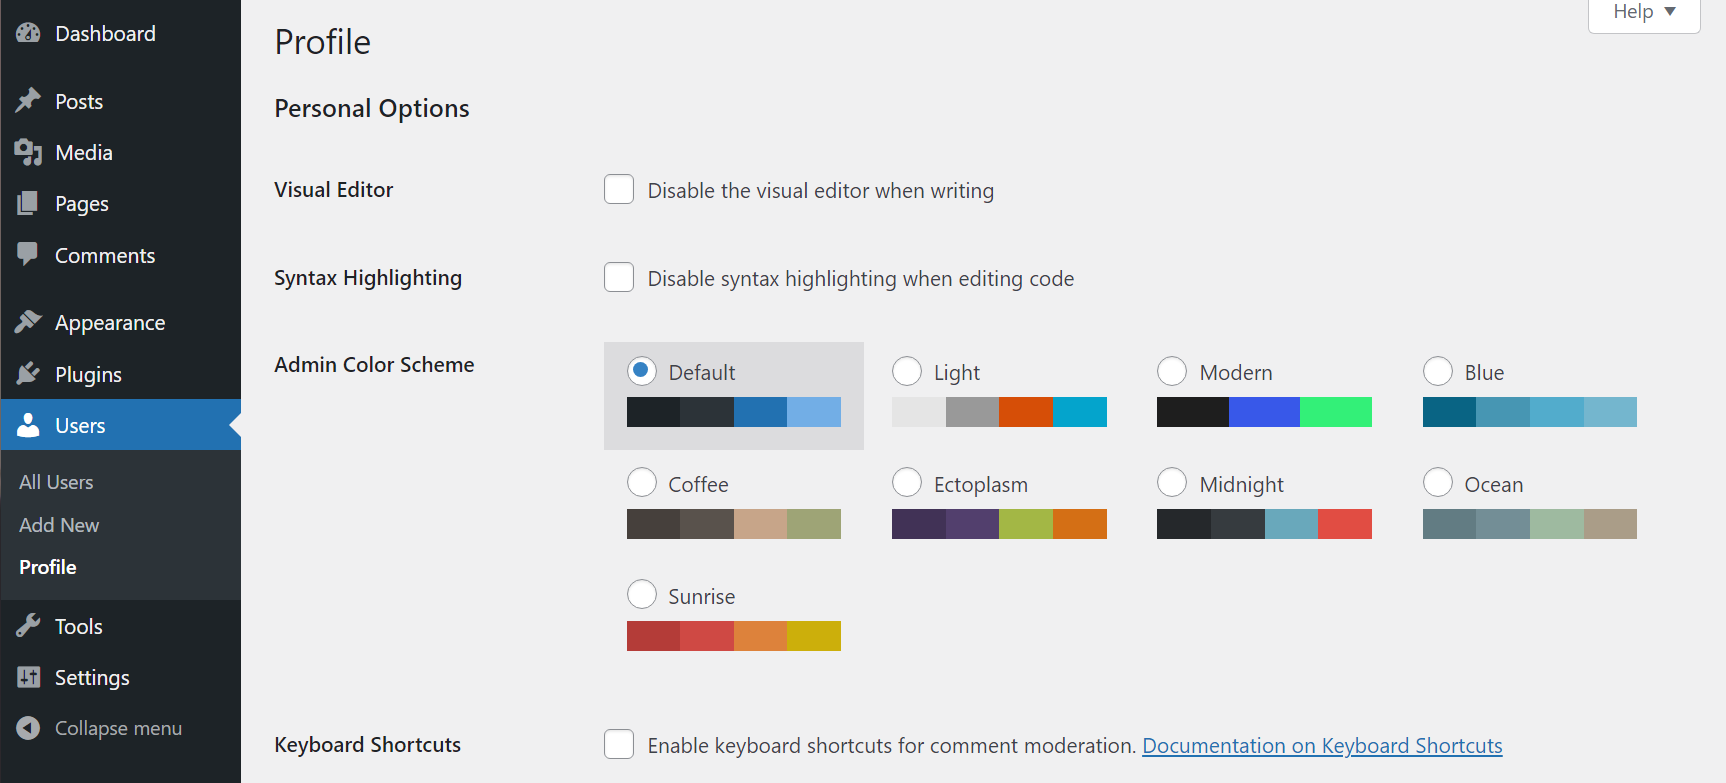
You can access your profile by going to the Users → Profile page. Alternatively, you can look to the top-right corner of the admin menu and search for the option that says Howdy, (your name). Clicking on that will lead you straight to your profile.
Conclusion 🧐
Learning the ins and outs of the WordPress dashboard can take a while, but it’s a lot simpler than it might seem at first glance. Once you learn how to set up and customize a WordPress website, you can start publishing content and watching your site grow.
If you want more information about the settings we covered in this article, check out the links we included in each section. They’ll show you how to modify specific settings and give you a better overview of what they do.
By now, you should fully understand the answer to “what is the WordPress dashboard?” Do you still have any lingering questions about how it works? Ask away in the comments section below.