Are you wondering how to enable ‘Preview Submission’ in WordPress multi-part forms? If your answer is yes, you’ve landed in the right place.
In a WordPress multi-part form, it might be hard to remember all the details you enter in the form’s previous parts. That’s where the ability to preview submissions in the form comes in handy.
The good news is that the Everest Forms plugin provides the ‘Preview Submissions’ feature. It lets users view all the form details they’ve entered in a multi-part form.
So, in this article, we’ll show how to enable the feature in Everest Forms with a step-by-step guide. Let’s get started!
Why Use Everest Forms to Enable ‘Preview Submission’ in WordPress Multi-Part Forms?
As we mentioned before, we’ll be using Everest Forms to demonstrate the process of enabling the preview submission feature.
Everest Forms is a popular WordPress form builder plugin with a drag-and-drop interface. With this plugin, you can create any form you want, like registration forms, contact forms, multi-part forms, and much more.
To add more, it’s a super easy-to-use this plugin as it lets you customize your form within a few steps even if you’re a beginner. Further, Everest Forms has great documentation and guides that’ll help you quickly set up everything.
Not to forget, it has several add-ons that help you add excellent features to your form. One such add-on is the Multi-Part add-on which lets you create multi-step forms without any hassle. Moreover, it comes with the ‘Preview Submission’ option.
Thus, we’ll use Everest Forms and its Multi-Part add-on to enable the ‘Preview Submission’ option. Therefore, let’s jump right into the tutorial without further wait!
How to Enable ‘Preview Submission’ in WordPress Multi-Part Forms?
Step 1: Install and Activate Everest Forms and Everest Forms Pro
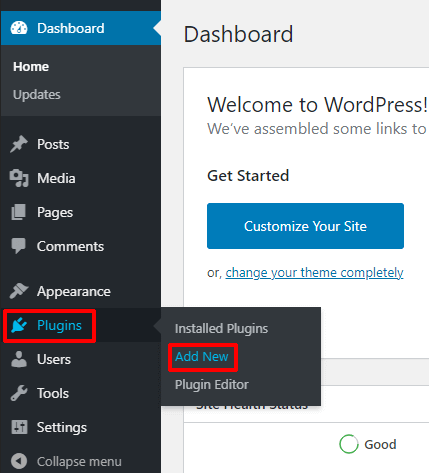
First, you need to install the Everest Forms plugin. To do so, log into your WordPress dashboard, and go to Plugins >> Add New.
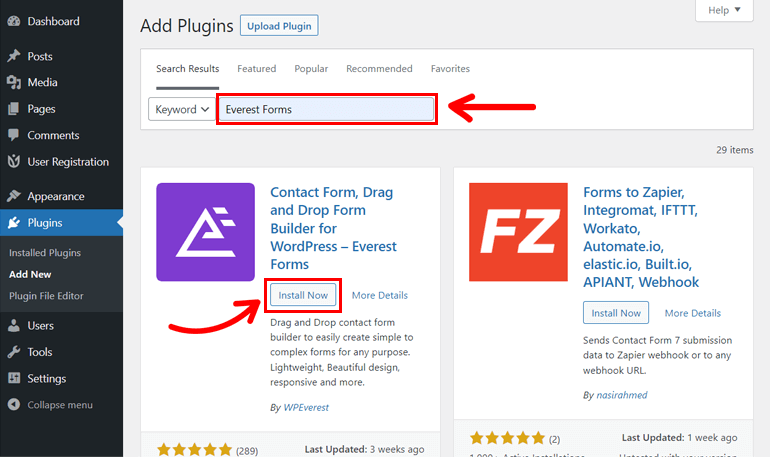
Next, on the search bar, type Everest Forms, and after you see it on your search results, click on Install Now button and next press on the Activate Plugin button.
After installing the free version, you still need Everest Forms Pro to use the multi-part form addon.
Please check out our article on installing Everest Forms Pro properly and quickly set up the plugin on your site.
Step 2: Install and Activate the Multi-Part Add-on
You must now install the Multi-Part add-on to enable the ‘Preview Submission’ option.
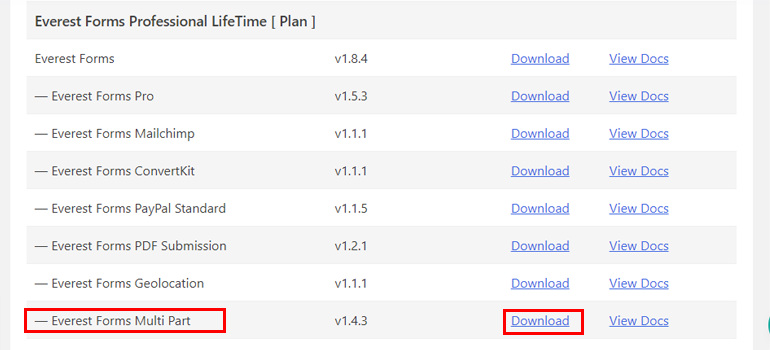
So, go back to your WPEverest dashboard and download the Everest Forms Multi-Part Add-on.
After that, go to Plugins>> Add New>> Upload Plugin in your WordPress dashboard. Now, click on the Choose File option and upload the file you’ve just downloaded.
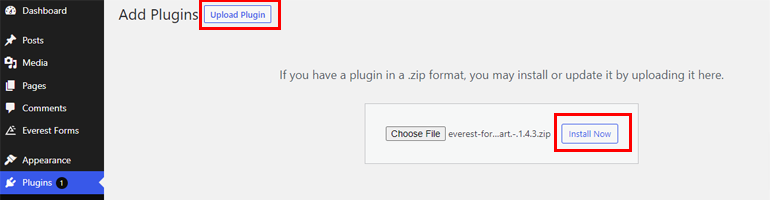
Then, choose Install Now and press the Activate Plugin button.
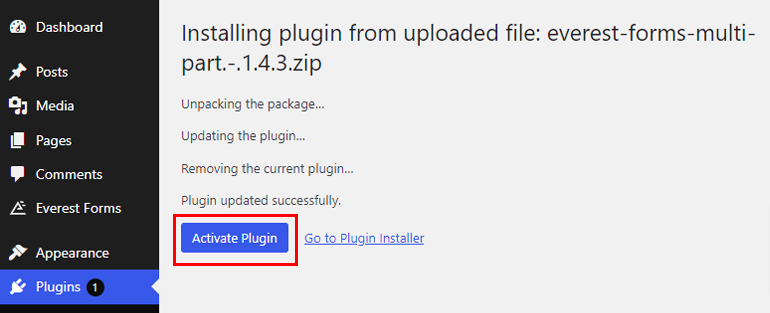
That’s it! You’re now ready to use the Multi-Part Add-on.
Step 3: Create a New Multi-Part Form
Your next step is creating a multi-part form with Everest Forms’ form builder. After all, you need a multi-step form where you’ll enable submission previews.
Simply start by clicking on Add New under the Everest Forms tab in your WordPress dashboard. Here, you can see the option to create your form from scratch or use different available templates.
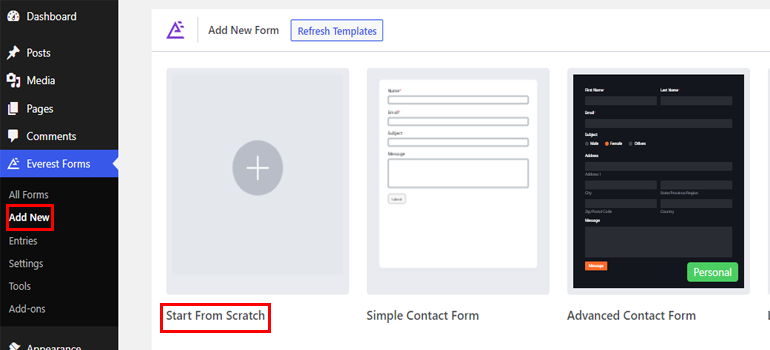
Here, we’ll create a multi-step form from scratch. So, click on the Start From Scratch option, and you can start by naming your form.
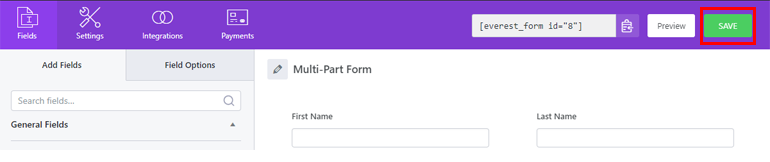
You’ll be directed to the form builder with all the available fields on the left. All you need to do is simply drag and drop fields you want like First Name, Last Name, Email, etc.
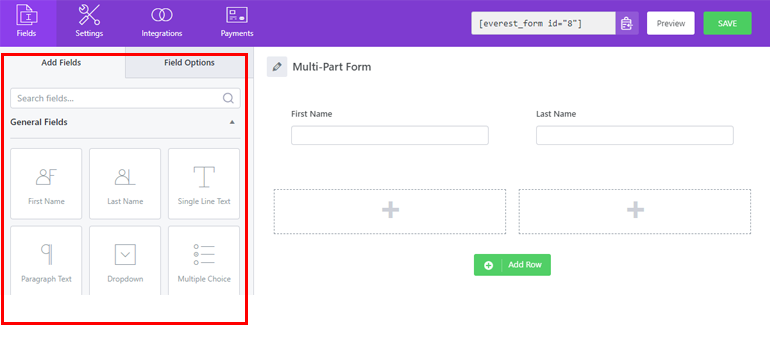
Click on the Save button at the top to save the changes you’ve made in your form.
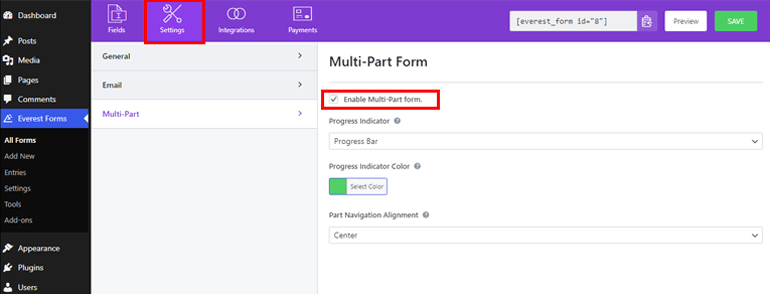
To build a multi-step form, you need to enable the multi-part feature. So, navigate to the Settings tab at the top. Next, open the Multi-Part tab and click on Enable Multi-part form option.
After you turn on this option, you can return to the Fields tab to add a new part to your form. Now, you’ll see various Multi-Part Options on your left-hand side. Thus, you’re able to edit the Part Title, Next Label, and Previous Label from here. Also, you can delete the part altogether.
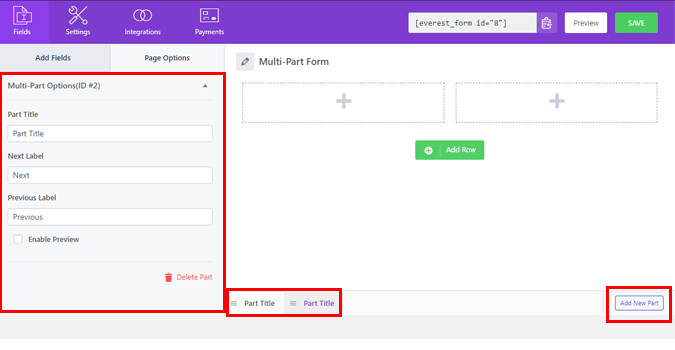
There’s an Add New Part option at the bottom right side of the form editor window. You can add as many parts as you want with this button. Then, add the required fields into each part and save the form.
For a more detailed guide, go through our article on how to create a multi-part WordPress form.
Step 4: Enable Preview Submission
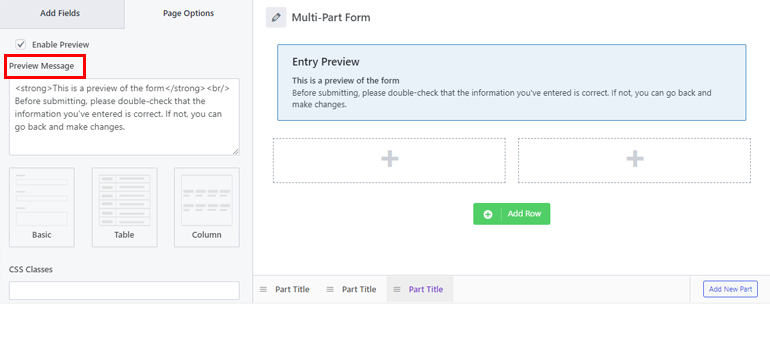
Now, your next step is to Enable Preview Submission. So, click on the Page Options tab at the top and tick the ‘Enable Preview’ option.
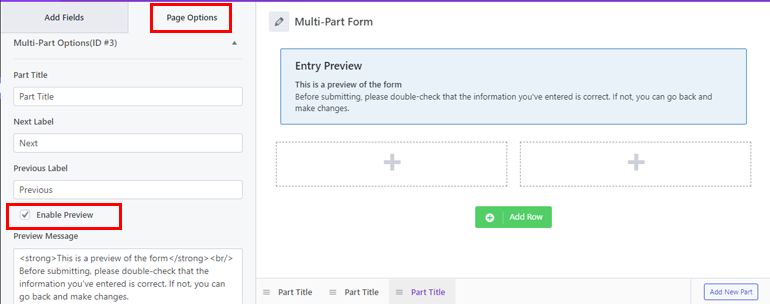
After that, you need to add Preview Message. You can write a custom HTML message to display above the preview.
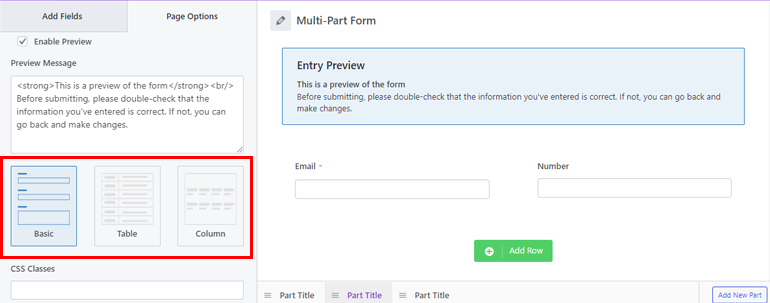
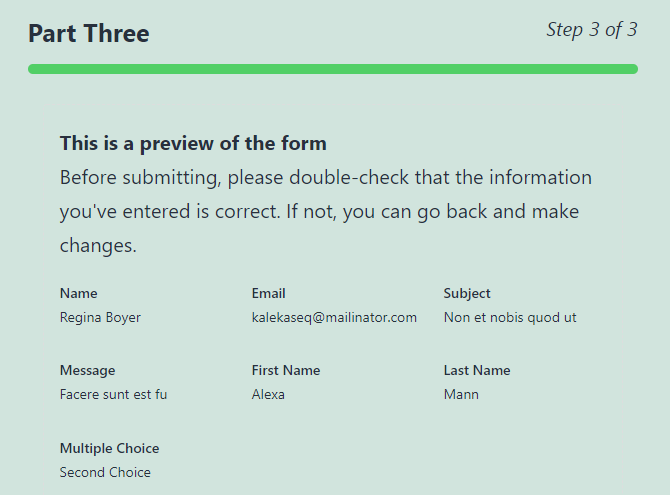
Everest Forms also lets you choose from three available layouts to preview your form; Basic, Table, and Column.
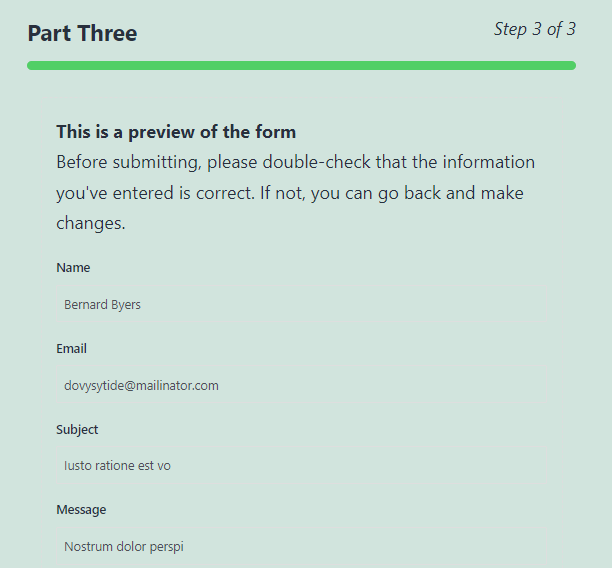
If you choose Basic Layout, your preview of the form will look like the image below.
On the other hand, the Table Layout displays information in table format.
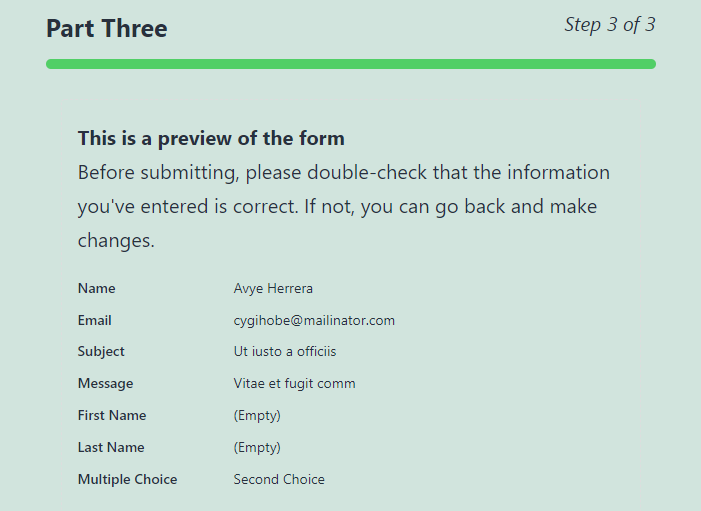
As for the Column Layout, the data will be displayed in columns as shown in the image below.
When you’re done, hit the Save button on your form!
Step 5: Configure Form Settings
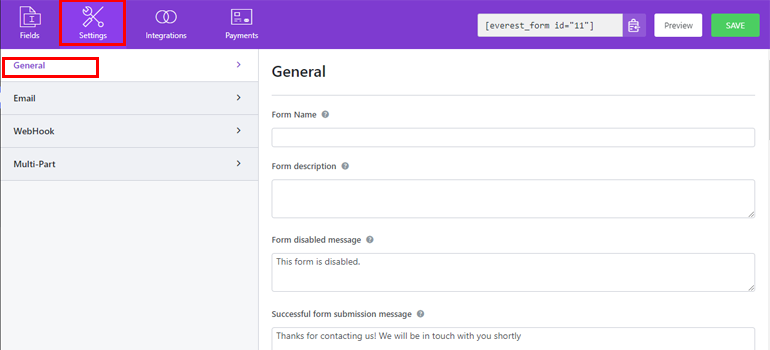
Now, click on Settings to configure your multi-step form settings. There are four tabs; General, Email, Webhook, and Multi-Part.
Under the General tab, you can add Form Description, Form Disabled Message, Layout Design, and more.
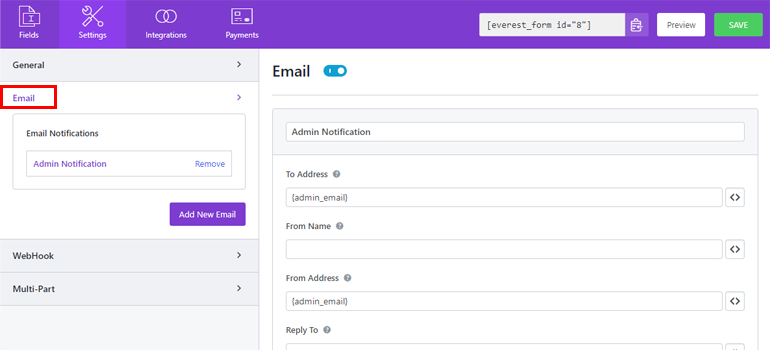
Further, under the Email tab, you can configure the email settings for admin and users.
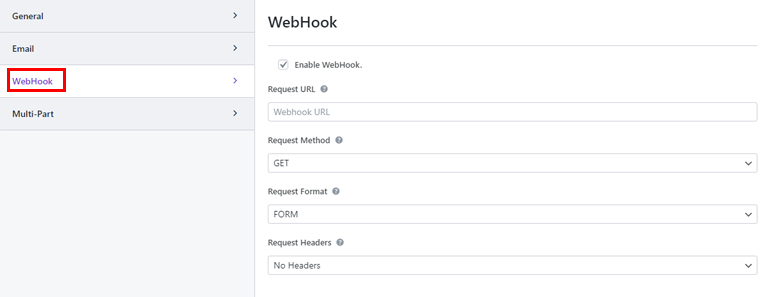
Now, under the WebHook setting, you can enable webhooks for the form and set Request URL, Request Method, Request Format, etc.
Next is the Multi-Part settings with various configuration options for your multi-part form. So, you can set the Progress Indicator, Progress Indicator Color, and Part Navigation Alignment.
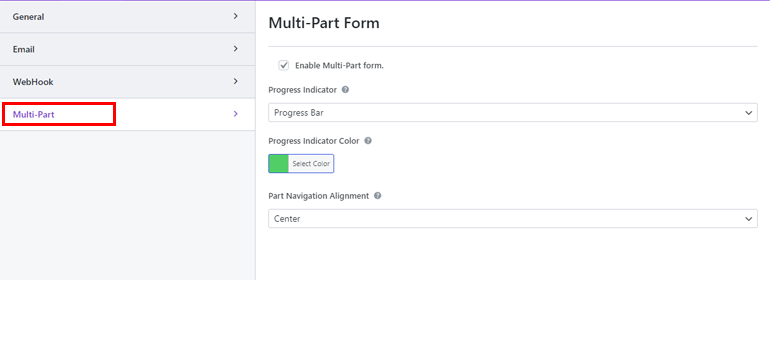
The Progress Indicator is a progress bar by default. But, you can choose between Circle Bar, Arrow Steps, or None from the drop-down menu. Also, you can select the color you want with Progress Indicator Color.
Likewise, Part Navigation Alignment lets you choose a Right, Left, Center, or Split alignment for the part navigation.
Just click on Save to update the changes you’ve made to your form. And you’re done!
Step 6: Add Form to Your Site
After creating the multi-part form with the preview submission feature, you must add the form to your website’s page or post.
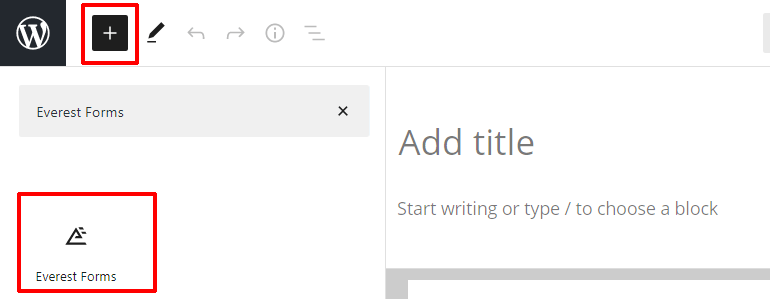
For that, create a new post or page in WordPress. You’re taken to the Gutenberg editor, where you can click on the ‘+’ icon to add a new block. So, choose the Everest Forms block.
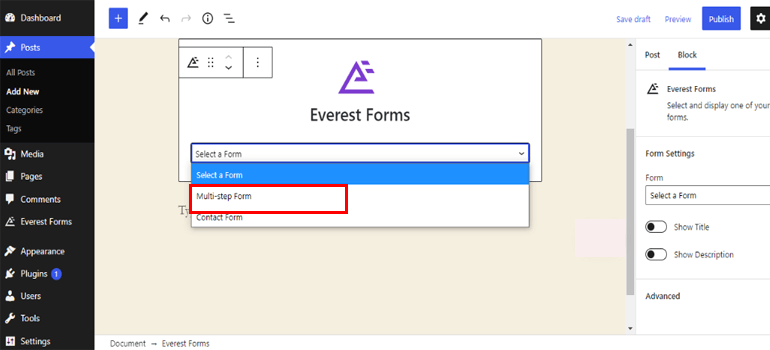
Select the form you’ve just created from the drop-down and add it to your post or page.
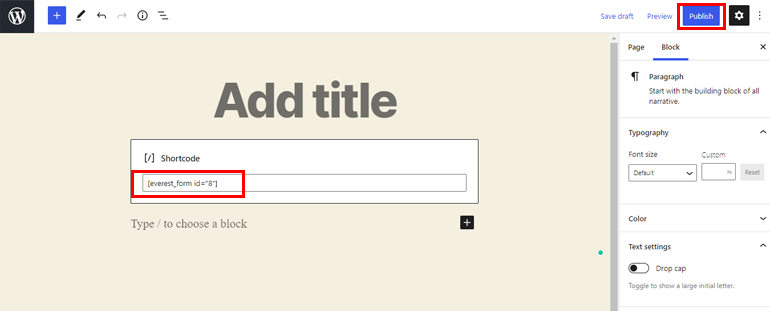
Alternatively, you can copy the form’s shortcode from the All Forms page of the Everest Forms tab. Then, paste it into a shortcode block on either your page or post. After you’re done, you must click on the Publish button.
With that, your form will be up on your site! Now, the users will be able to fill out the multi-part form and preview it simply by clicking on the Previous button prior to the submission.
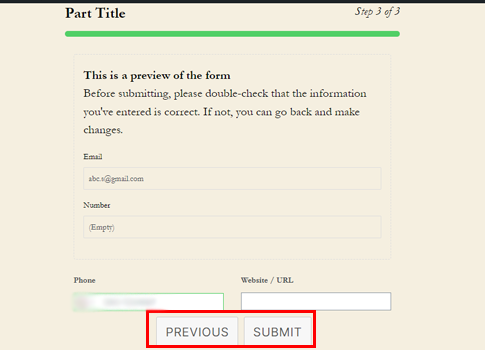
Once it’s confirmed that they’ve entered the correct information without any errors, they can click on the Submit button to submit the form.
Conclusion
It’s a great idea to add the ‘Preview Submission’ option to your form so that users won’t have to remember each detail they’ve entered in the form’s previous parts. They can simply preview the data before finally submitting the form.
You can do it easily with the incredible plugin – Everest Forms. Simply create a multi-part form and enable the preview option for it.
But, that’s not all. You can use Everest Forms to schedule and set deadlines on forms, create multi-column forms, and more.
Intrigued? Check out our blog for more tutorials on Everest Forms.
Also, if you want to stay updated on our posts, follow us on Twitter and Facebook. Happy Reading!