Visuals like images can make your website’s content more appealing. If their dimensions are not configured properly, however, they may do more harm than good. Learning how to use explicit width and height on image elements is essential to maintaining your site’s performance along with its aesthetics.
To get started, online tools like PageSpeed Insights can help you identify images with missing dimensions. Then you can either add those attributes manually, or use a plugin to simplify the process.
Why you need to add explicit width and height to image elements
Every image that is added to your site should have a defined width and height. If these attributes are missing, the browser will have to “guess” at the space needed to display each image while it’s loading the relevant page.
As a result, various elements may be pushed around the page until the browser has finished resizing and rendering the images. These layout shifts can make your site appear less professional, and also have a negative impact on the user experience.
For example, if elements are moving around on your page, users may accidentally click on the wrong ones. This also makes it difficult for visitors to navigate your website and quickly find what they’re looking for.
What’s more, Cumulative Layout Shift (CLS) is one of the key metrics in Google’s Core Web Vitals. It measures the movement of content as your page loads. A high CLS score indicates that users are experiencing a lot of layout shifts when they visit your site, and can negatively affect your pages’ rankings.
To solve this problem, you’ll need to use explicit width and height on image elements. This helps the browser determine the exact amount of space it needs to allocate for your media files.
Along with reducing layout shifts, this simple practice can help minimize “main-thread work.” This term refers to the tasks that a browser needs to carry out when loading a page. If the browser has to figure out the dimensions of your images, that will add to its workload and result in slower loading times.
Therefore, by defining the dimensions of your images, you’ll be eliminating any guesswork (and extra tasks) for the browser. This will help it load your content faster and more efficiently, leading to a smoother user experience.
How to use explicit width and height on images in WordPress
Now, let’s look at how to use explicit width and height on image elements in WordPress. In the following two steps, we’ll show you how to add missing dimensions to your images.
Step 1: Identify the images with missing dimensions
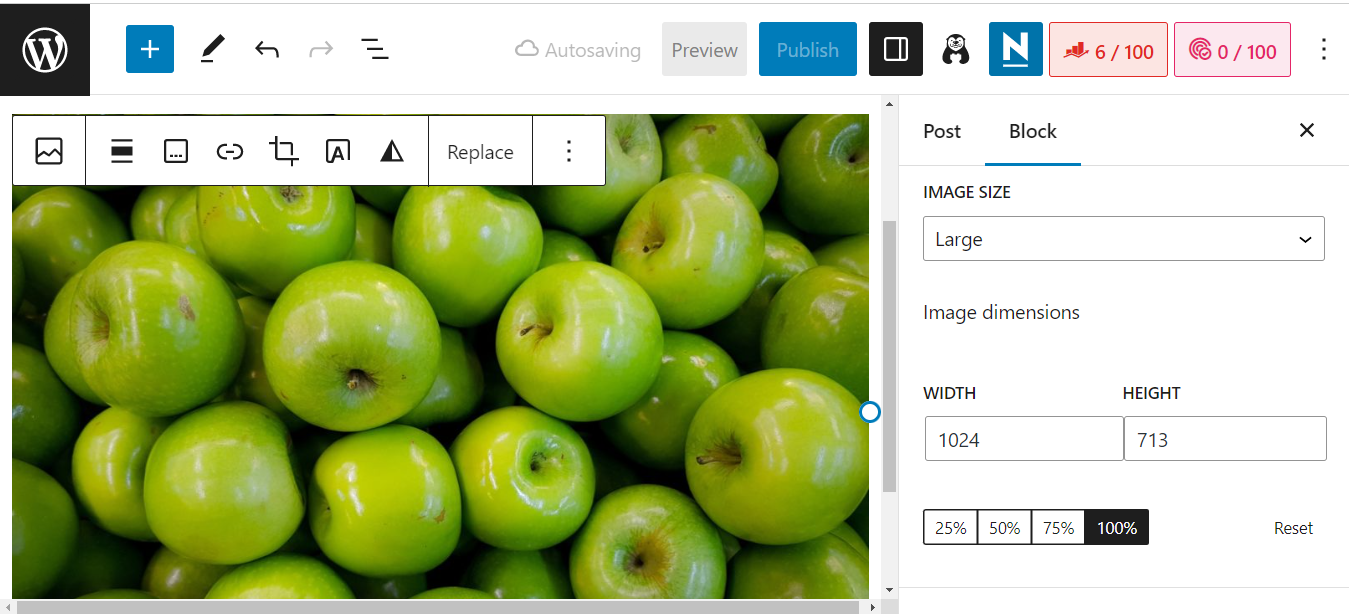
First, you’ll need to find out which images on your site are missing dimensions. Typically, every image you upload via the WordPress Media Library or the Block Editor will automatically be assigned width and height attributes:
However, if you’ve added images through code or a page builder, they may be missing dimensions. You might also experience this problem when you migrate your site to WordPress from another platform (such as Wix).
Fortunately, it’s very easy to identify these images. The first step is to run a performance test using PageSpeed Insights:

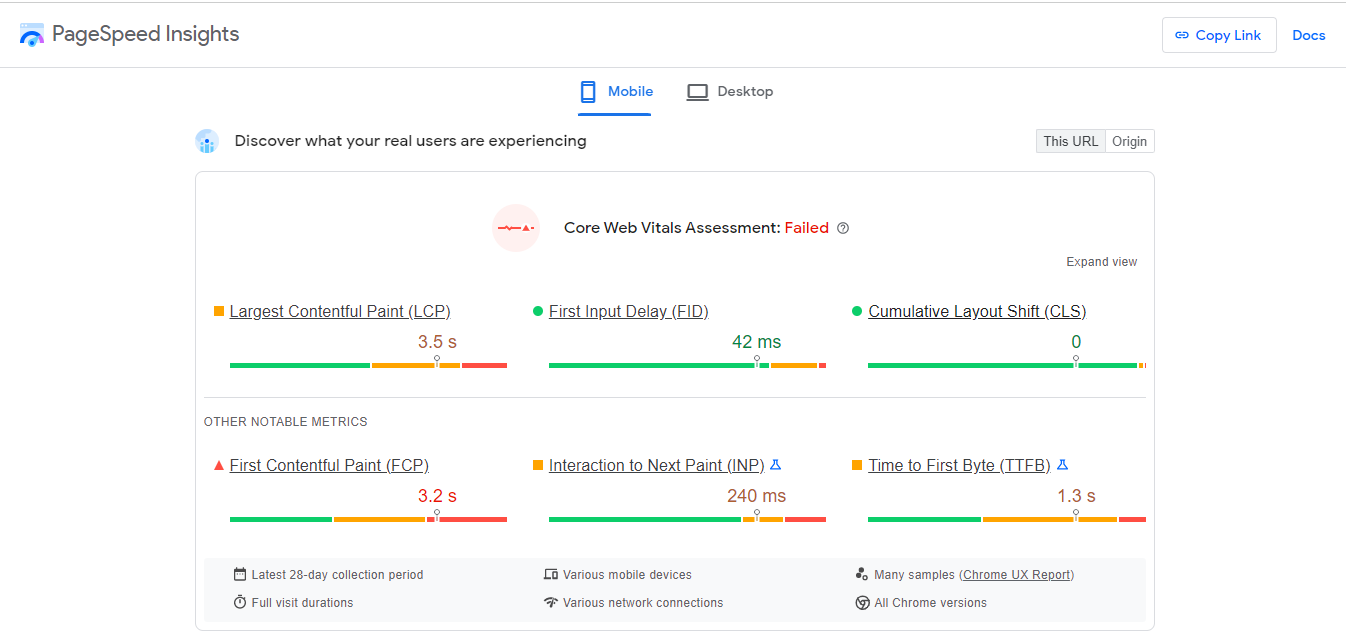
Enter your site’s URL and click on Analyze. You’ll get a report on your site’s Core Web Vitals, which includes a score for cumulative layout shifts:
Ideally, you’ll want to aim for a green score in each area. However, even if you get a good CLS score, you may still need to use explicit width and height on image elements in a few places.
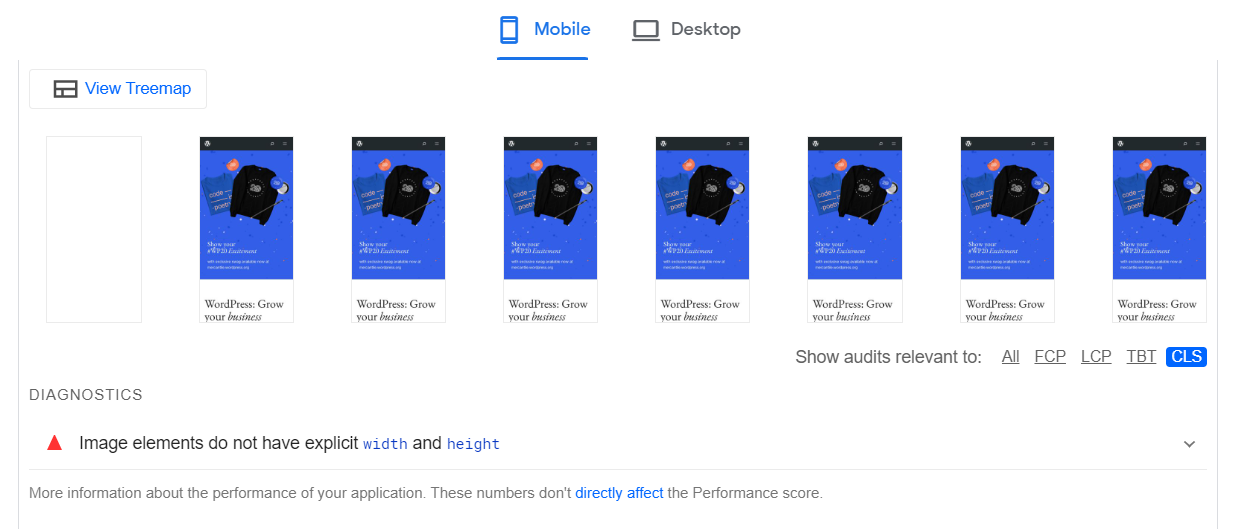
To find out if this is the case, scroll down to the audits and select the CLS tab. This section will show you if there are any images on your page that are missing dimensions:
If you click on Image elements do not have explicit width and height, you’ll even see which specific images need to be fixed:
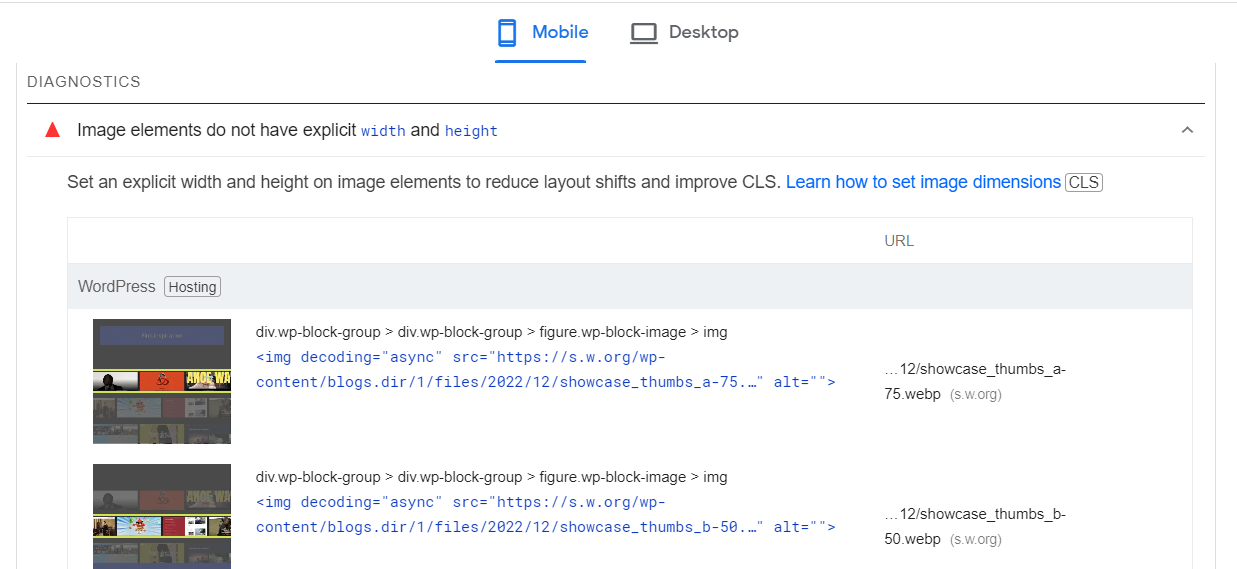
You can click on the accompanying URLs to take a closer look at each image.
Step 2: Add the image dimensions manually or with a plugin
Next, let’s look at two ways to use explicit width and height on image elements. If you’ve built your site (or parts of it) with code, you can do this manually.
First, navigate to the page or section of your site that contains the image with missing values. Then, locate the image and specify its width and height attributes.
For example, the HMTL code for your image file will look something like this:
<img src="https://themeisle.com/blog/use-explicit-width-and-height-on-image-elements/chocolatecake.jpg" width="640" height="360" alt="Chocolate Cake.">
If you have multiple images with missing dimensions, or you simply want to speed up the process and avoid any errors, you may want to use an optimization plugin like WP Rocket to save time. This tool can do all the work for you.
Once you’ve installed and activated the plugin on your site, go to Settings > WP Rocket and select the Media tab:
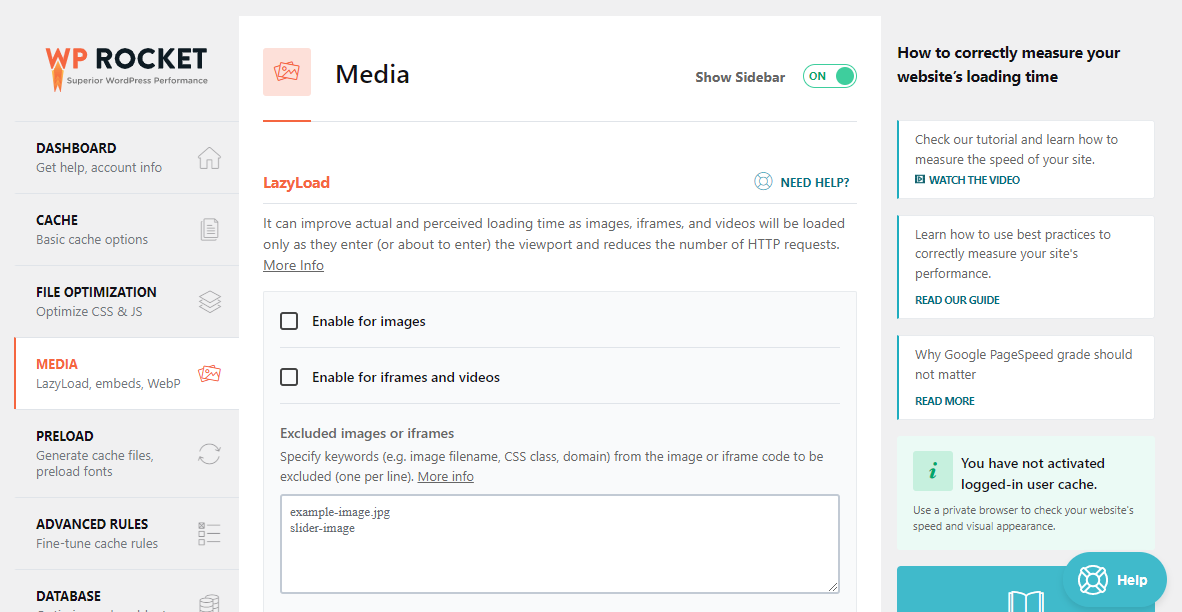
Then, scroll down the page and check the box for Add missing image dimensions:
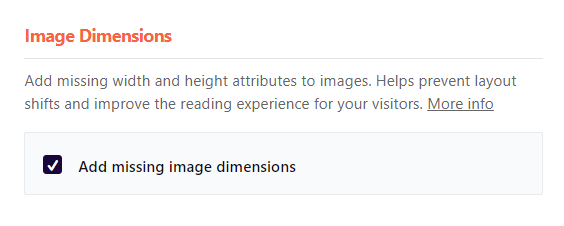
Finally, click on Save Changes. WP Rocket will scan your site’s HTML to find images that are missing width and height attributes. It will then fetch the image sizes using the PHP function getimagesize, and add the attributes using those values.
Other best practices for adding images to WordPress
It’s worth noting that there are many other ways to optimize your WordPress images. For example, you might also want to start resizing your images to further improve your site’s performance.
Of course, it takes a lot of work to resize or compress every image you upload to WordPress. Fortunately, there are many plugins that will handle this task for you.
For example, Optimole can scale your images immediately when you upload them. It also chooses the right image sizes to display, depending on each visitor’s browser and device:

Plus, the service is entirely cloud-based. This means it doesn’t add any strain to your server, and it helps you save on storage space.
Conclusion 🧐
Images without width and height attributes can lead to large layout shifts as your site is loading. That means elements will shift around the page until the browser has determined the correct dimensions for everything. This can lead to slower loading times and a poorer user experience.
To recap, here’s how to easily add missing attributes to your images:
- 👉 Run a test on PageSpeed Insights to identify the images with missing values.
- 👉 Add the width and height dimensions manually, or using a plugin like WP Rocket.
Do you have any questions about how to use explicit width and height on image elements? Let us know in the comments section below!