Use Gravity Forms? Heck yeah! It’s one of the top WordPress form plugins, giving you the flexibility to create all sorts of forms for your website. But displaying all that juicy data it collects on the front-end of your site? Not so easy, my friend.
Enter GravityView, the ultimate sidekick for your Gravity Forms adventures. This plugin lets you take those form entries and display them in all sorts of awesome ways on your site. Think event directories, user submissions, and more–the possibilities are endless!
In this hands-on review of GravityView, I’ll dig into the nitty-gritty of this plugin and explain how you can set it up on your own WordPress website. So, let’s dive in and see what GravityView has to offer.
GravityView: Overview and Key Features
GravityView is an extension that integrates seamlessly with Gravity Forms, allowing you to display collected data on your site using pre-designed templates.
With GravityView, you can effortlessly turn your Gravity Forms data into visually appealing displays such as staff profiles, resumes, job boards, event listings, and more.
You don’t even need to create a form using Gravity Forms as GravityView can handle that for you too, making the entire process of collecting and displaying data quicker and more convenient.
GravityView also enhances the user experience by providing front-end search and filter options. Your visitors can easily search and find the information they need without navigating through complex menus or forms.
Key Features:
- Approve Entry feature: Screen and moderate submissions, giving you full control over what gets displayed.
- Reviews and ratings: Users can add ratings and reviews for each entry, adding social proof and engagement.
- Easy customization: Edit submissions in the back-end or let users edit their own entries from the front-end.
- Highlight popular entries: Choose to display the most popular or latest entries first, and let users filter by categories.
- Image and video support: Enhance your views with photo galleries, zooming options, videos, and audio for an interactive experience.
- Premium extensions: Additional functionality available with premium extensions, included in higher plans.
Hands-on with GravityView
In this section, I’ll demonstrate how to install and configure the plugin on a live WordPress website.
First, choose a GravityView plan (more info in the pricing section). Then download the .zip file for the plugin and upload it in WordPress. Go to Settings > Plugins > Add New > Upload Plugin. Finally, install and activate the plugin to start using it.
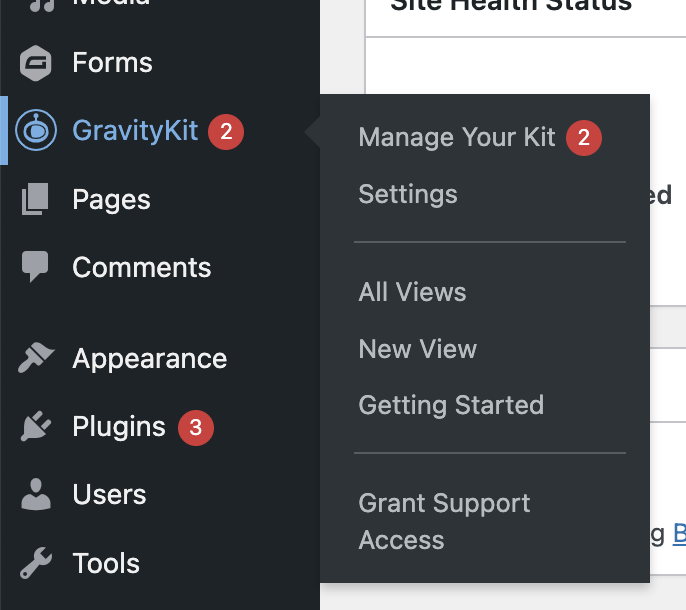
You should now see a new menu for GravityKit in the left sidebar of your WordPress admin.

Article Continues Below
Setting up a form
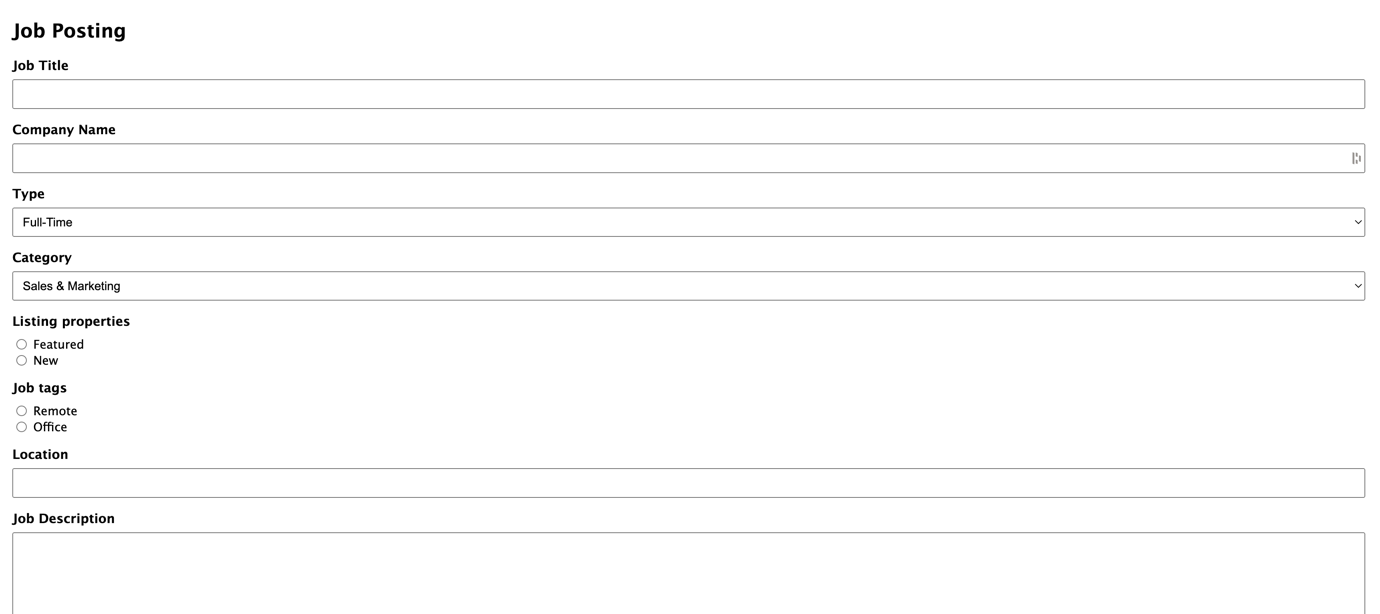
Although GravityView allows you to create forms directly, I used one that I had created with Gravity Forms.
Specifically, I chose the job posting form. If someone wants to post a job on my site, the can use the form to submit their information.
New View in GravityView
Now that we have a form, let’s see how to display its information on the front end.
In GravityView, the front-end layout is referred to as “view.” When creating a new view, you can pick from two powerful options for your data source.
1) Form presets: These provide ready-made job boards, webinar registrations, directories, and more, saving you time and effort.
2) Existing form: Take an existing form from Gravity Forms and customize it to your heart’s liking.
Once done, go ahead and choose your View Type.
Here, you can pick between a table and list view. I went with the letter to keep things simple:
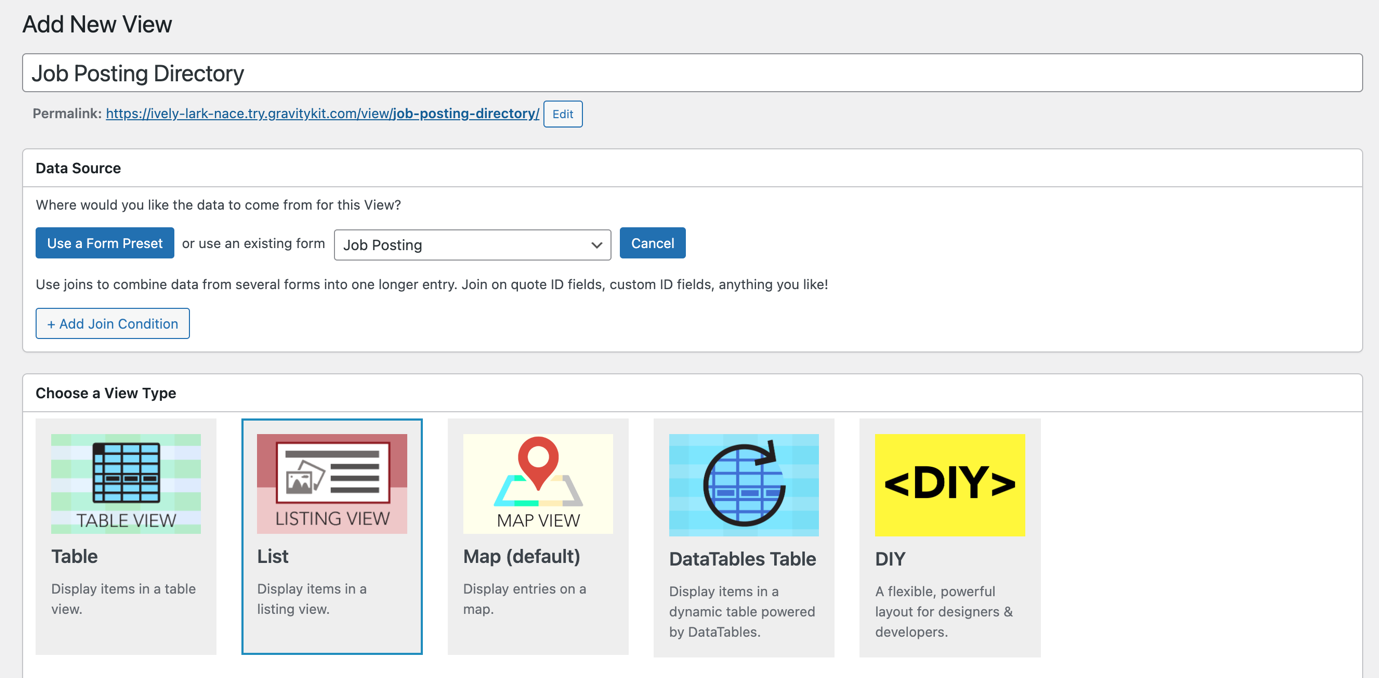
.
Customizing the View Layout
So you’ve chosen a data source and layout option for your GravityView. Now it’s time to design your layouts and create a stunning view using the drag-and-drop builder.
The plugin offers three layouts for pages:
- Multiple Entries Layout: Controls the list of all Gravity Forms entries.
- Single Entry Layout: Controls the dedicated page for a single entry, accessed from the multiple entries list.
- Edit Entry Layout: Controls which fields users can edit from the front-end interface.

Multiple Entries Layout
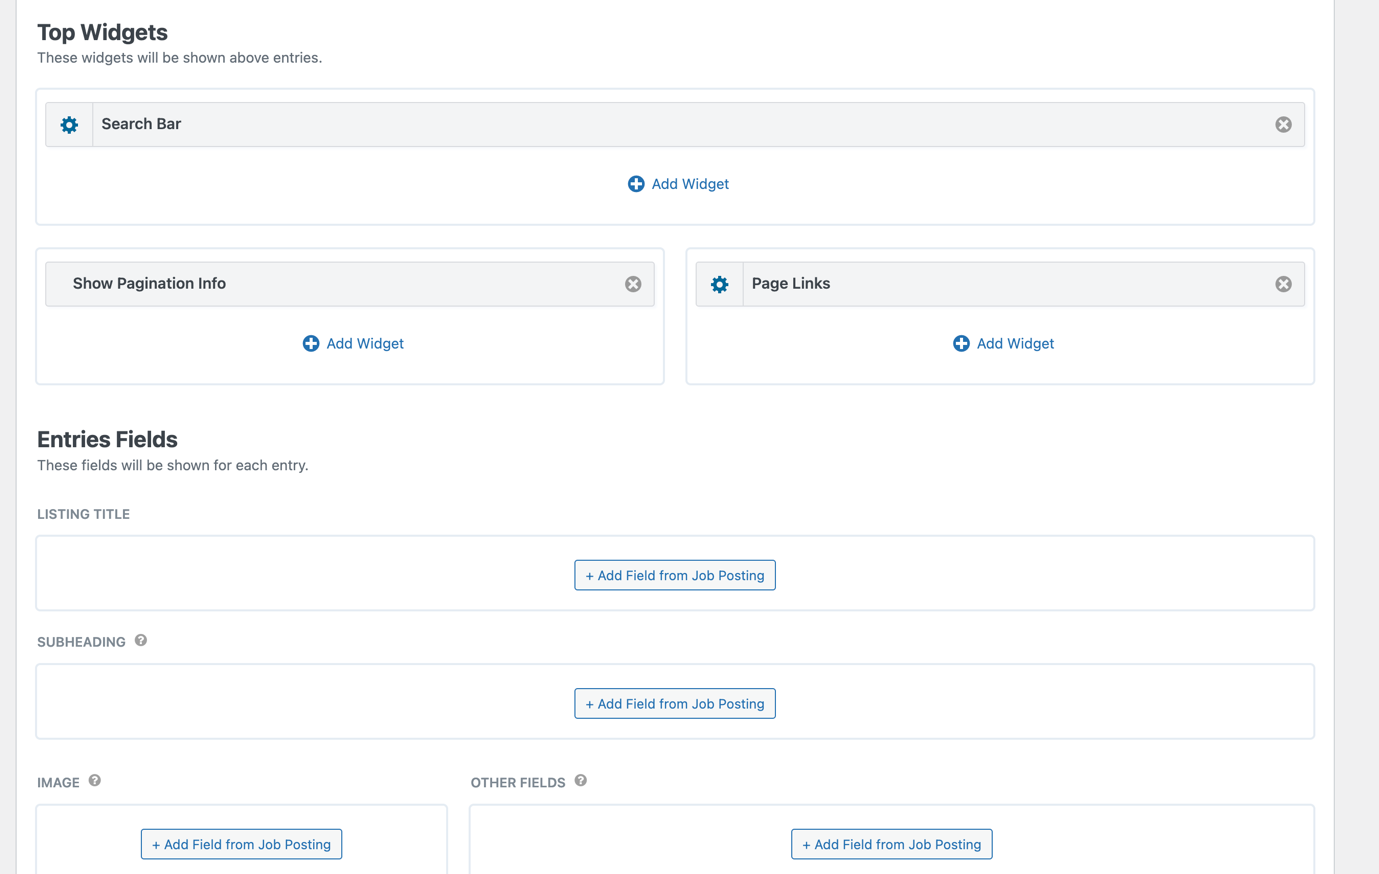
The Multiple Entries layout allows you to control three key parts of the page:
- Top Widgets: These widgets only show once at the top of the webpage. You can add pagination info or a search bar here to help users refine their search.
- Entries Fields: These fields repeat for each entry displayed, similar to a blog list page that automatically lists all your blog posts. You can customize the layout for each entry by choosing form fields you want to display.
- Bottom Widgets: Like the above widgets, these widgets only appear once at the bottom of the page. You can use them for footer links or add other widgets for added functionality.
Note that you can use drag-and-drop to move fields around as required.
Single Entry Layout
The Single Entry layout is used for displaying a specific entry in a dedicated page, which users usually access from the Multiple Entries list.
You can design the layout of this page using the same interface as the Multiple Entries template, but now you only work with the form fields of the specific entry.
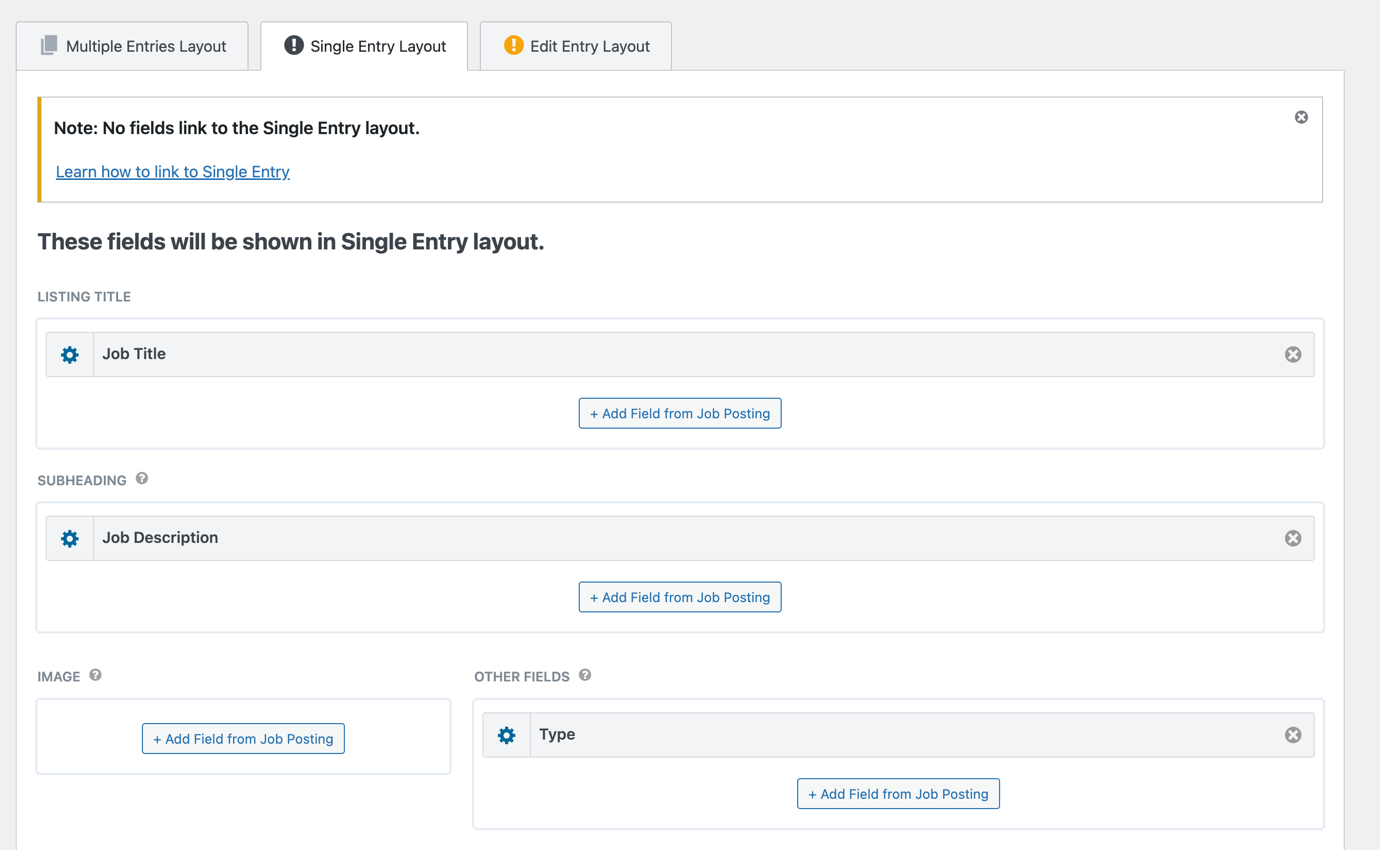
Plus, GravityView lets you add custom content using the Custom Content field, as well as offers fields to edit or delete entries if needed.
Edit Entry Layout
The Edit Entry layout allows logged-in users to edit their own entries, but you can control which fields they can edit. This is useful if you want to restrict users from editing certain fields of their entry. For example, you can restrict job posters to edit all fields except for job title.
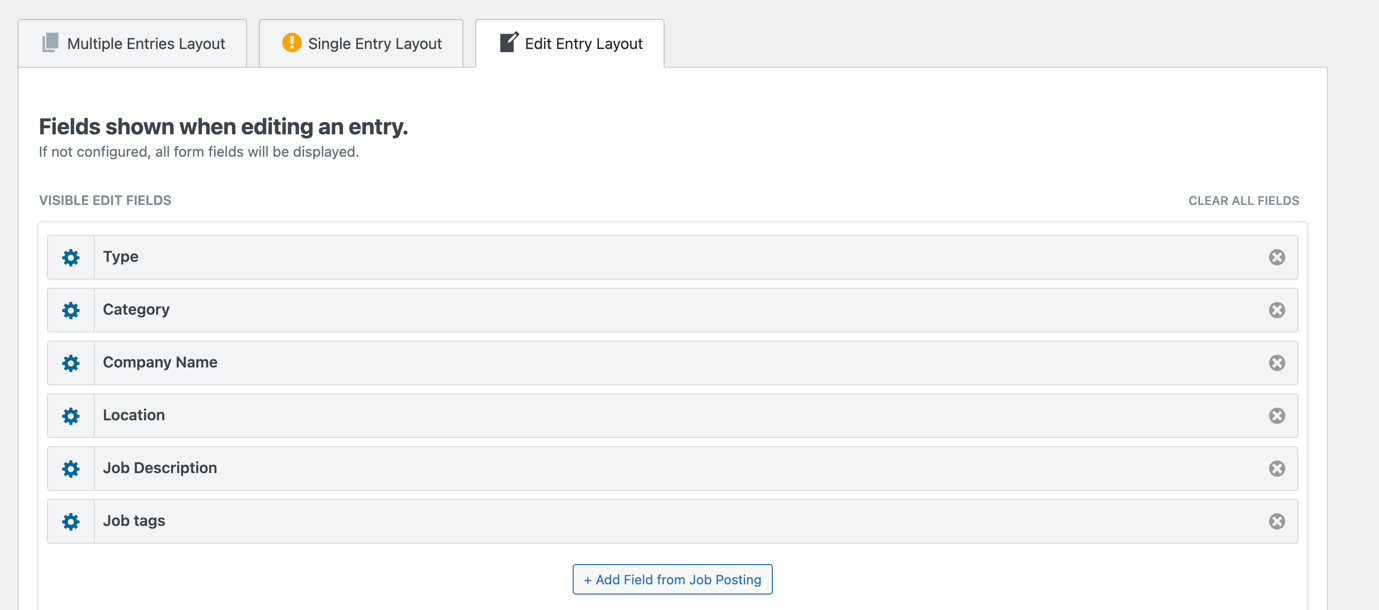
You can design the layout for the Edit Entry template using the same interface as the other templates and choose the fields that users can edit. This way, you have full control over the editing capabilities of your users.
View Settings
Make sure to configure these settings before publishing your view. Here, you can configure things like:
- Whether to display all form entries or only the ones you’ve manually approved
- Sort behavior
- Whether to display or hide empty fields
The Front-End Action
Now that I’ve created a view to go along with my form, let’s dive deeper into the dynamic interplay between Gravity Forms and GravityView.
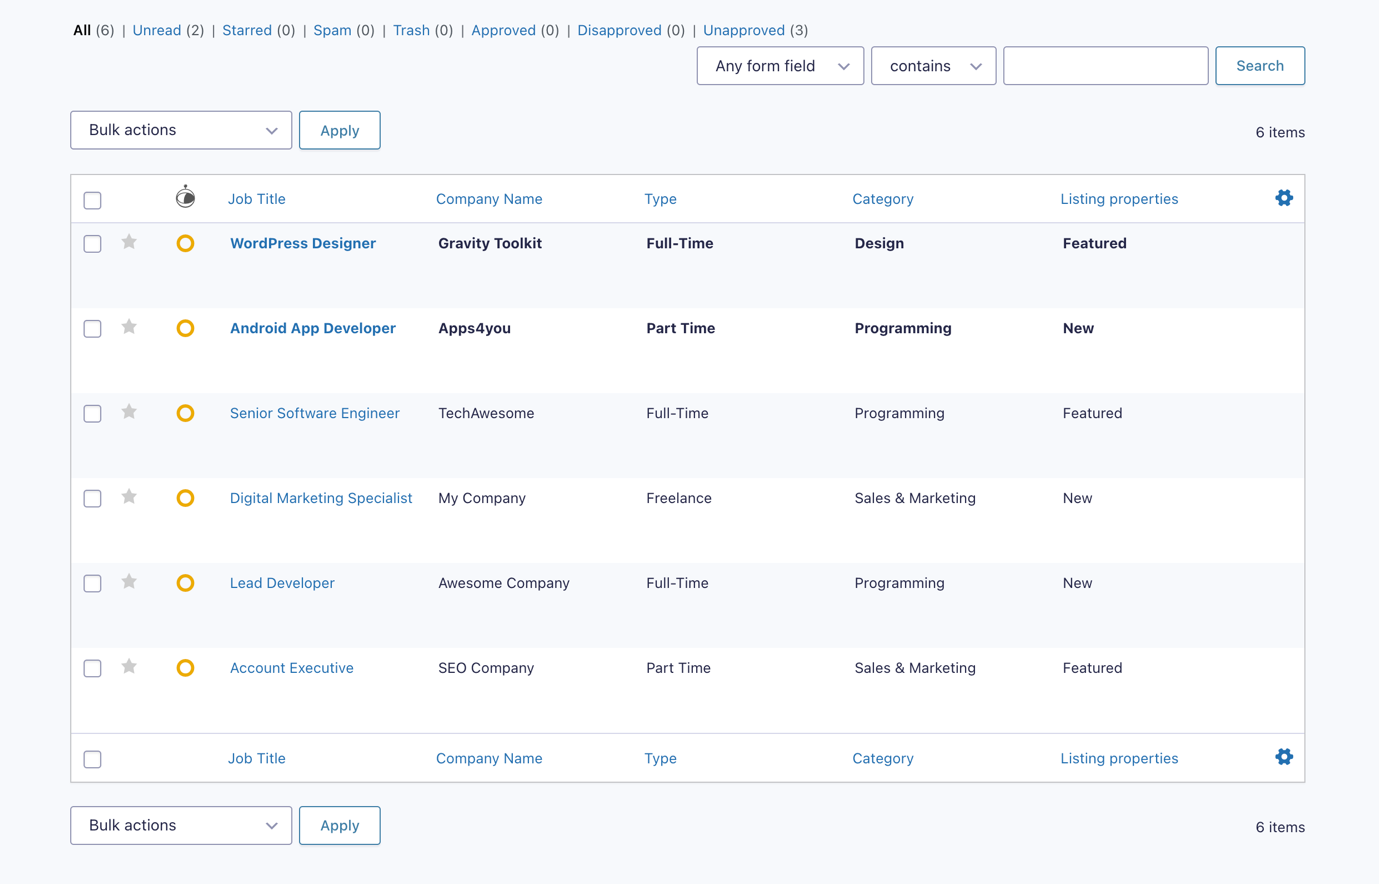
As I showed you before, the front-end form from Gravity Forms allows users to submit data, which then shows up as Entries in Gravity Forms. Take a look at my example form with six entries, each representing a certain job.
Here’s where GravityView takes it to the next level. On the front-end page where I added the GravityView shortcode, you’ll see a list item for each entry in Gravity Forms.
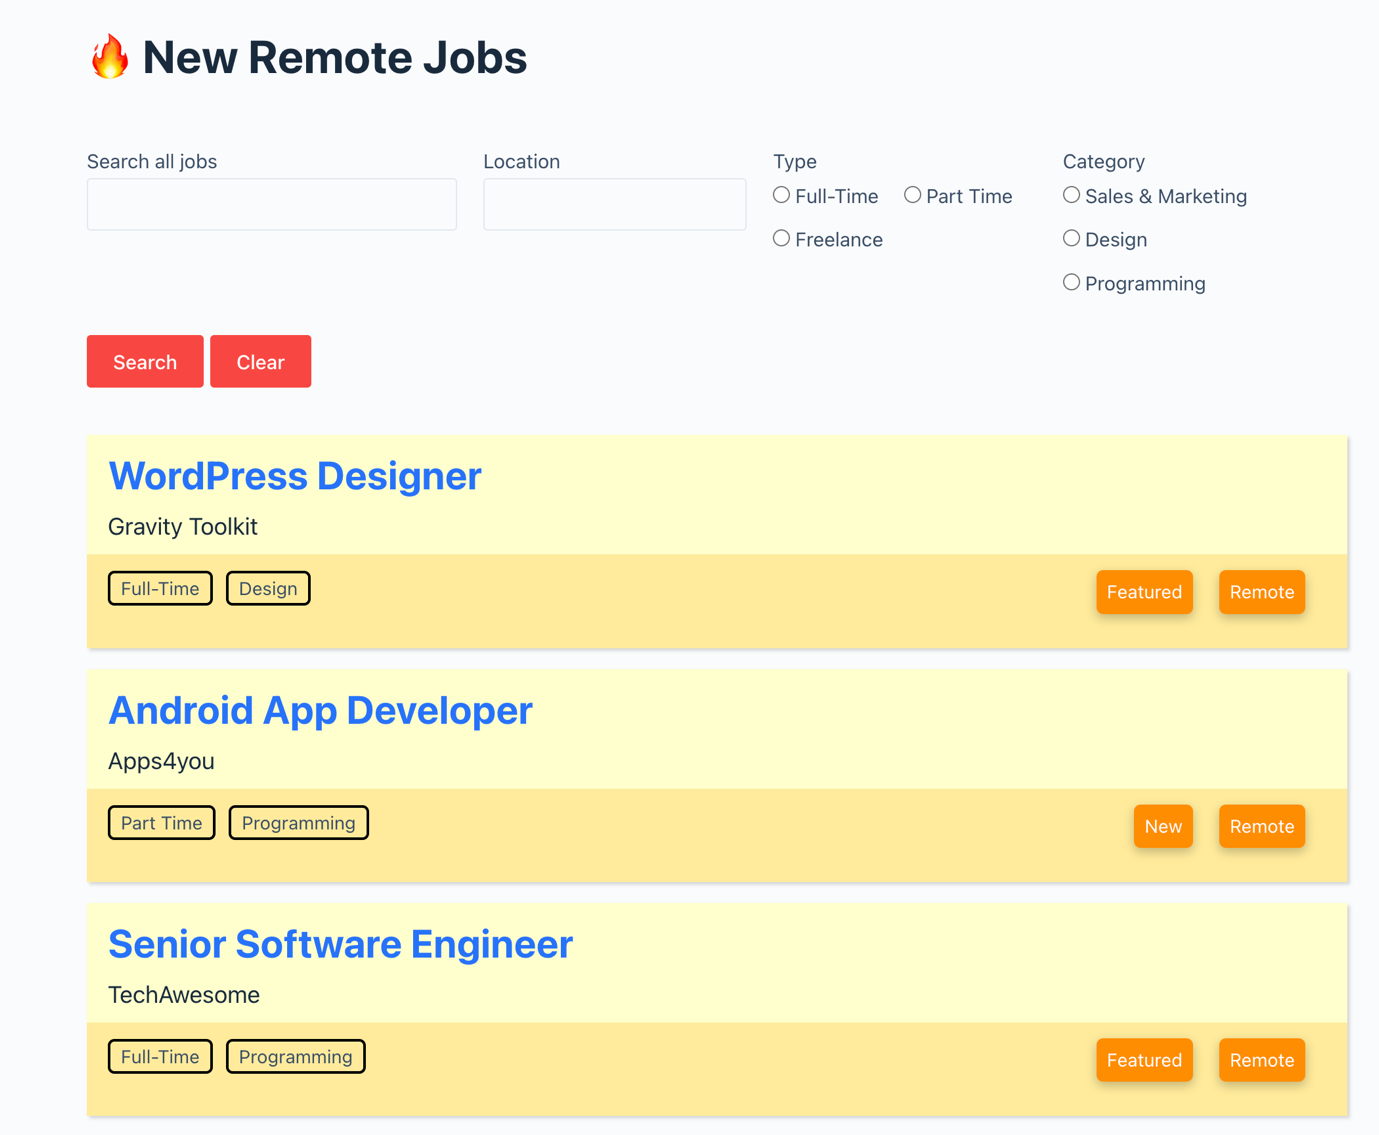
This is the powerful multiple entries template in action, displaying all the submitted entries in a neat and organized way.
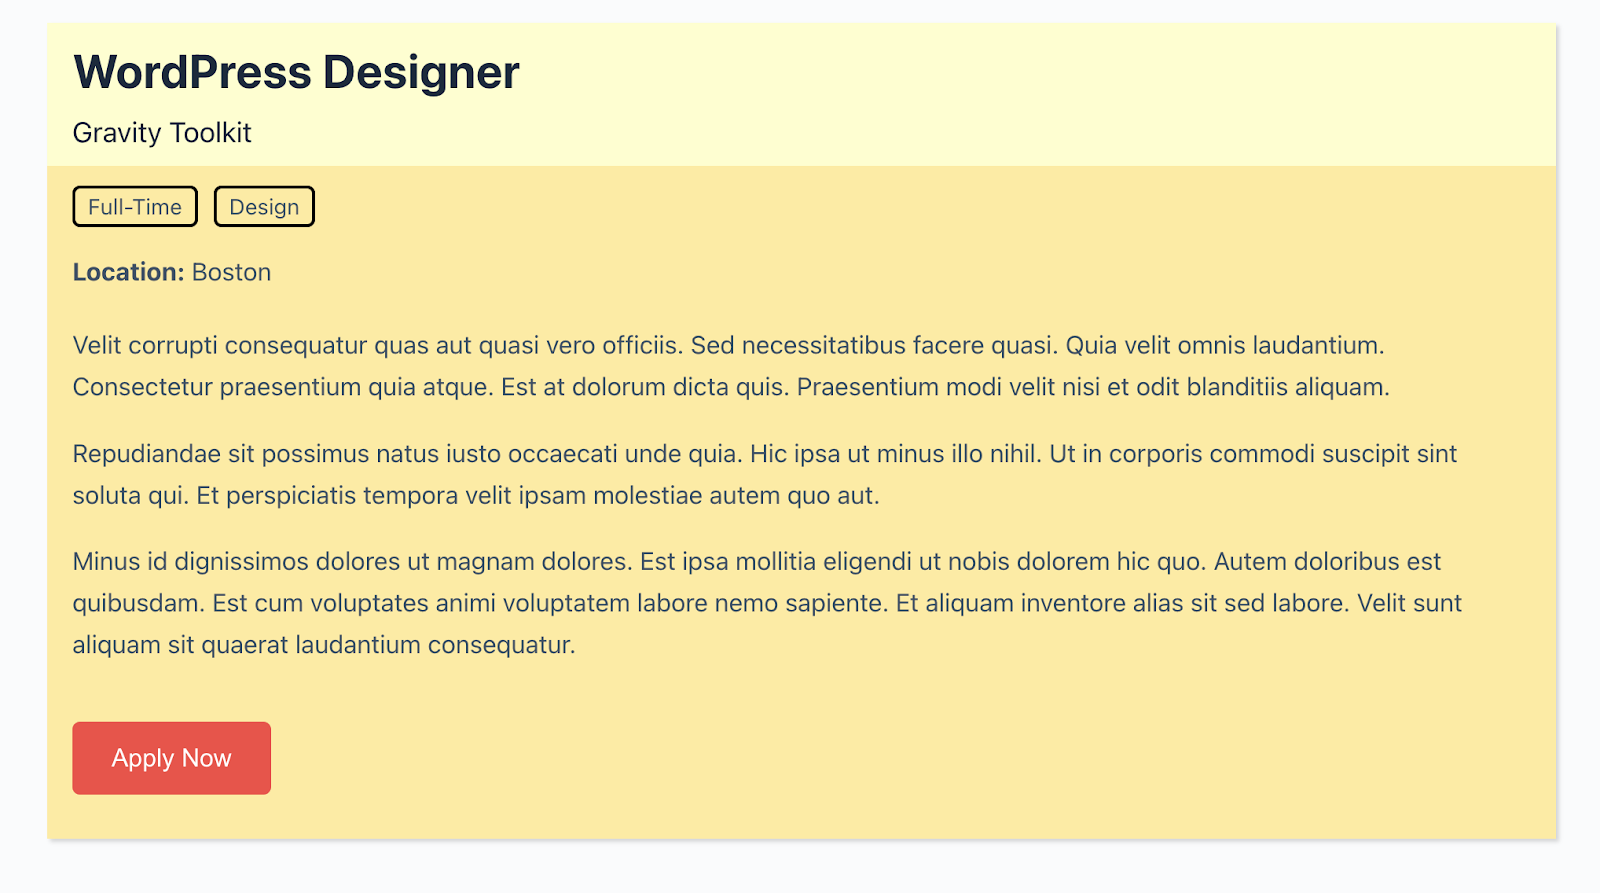
But it doesn’t stop there! If someone clicks on one of those entries, it will take them to the single entry template, showcasing the details of that specific entry in a dedicated page.
And the best part? If you’ve enabled it, logged-in users can even edit their own entries from the front-end using the edit entry template. However, as per my previous configurations, you can see that certain fields, such as the job title, are not editable.
That’s the magic of GravityView! With a little creativity, you can create some truly amazing implementations and enhance the user experience on your website.
GravityView Pricing
GravityView offers only premium versions with no free option available. There are four pricing plans to choose from:
- GravityView: $69/year for 3 sites
- GravityView+Extensions: $159/year for 10 sites
- All Access Pass: $399/year for unlimited sites
- Lifetime All Access: $1,599 per year for unlimited sites
These plans vary based on the number of sites you can use GravityView on, the add-ons you have access to, and the number of layouts available.
If you build multiple sites for clients, opting for higher-tier plans can help you spread the cost across all your client sites and potentially save you money.
Final Verdict
If you’ve been looking for a way to showcase GravityForms data on your WordPress website, look no further than GravityView.
With its modern, intuitive interface and premade layouts, this plugin offers flexibility and customization options that can’t be beat. Whether you need to create directories, display user-generated content, or present other types of information.
GravityView can make your life a lot easier. Sure, it requires the Gravity Forms plugin, but hey, sometimes you need a dynamic duo to get the job done.
So, why not give GravityView a try and see how it can transform your data into beautiful, user-friendly presentations?
