Does your WordPress website contain many long and cluttered URLs? Are you looking for a way to make these links look more presentable? With ClickWhale, you can easily shorten, manage, and analyze links on your site using your own domain.
ClickWhale offers many advantages, from tidying up ugly affiliate links to branding site URLs with special characters or words. You can create branded links with just a few clicks — and analyze them too. And that’s not all–ClickWhale brings you even more useful features like link pages and the easy integration of tracking codes

But is ClickWhale easy to install and use? Does it allow you to apply SEO attributes to URLs? What type of click statistics does it offer to site owners?
In this hands-on review of ClickWhale, I will answer these questions and share tips on how to make the most of the plugin.
ClickWhale: Overview and Key Features
ClickWhale is an all-in-one package for WordPress link management and sharing. It lets you shorten URLs, track clicks, and create a link page. All you need is to do is make a few clicks, and all your links are created.
On the link page, the plugin lets you add whatever you need according to the requirements of your brand. You can change the logo, colors, and customize other things based on your preferences.
Also, sharing is easy. With a few clicks, you can share your content across all the channels you use.
Key features:
Flexible link manager
Link page
- Add previously created links to a newly created link page.
- Customize link titles or change order via drag and drop
- Write content for link page title and description
- Set the logo, background color, texts, and fonts for your link page
- Choose the URL under which people can access the link page on your site
Tracking codes
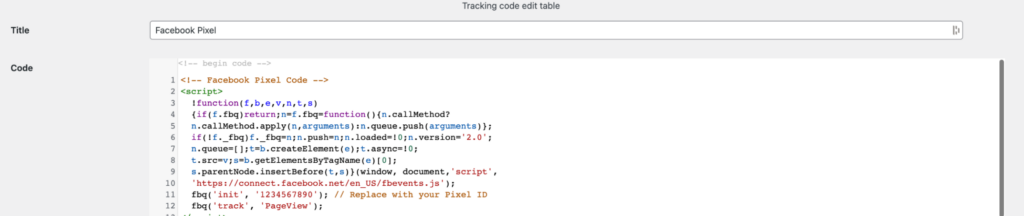
- Embed Facebook Pixel, Google Analytics, and other codes without tweaking its CSS
- Output the code snippet to individual pages, posts, or specific content
- Exclude certain user roles from code implementation
Hands-On With ClickWhale
In this section, I’ll demonstrate how to set up and use ClickWhale on a WordPress site.
First, download the plugin from its WordPress.org page or official website. Then head over to the plugins section in WordPress and upload the .zip file. Once done, click Install > Activate to add the plugin to your site.
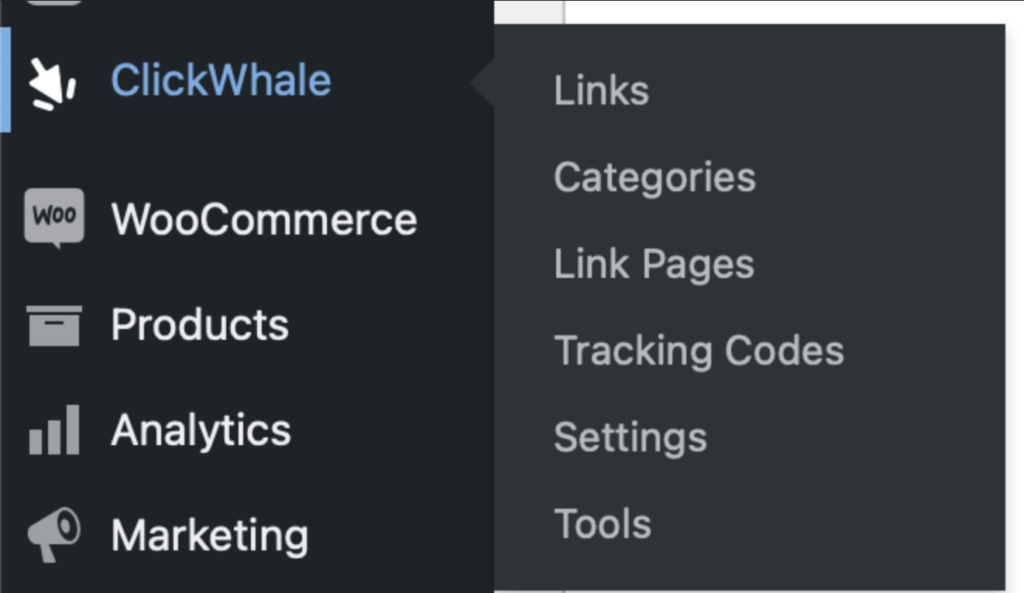
A new menu for ClickWhale will appear in the left-hand sidebar of WordPress. In it, you will find all the options you need to shorten links, view click analytics, and create a link-in-bio page.
Adding and Managing Links
The first option in ClickWhale is Links. Clicking it lets you add and manage links, as well as create a redirection for them.
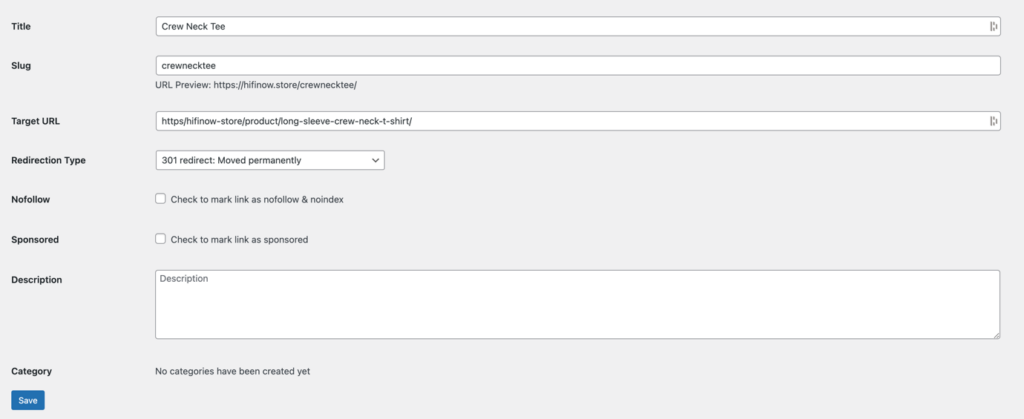
For instance, I added a new link for a product available in my Shop. In the URL slug field, I entered text that will make for the new, shorter link. The Target URL is the original link that visitors will be redirected to when they click the new link.

Article Continues Below
Also, I kept the redirection type to 301 redirect because that’s the most preferred option.
Next, ClickWhale offers clickboxes for highlighting the links as no-follow and/or sponsored. Choose sponsored if it’s an affiliate link. Alternative, uncheck both boxes before proceeding.
Creating Categories
ClickWhale is one of the first plugins to offer categories for links. This feature works like post categories, helping you organize links by their nature. For instance, you can create an “affiliate” category and put all affiliate links in that category.
To add a link to a category, create the category first, then go back to the Links dashboard and check the box with the category name.

Building Link Pages
Link pages and tracking codes are the USPs of the ClickWhale plugin.
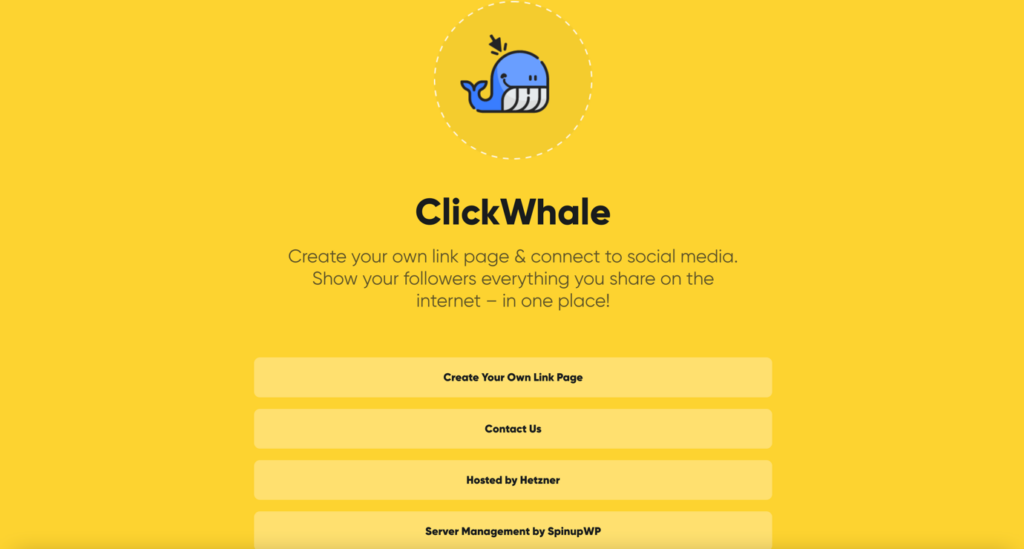
Link pages let you display your brand name and logo, along with button links underneath them for visitors to check out. Unlike social media bios, which allow you to place a single link, link pages provide more freedom and offer plenty of customization options.
Here’s an example of a link page created by ClickWhale itself:
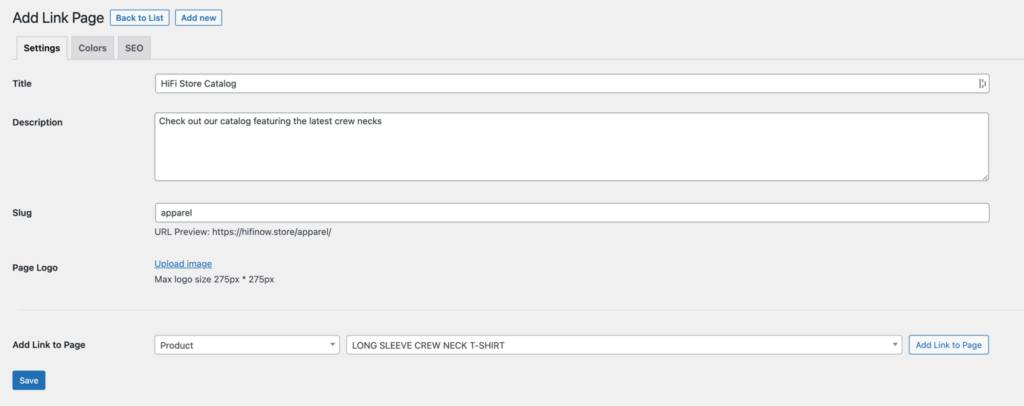
To create a link page, go to the Link Pages menu dashboard and enter the following in Settings:
- Title
- Description
- Slug
- Page logo (275*275px)
- Link you want to add to the page
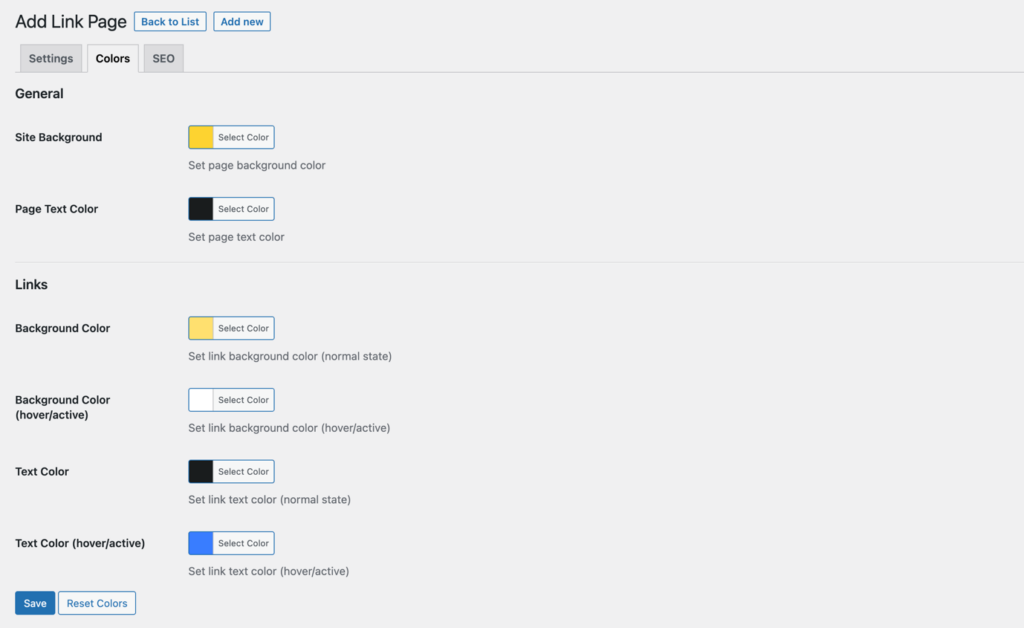
Then go to colors and select shades that align with your brand’s identity. ClickWhale lets you select the page text color, background color, text color, and more.
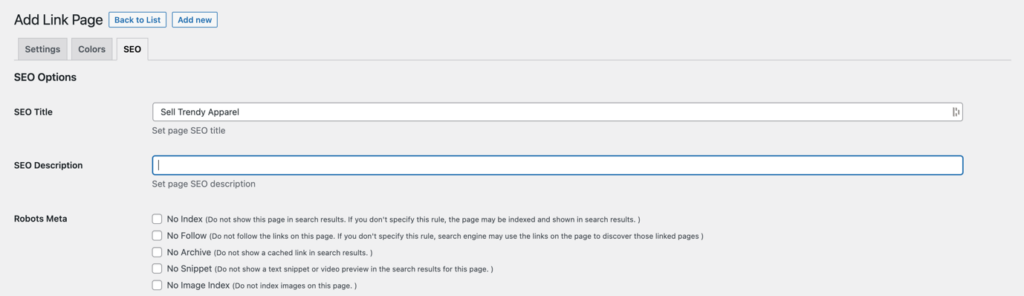
Lastly, you can write an SEO title and description for the Link page. Doing so should help improve its visibility in Google. But if you don’t want the page to show in search engines, use options like no index to achieve the desired result.
Configuring Settings and Tracking Options
ClickWhale’s Settings also has a bunch of stuff you can configure.
The first are the General Options, which let you define global settings for the plugin.
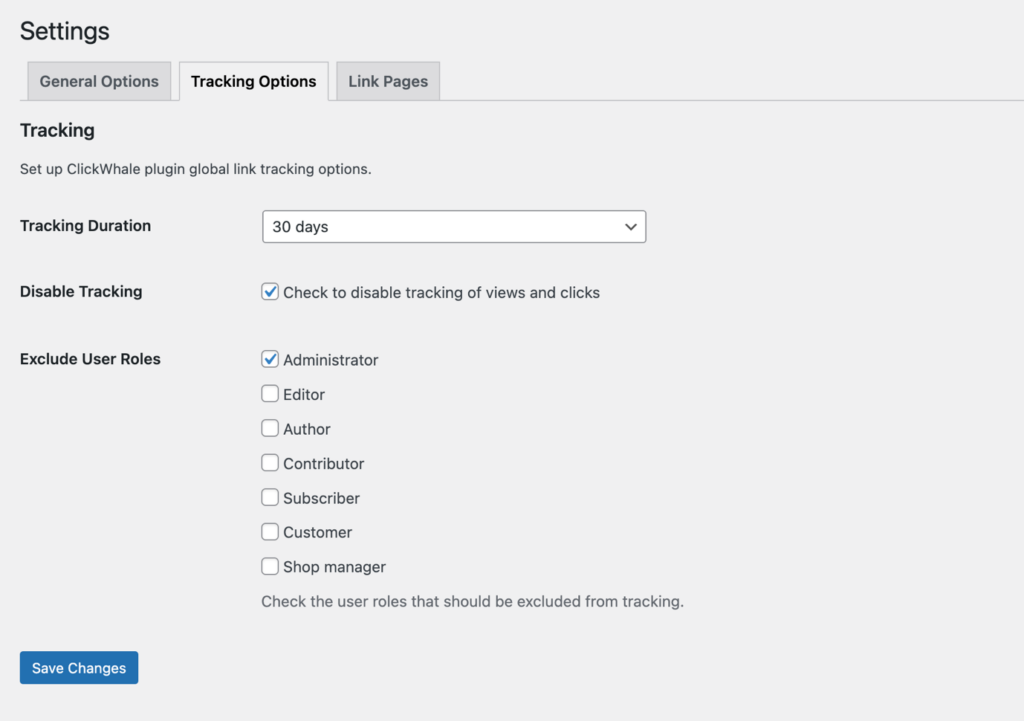
The second includes the Tracking Options, where you can define the tracking duration for views and clicks. Plus, it gives you the option to disable tracking altogether.
The third is a setting for Link Pages. This only has one option, i.e., whether the links should or should not open in a new window/tab
Tracking Codes
ClickWhale also lets you embed any tracking code or code snippet on your site.
The best thing about this feature is that it doesn’t require you to intervene in the CSS of your website—at all.
Click the tracking codes menu in ClickWhale. Then on the page that appears, enter a title and paste your tracking code (Google Analytics, Facebook Pixel, etc.).
You can also choose whether you want the code to appear before </head> after </body>, or before </body>.
Plus, you can exclude pages and user roles on which you don’t want the code to apply.
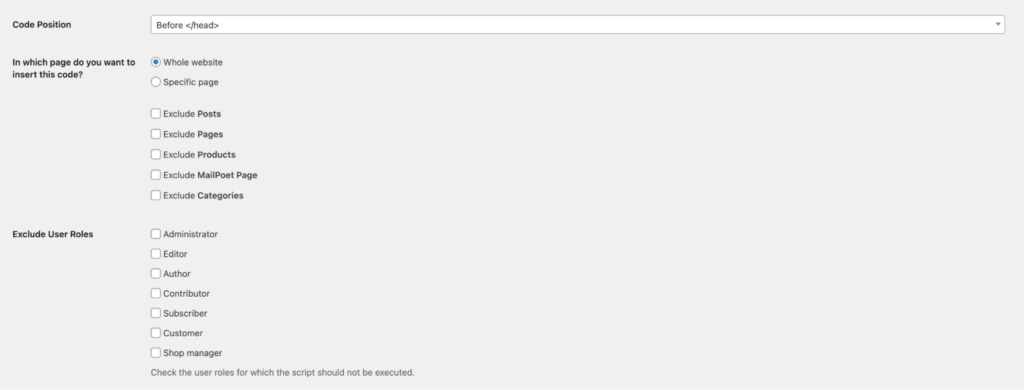
When you’re done with these settings, check the box for Enable Tracking code and click Save. This will activate the code on your site.
Migration and Reset
The last menu on ClickWhale—Tools—lets you migrate any URLs you shortened using other plugins and reset default settings/statistics. I didn’t have to configure anything here, but others with existing links should find this area helpful.
ClickWhale Pricing
ClickWhale is free to download and use for WordPress users.
After its installation, you don’t need to pay a third-party service. The plugin lets you have full control over your links and save on monthly subscriptions.
And if you are using another plugin to create shortened links, ClickWhale will let you migrate all your URLs into its tool with just one click.
All that, plus a branded link page at no cost. It doesn’t get any better than that.
Final Verdict
From your storefront to your social media channels, your podcast channel to your YouTube profile and everything in between, you have a lot of links that visitors should be able to access easily.
But with long, cluttered URLs, it gets difficult to know which links are relevant and trustworthy.
Lucky for you, ClickWhale offers everything you need to make your links pretty and easy to navigate.
Simplify your URLs or create a link page today and watch your online presence thrive.